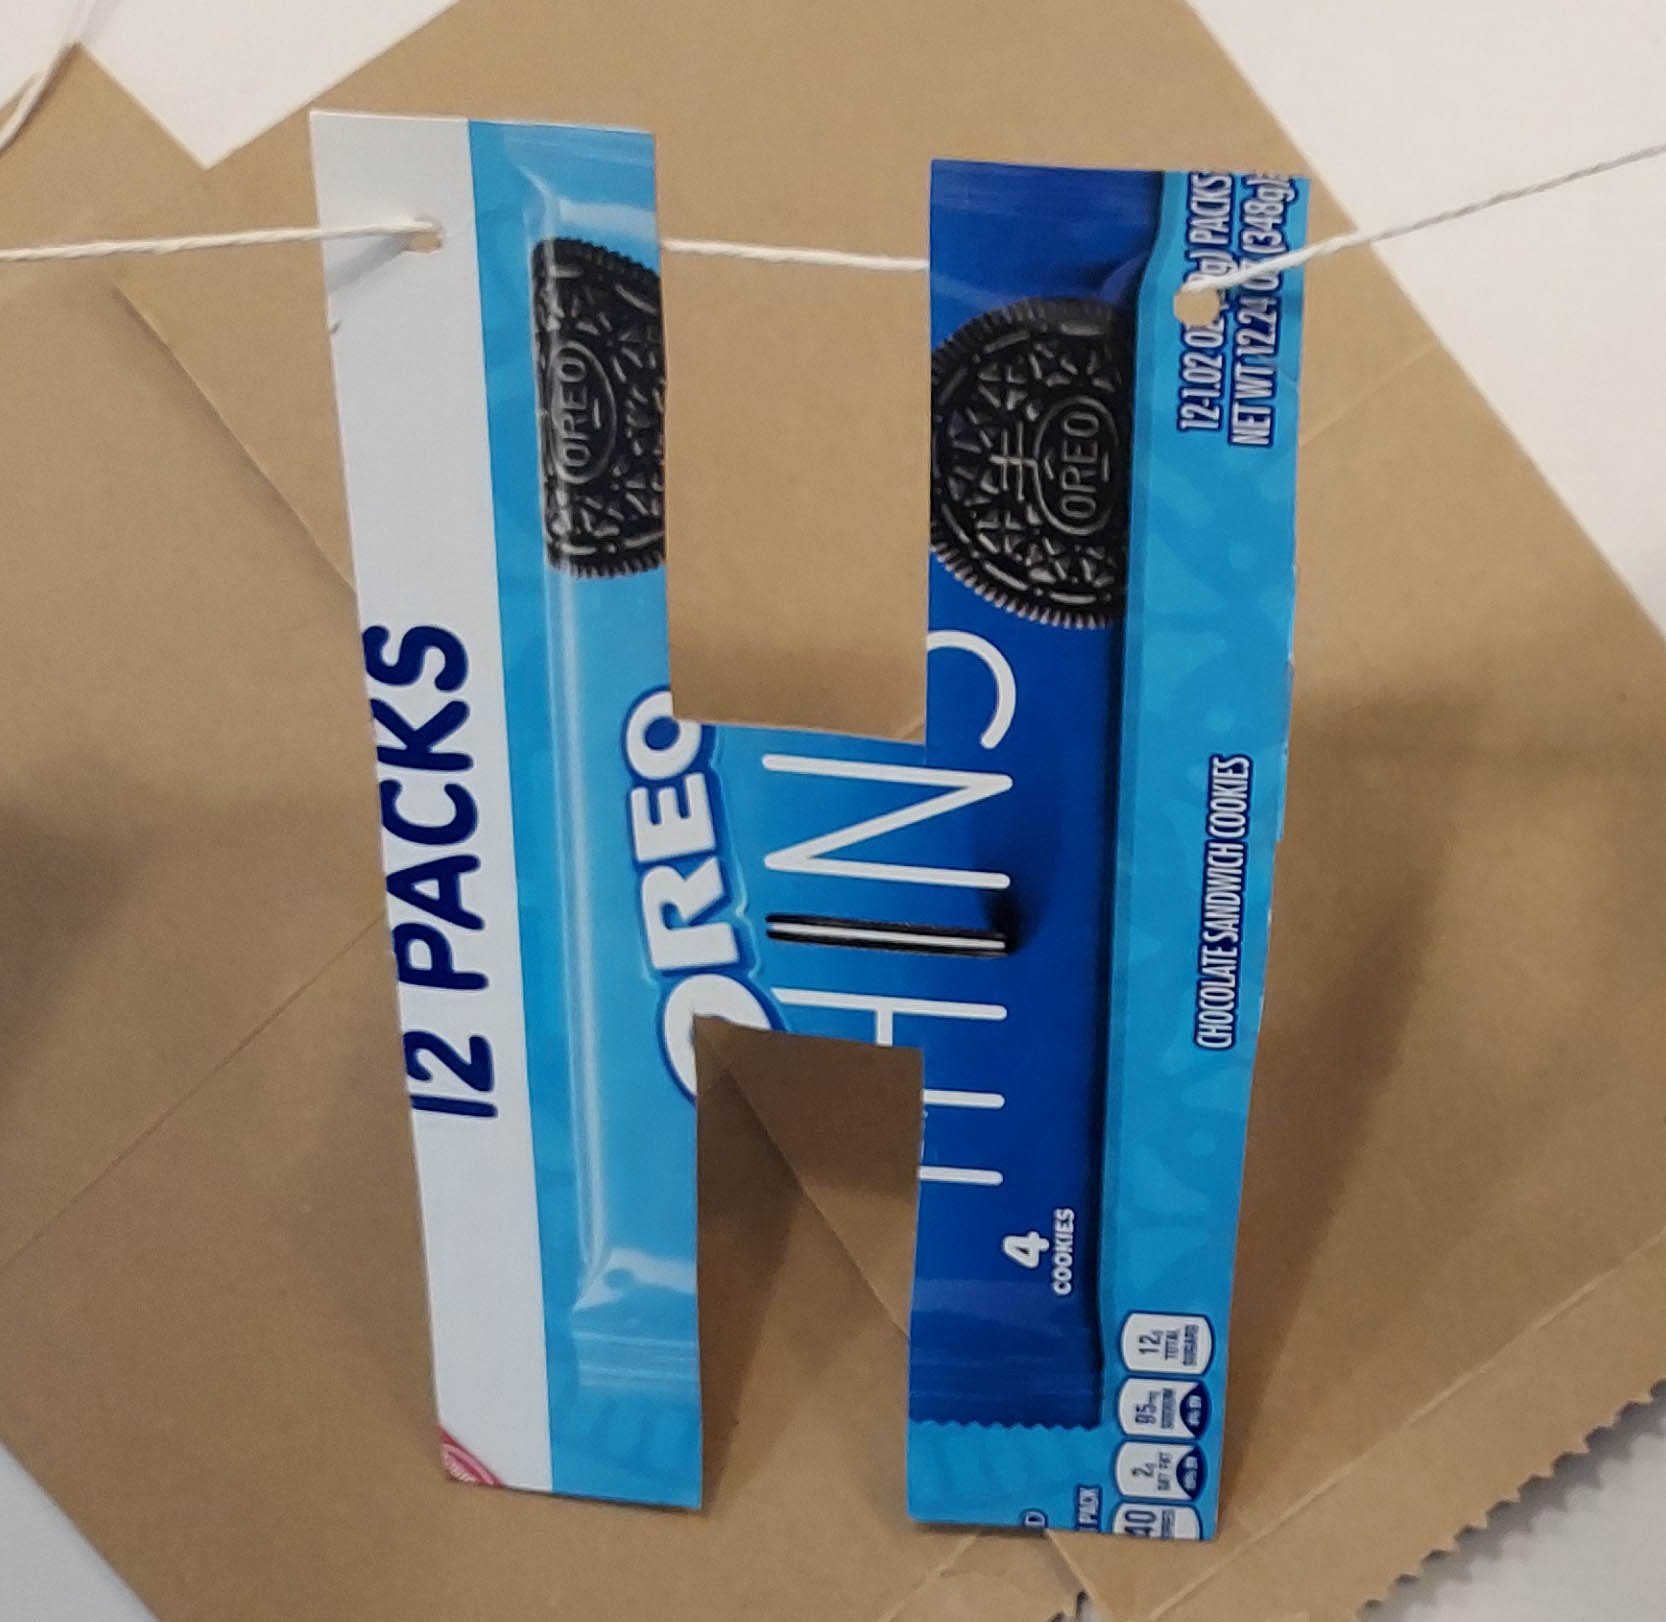
Cut from sturdy paperboard from empty pantry boxes, these clever letters give you instant party decorations and everyday home decor. Reassemble into new words whenever the mood strikes. These letters look great plain, decorated, or with the factory printing showing. They are a great way for kids to get familiar with the names and shapes of letters and start playing with short words.
Quick to make, easy to store decorations for parties or everyday
Mixed ages can help each other with drawing the letters, cutting them, decorating, and spelling
Add to your letter collection whenever you need a five-minute creativity break
Good use for boxes that can’t be used for other Right Now Crafts
Use as tracing templates to make Solar-Powered Letters even faster or to make more All-Purpose Letters.
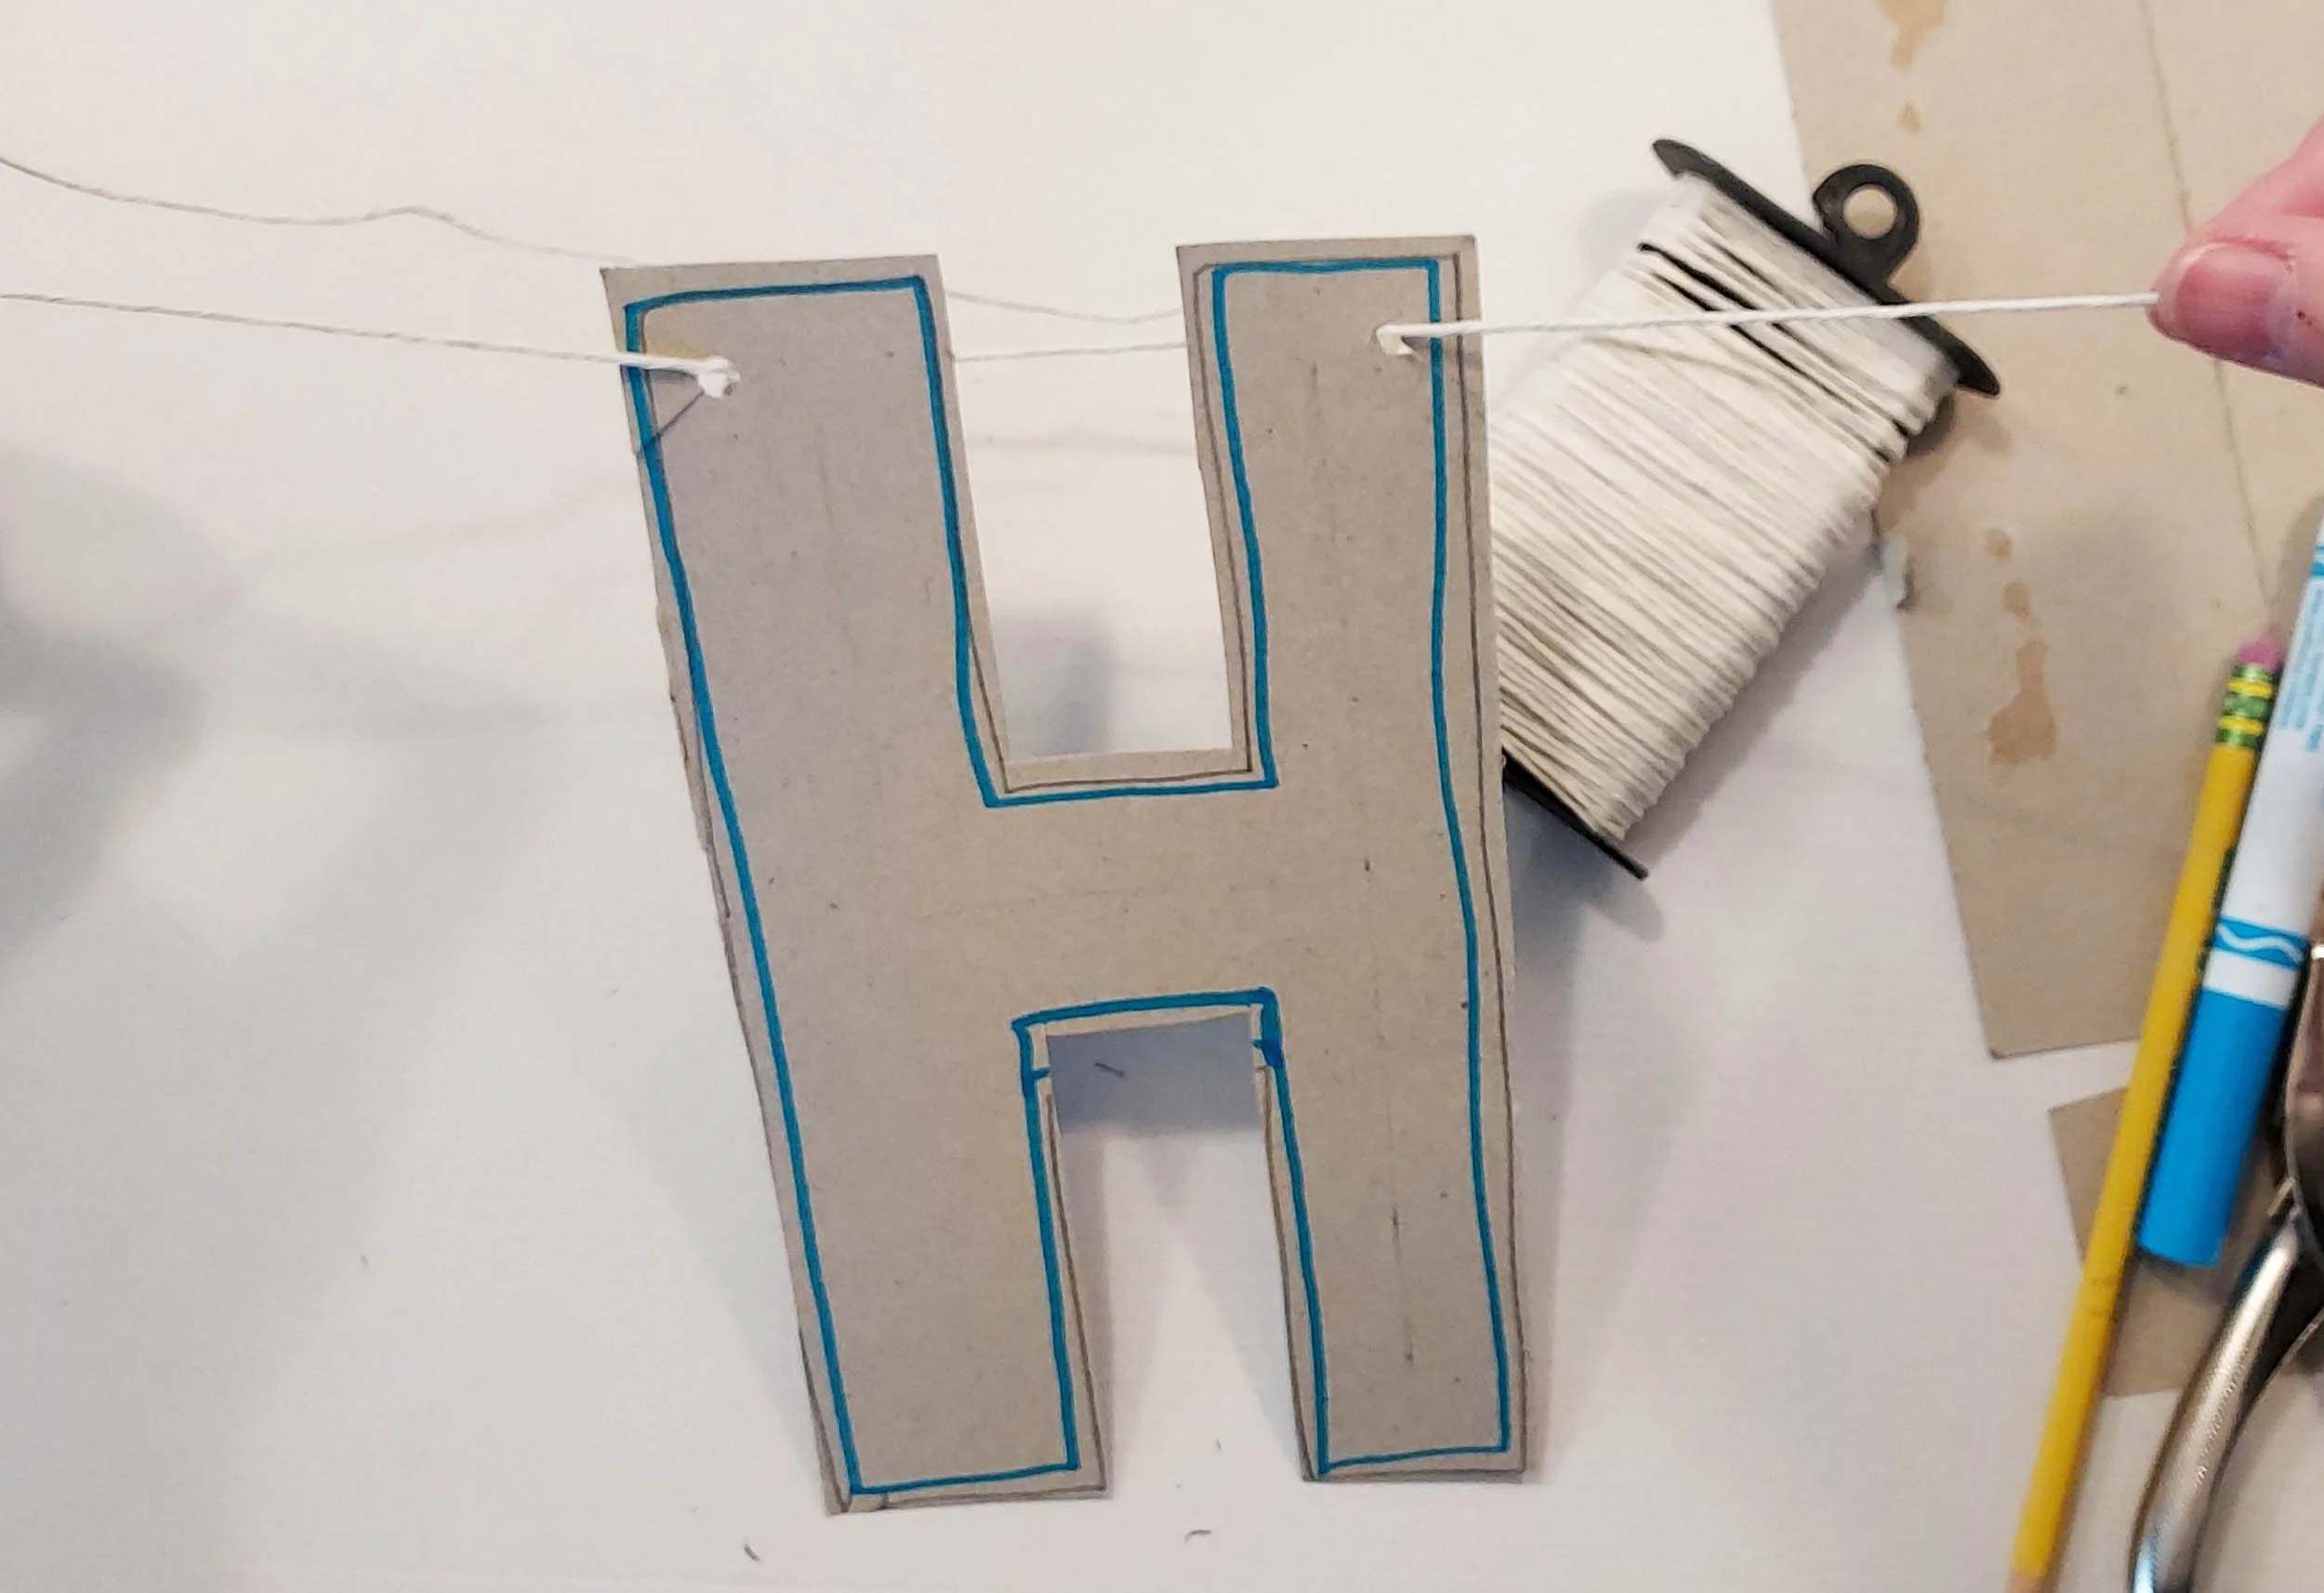
Make a HI, OH, or BE banner in no time. Spell out messages for any occasion, make name banners for kids’ bedrooms, start a word-of-the-day at your house, or make and mail a letter banner to a friend. The S-K-Y is the limit with All-Purpose Letters.
Steps At a Glance:
Ready? Here’s how:
1
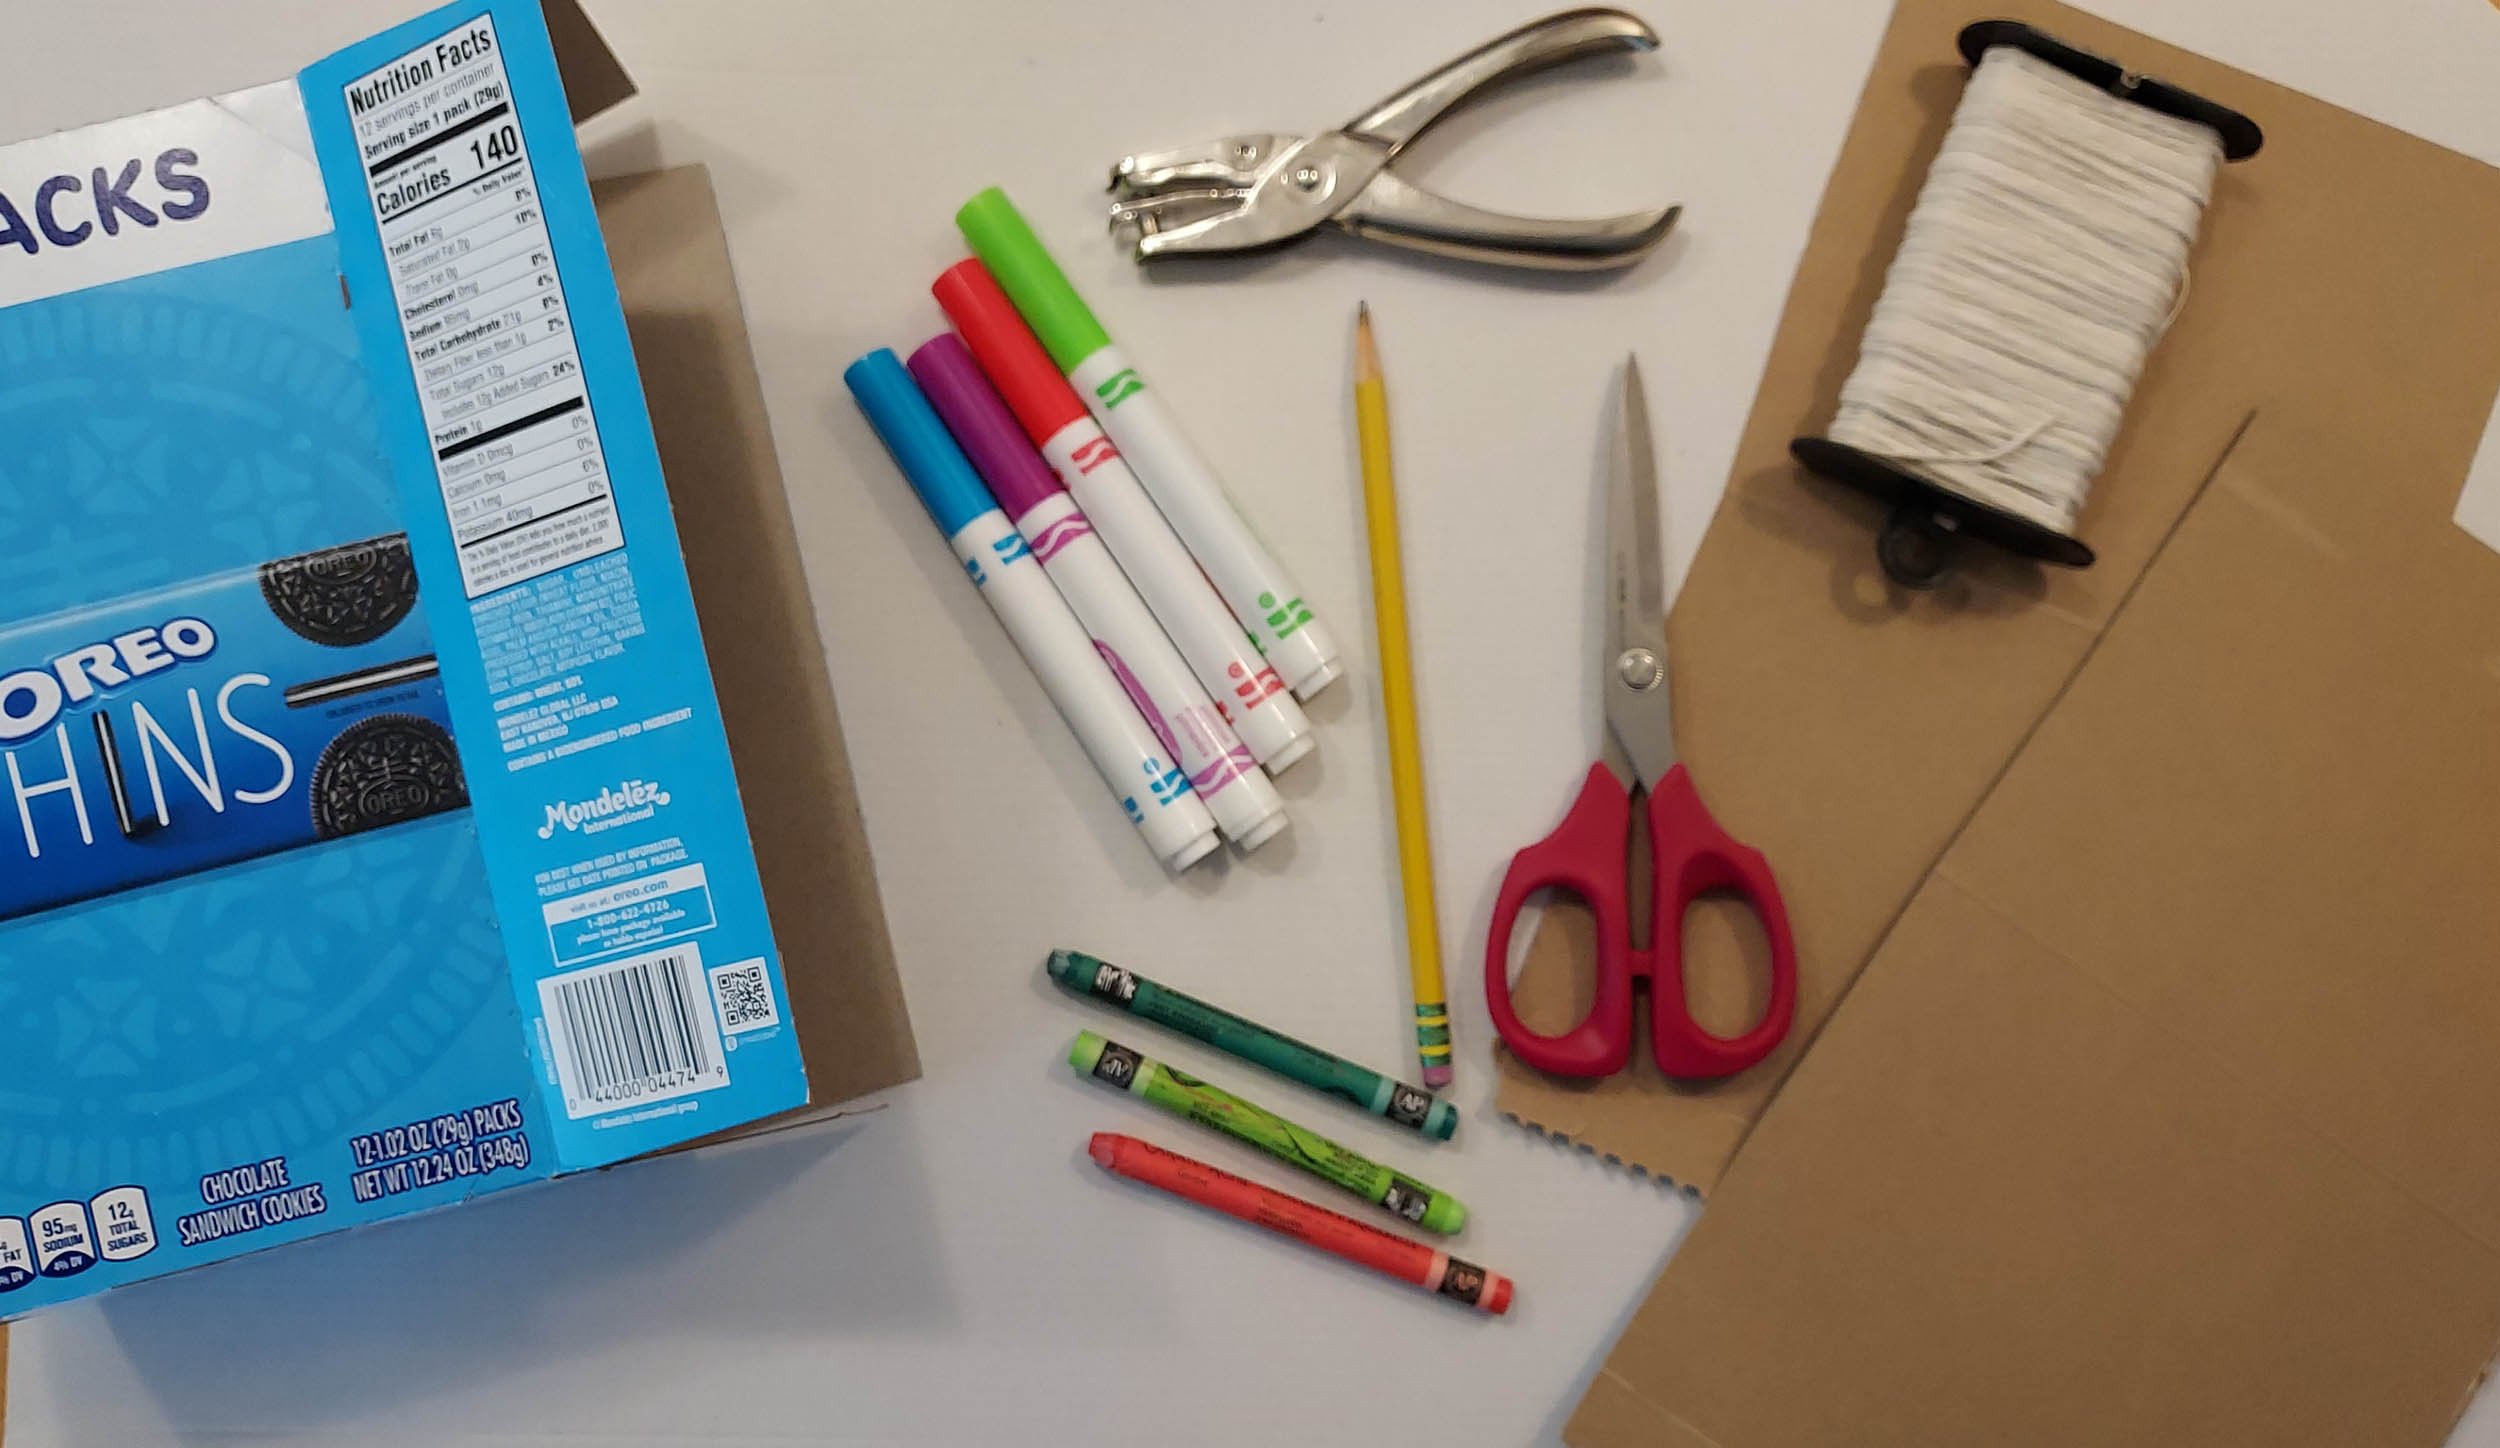
For the letters you’ll need:
paperboard box
a pencil
markers or crayons, optional
hole punch, optional
scissors
For a banner you’ll also need:
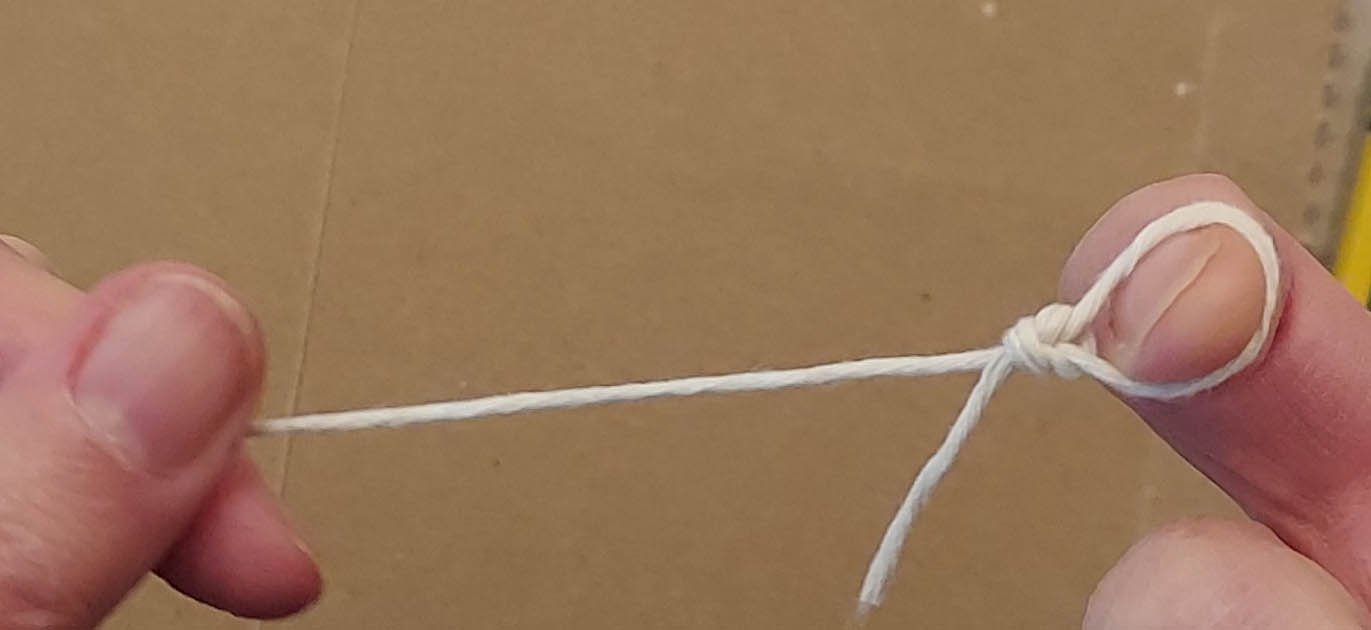
string. Hold the string with arms out wide to measure a handy length to work with.
pushpins for hanging your banner
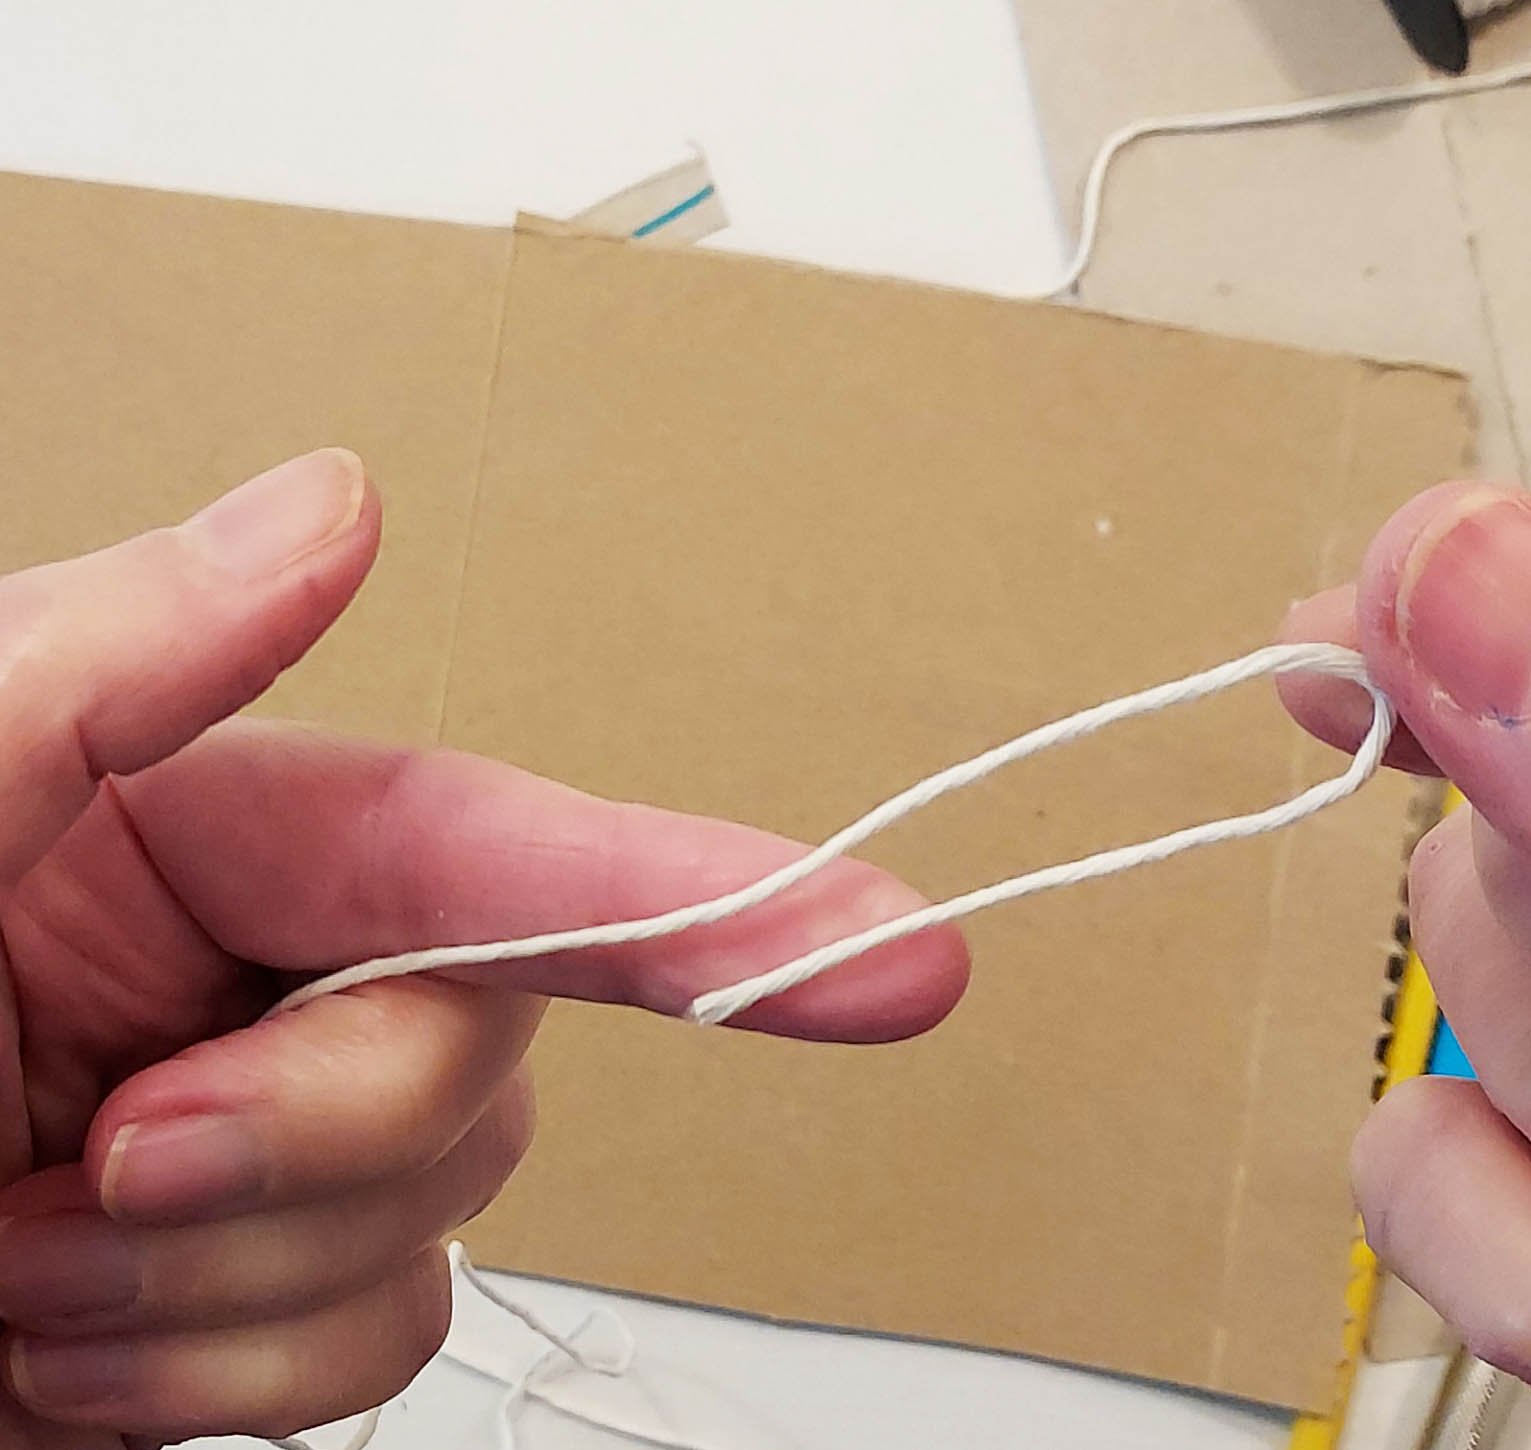
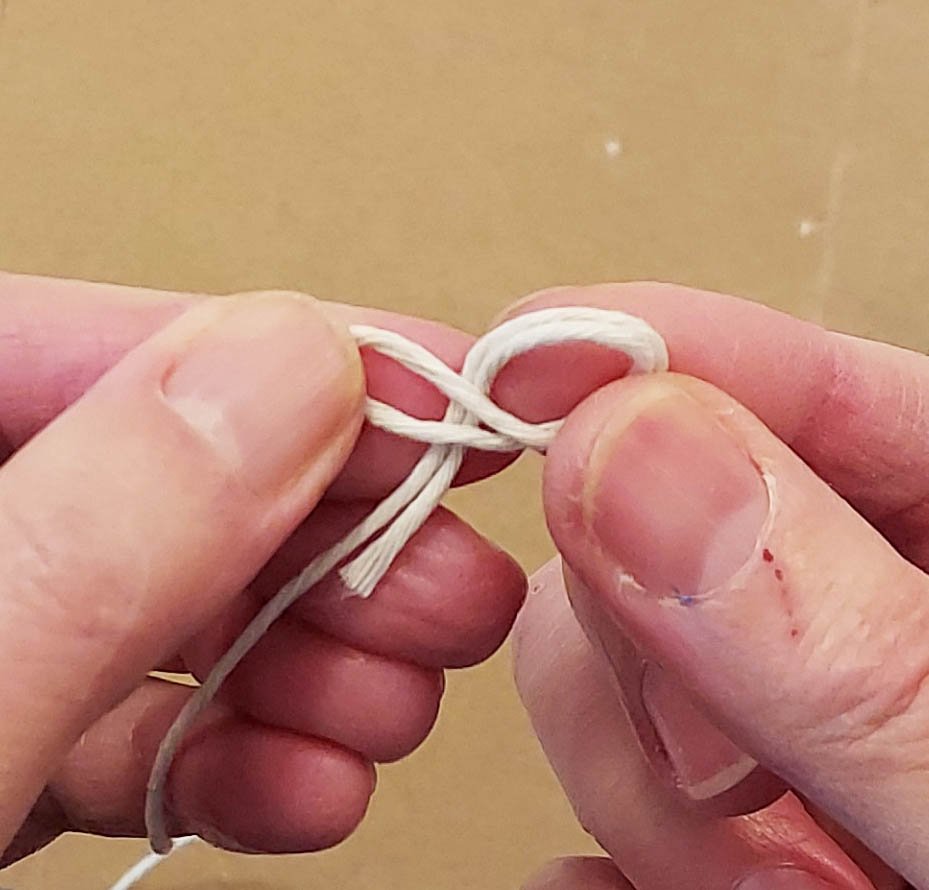
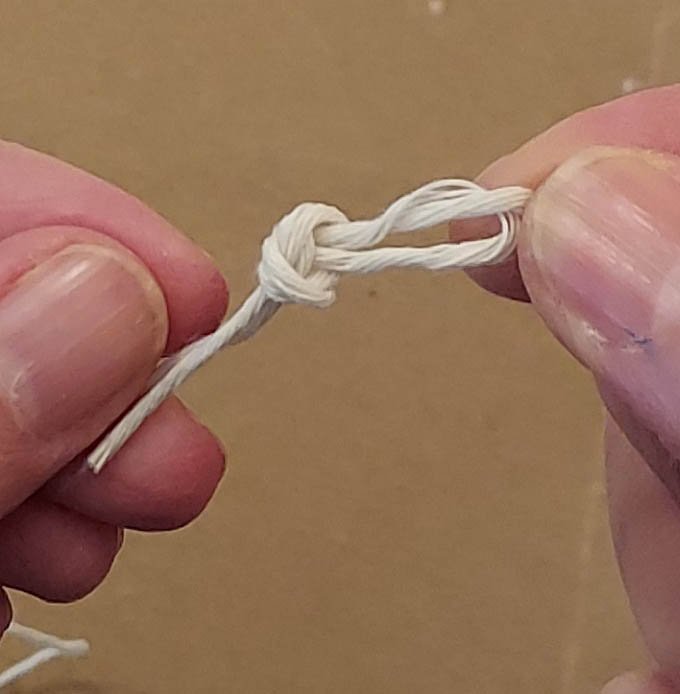
Tie a loop at each end of the string so it’s ready to hang up.
2
Open up the bottom of the box.
Find the side seam and separate the glued edges. If the glue is stubborn try starting from the other end.
3
A good average size for All-Purpose Letters is about 6” tall and wide, the size of a grownup’s hand. Some letters are bigger or smaller so 6” is just a rough guideline to get you started.
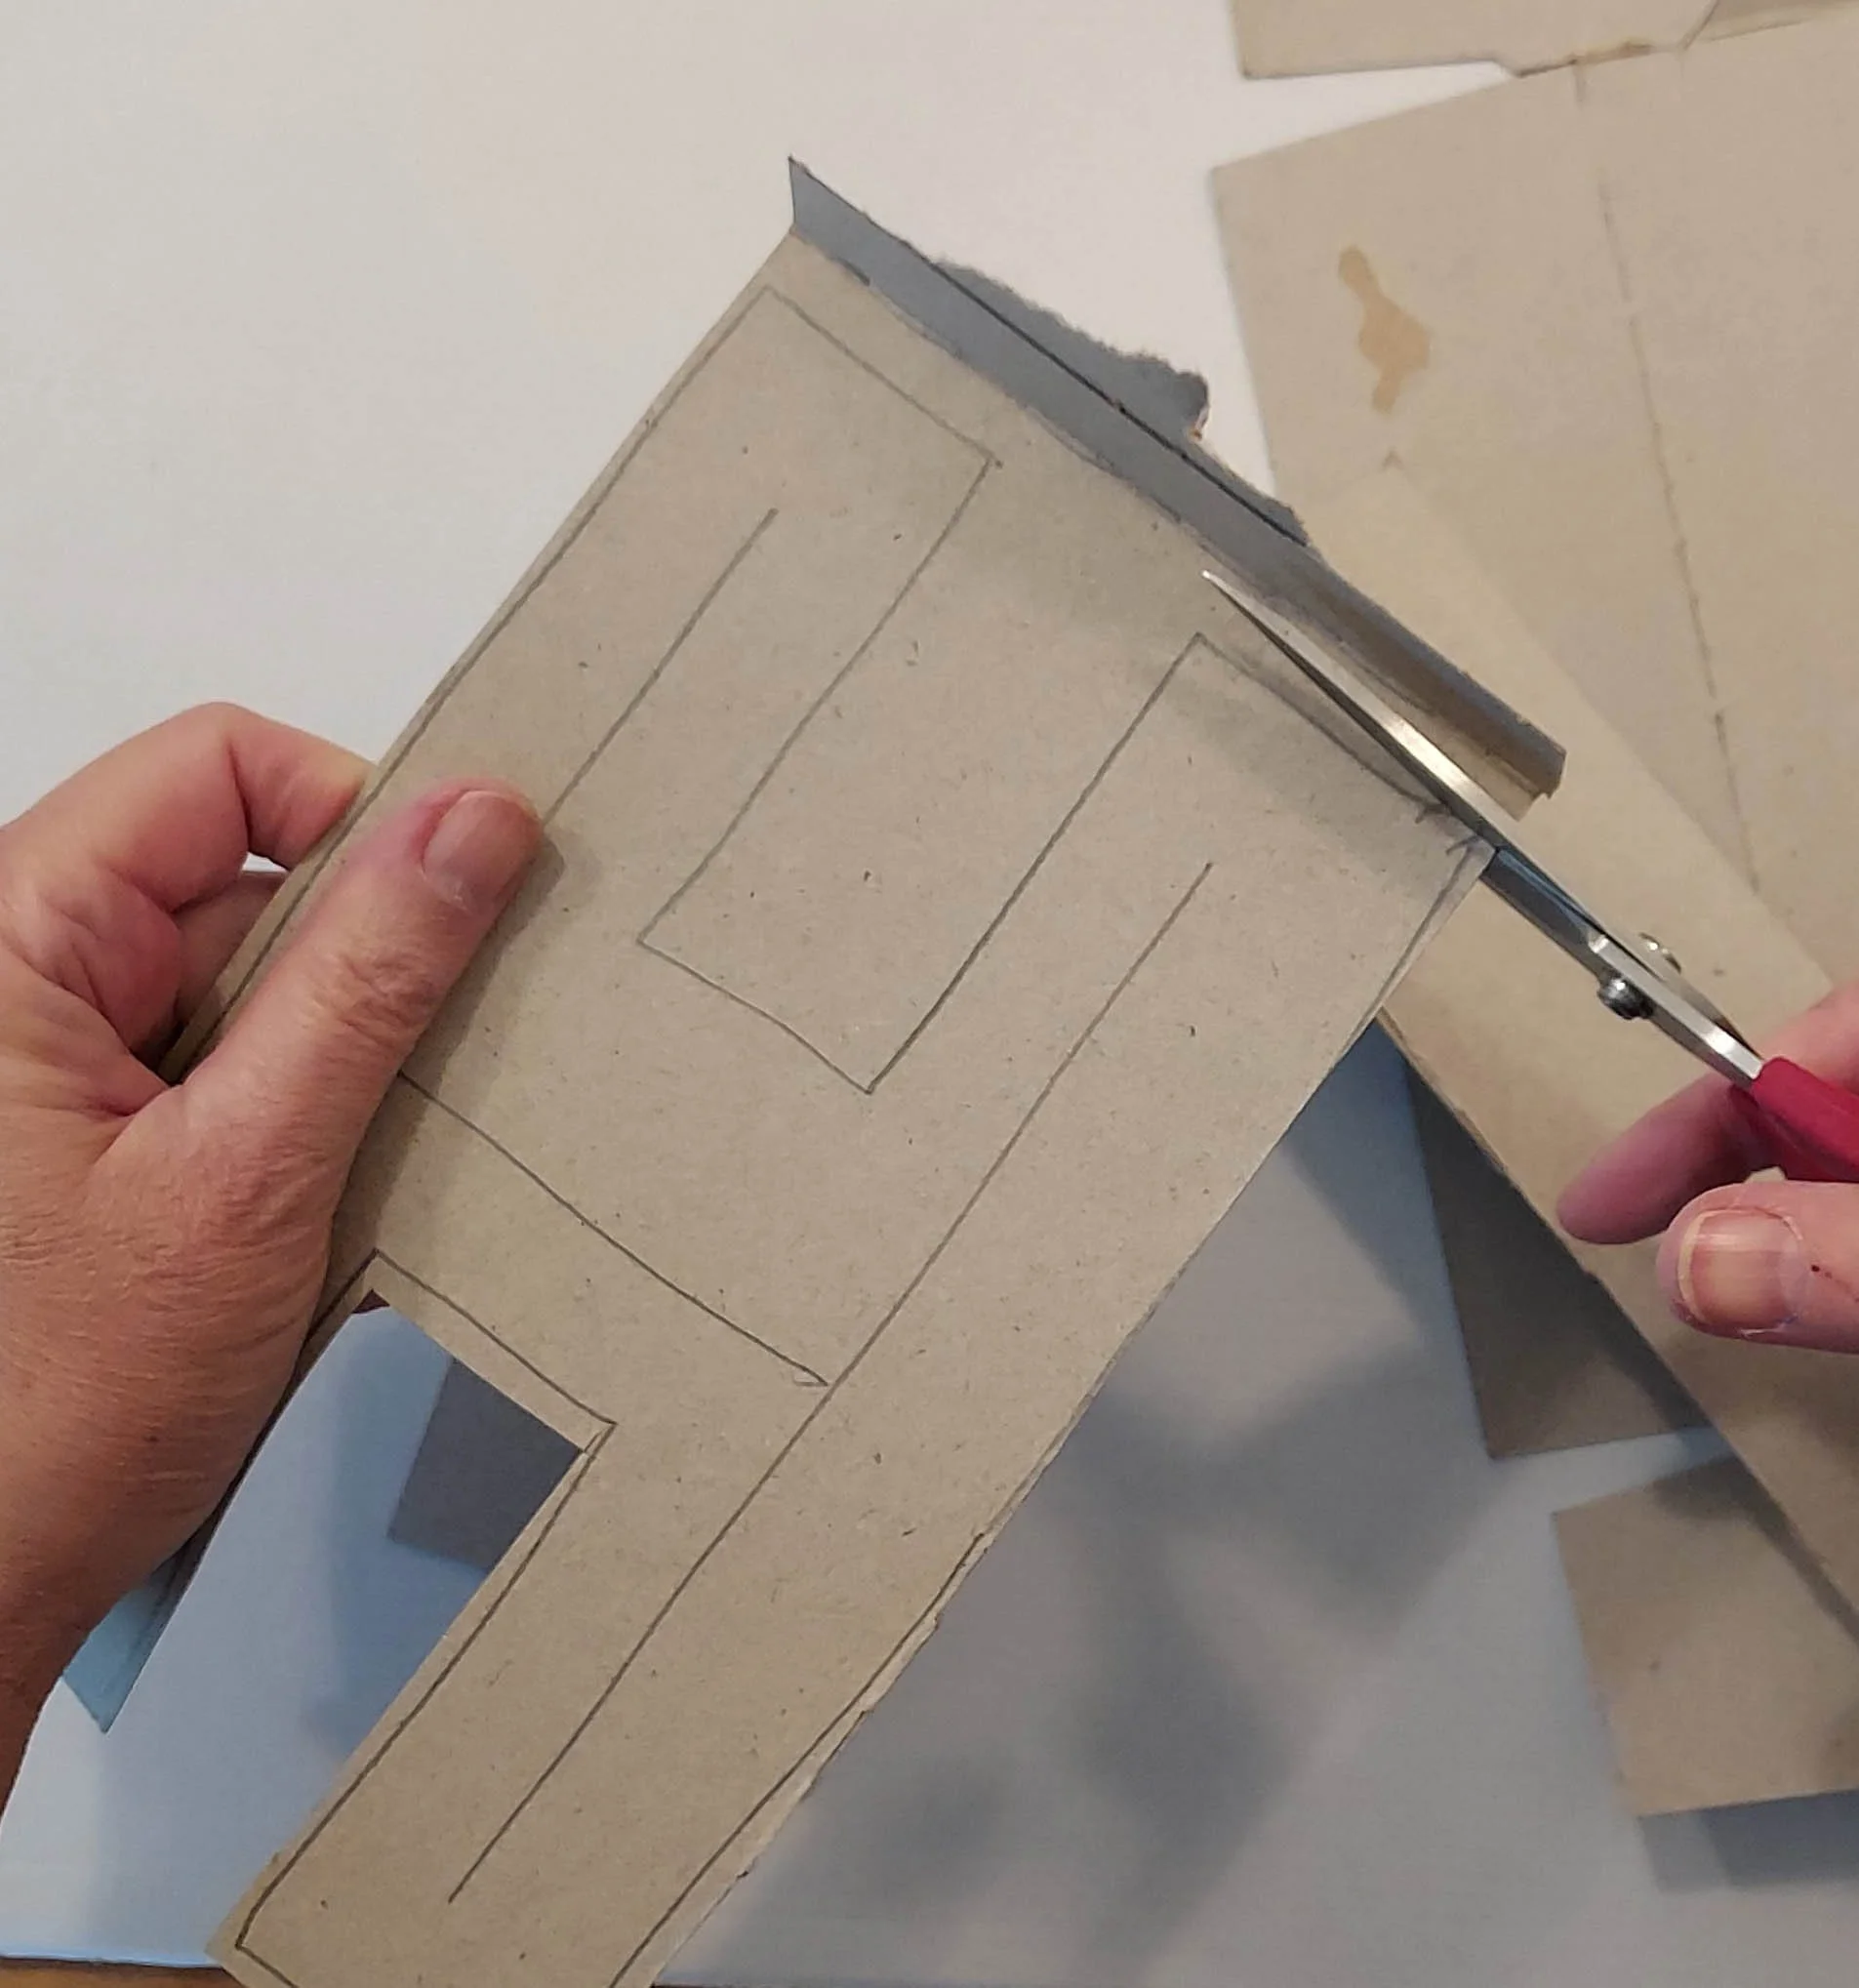
Write a capital letter on the blank side of the box.
Then pencil in a solid shape around the lines of your letter. Adjust the lines till you are happy with the shape.
4
Cut out the letter with scissors.
Erase the pencil lines if you want, or leave them to be part of the decoration.
Add any decoration with markers or crayons, or leave your letter plain.
5
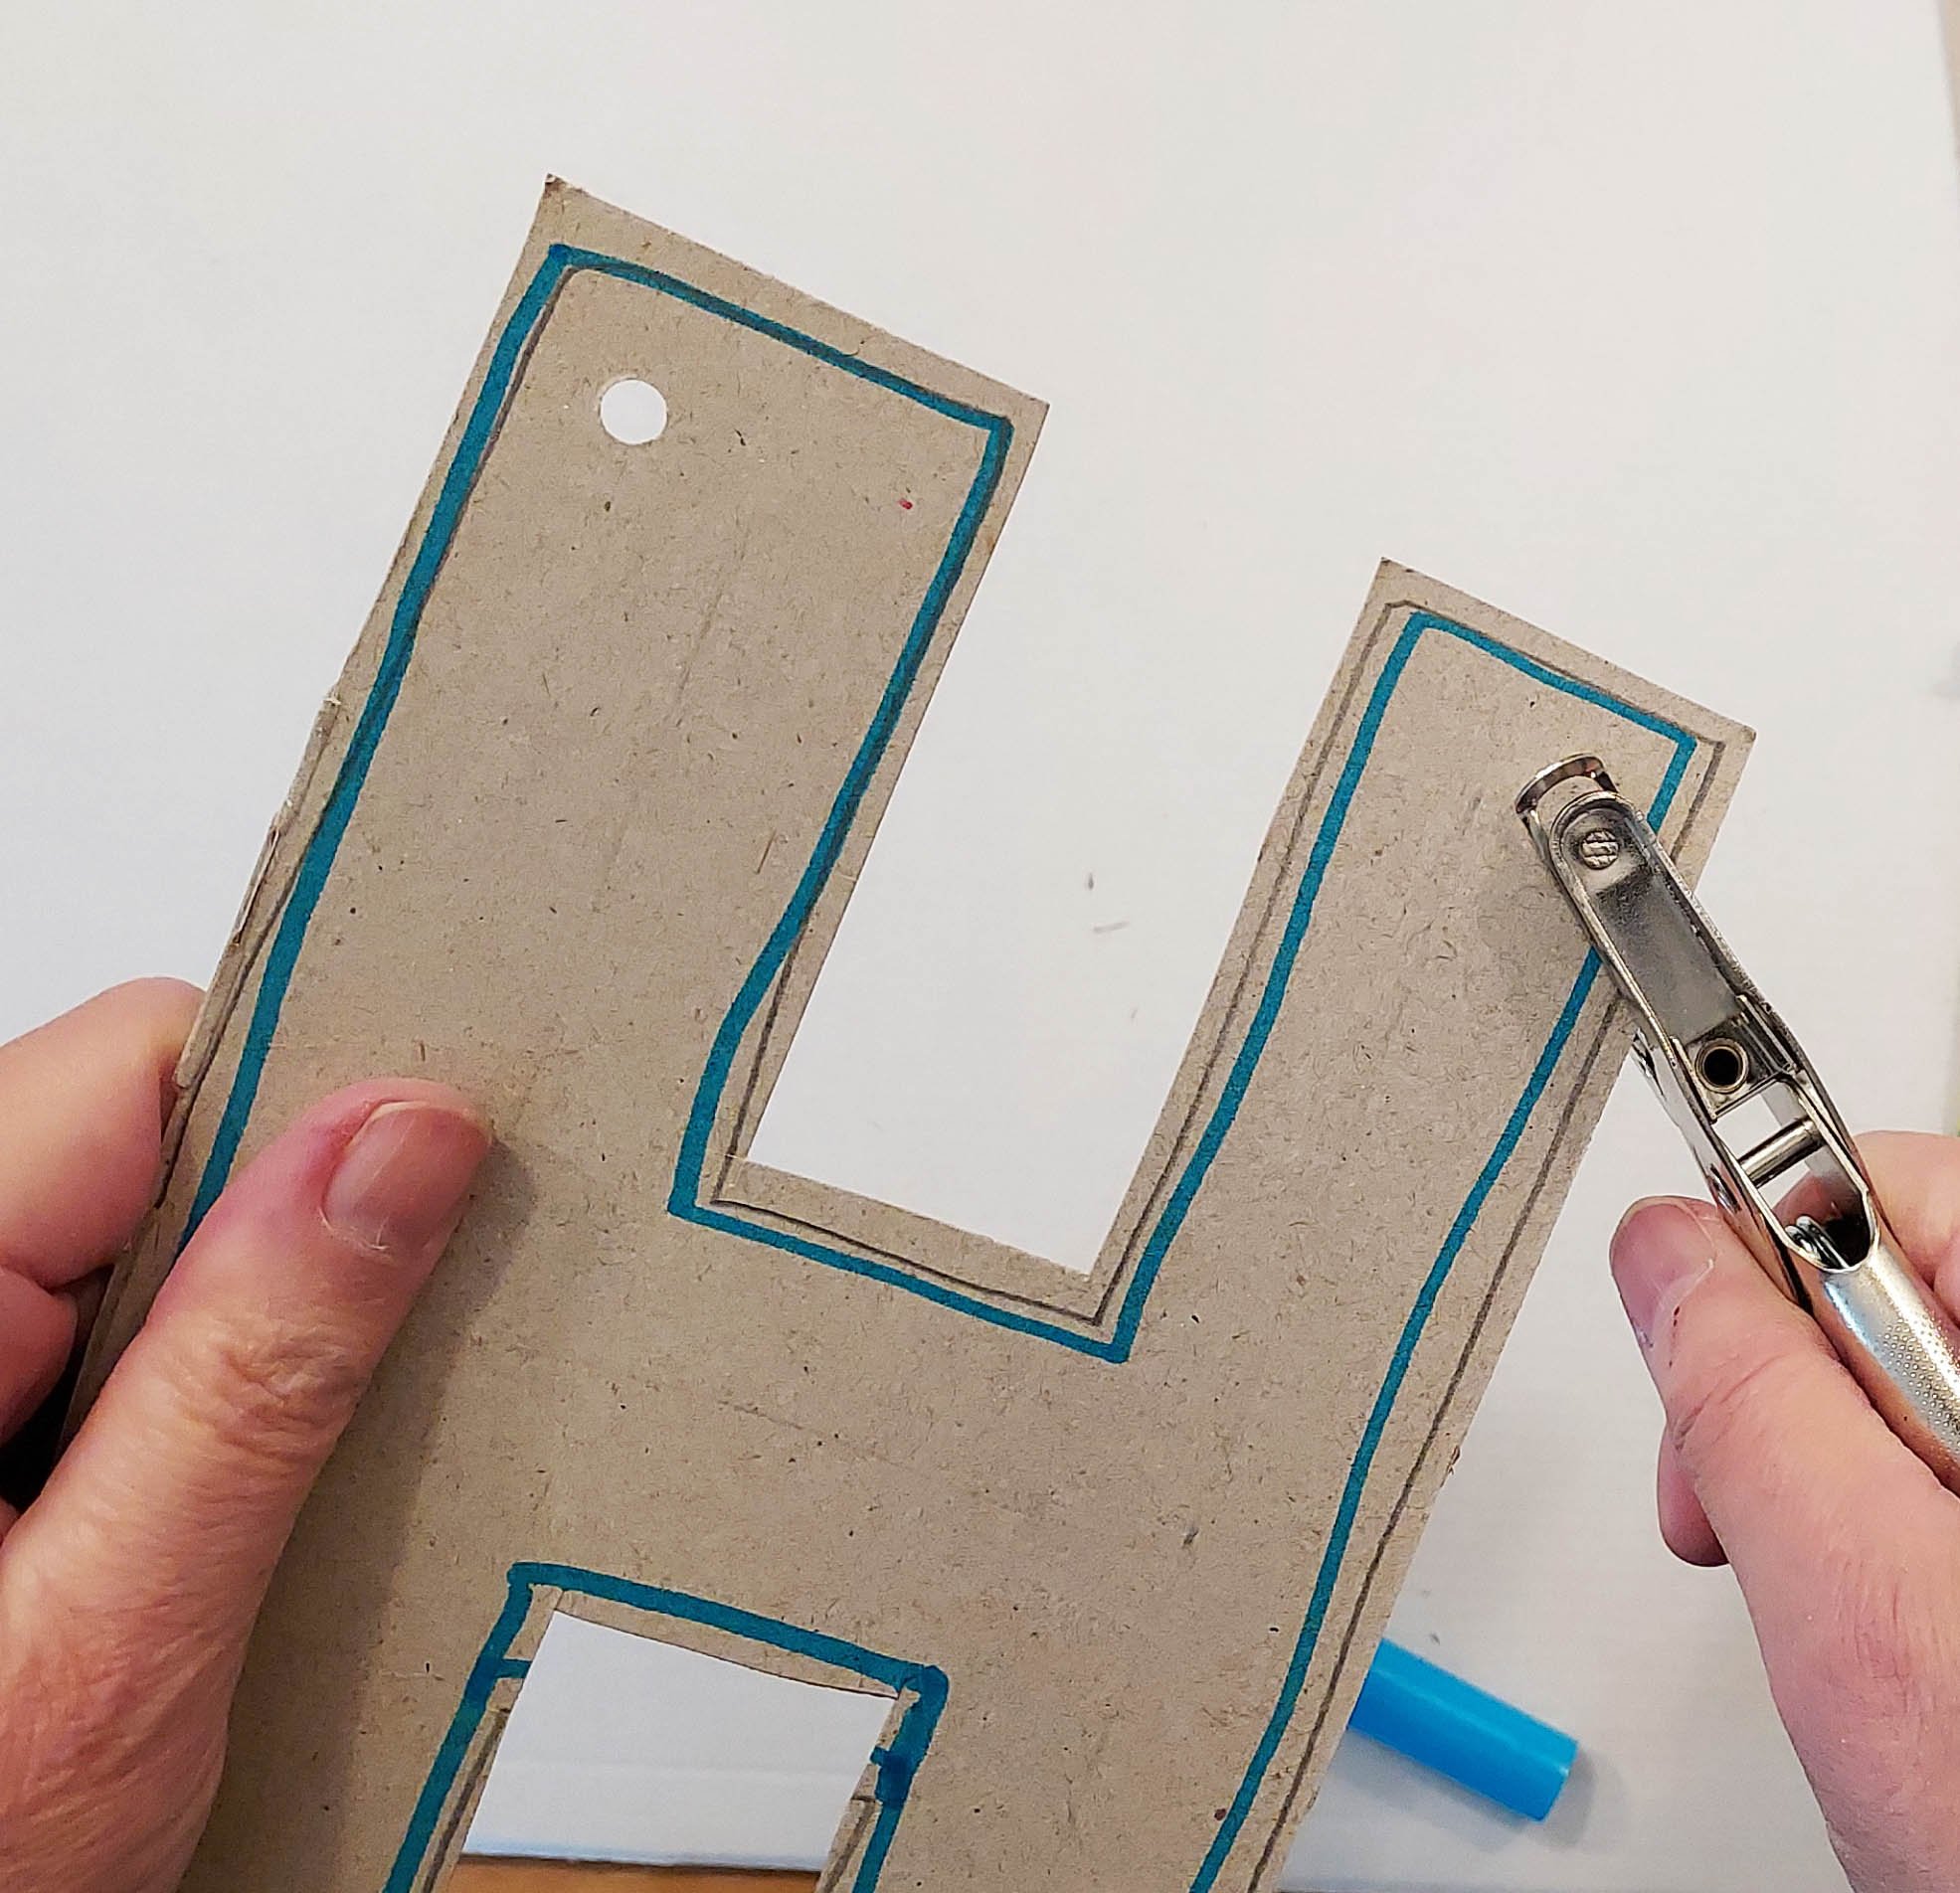
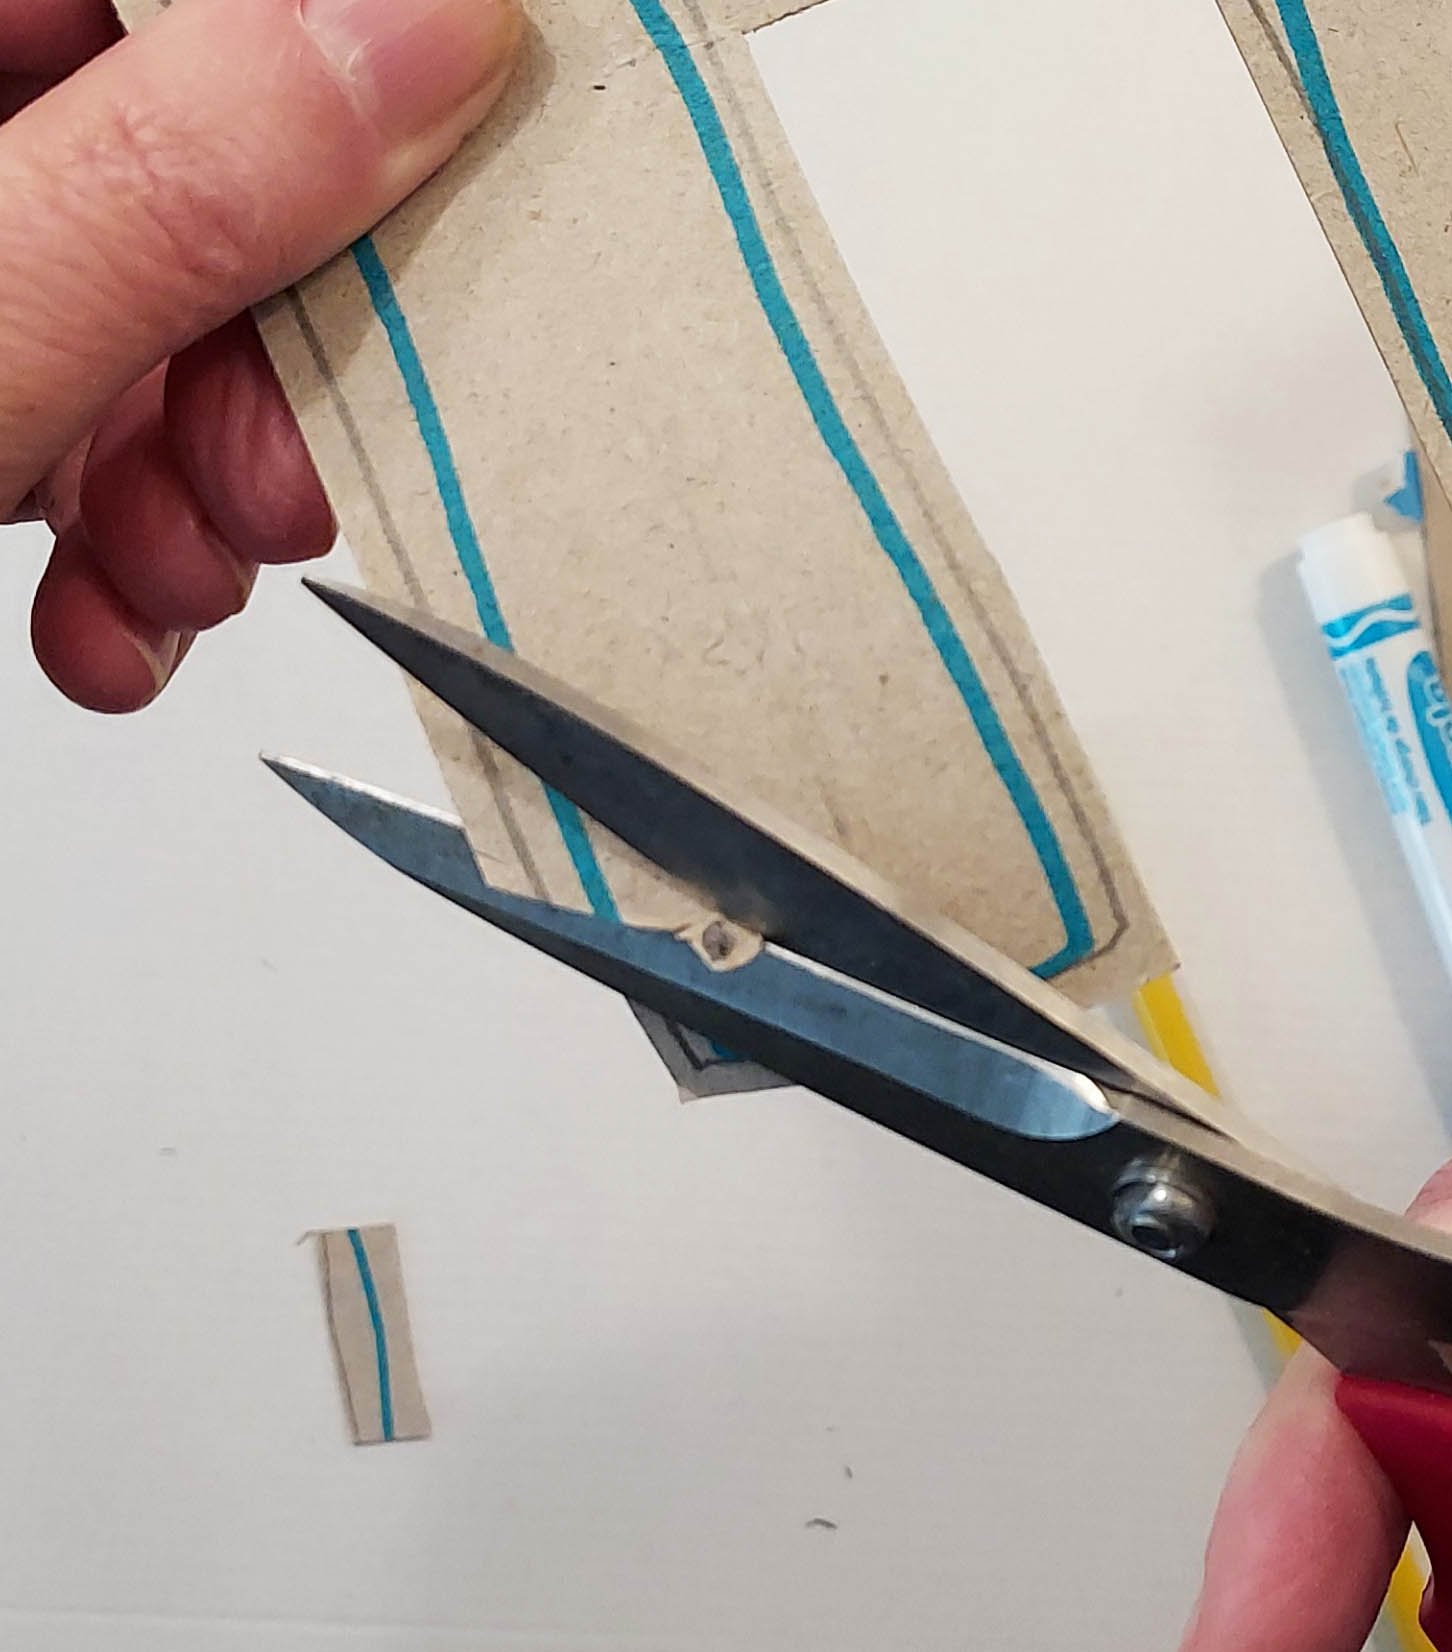
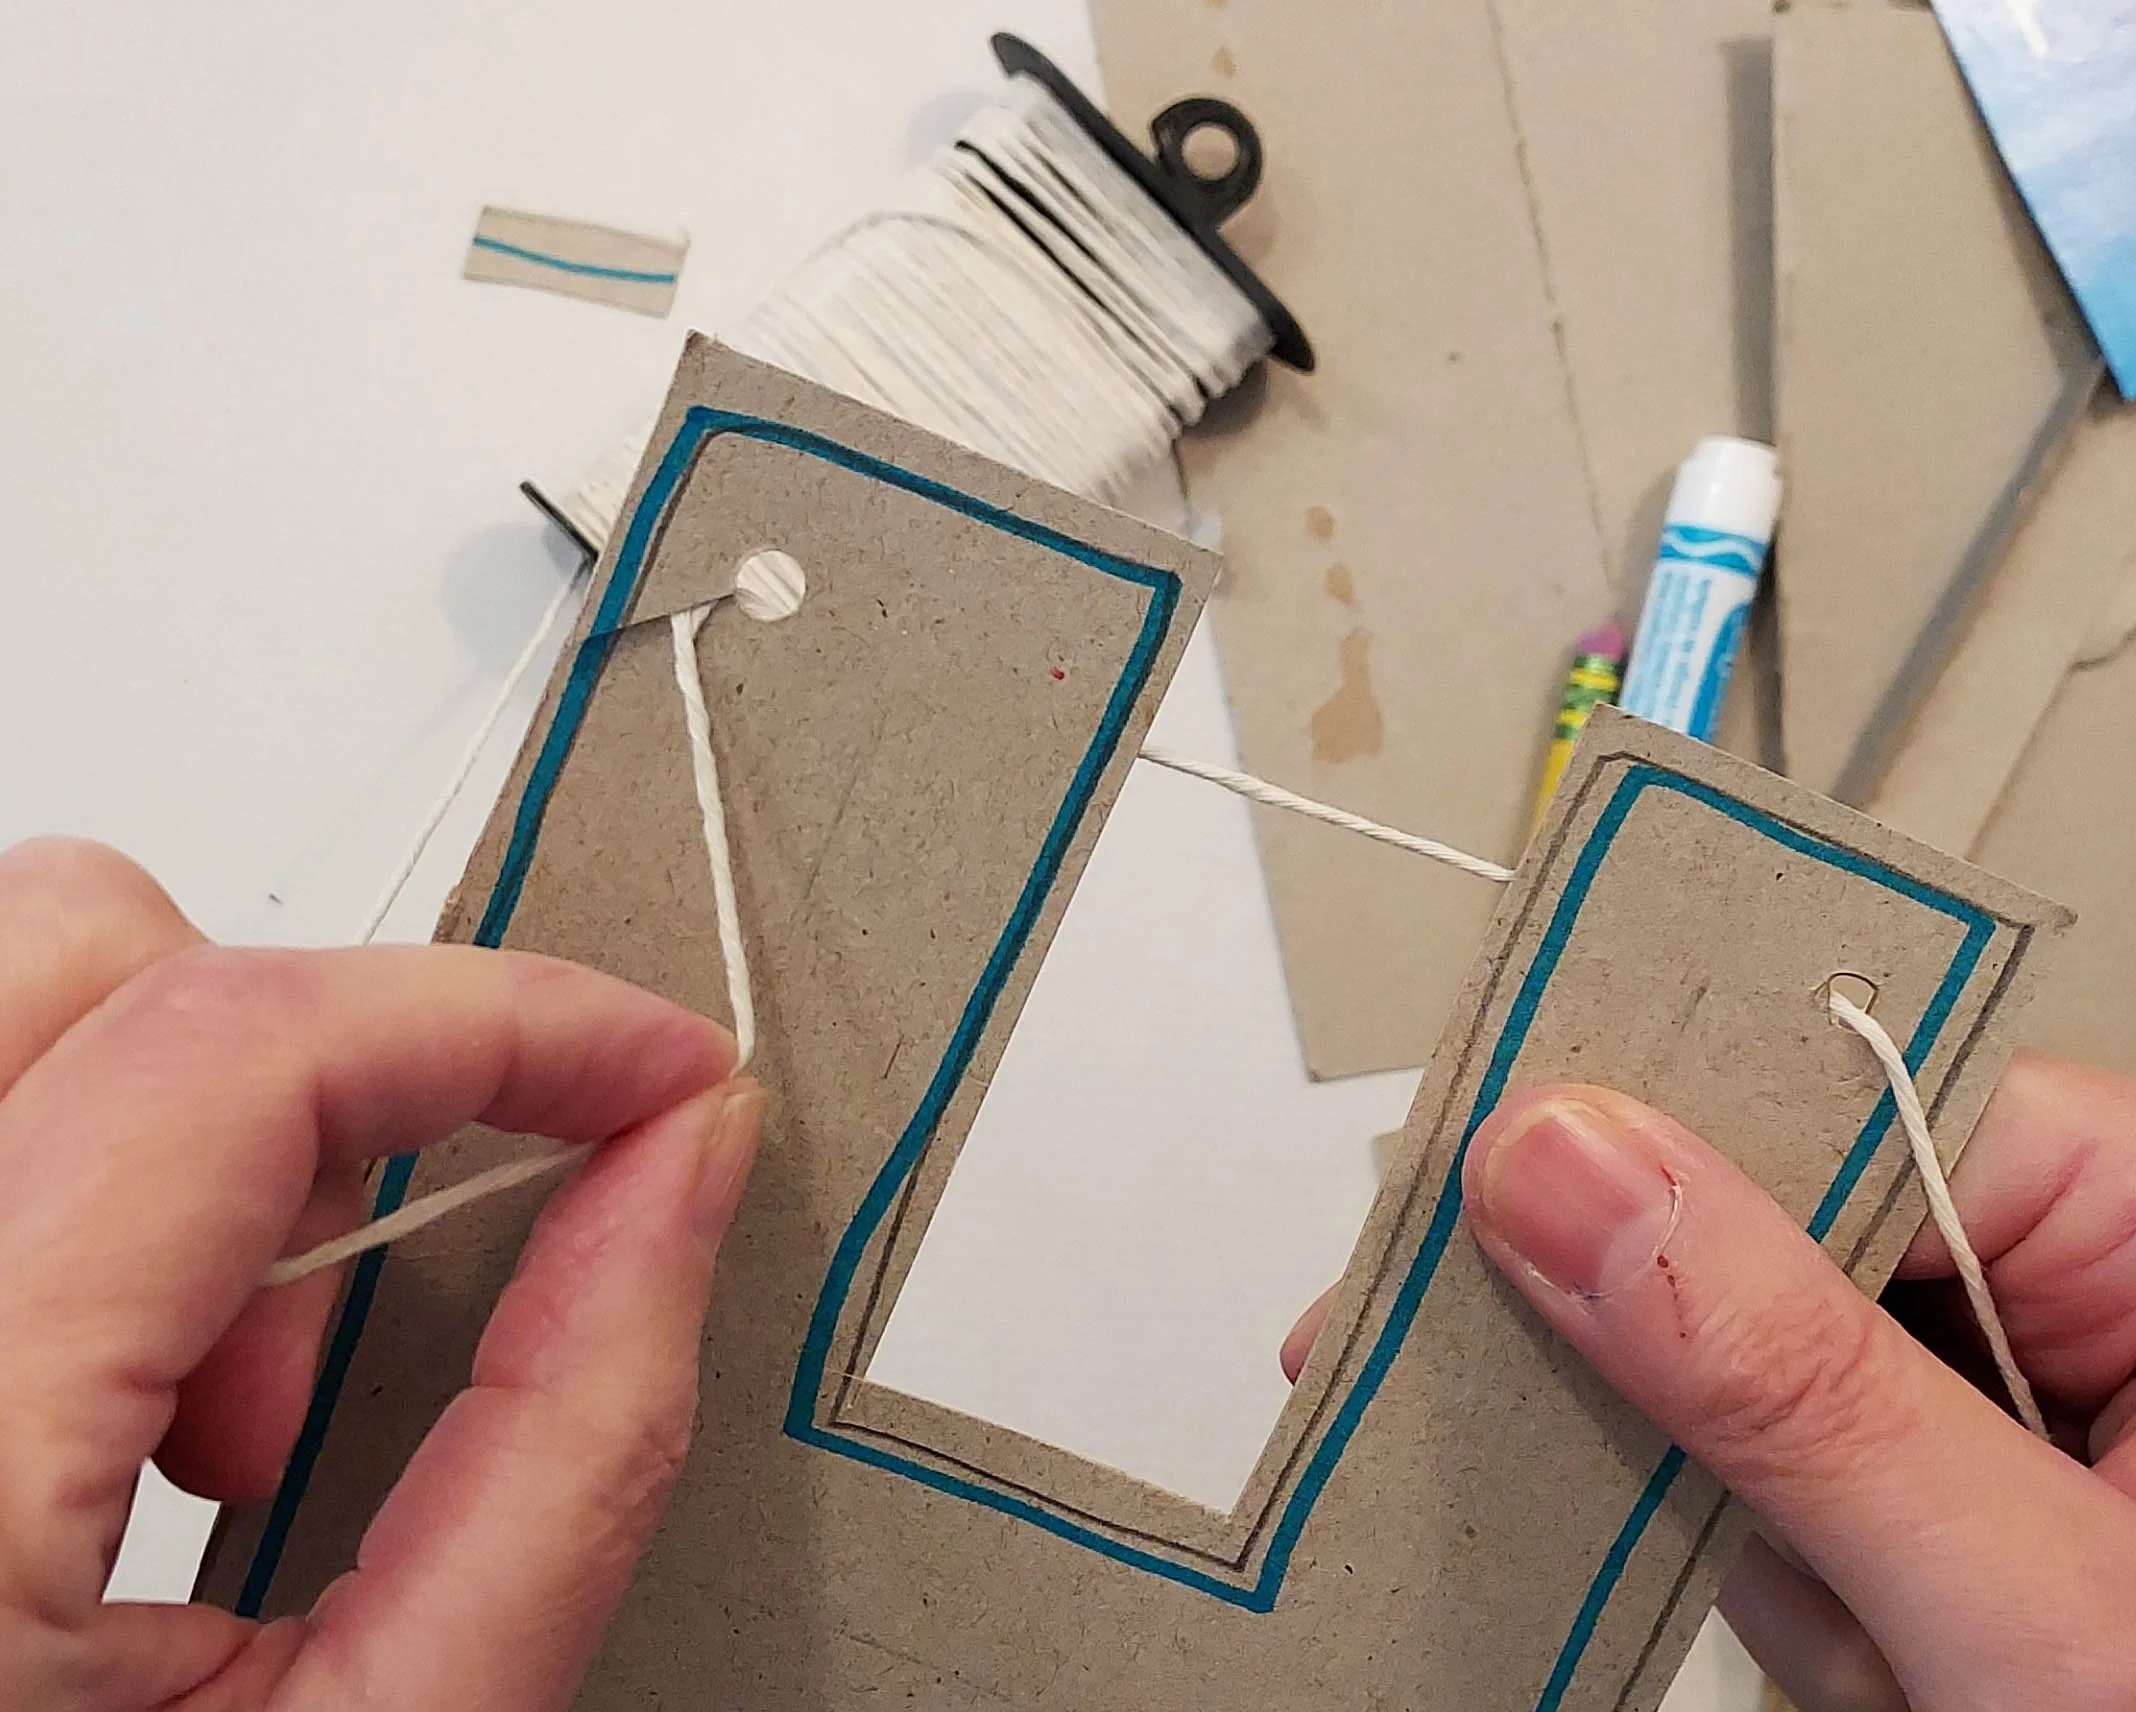
Punch two holes near the top of the letter. Snip upwards with scissors to the hole. The snip makes it easy to string your letters, and the upward tilt keeps the letter from falling off.
Alternatively, mark where the hole will go, snip to the mark, and cut out a small hole there with the scissors.
You’re done already!
Some letters can be read from either side so you have a choice of which side faces out when you put them on the string. Plain, decorated, and printed letters look great mixed together.
For a banner, slide the string through the slit and into the holes of each letter. When all the letters are on slip the string loops over the pushpins.
Keep your All-Purpose Letters together in a box, folder, or big envelope for next time. You can coil up the string and keep that in there too.
and try this:
All-Purpose Letters are a great place to use up any leftover craft decorations you might have on hand.
You can color right over the factory-printed colors with markers or oil pastels to create a unique layered look. Try adding a single line as a border.
Thank you for reading! If you have questions, please drop me a line.
