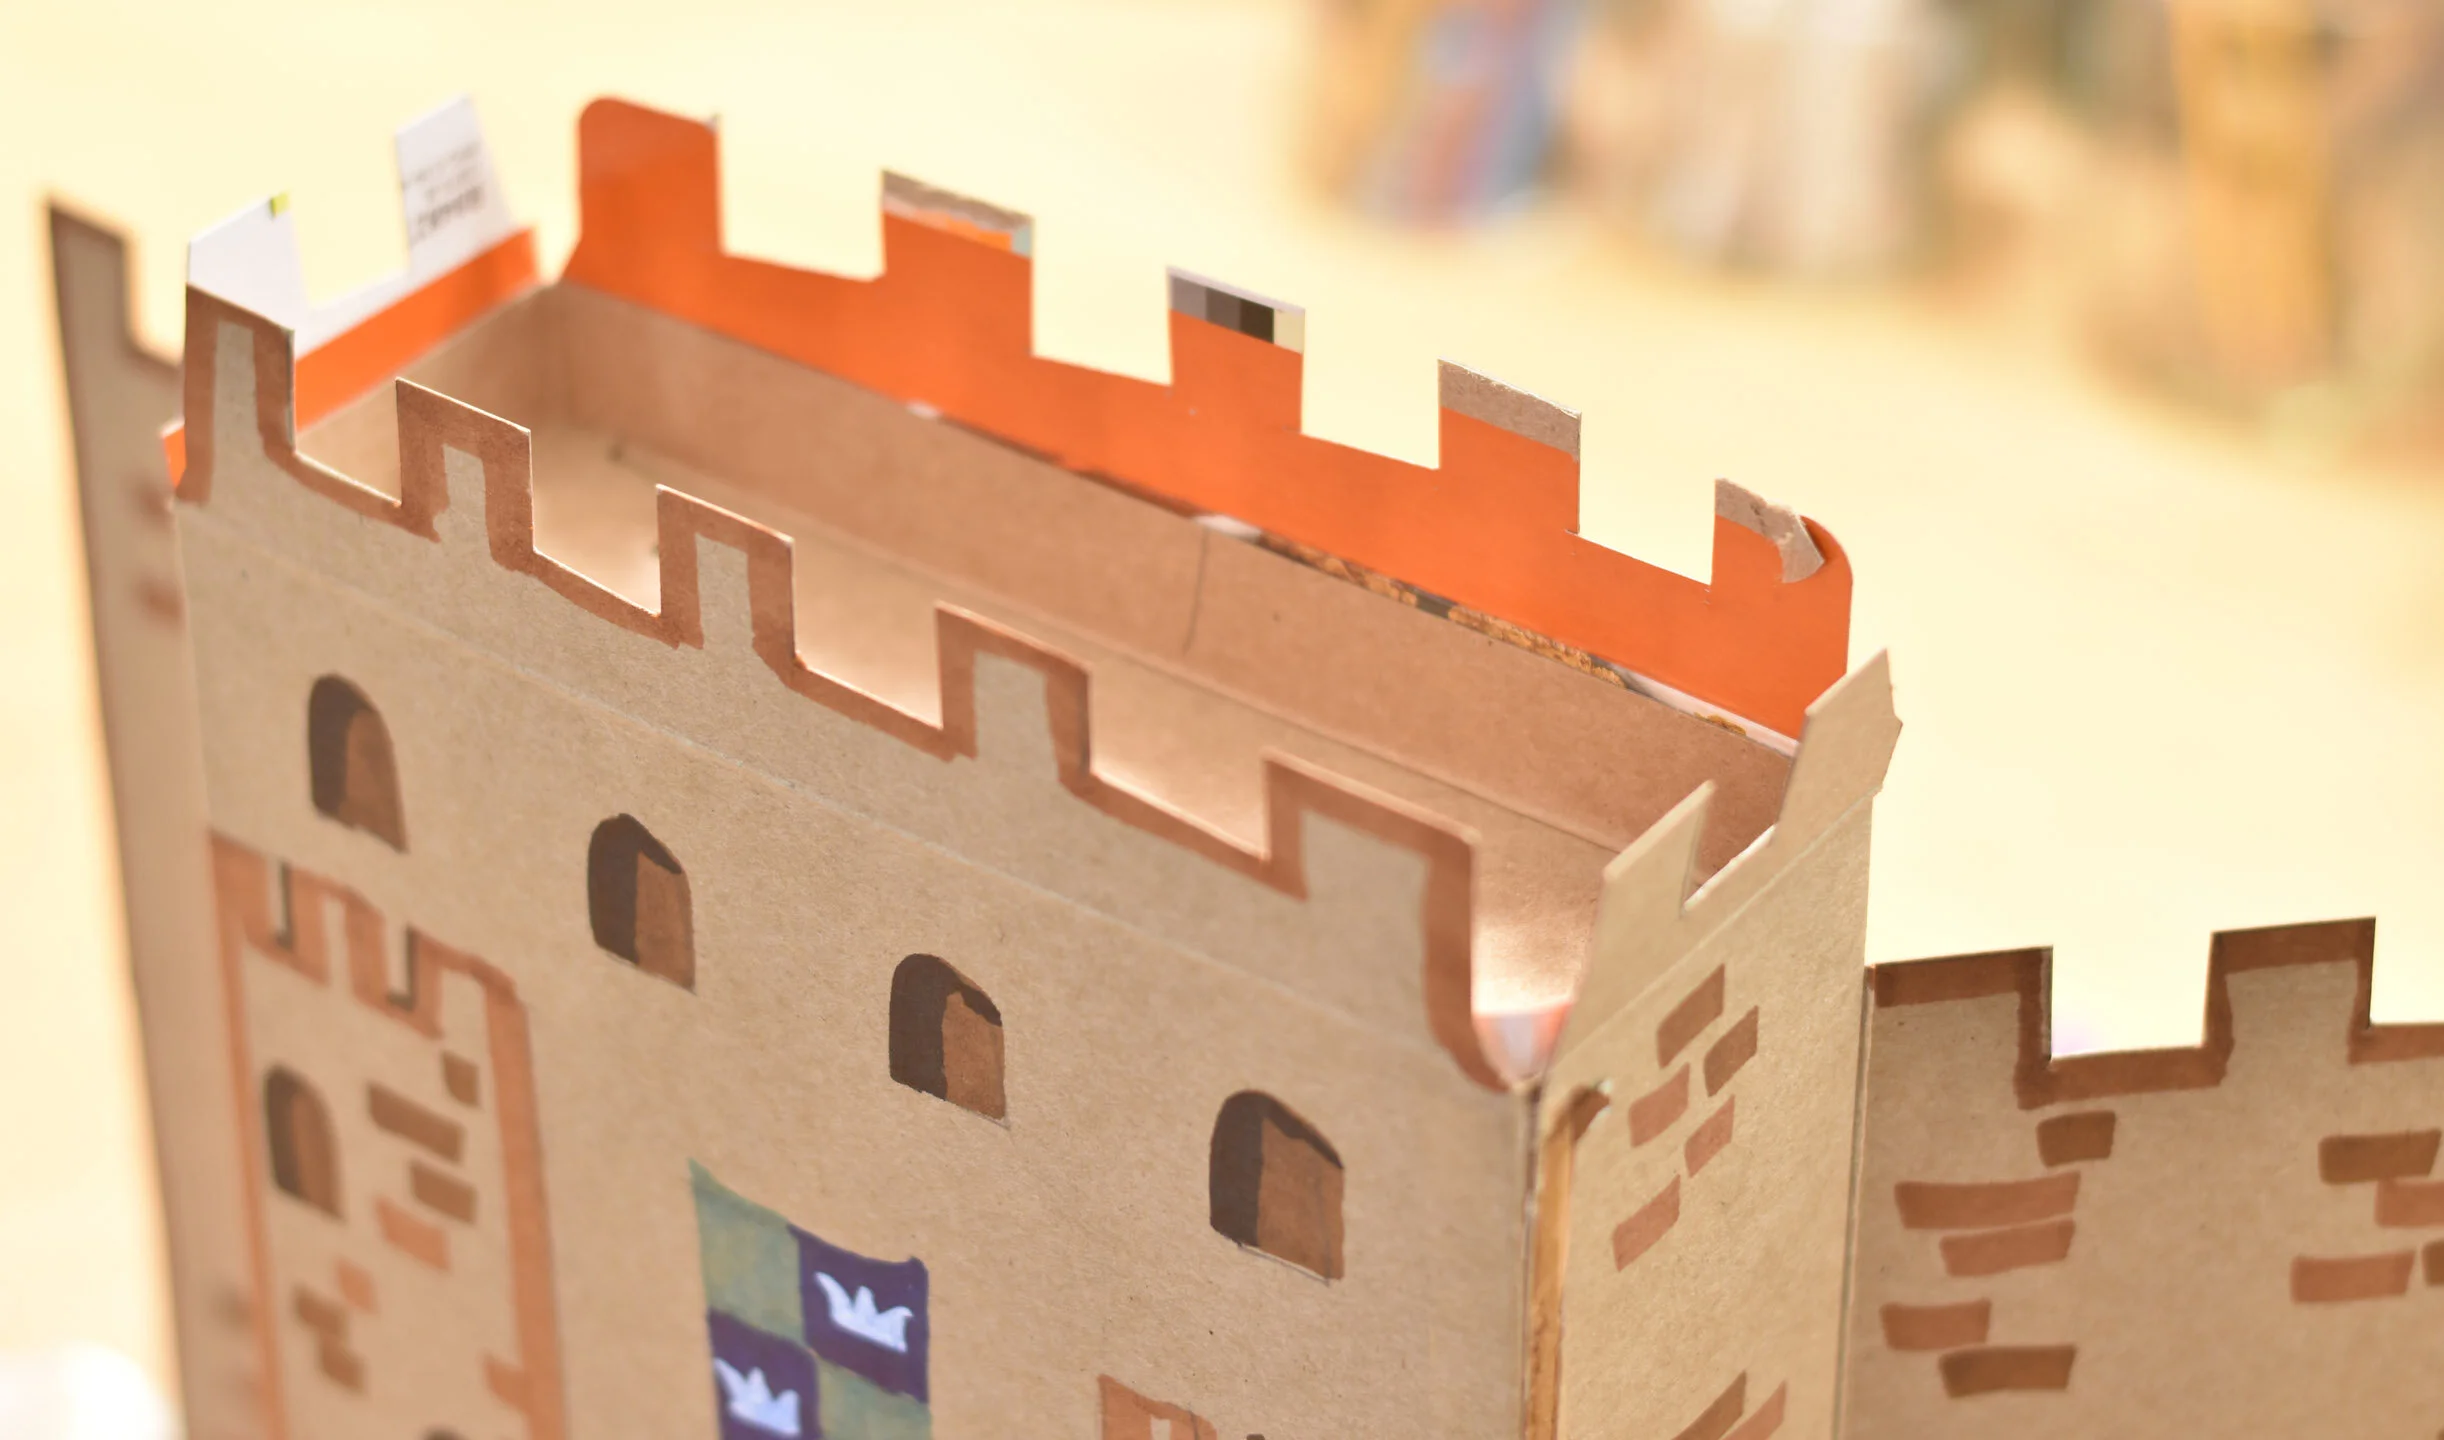
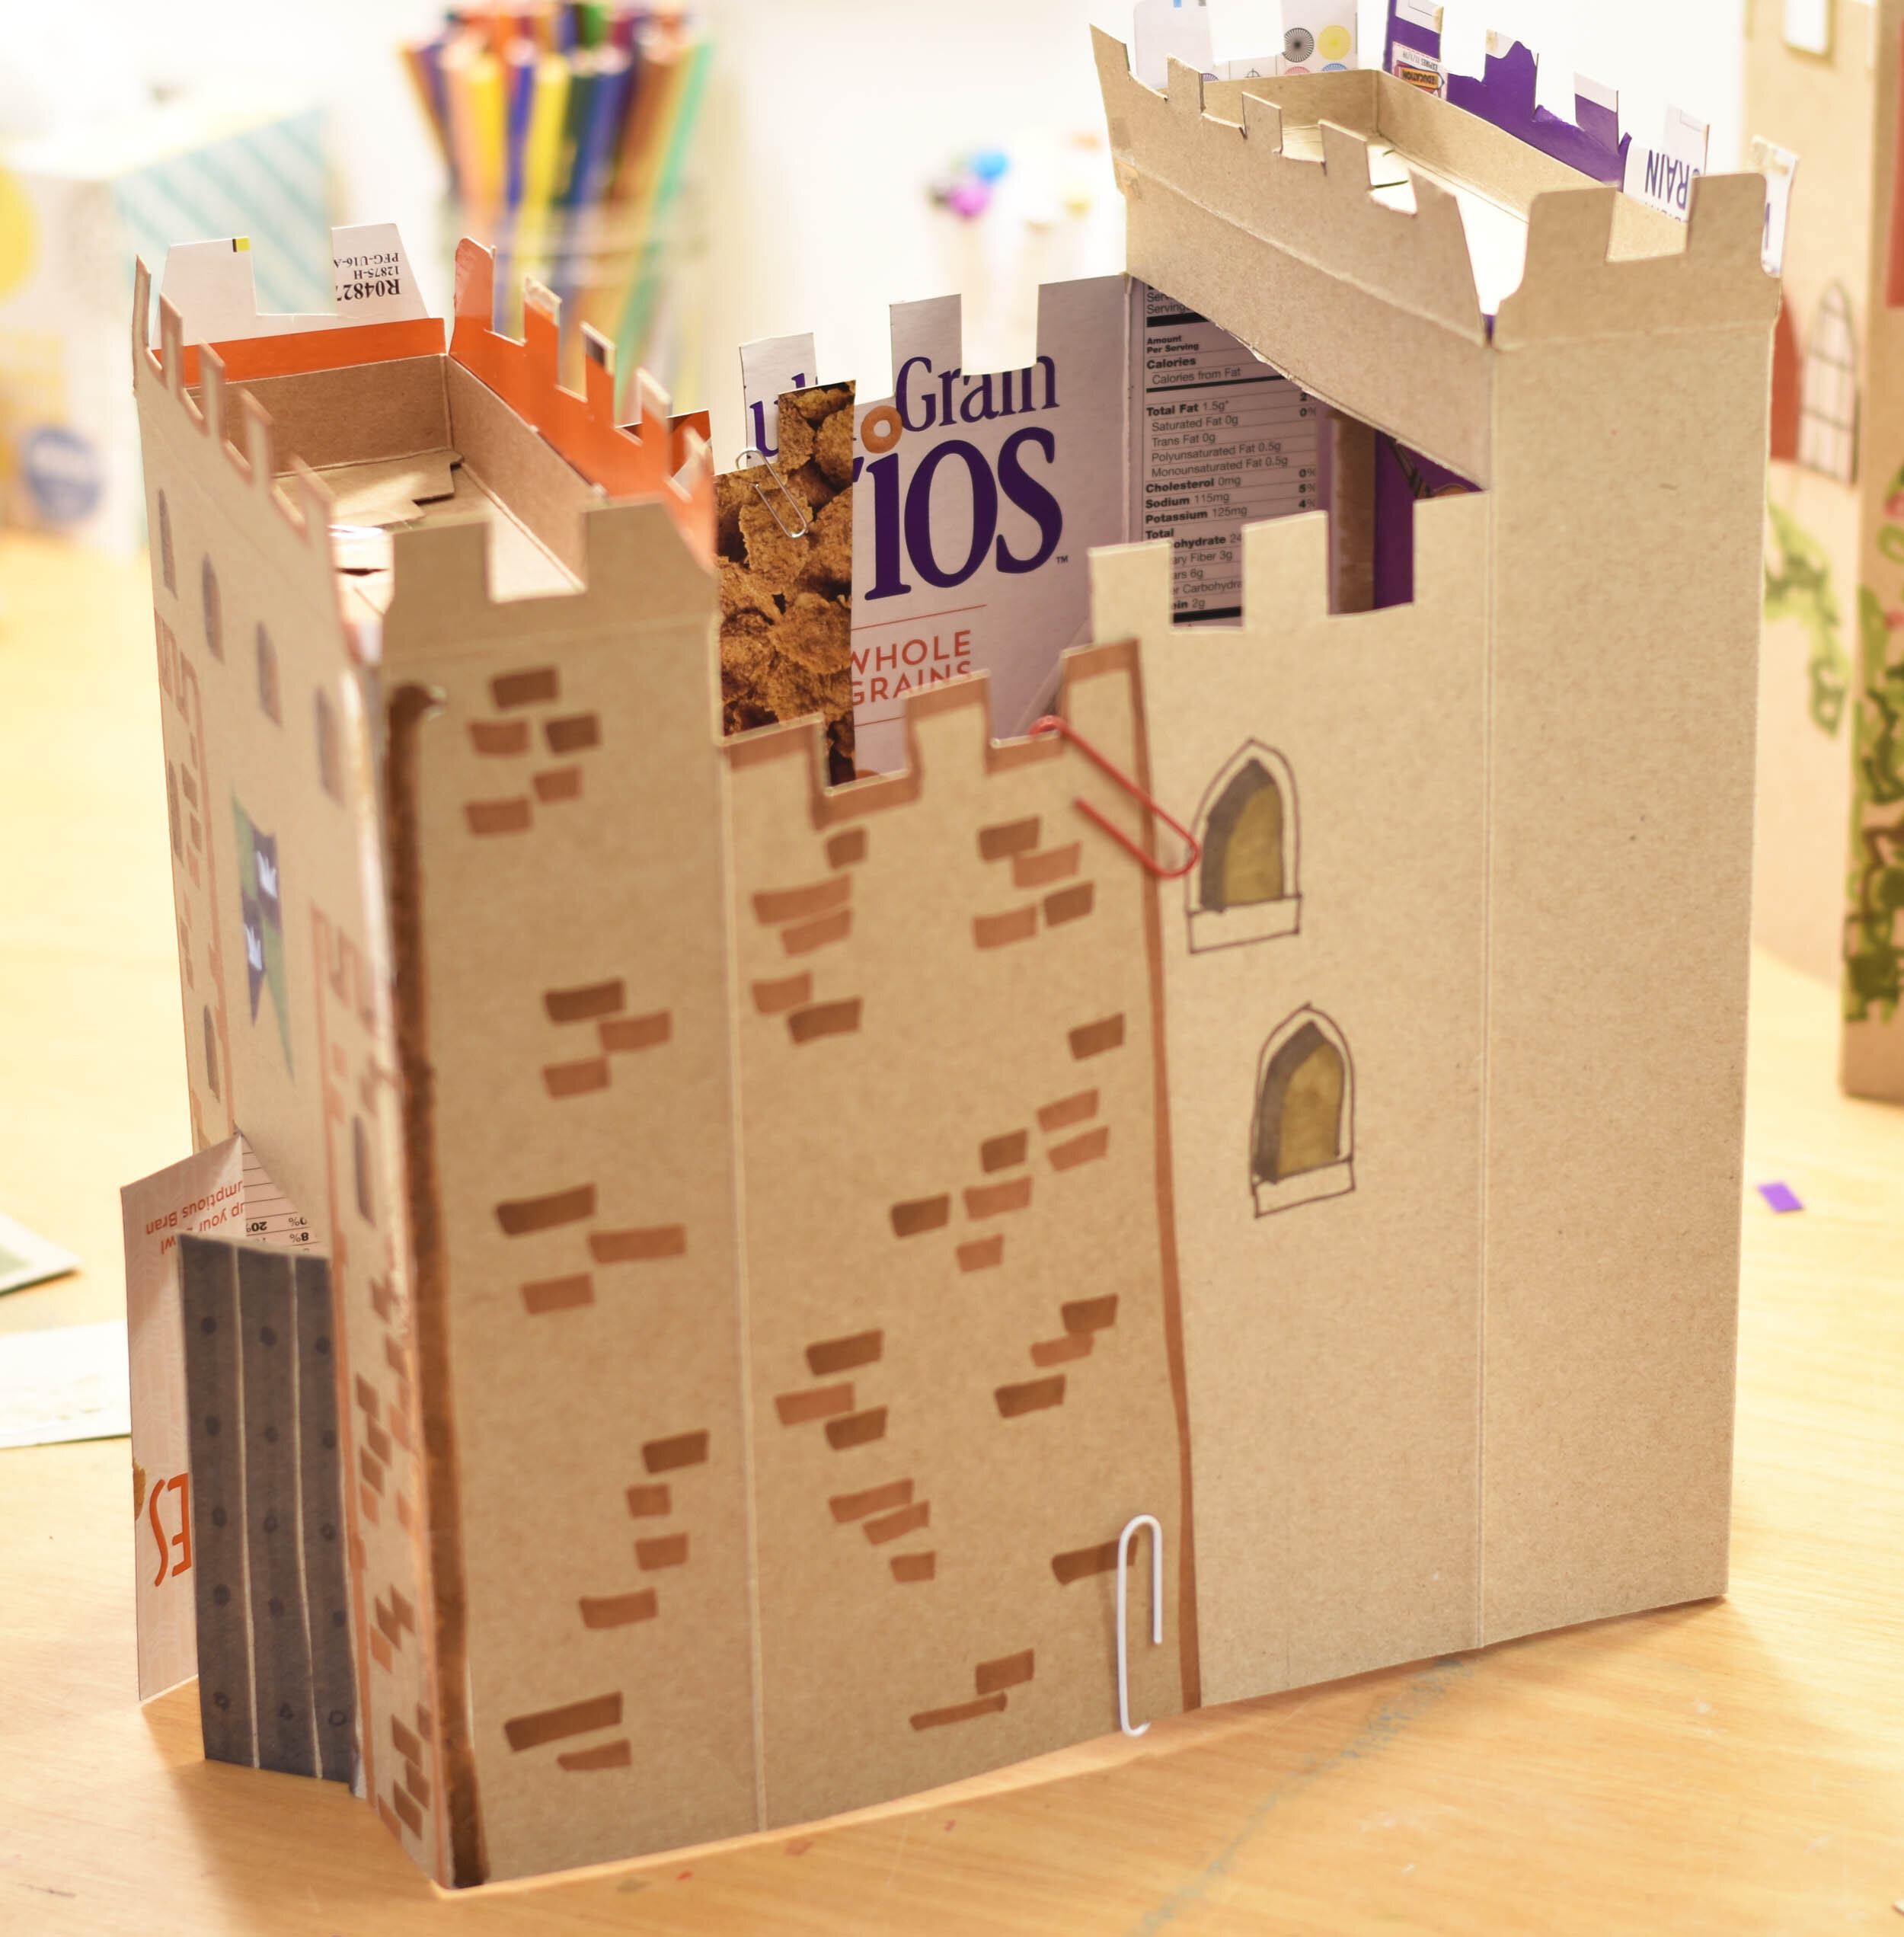
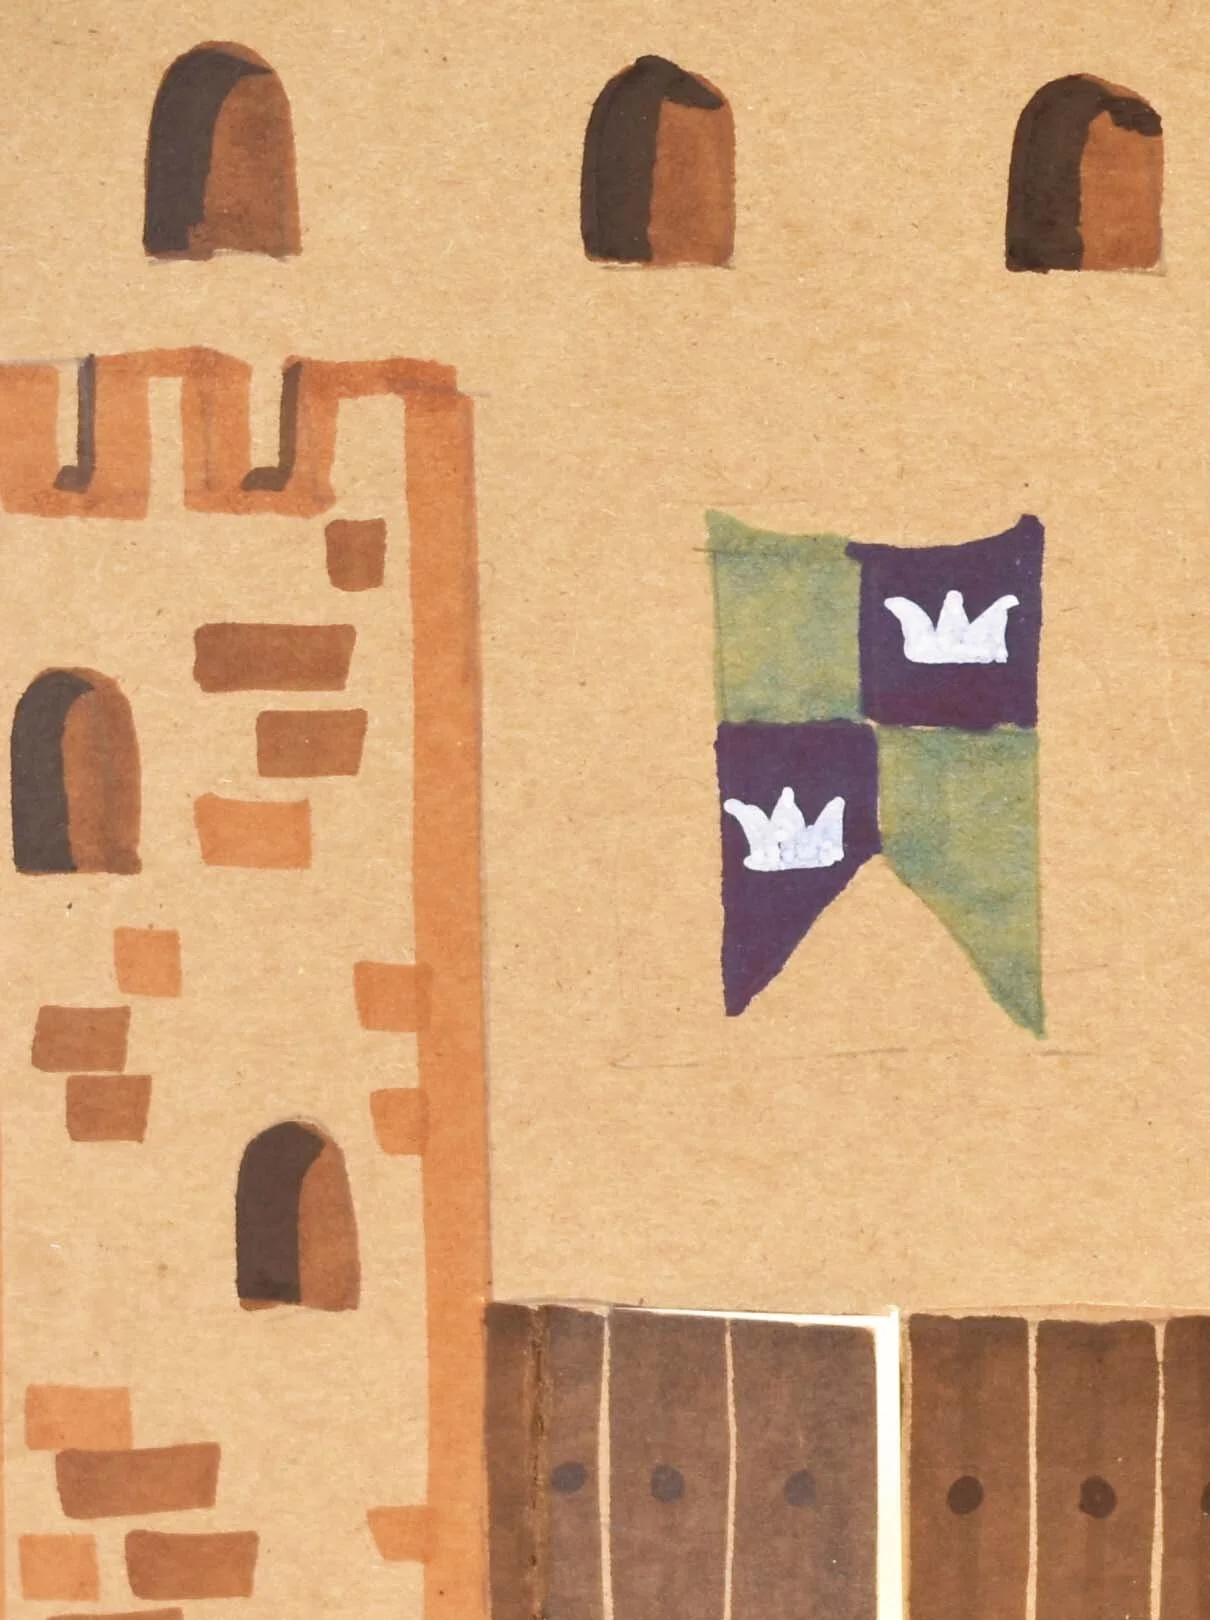
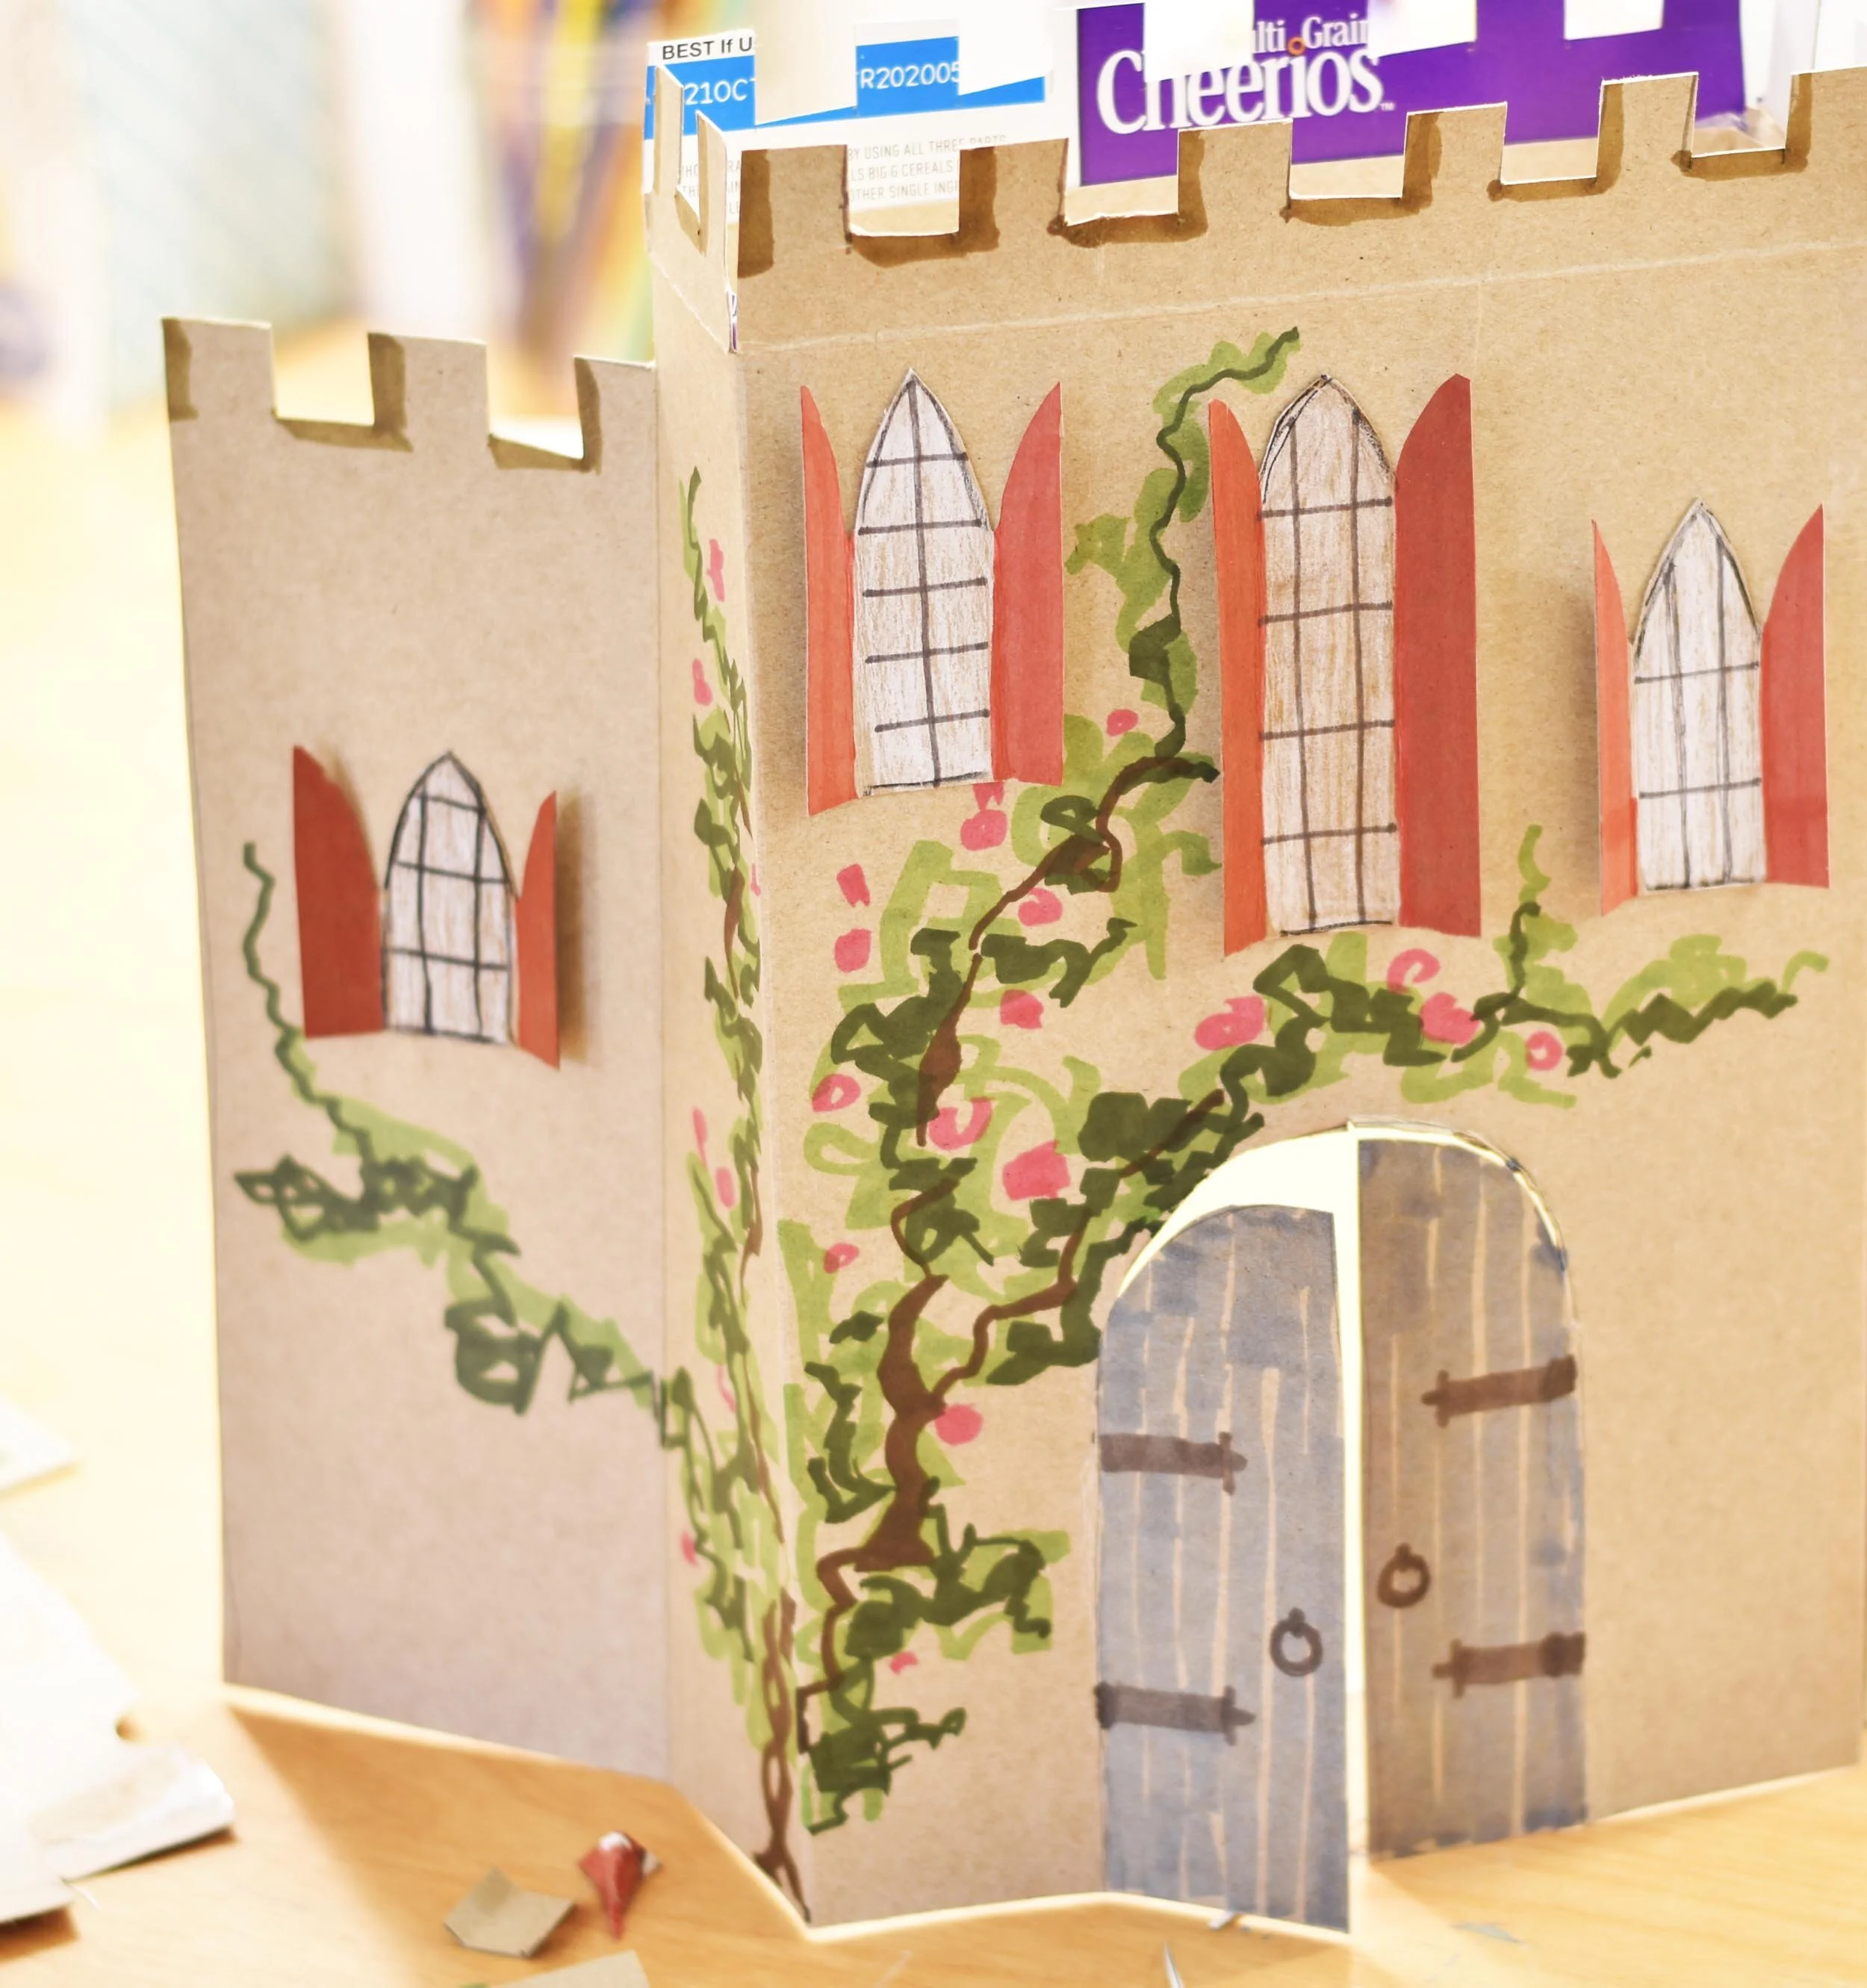
Everyone loves a castle! This one is surprisingly sturdy and quick to make. It can be a fairy-tale setting, a magical place, or a refuge from trolls and orcs. Or maybe the trolls and orcs live inside. You can decide while you make it.
All you need is an empty cereal box, tape, and scissors. If you make more than one you can put them together to form a larger castle or even a walled city.
Easy to make out of any cereal box
Gives new life to old action figures of all kinds
Adaptable to many styles of play
Fold in the sides and it fits on a shelf when not in use
Steps At a Glance:
Ready? Here’s how:
1
You’ll need:
any empty cereal box
scissors
pencil
regular tape
2
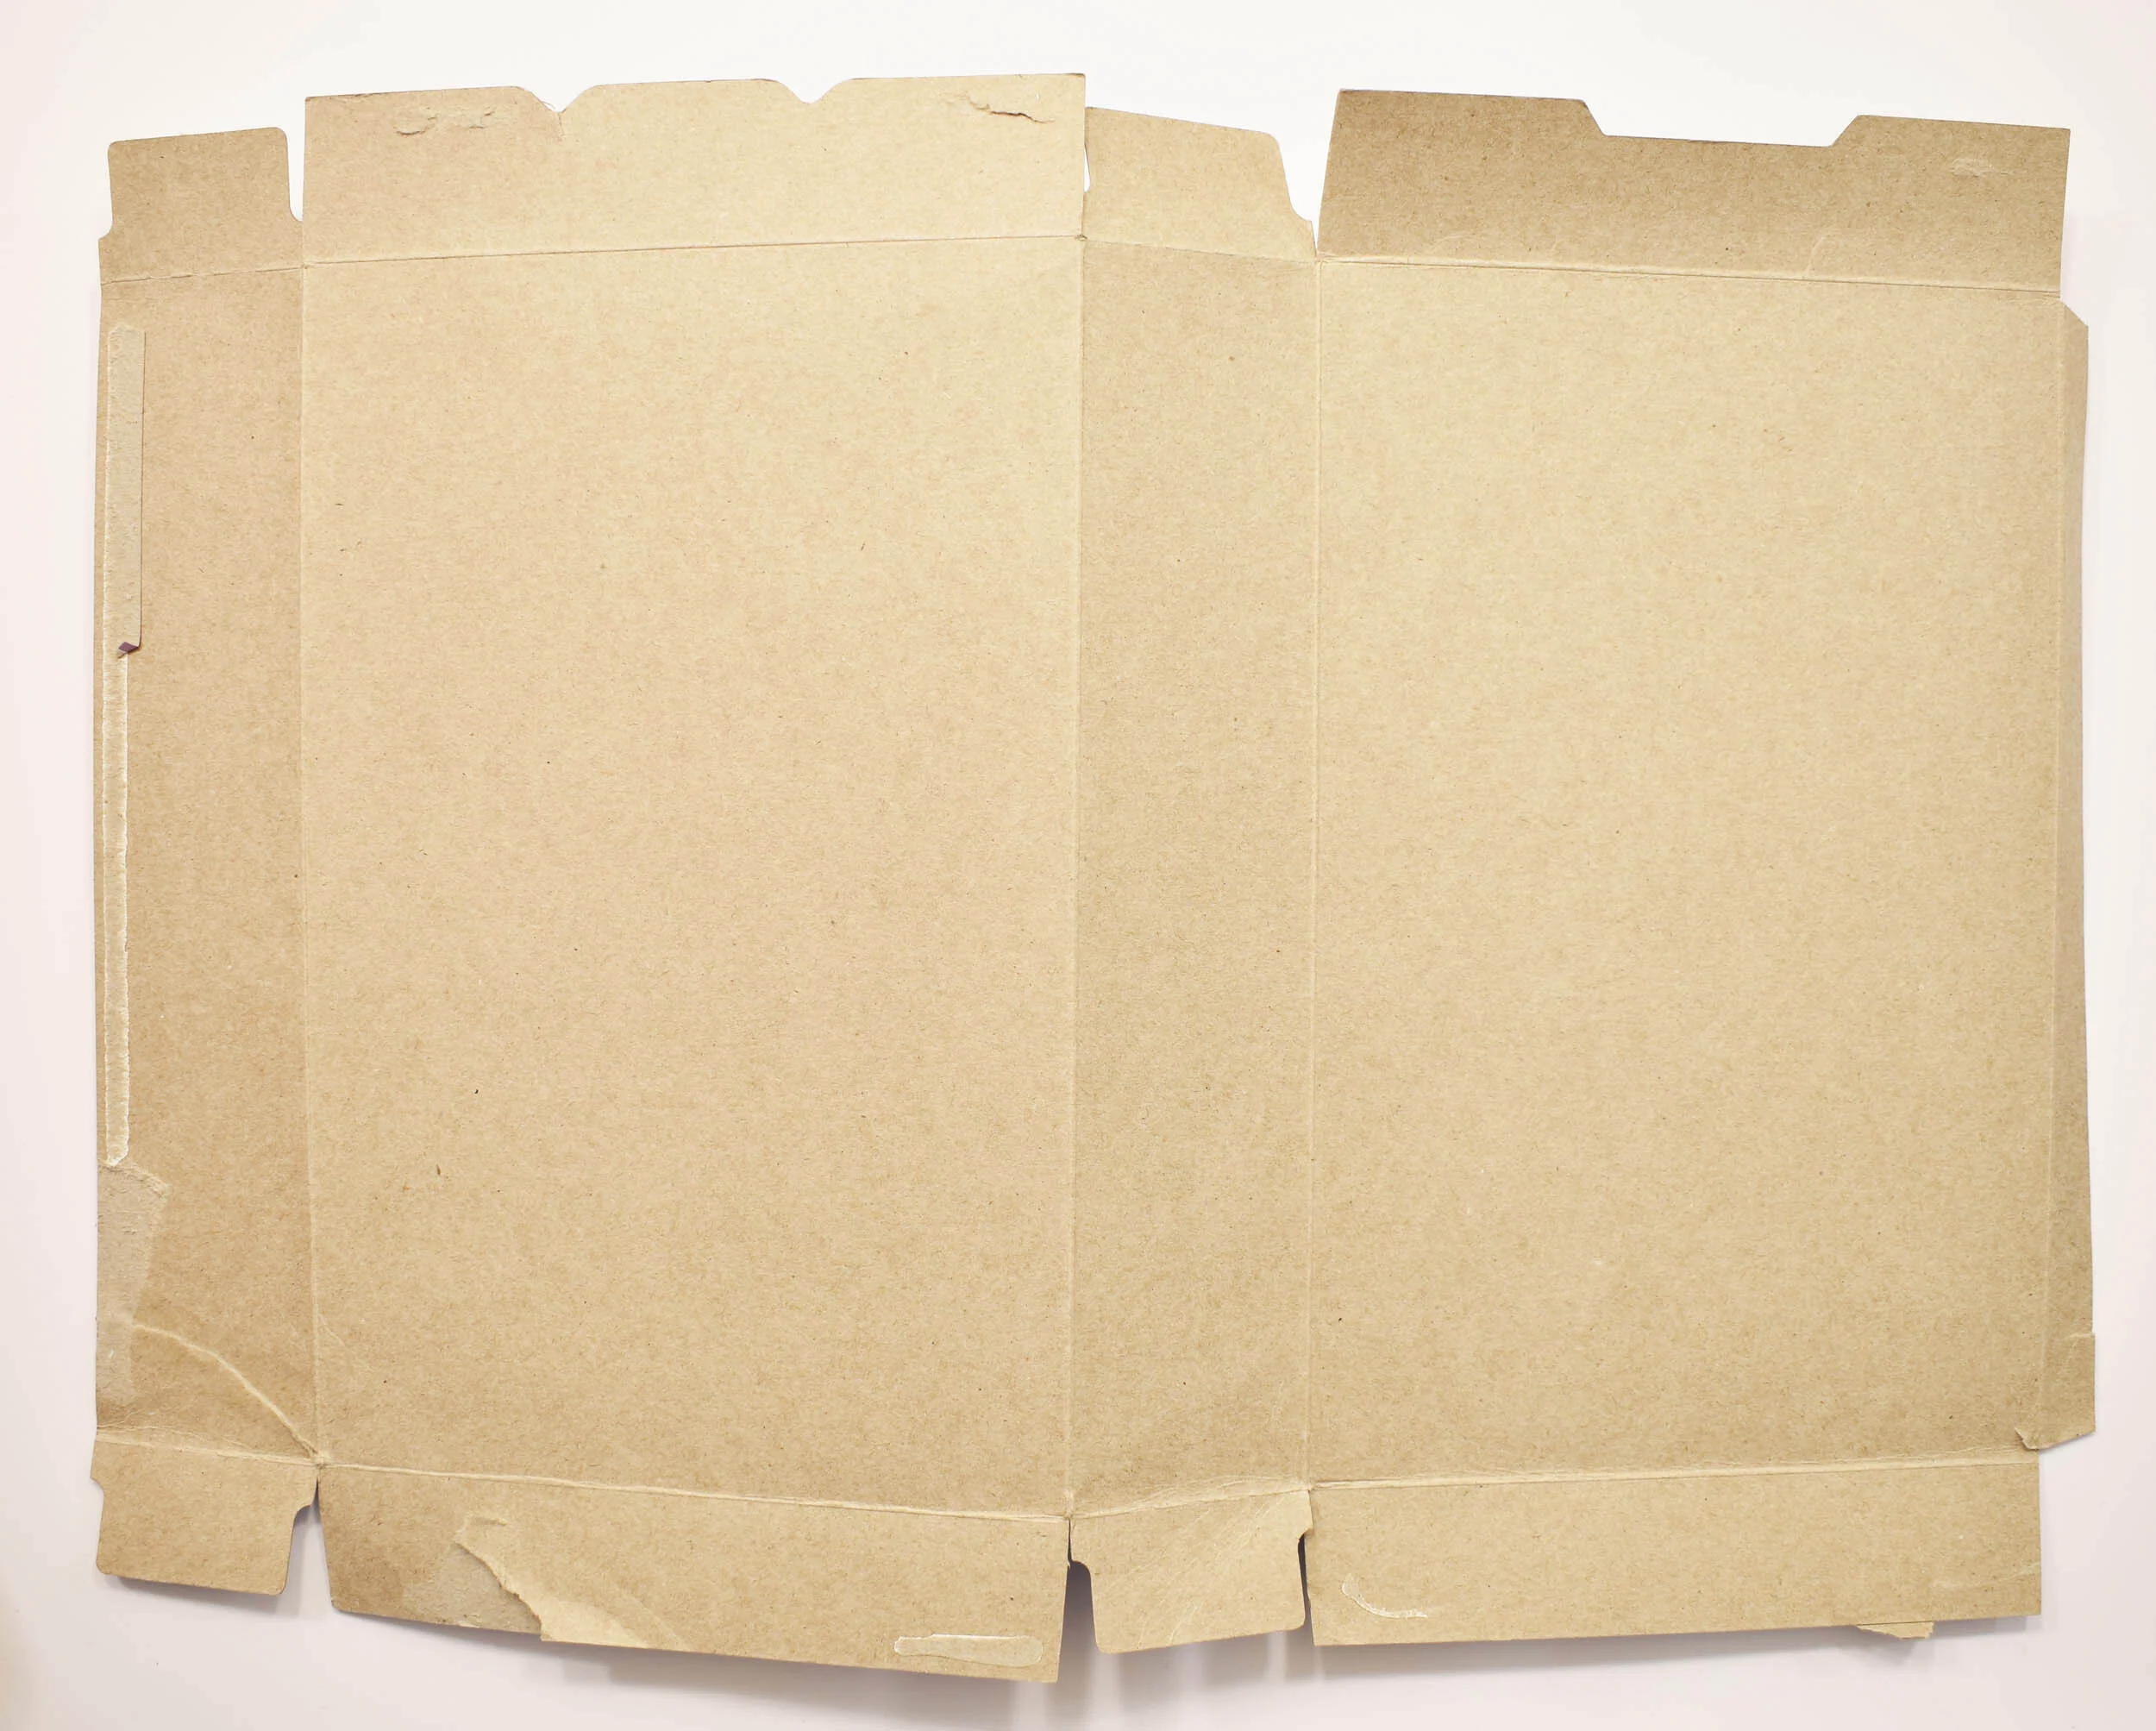
Open the bottom flaps of the box, and open up the side seam by gently separating it. If the glue is stubborn try starting from the other end. It’s totally OK if the paper peels.
Bend all of the factory folds back the other way. We’ll be putting this box back together inside-out, so refolding the folds now will make that easier.
Cut off the bottom flaps along the fold lines.
3
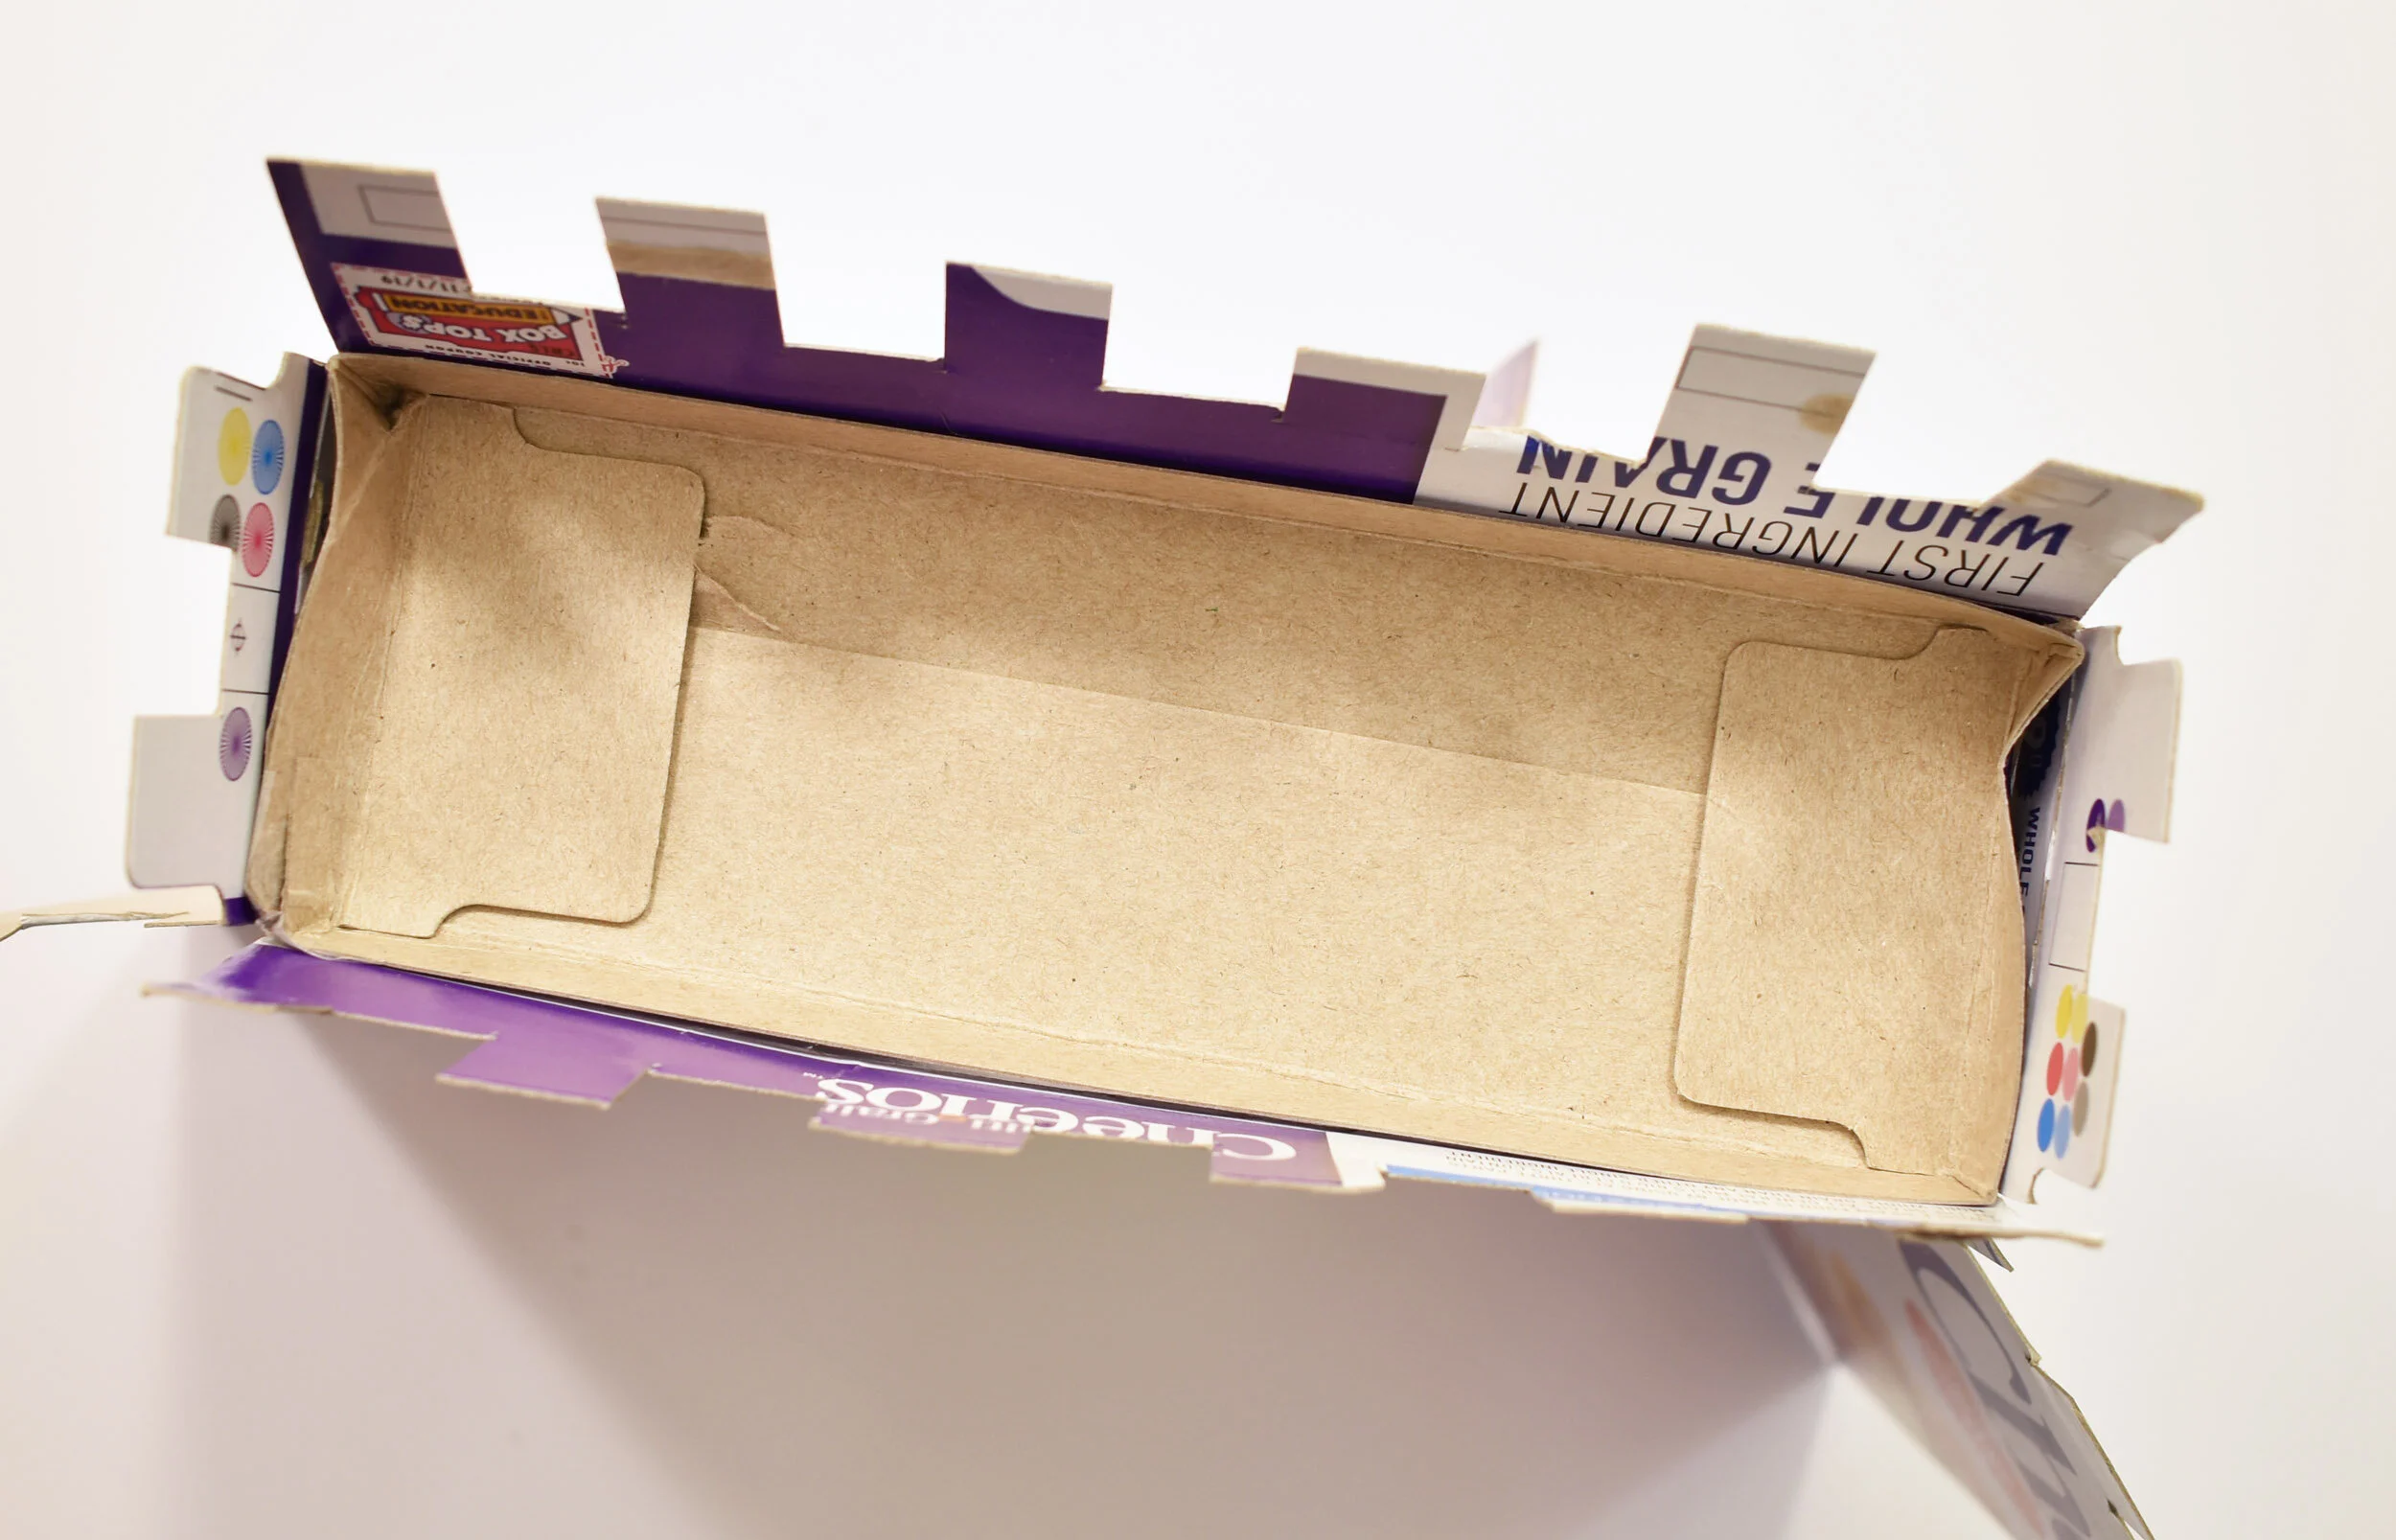
Draw lines for cutting out the teeth at the top of your castle: It’s easy!
On the long flaps, start by drawing two lines in the middle, about a thumb-width apart.
Next, draw more lines to the left and right of your original “tooth”. It can be three or four lines, just put the same number on both the left and right. They don’t have to be perfectly spaced.
Last, draw two lines on each of the small flaps.
4
Find the panel that sits between the two side panels. Draw a big T here for the side walls. Leave about an inch between the top of the T and the top of the panel (where the flap fold is).
Draw your door on the other large panel. I made a rounded door but yours could have a straight top or some other shape.
If you have action figures that need to fit through the door, you can make it the right size for them.
5
Snip down all the tooth lines you drew.
Starting at one end of a long flap, leave the first tooth, cut off the second, and so on to the end of that flap. Cut off the middle tooth on the short flaps.
6
Tape the side seam closed. This is easiest if you flatten the box down like this.
Tip: I like to tape the seam with the narrow glue flap underneath for a neater, stronger seal.
7
Cut the door and fold the doors open.
Leave most of the sides uncut, as hinges.
8
Cut up the middle of the T. Then cut the top of the T, each side, and open out the walls of the castle.
Draw four tooth lines on each wall, and cut out the teeth like you did for the flaps.
Congratulations! You’ve got your very own castle.
See some ideas for decorating your castle here.
Questions
What should I use to decorate my castle?
See some ideas in this post on decorating paperboard.
and try this:
Optional Roof
This allows figures to stand on the roof of the castle.
Instead of cutting off just the bottom flaps in step 2, cut off about 3/4” of the bottom with the flaps attached.
Tape the tiny side seam back together.
Close the flaps, and seal the entire length with tape from end to end.
Flip it over and tuck into the top of the castle. Press gently to fit it down a little way inside so it’s secure. You may need to bend in the short ends of the roof to get it to fit. You can see in the picture where I pushed in the short ends of this one.
If the top splits when you fit the roof in just fix it with tape.
Tape the roof to the castle from inside, under the teeth, with a piece or two of tape if needed.
Courtyard Castle
Make two castles and connect their side walls with paper clips, or connect permanently with staples or tape.
Set up a walled city with three or more castles! Different size boxes make different size castles but they all work great together.
Easy Windows
Cut a rectangle of paperboard from another box, fold in the sides, and draw windowpanes and shutters with marker. Attach with double-sided tape or regular tape wrapped around itself sticky side out.
Try different shapes of window, like the pointed ones on the fairy tale castle in the photos.
Thank you for reading! If you have questions, please drop me a line.


