Pin these simple-to-make shelves on your wall and you’ll have an instant gallery for all kinds of creations. Made with any cereal box, they fit almost anywhere and look good alone or in groups. Ridiculously easy! Make a few and get creative with the arrangement: do a minimalist grid, a free-form array, or march them up your stairs. Perfect for all your Right Now Crafts or other lightweight items. You can change the display with your mood or the season.
The perfect handy shelf for paper creations
Easy to make and hang
Create a changeable art display anywhere
Steps At a Glance:
Ready? Here’s how:
1
You’ll need:
Any empty cereal box
Scissors
Tape
Push pins
2
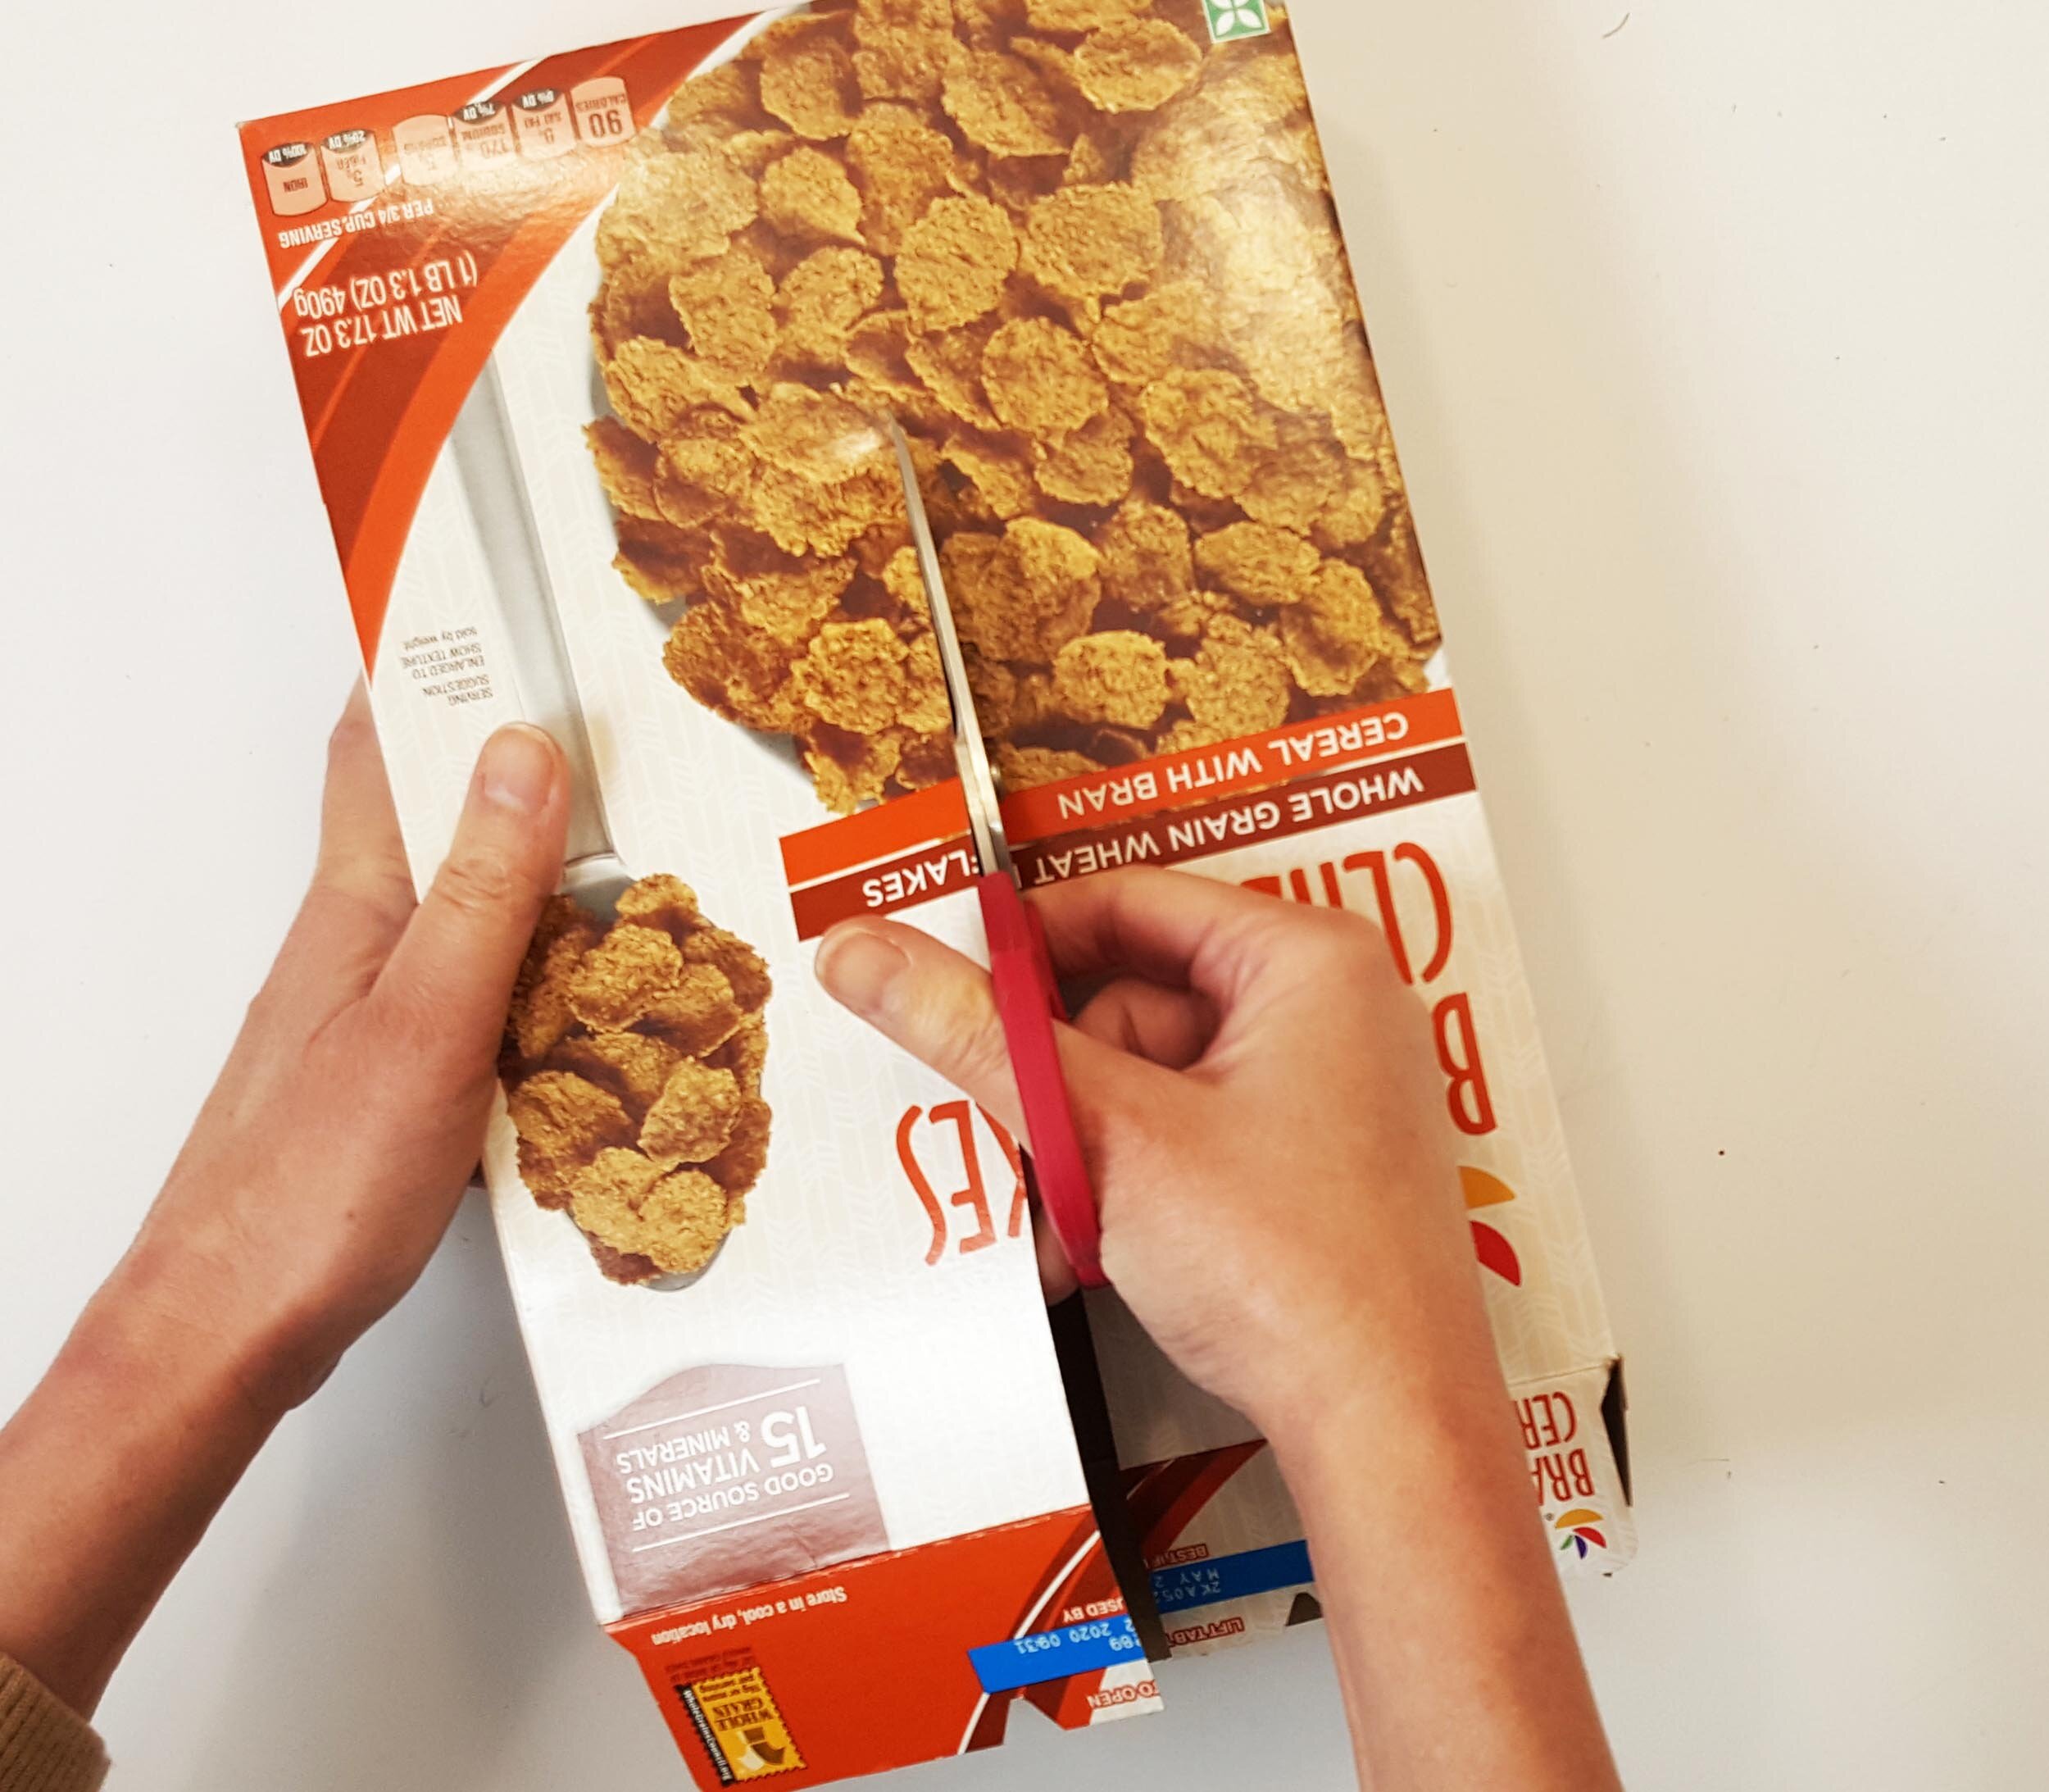
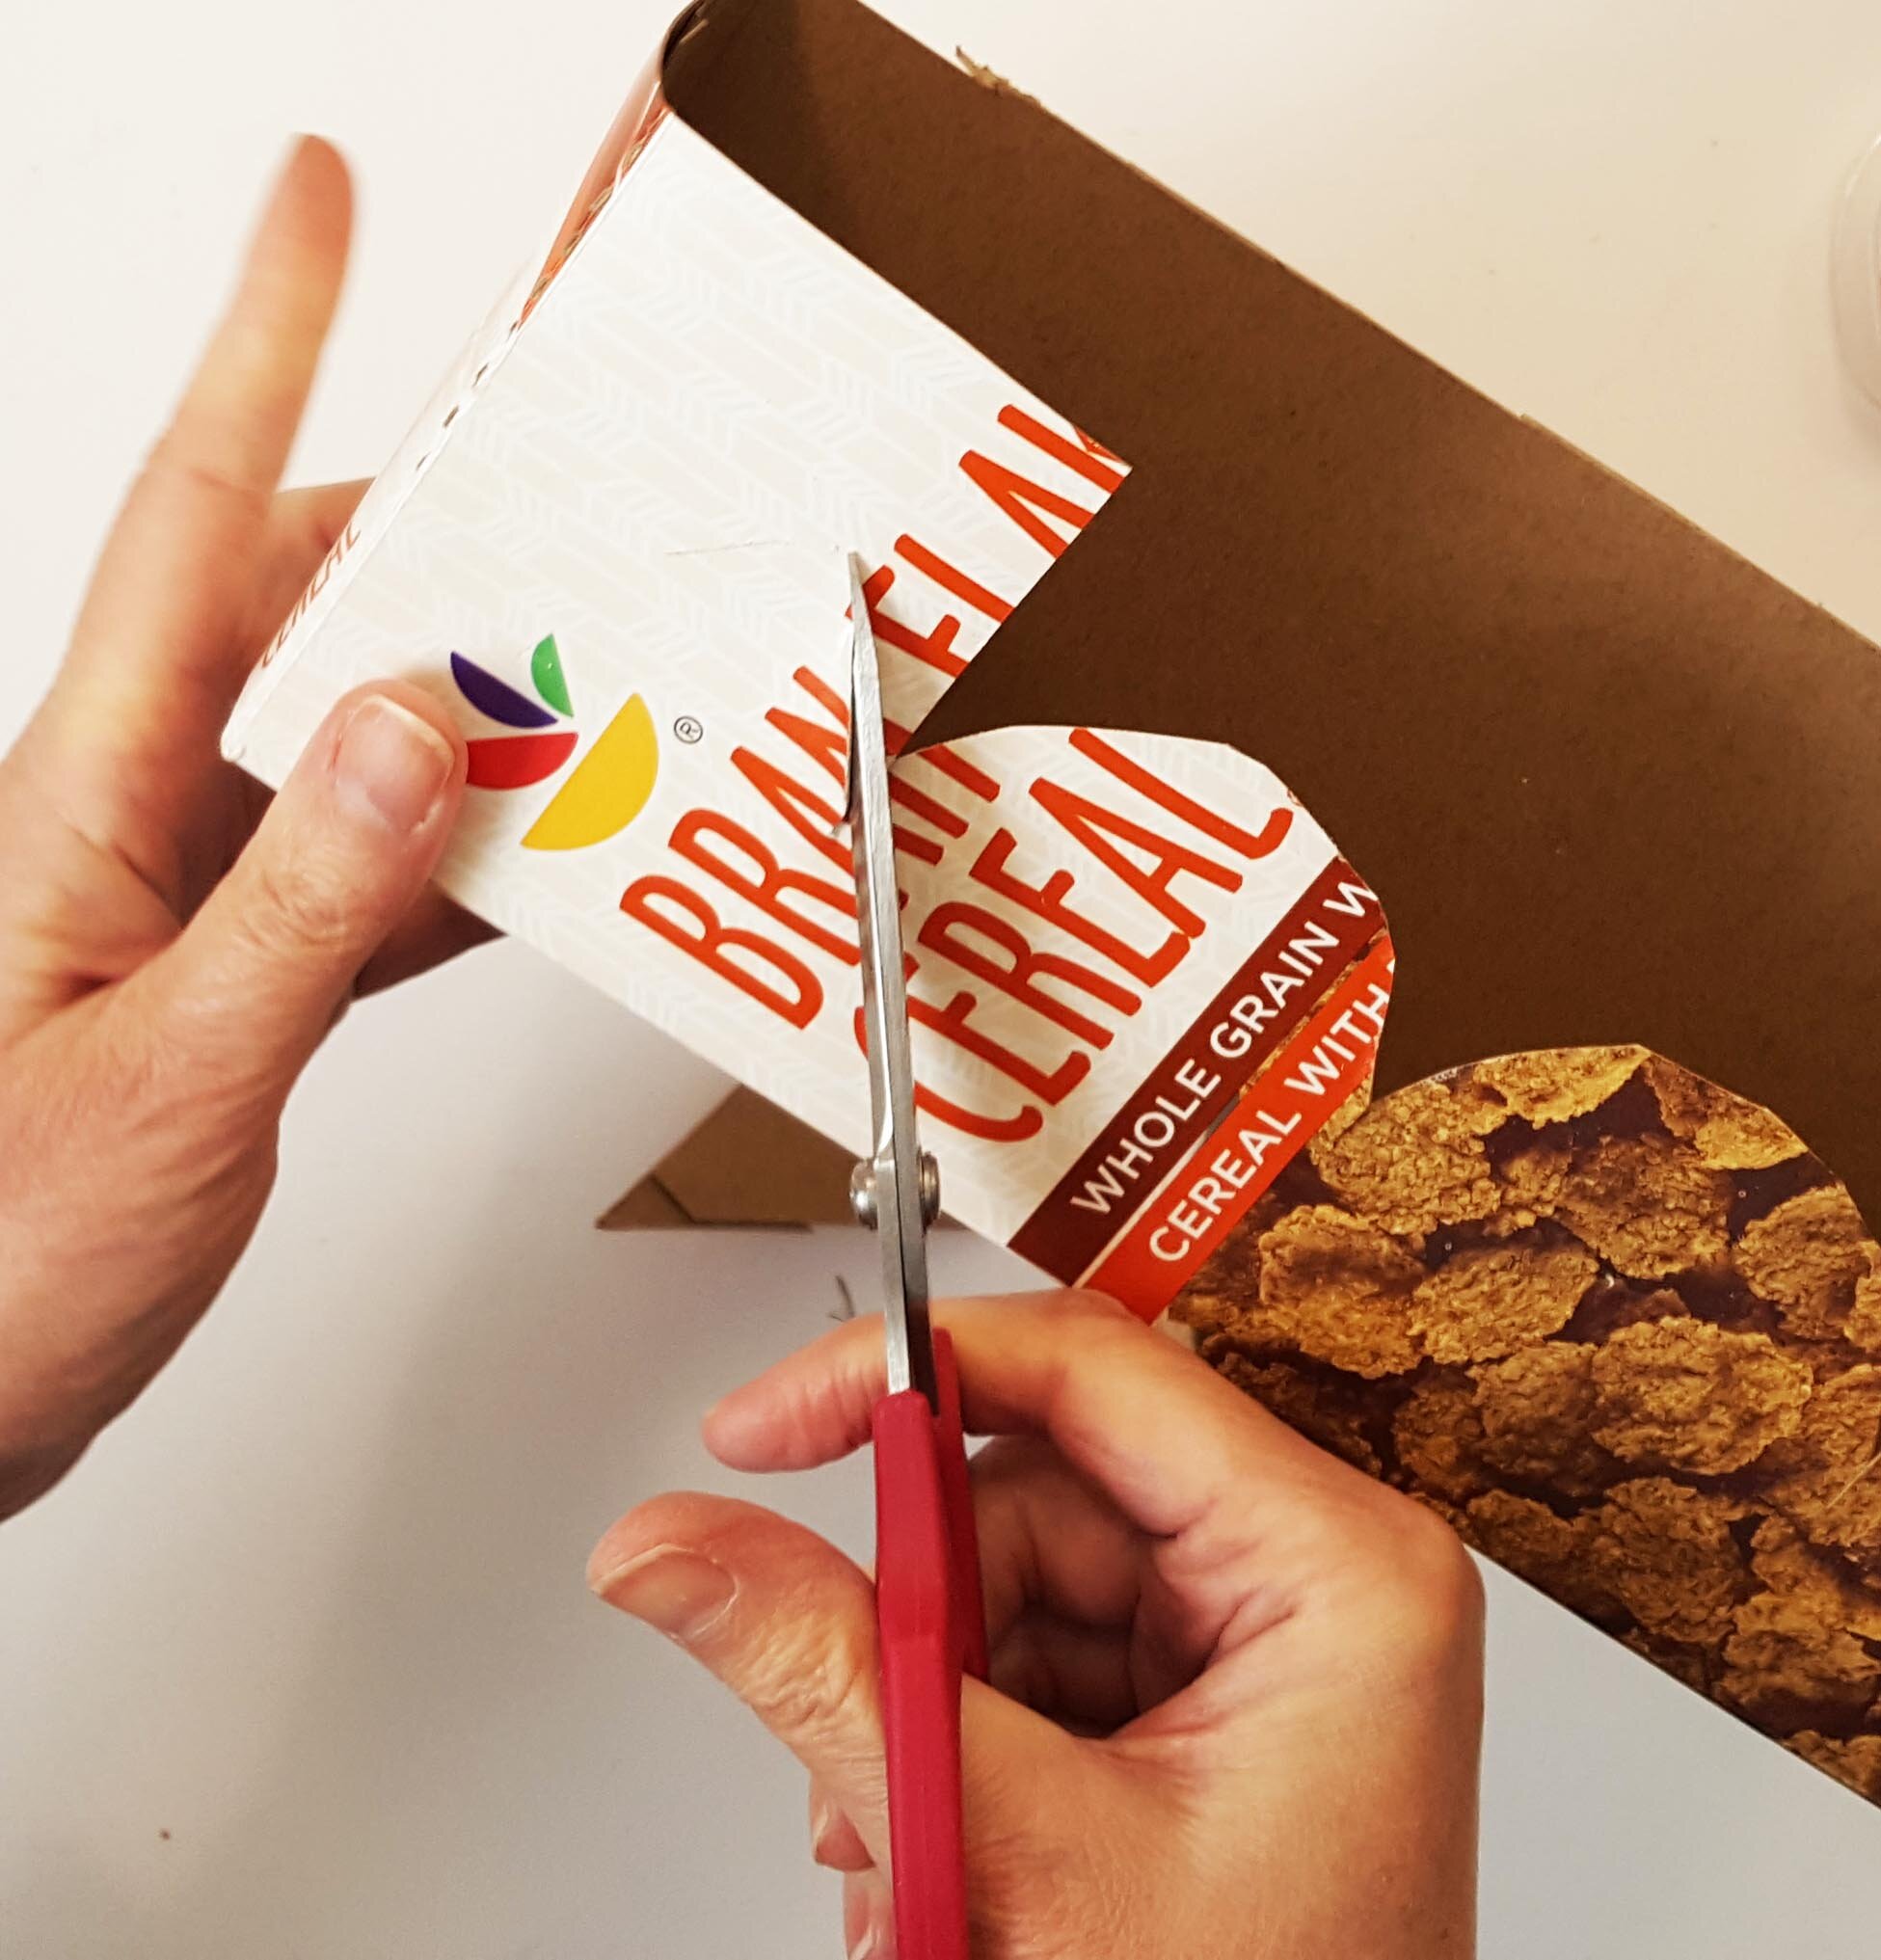
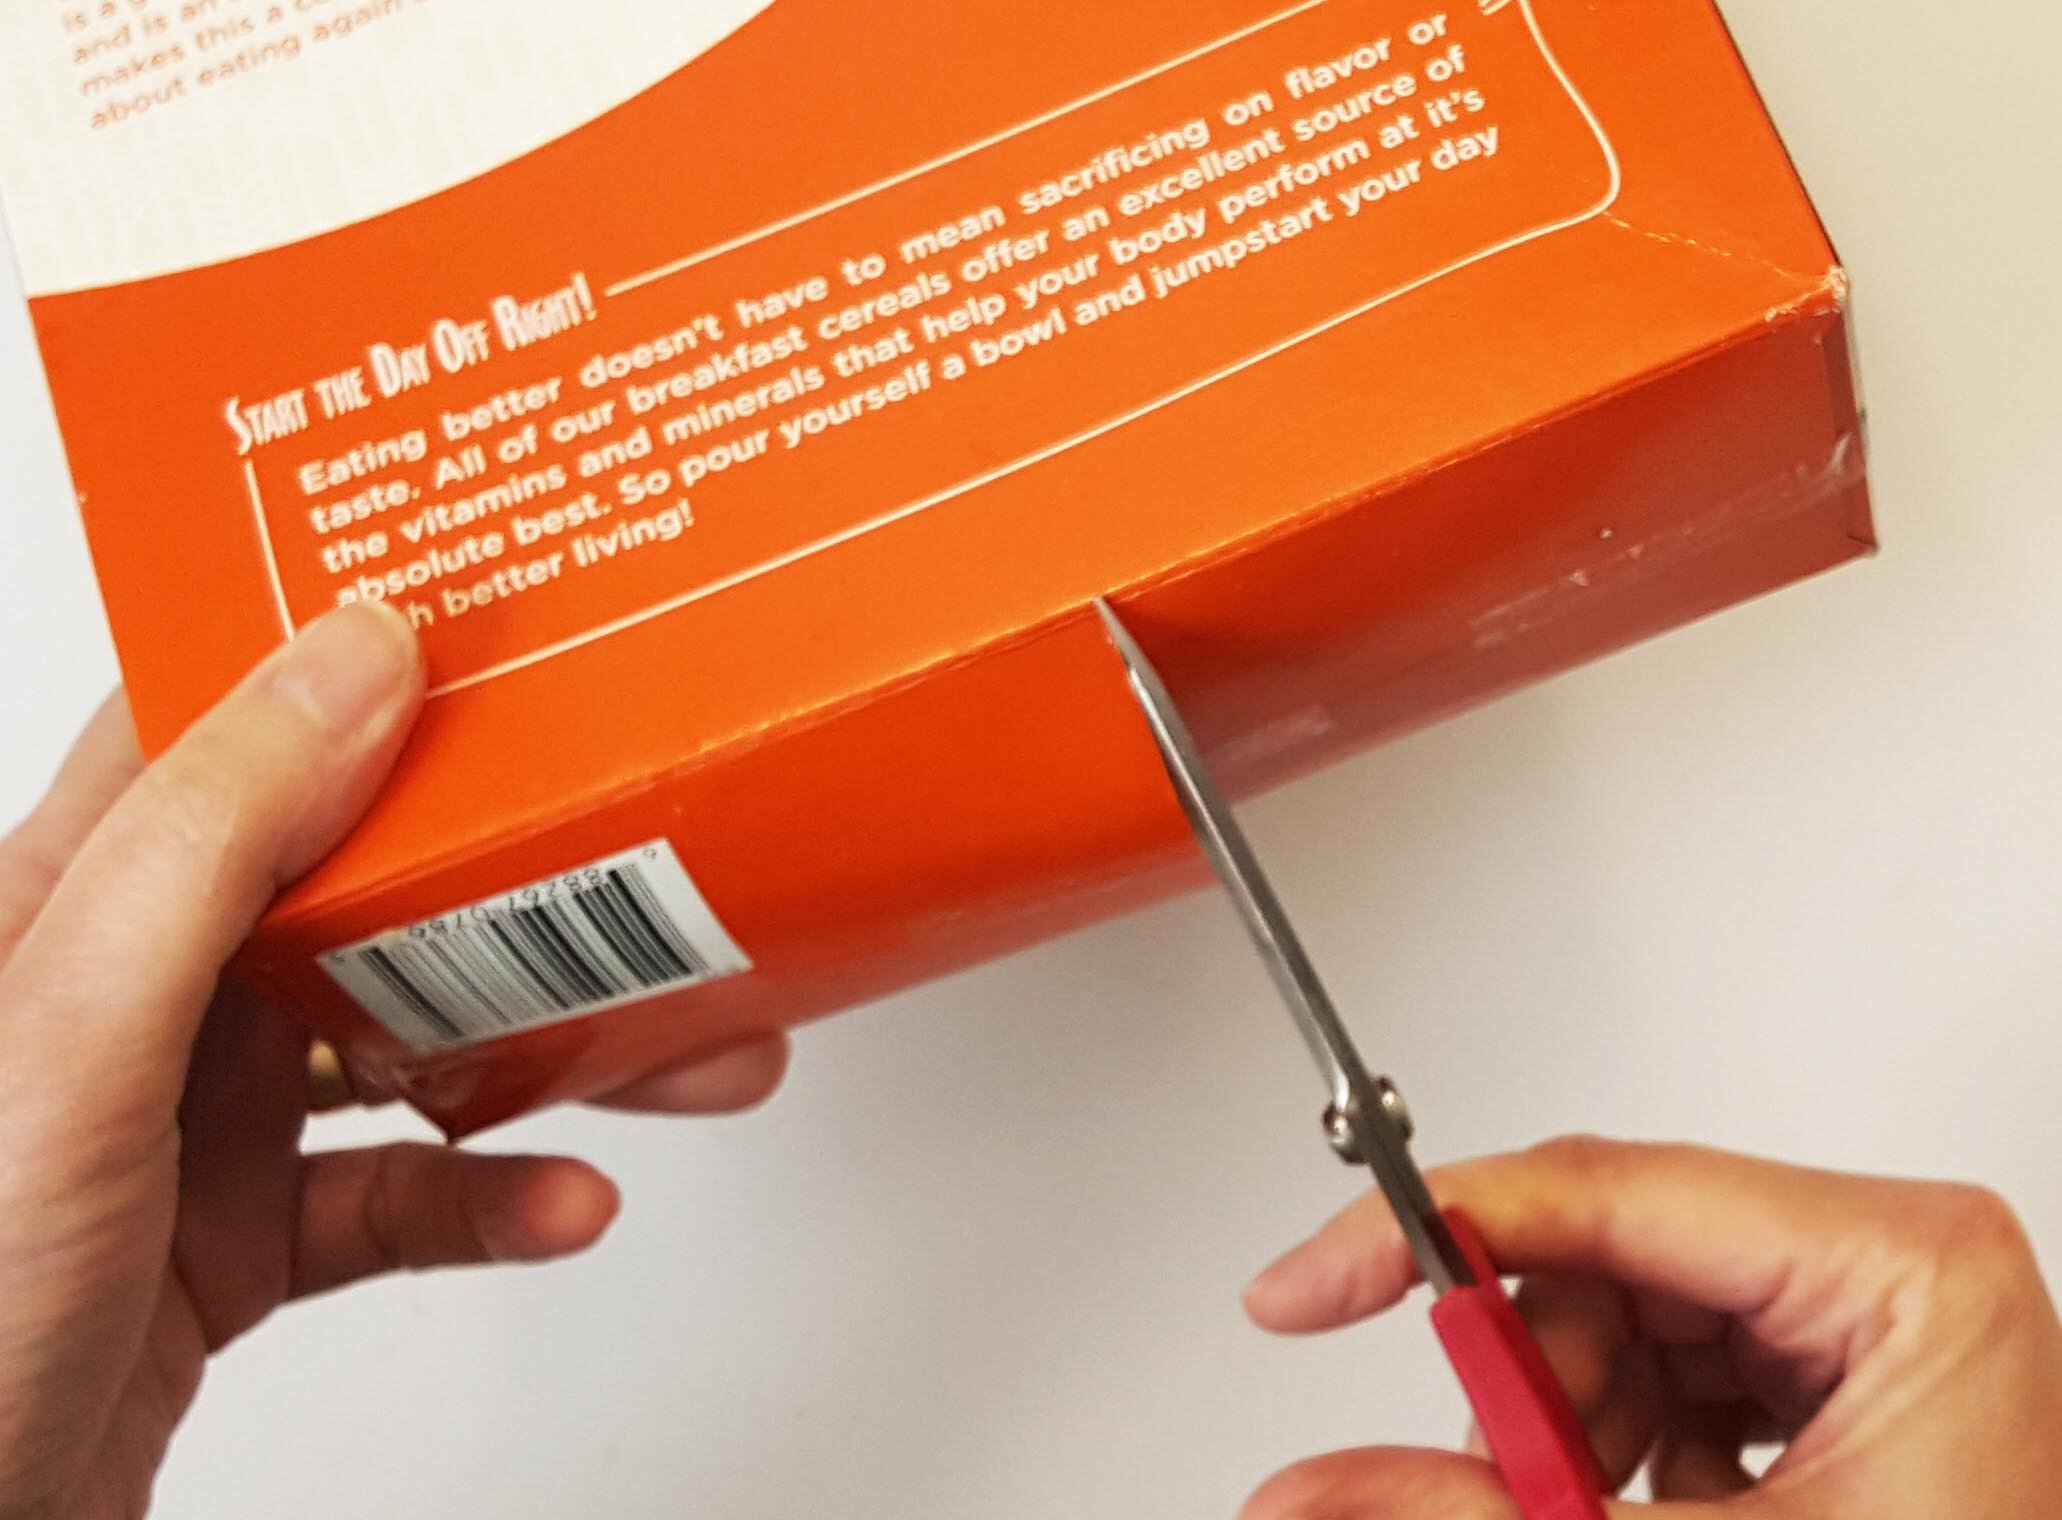
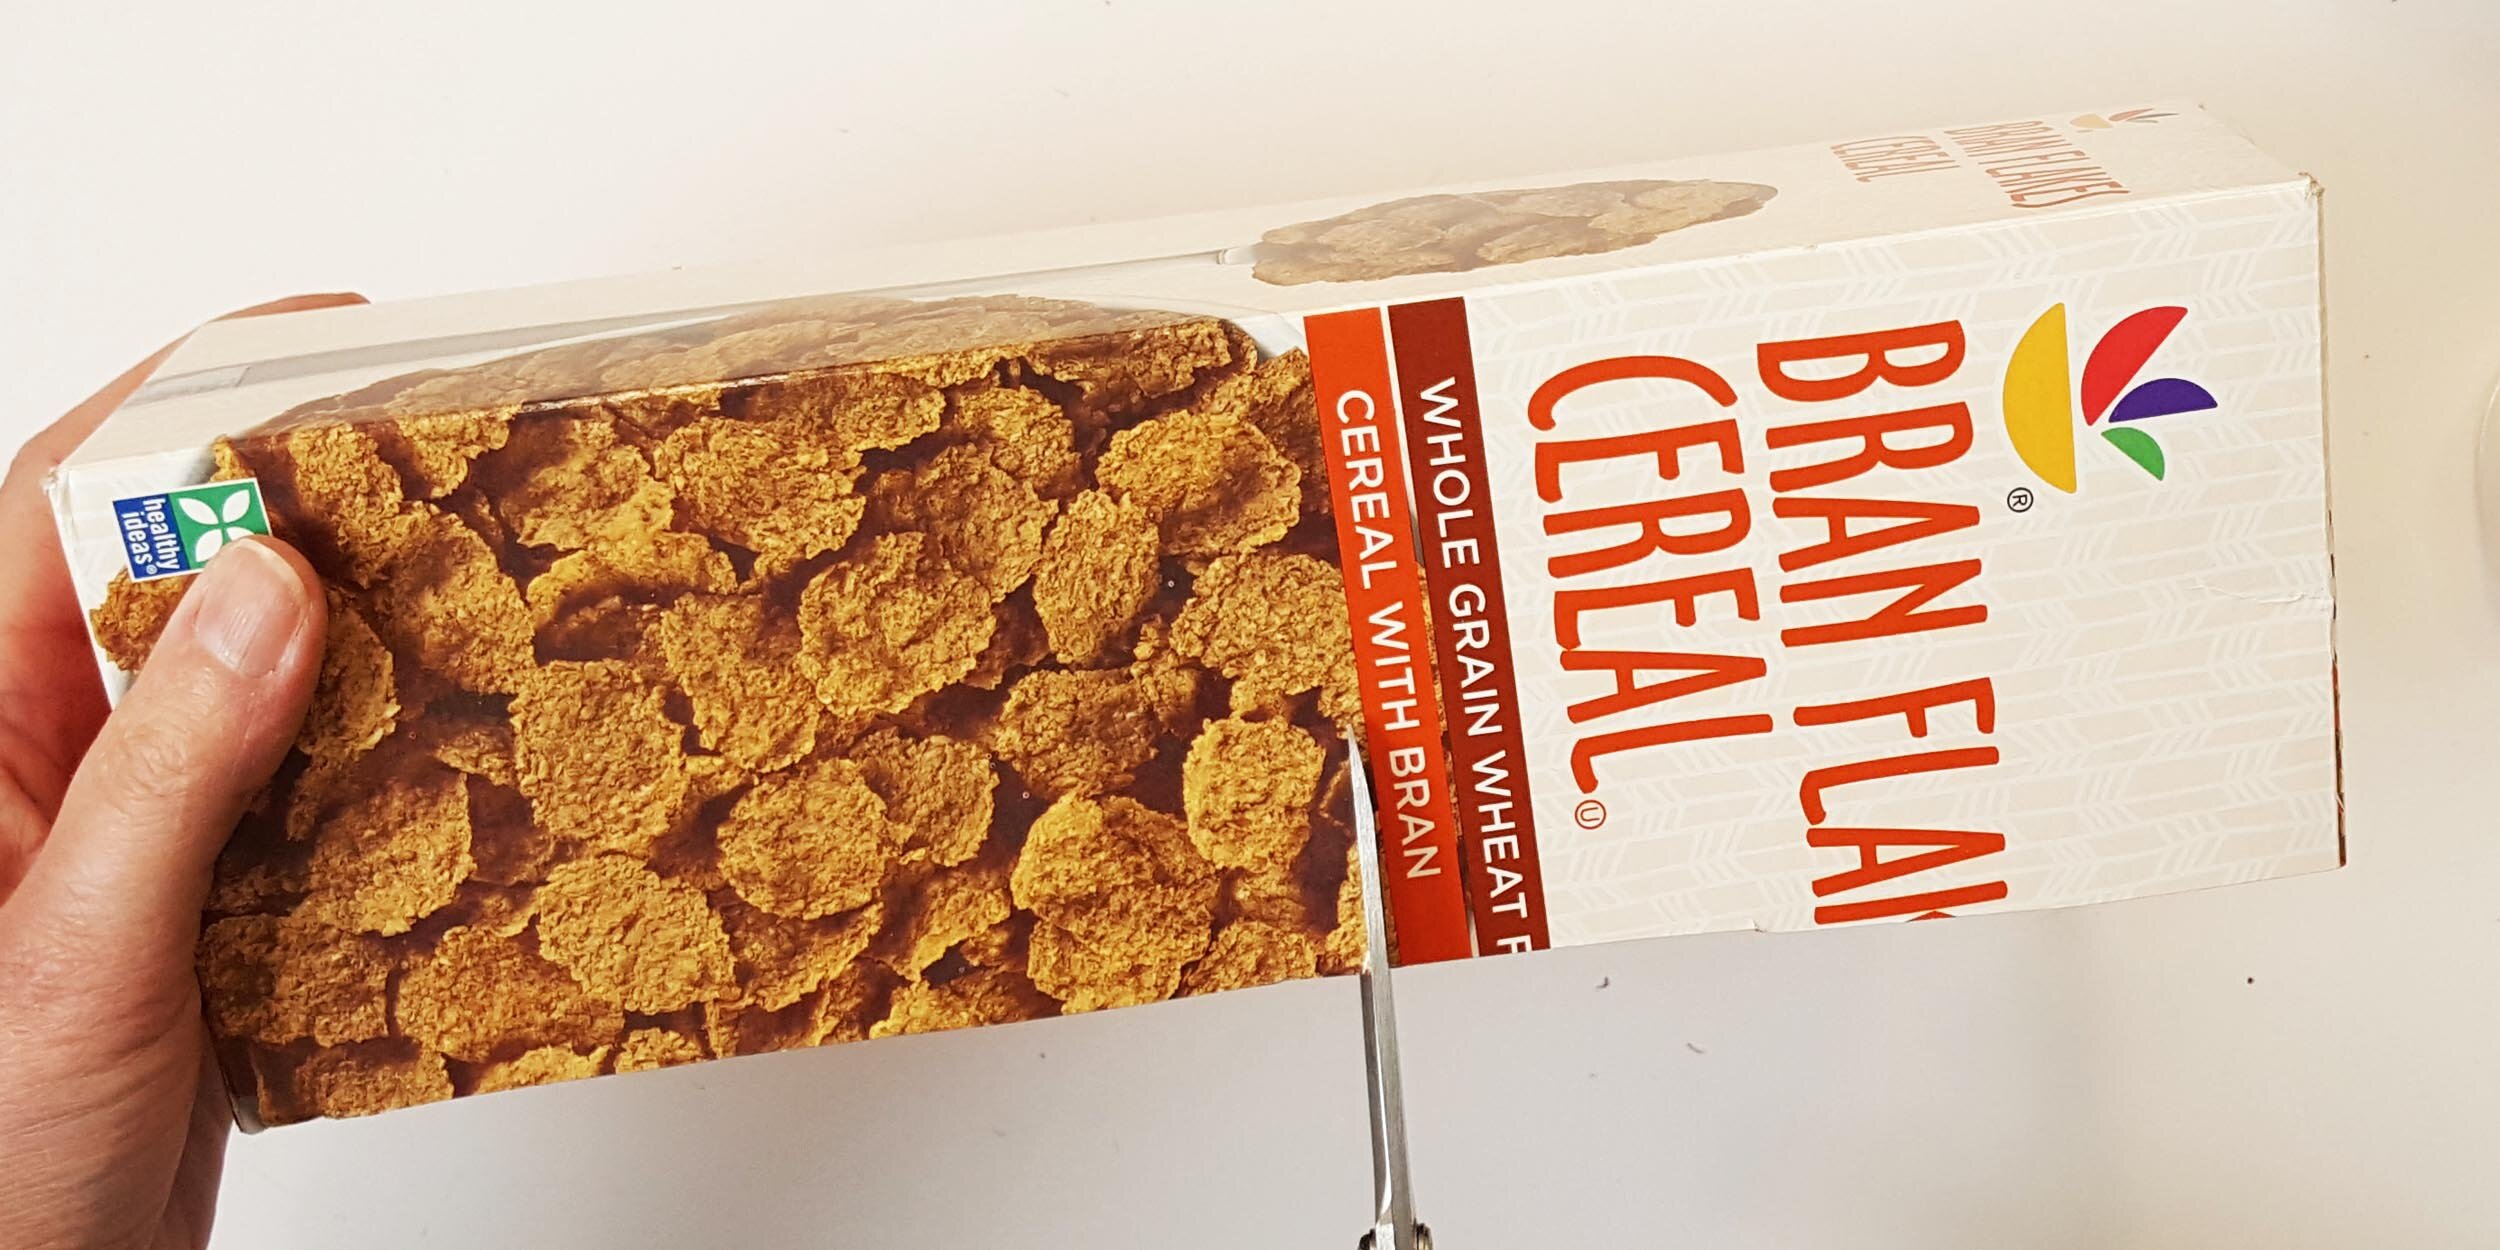
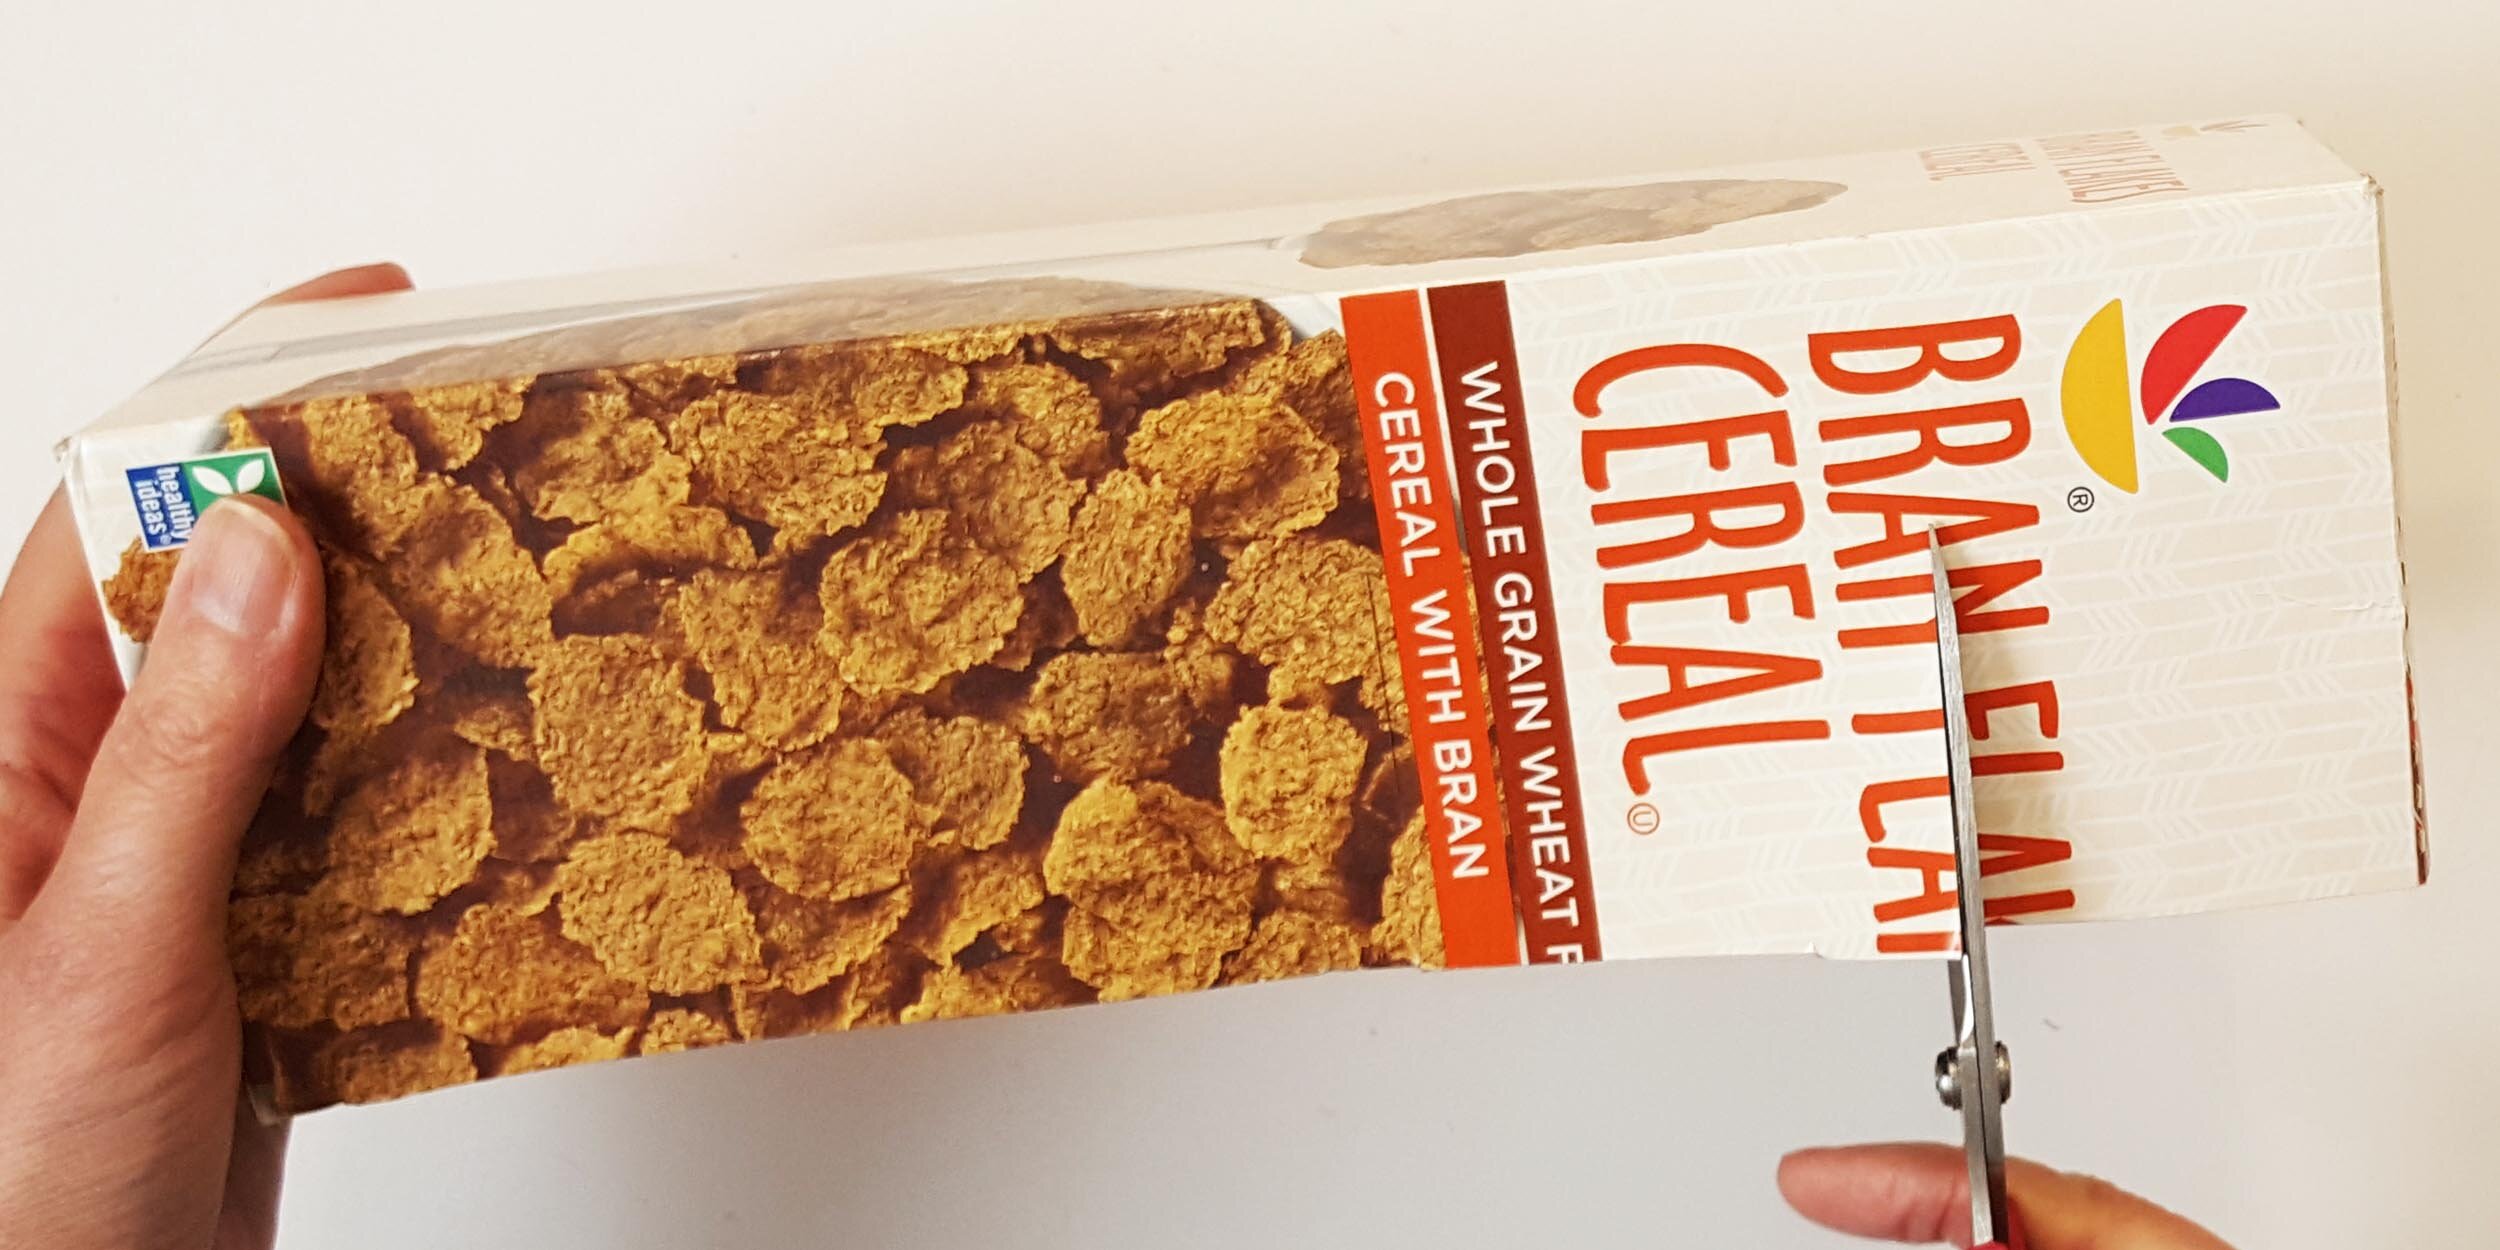
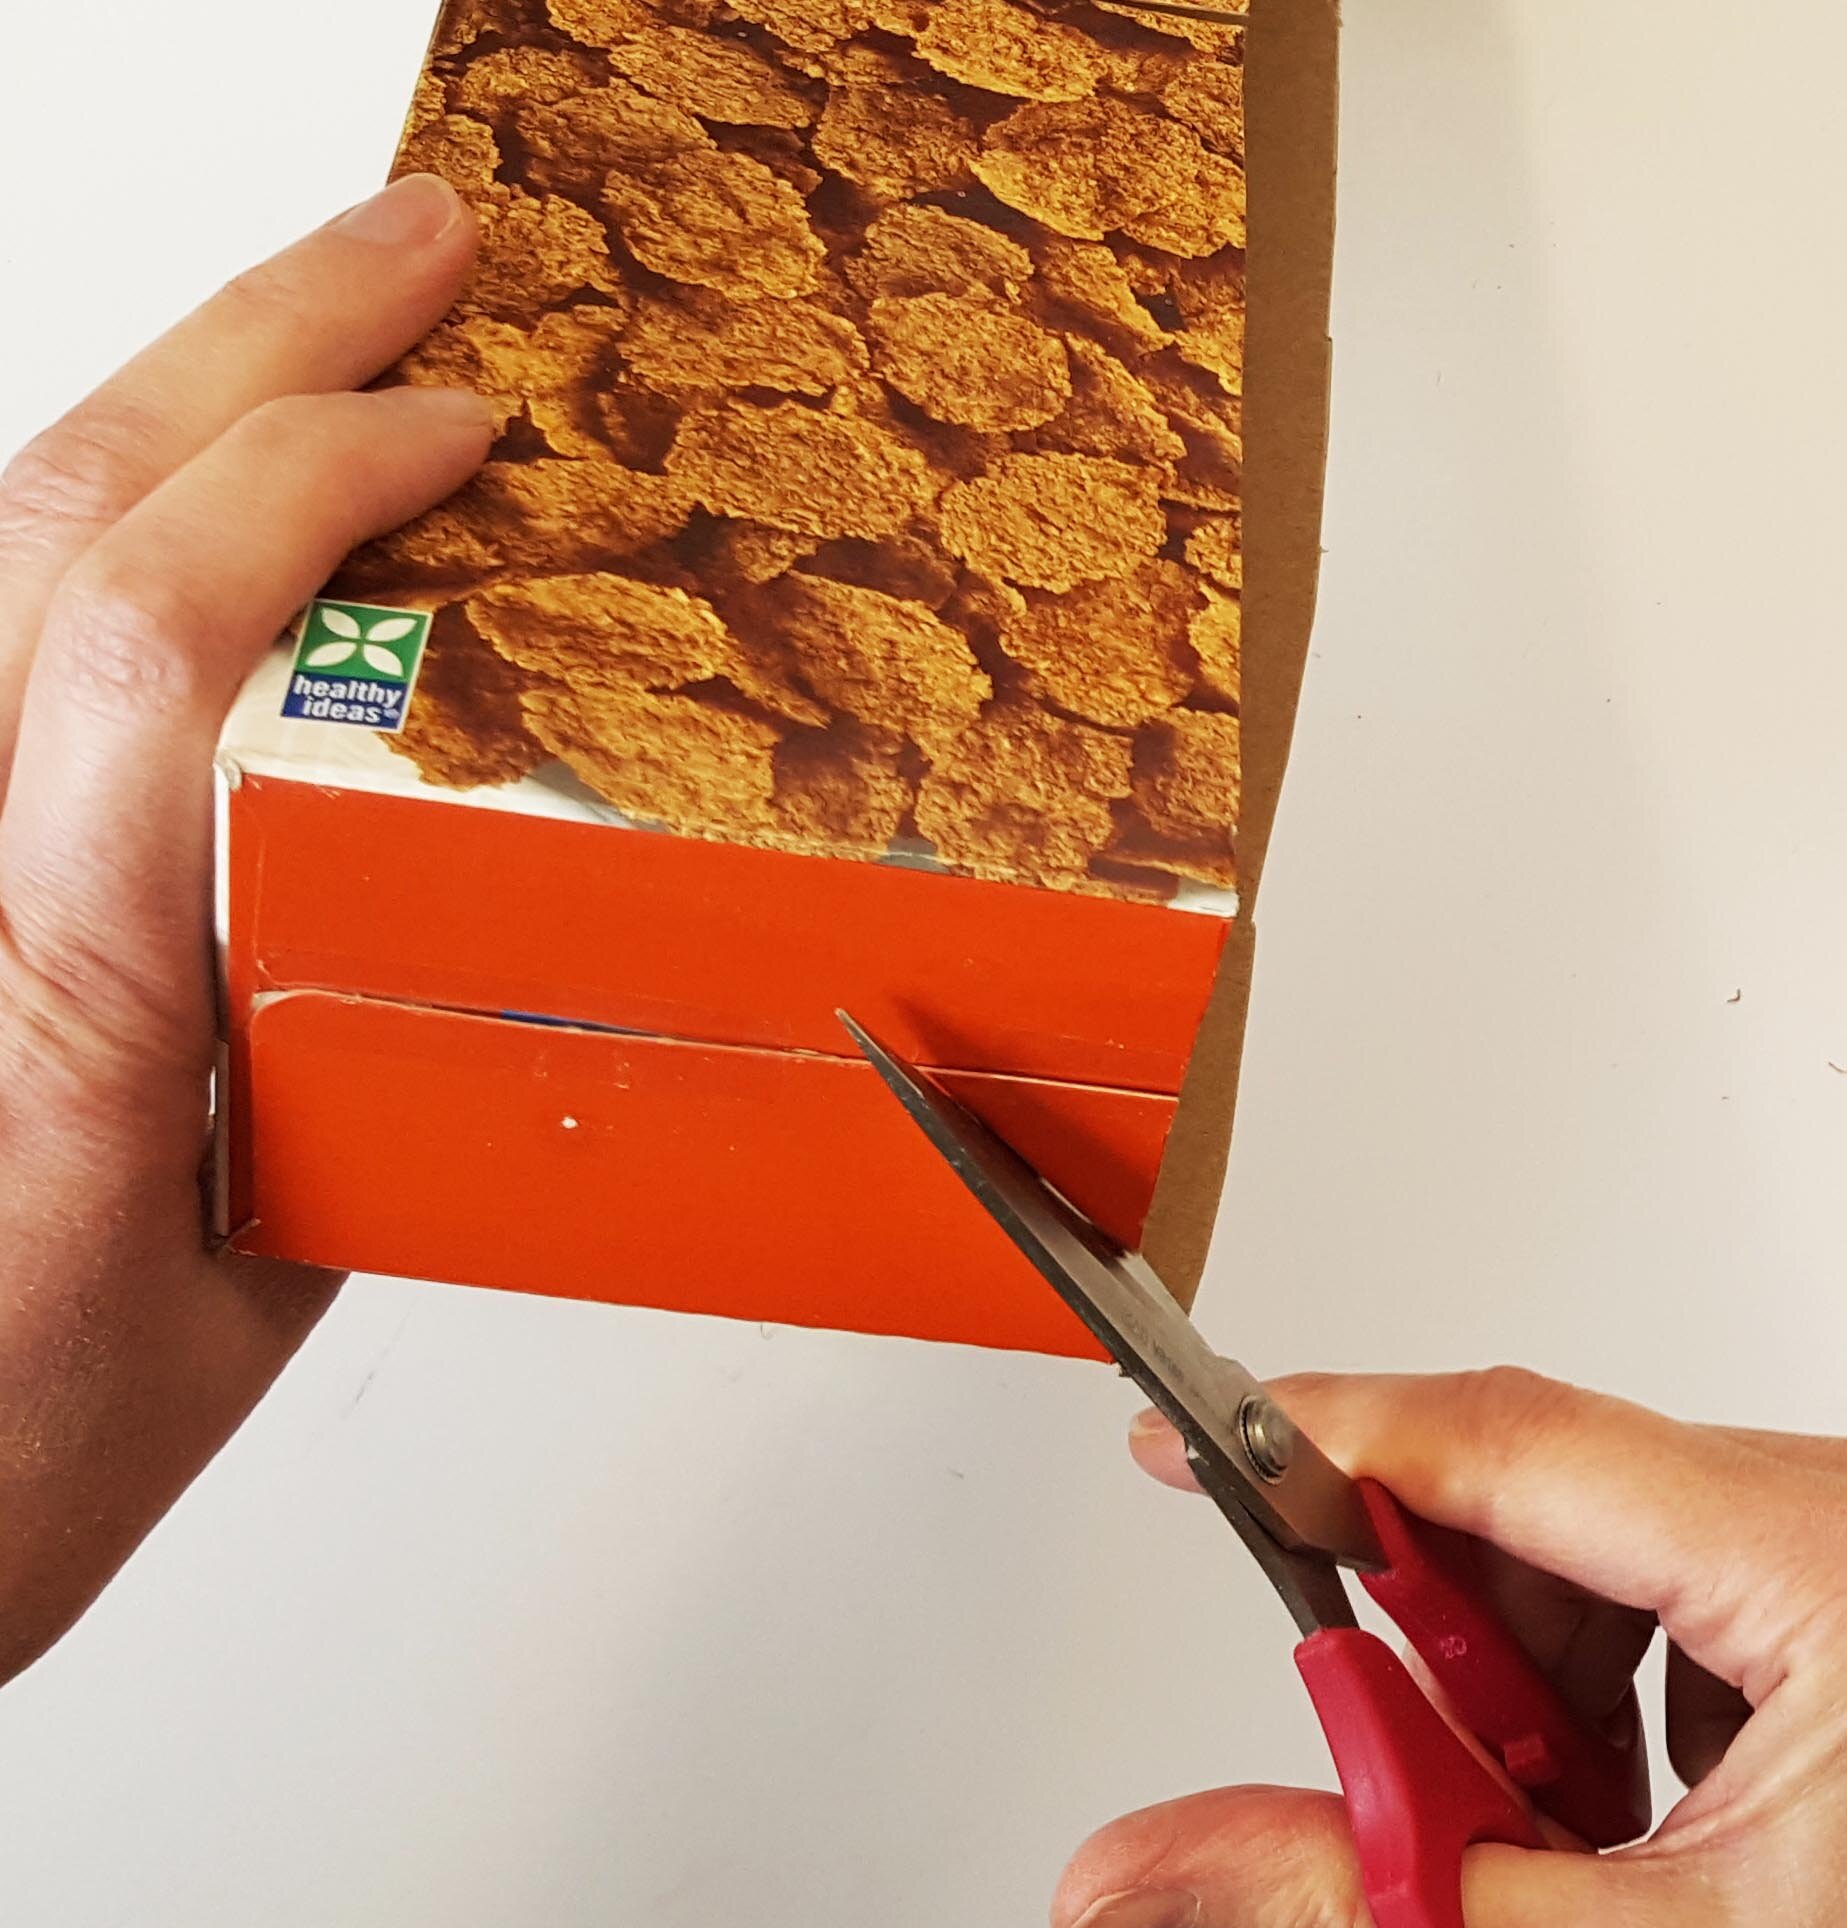
Cut the box in half down the middle, across the bottom, and up the other side.
It doesn’t have to be perfectly straight or cut in exact halves. Just sort of in half.
3
Securely tape the open end of each box half closed.
4
Decide what side you want to be the front of the shelf.
At the middle of that side, snip about halfway into the box. This marks your box into two halves. Make another snip in the middle of each of these halves.
You now have snips at the 1/4, 1/2, and 3/4 points. Again, these snips go about halfway up.
5
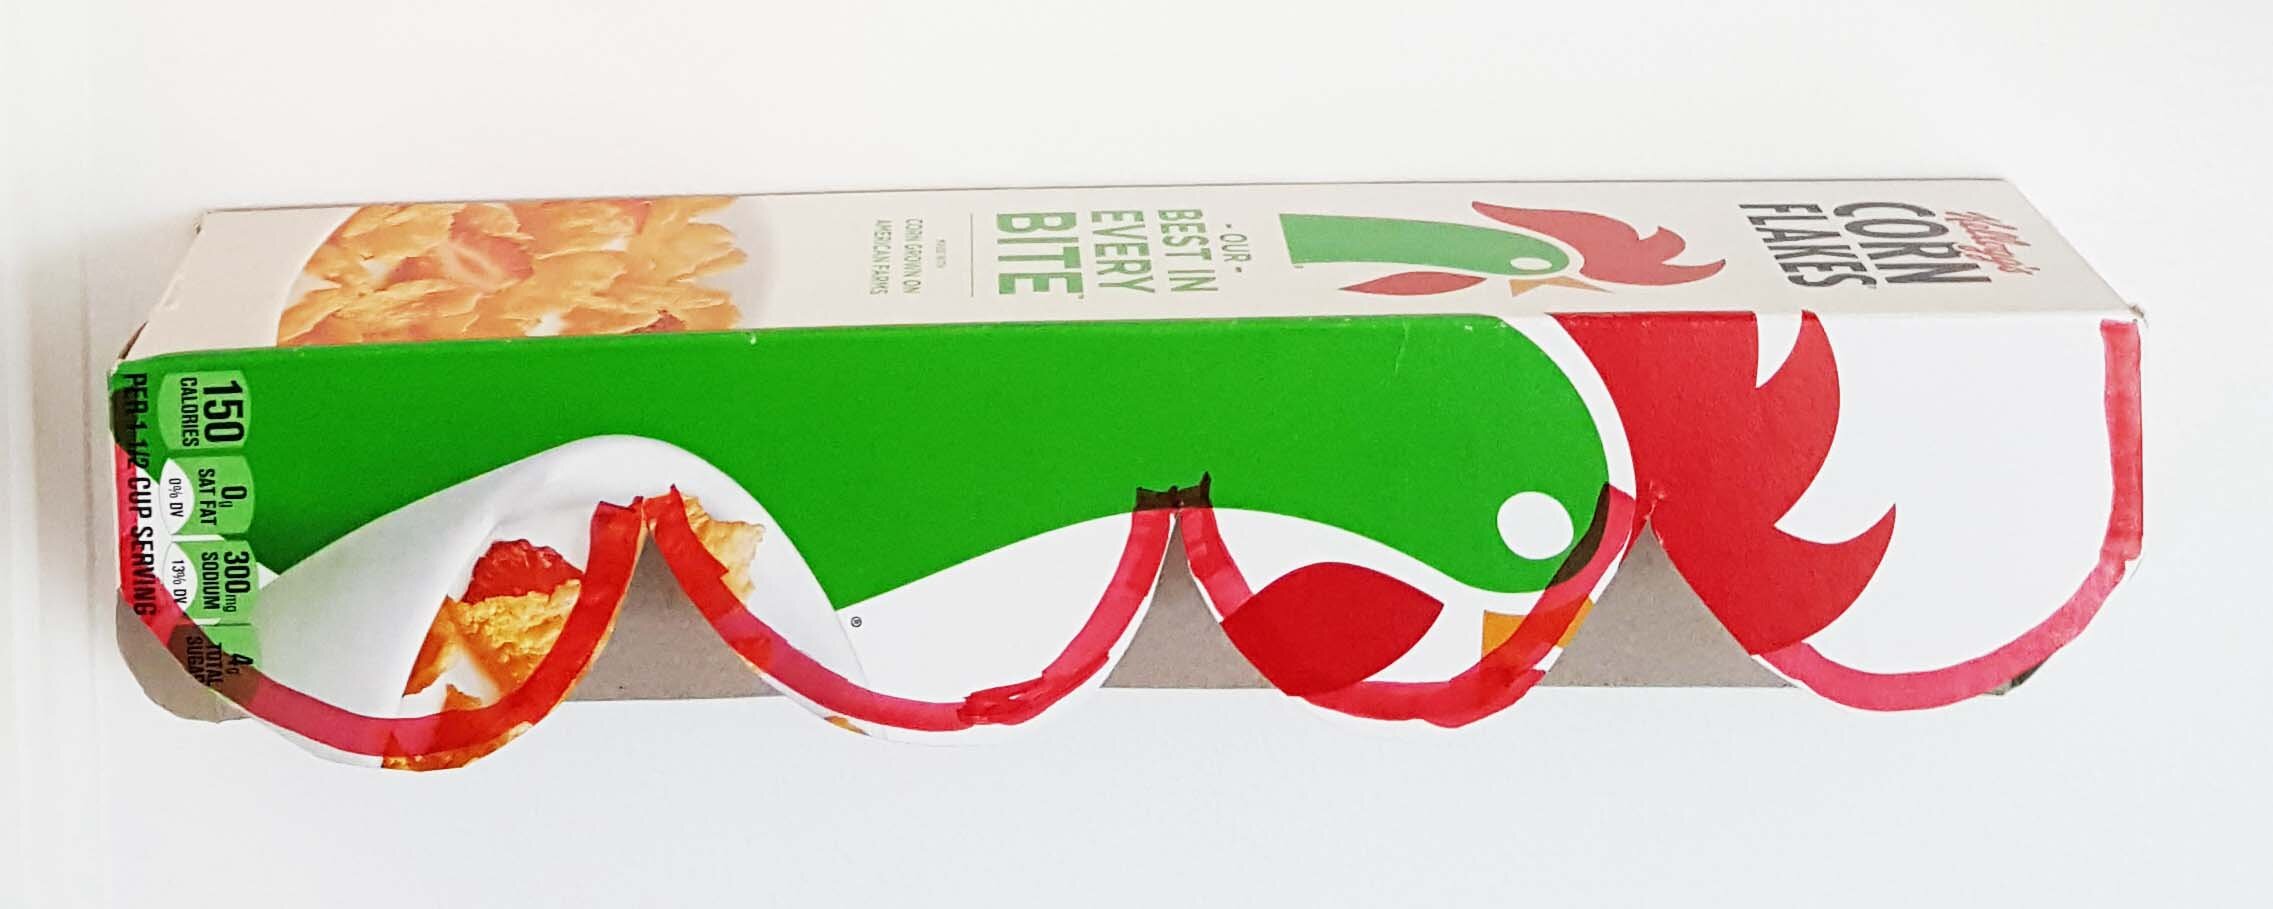
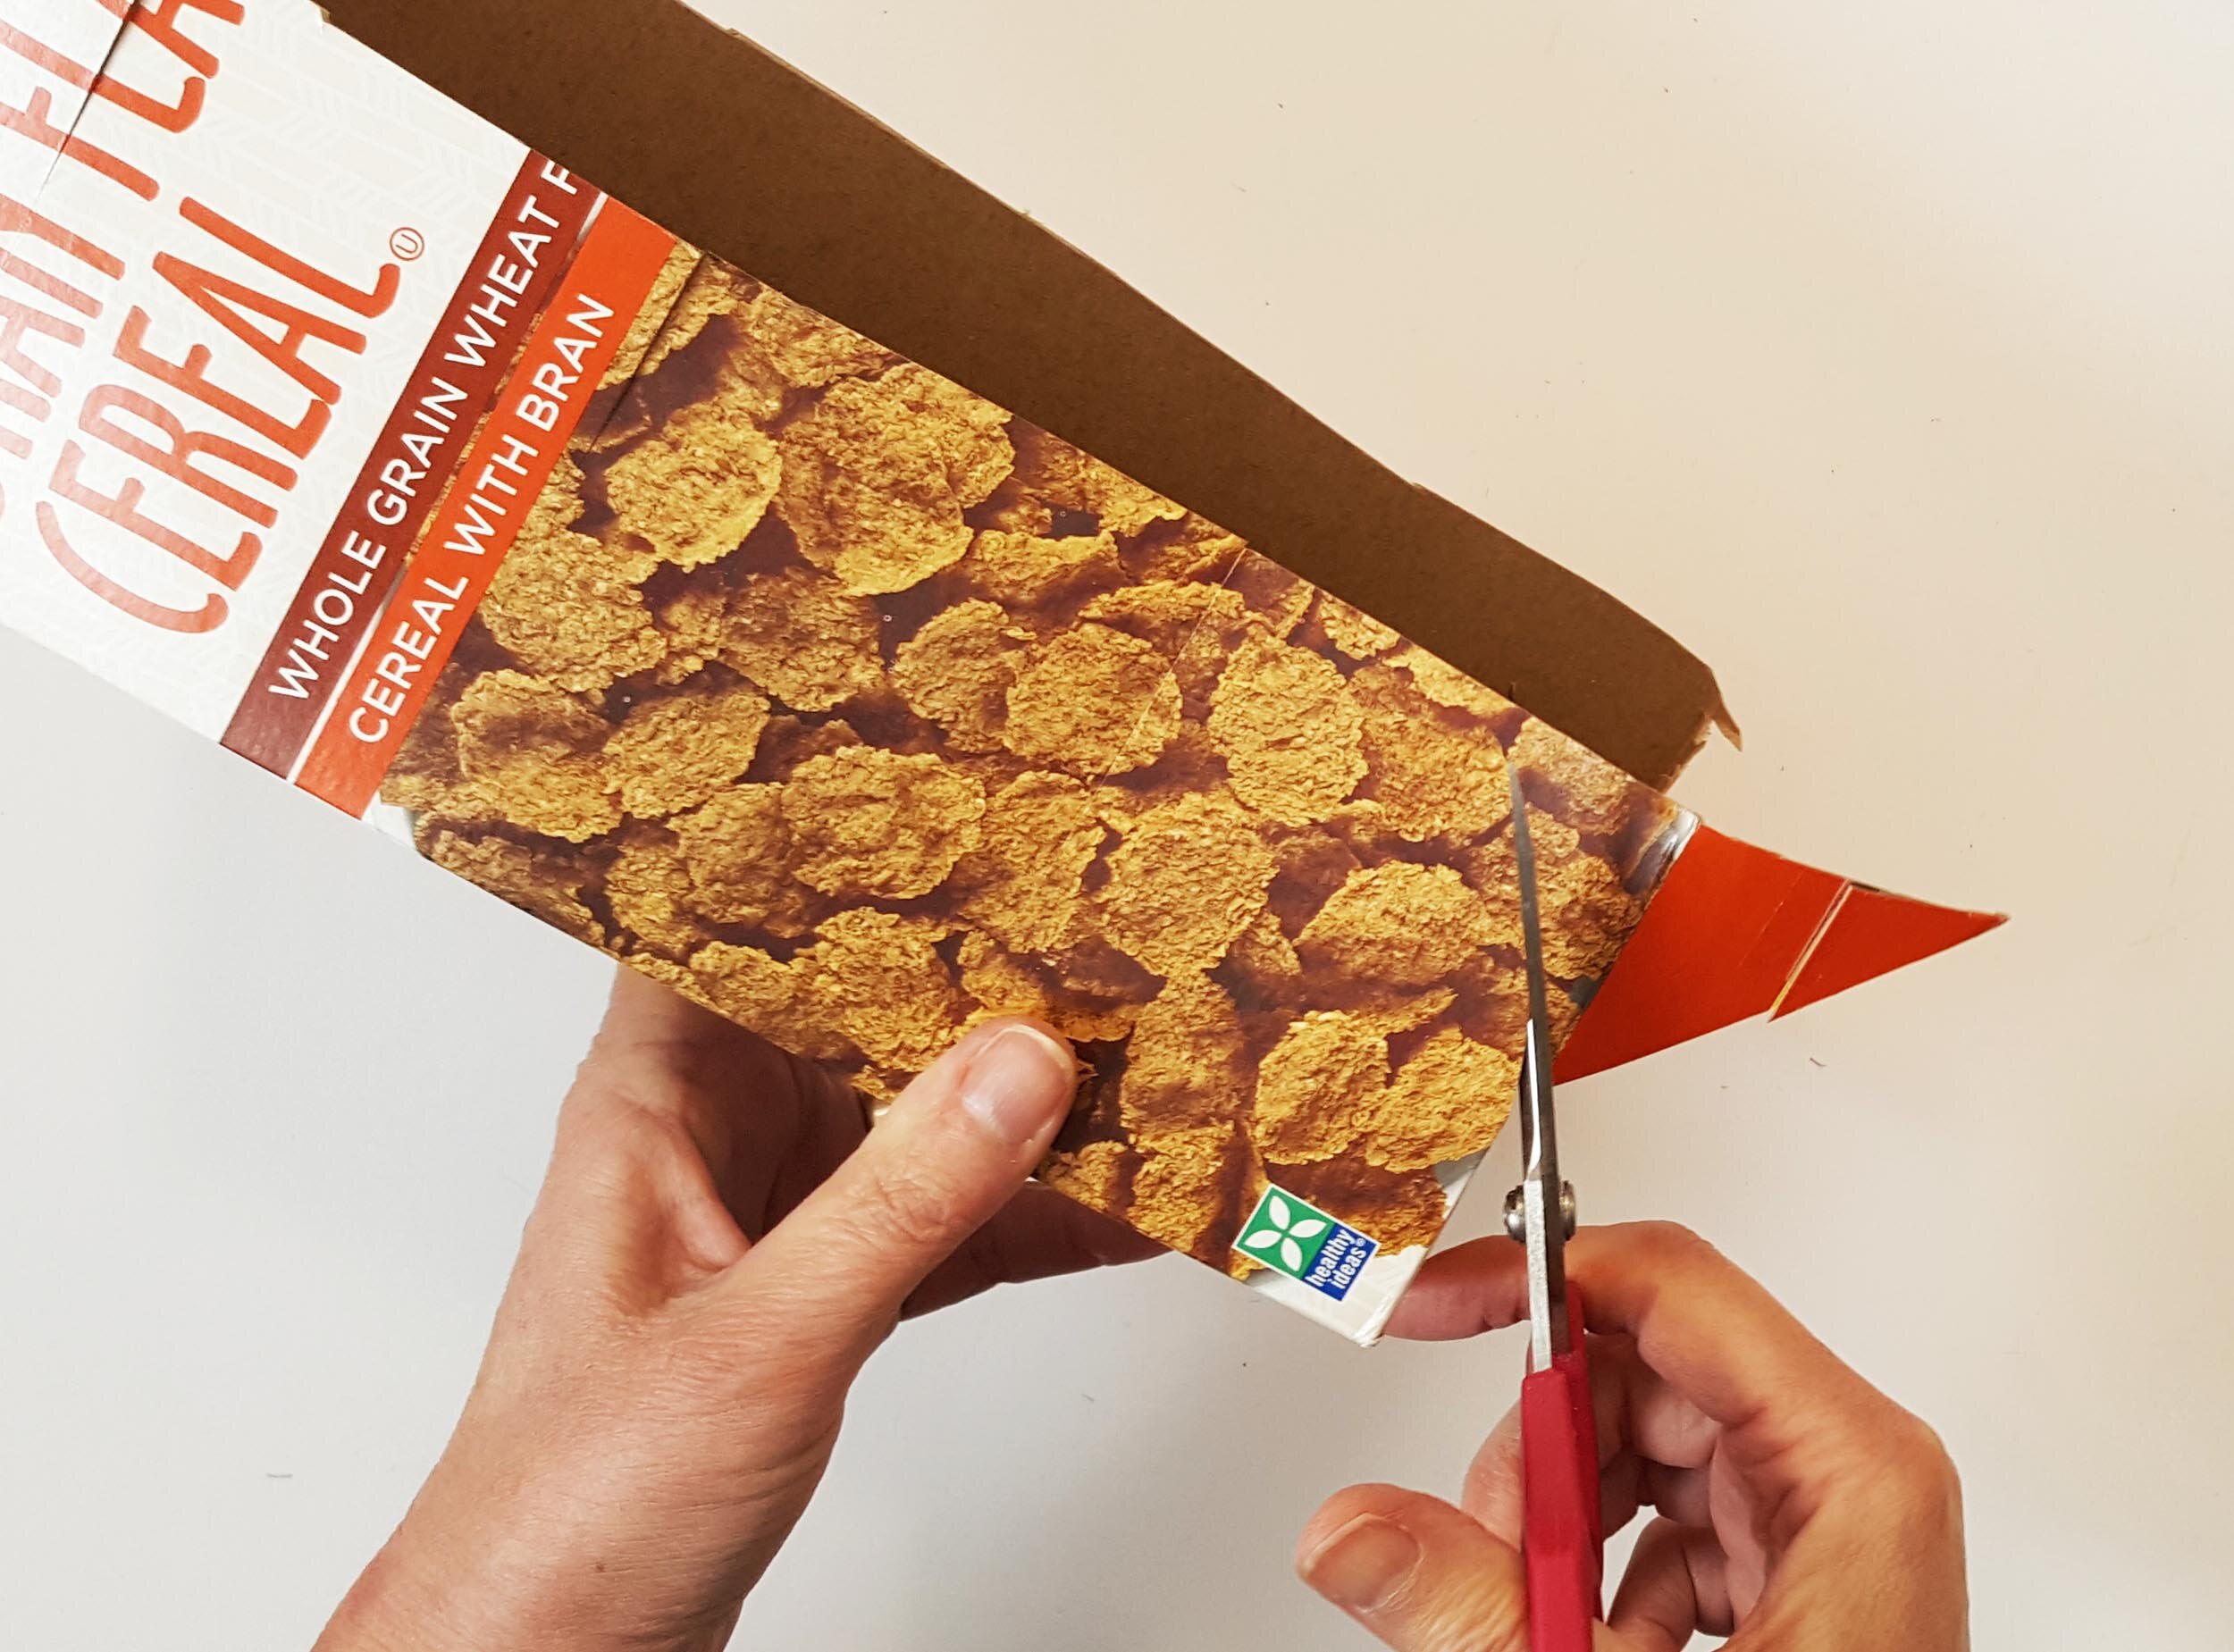
Cut one side end diagonally, going from the back corner up to the middle of the front edge.
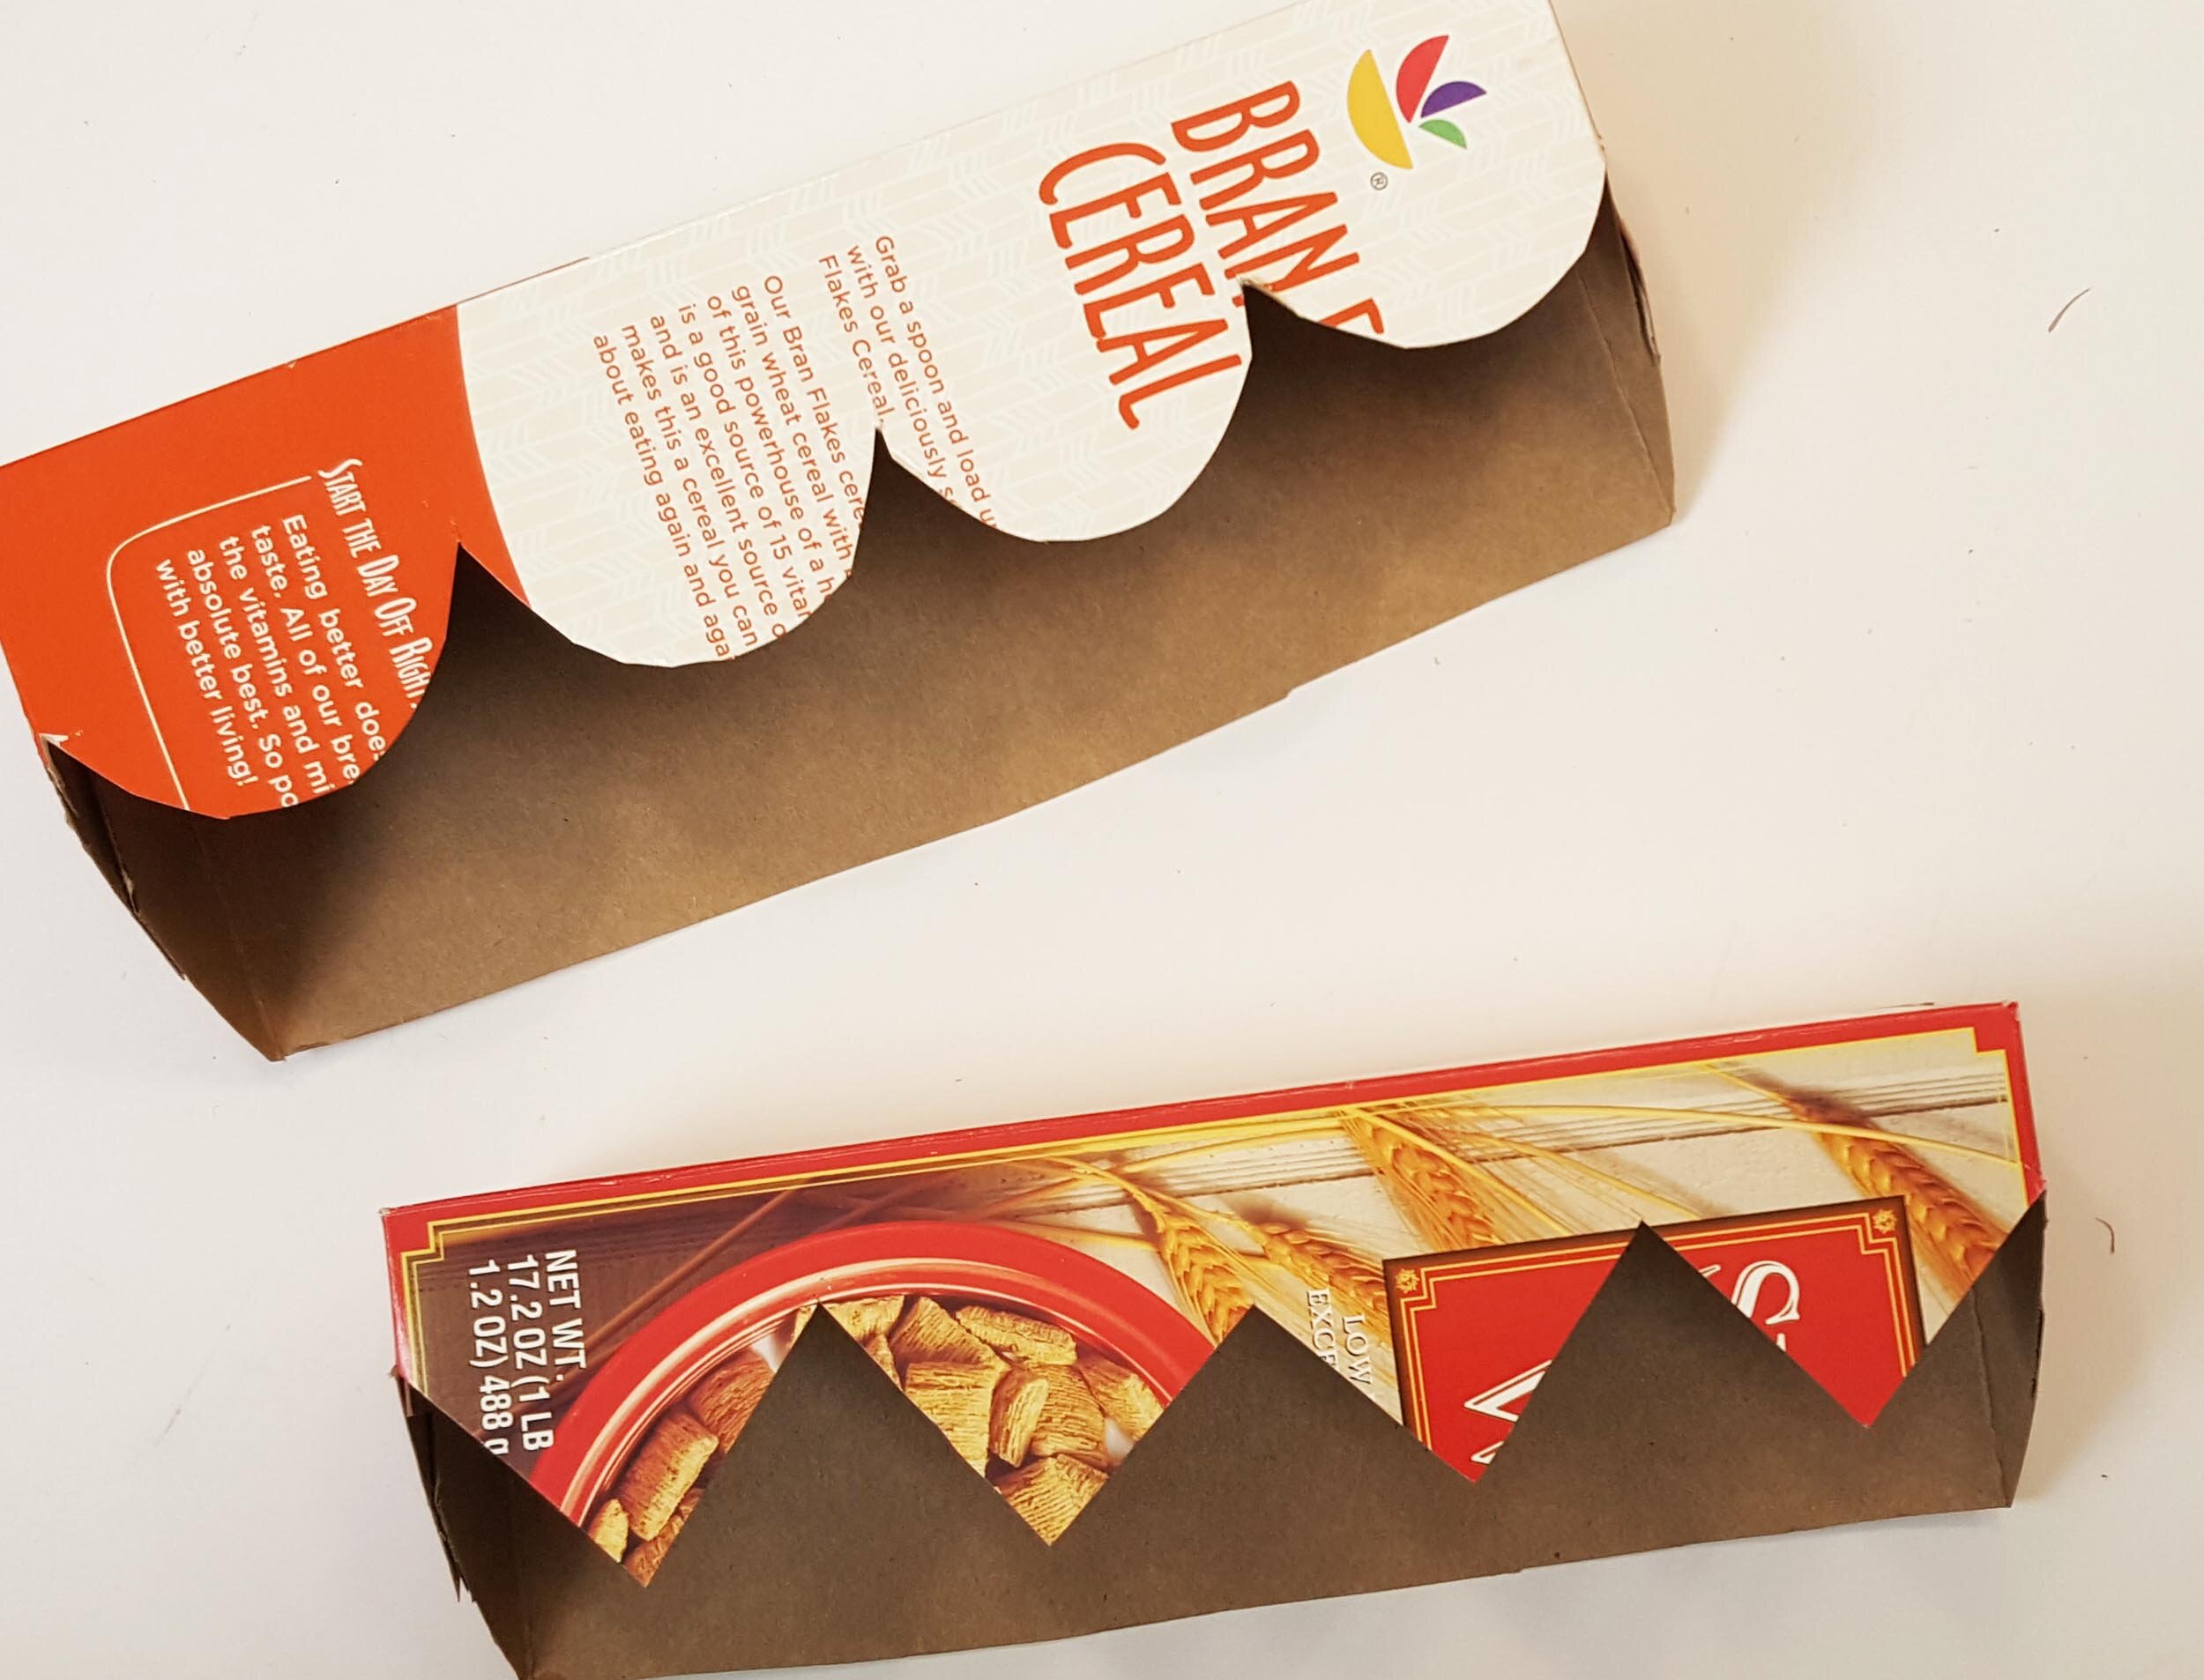
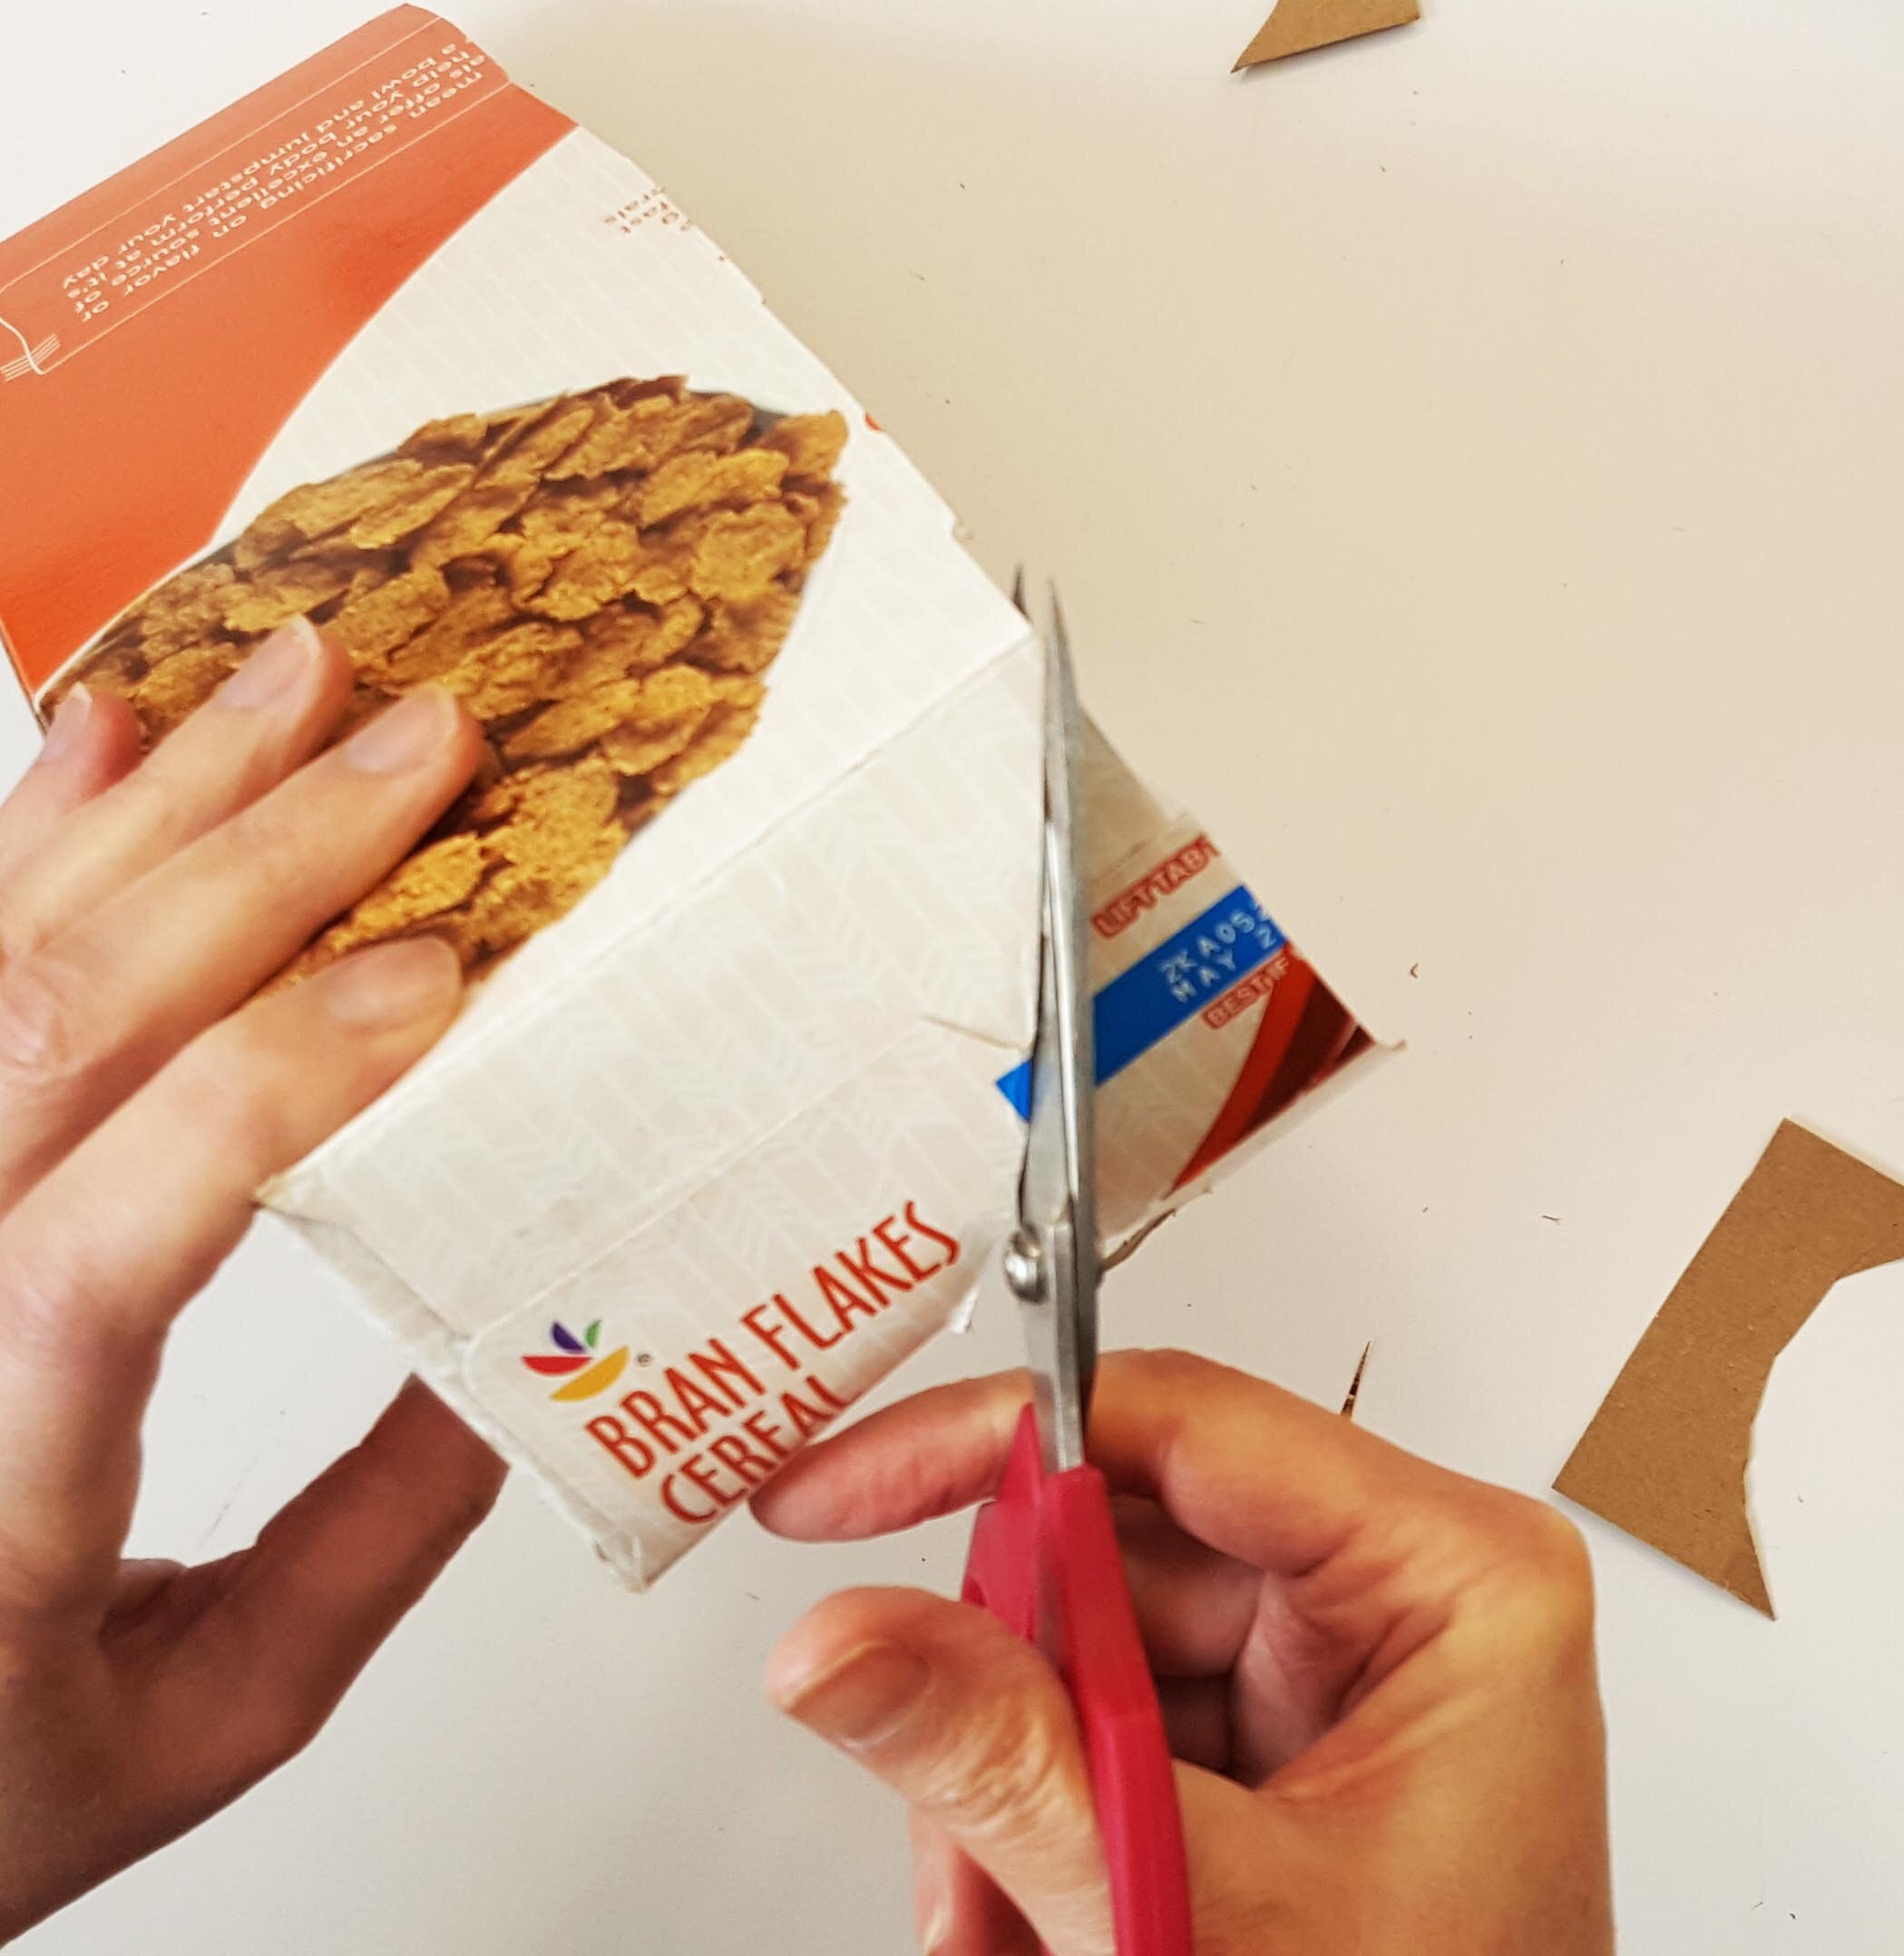
Now you’re at the front of the box. Cut one short scallop between each pair of snips.
The scalloped edge should end up about 1” shorter than the back edge, as shown in the picture.
Repeat on the other box half. That’s it!
Oh my gosh!! Where did you get those awesome shelves?
Pin them up on the wall from the inside using a pushpin at each end. Put the pin as high up inside the shelf as you can for the best shelf strength.
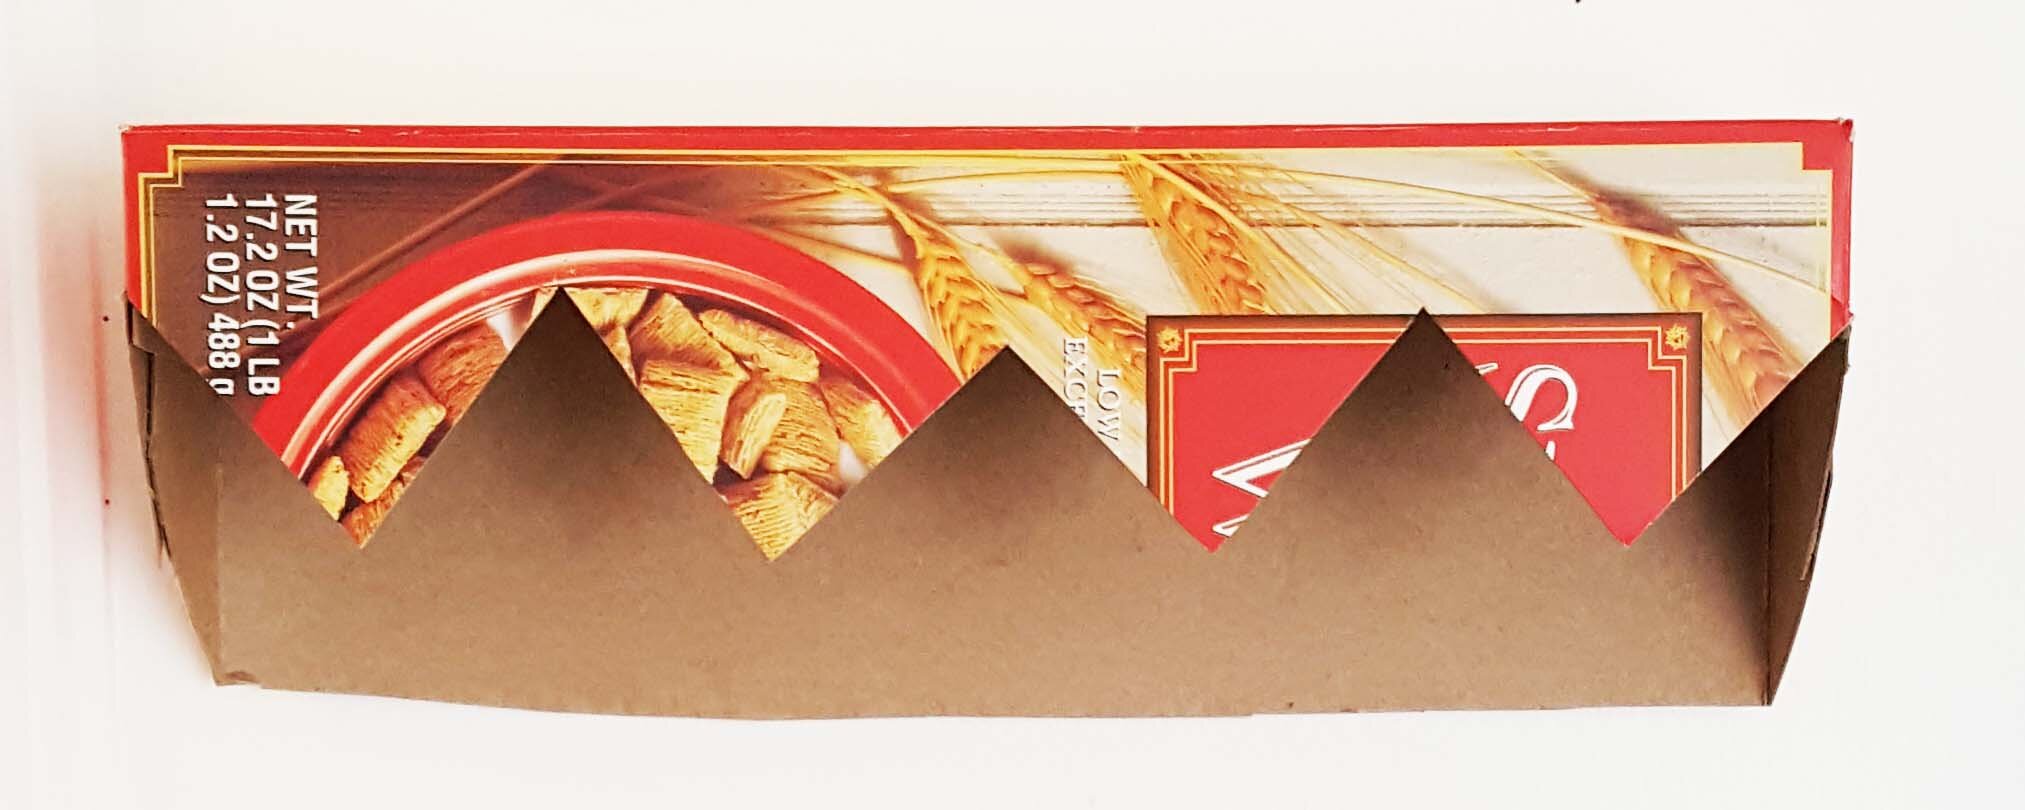
You can make points instead of scallops, or make up your own shape.
and try this:
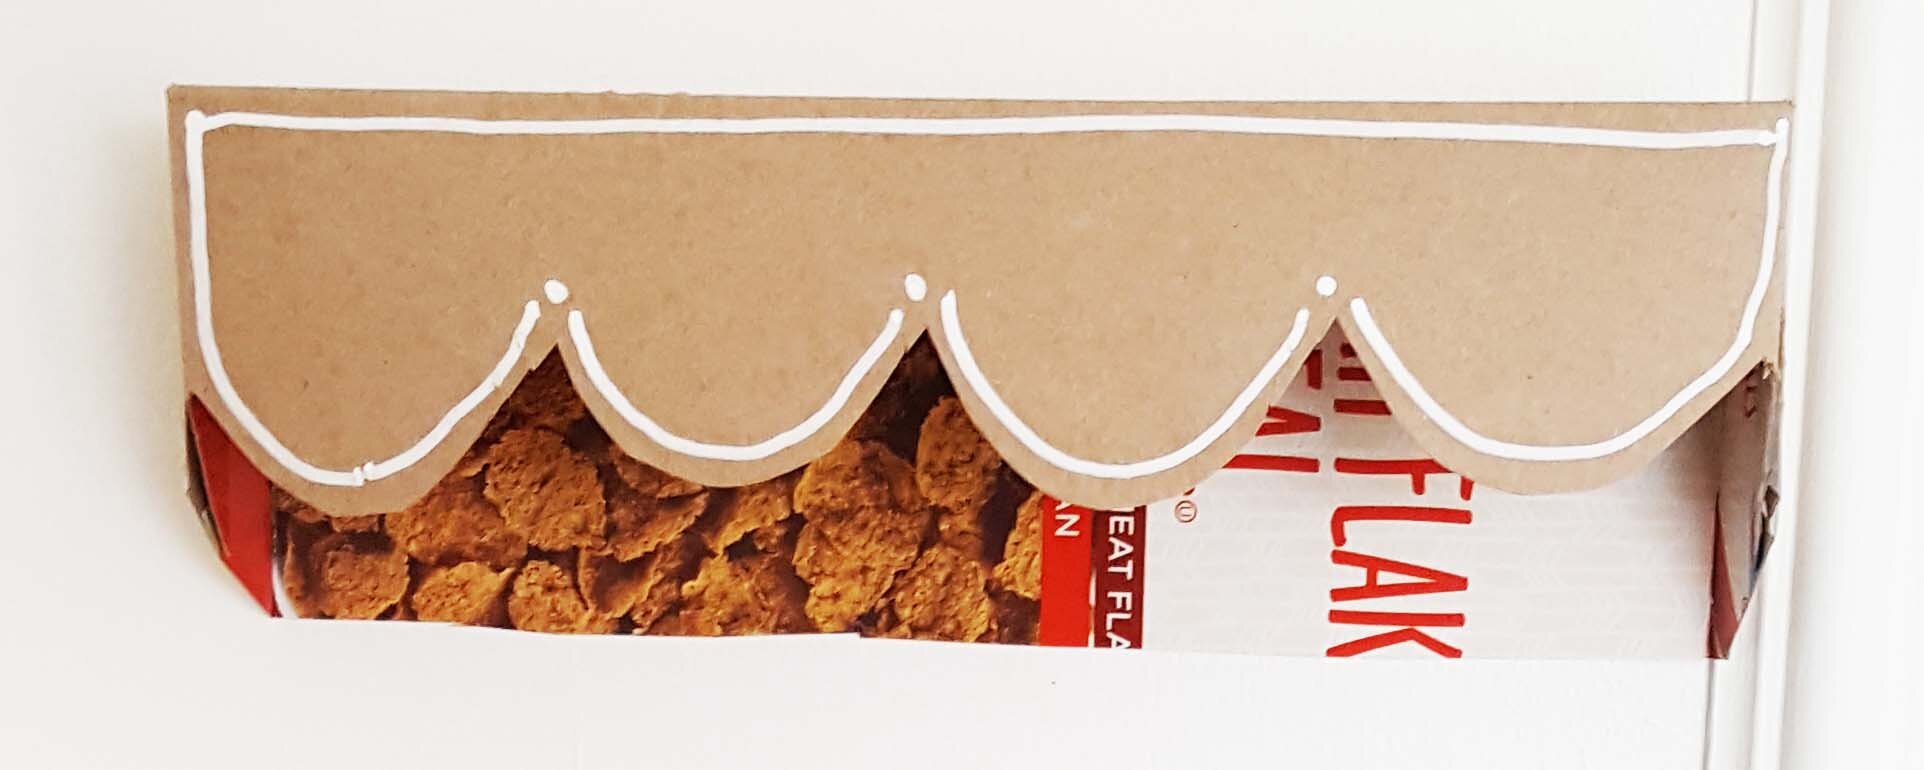
Decorated Shelf
You can make your shelf with the plain brown side showing, to decorate or leave natural. After you cut the box in half, open up the bottom (you could also do this before cutting the box in half. Your call.).
Turn the box half inside out, then tape the ends closed. Carry on from there. Easy!
Thank you for reading! If you have questions, please drop me a line.

