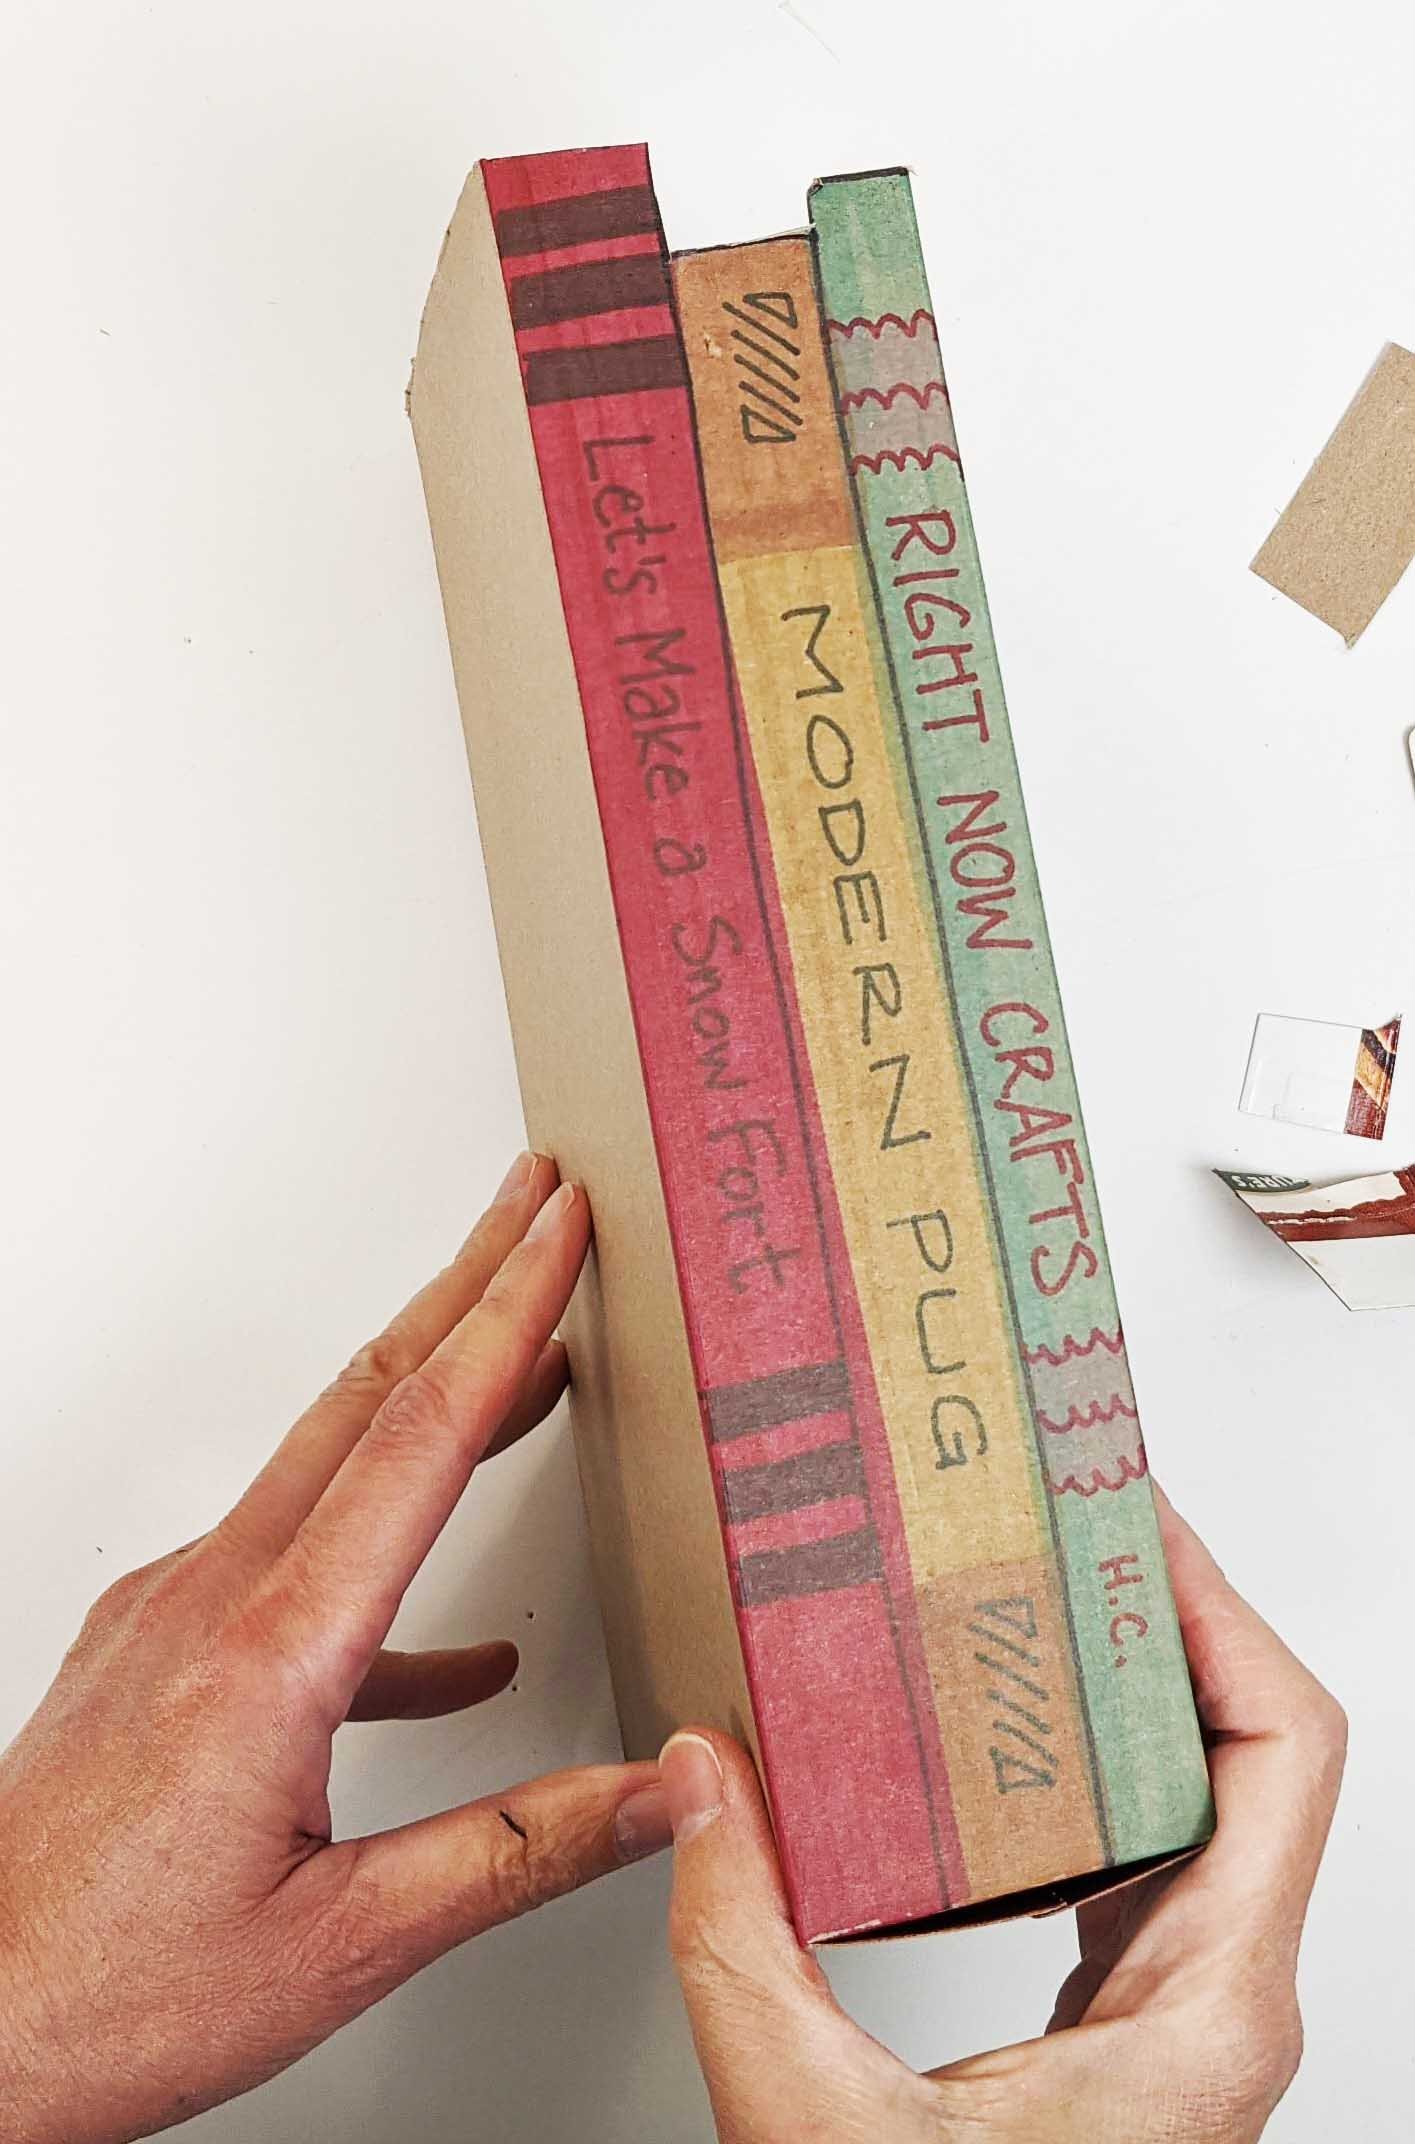
Meet the Book Nook. From the outside it looks like vintage library books, but inside there’s a secret compartment for treasures. You can have one put together in about ten minutes because it’s made with an empty cereal box. The books get drawn on the plain brown inside of the box, creating muted colors that look amazingly like real books. Set your Book Nook on a shelf, maybe alongside some real books for extra camouflage, and only you will know its secret.
quick to make with a cereal box
zero actual book-writing involved, just make up your own title
your own secret hiding place for treasures
looks like real books on your shelf!
Borrow the titles for your books from real books, or make up your own — maybe you’d like a travel guide to Mars, or a cookbook for dogs. The Book Nook lets you have any book you can imagine.
Steps At a Glance:
Ready? Here’s how:
1
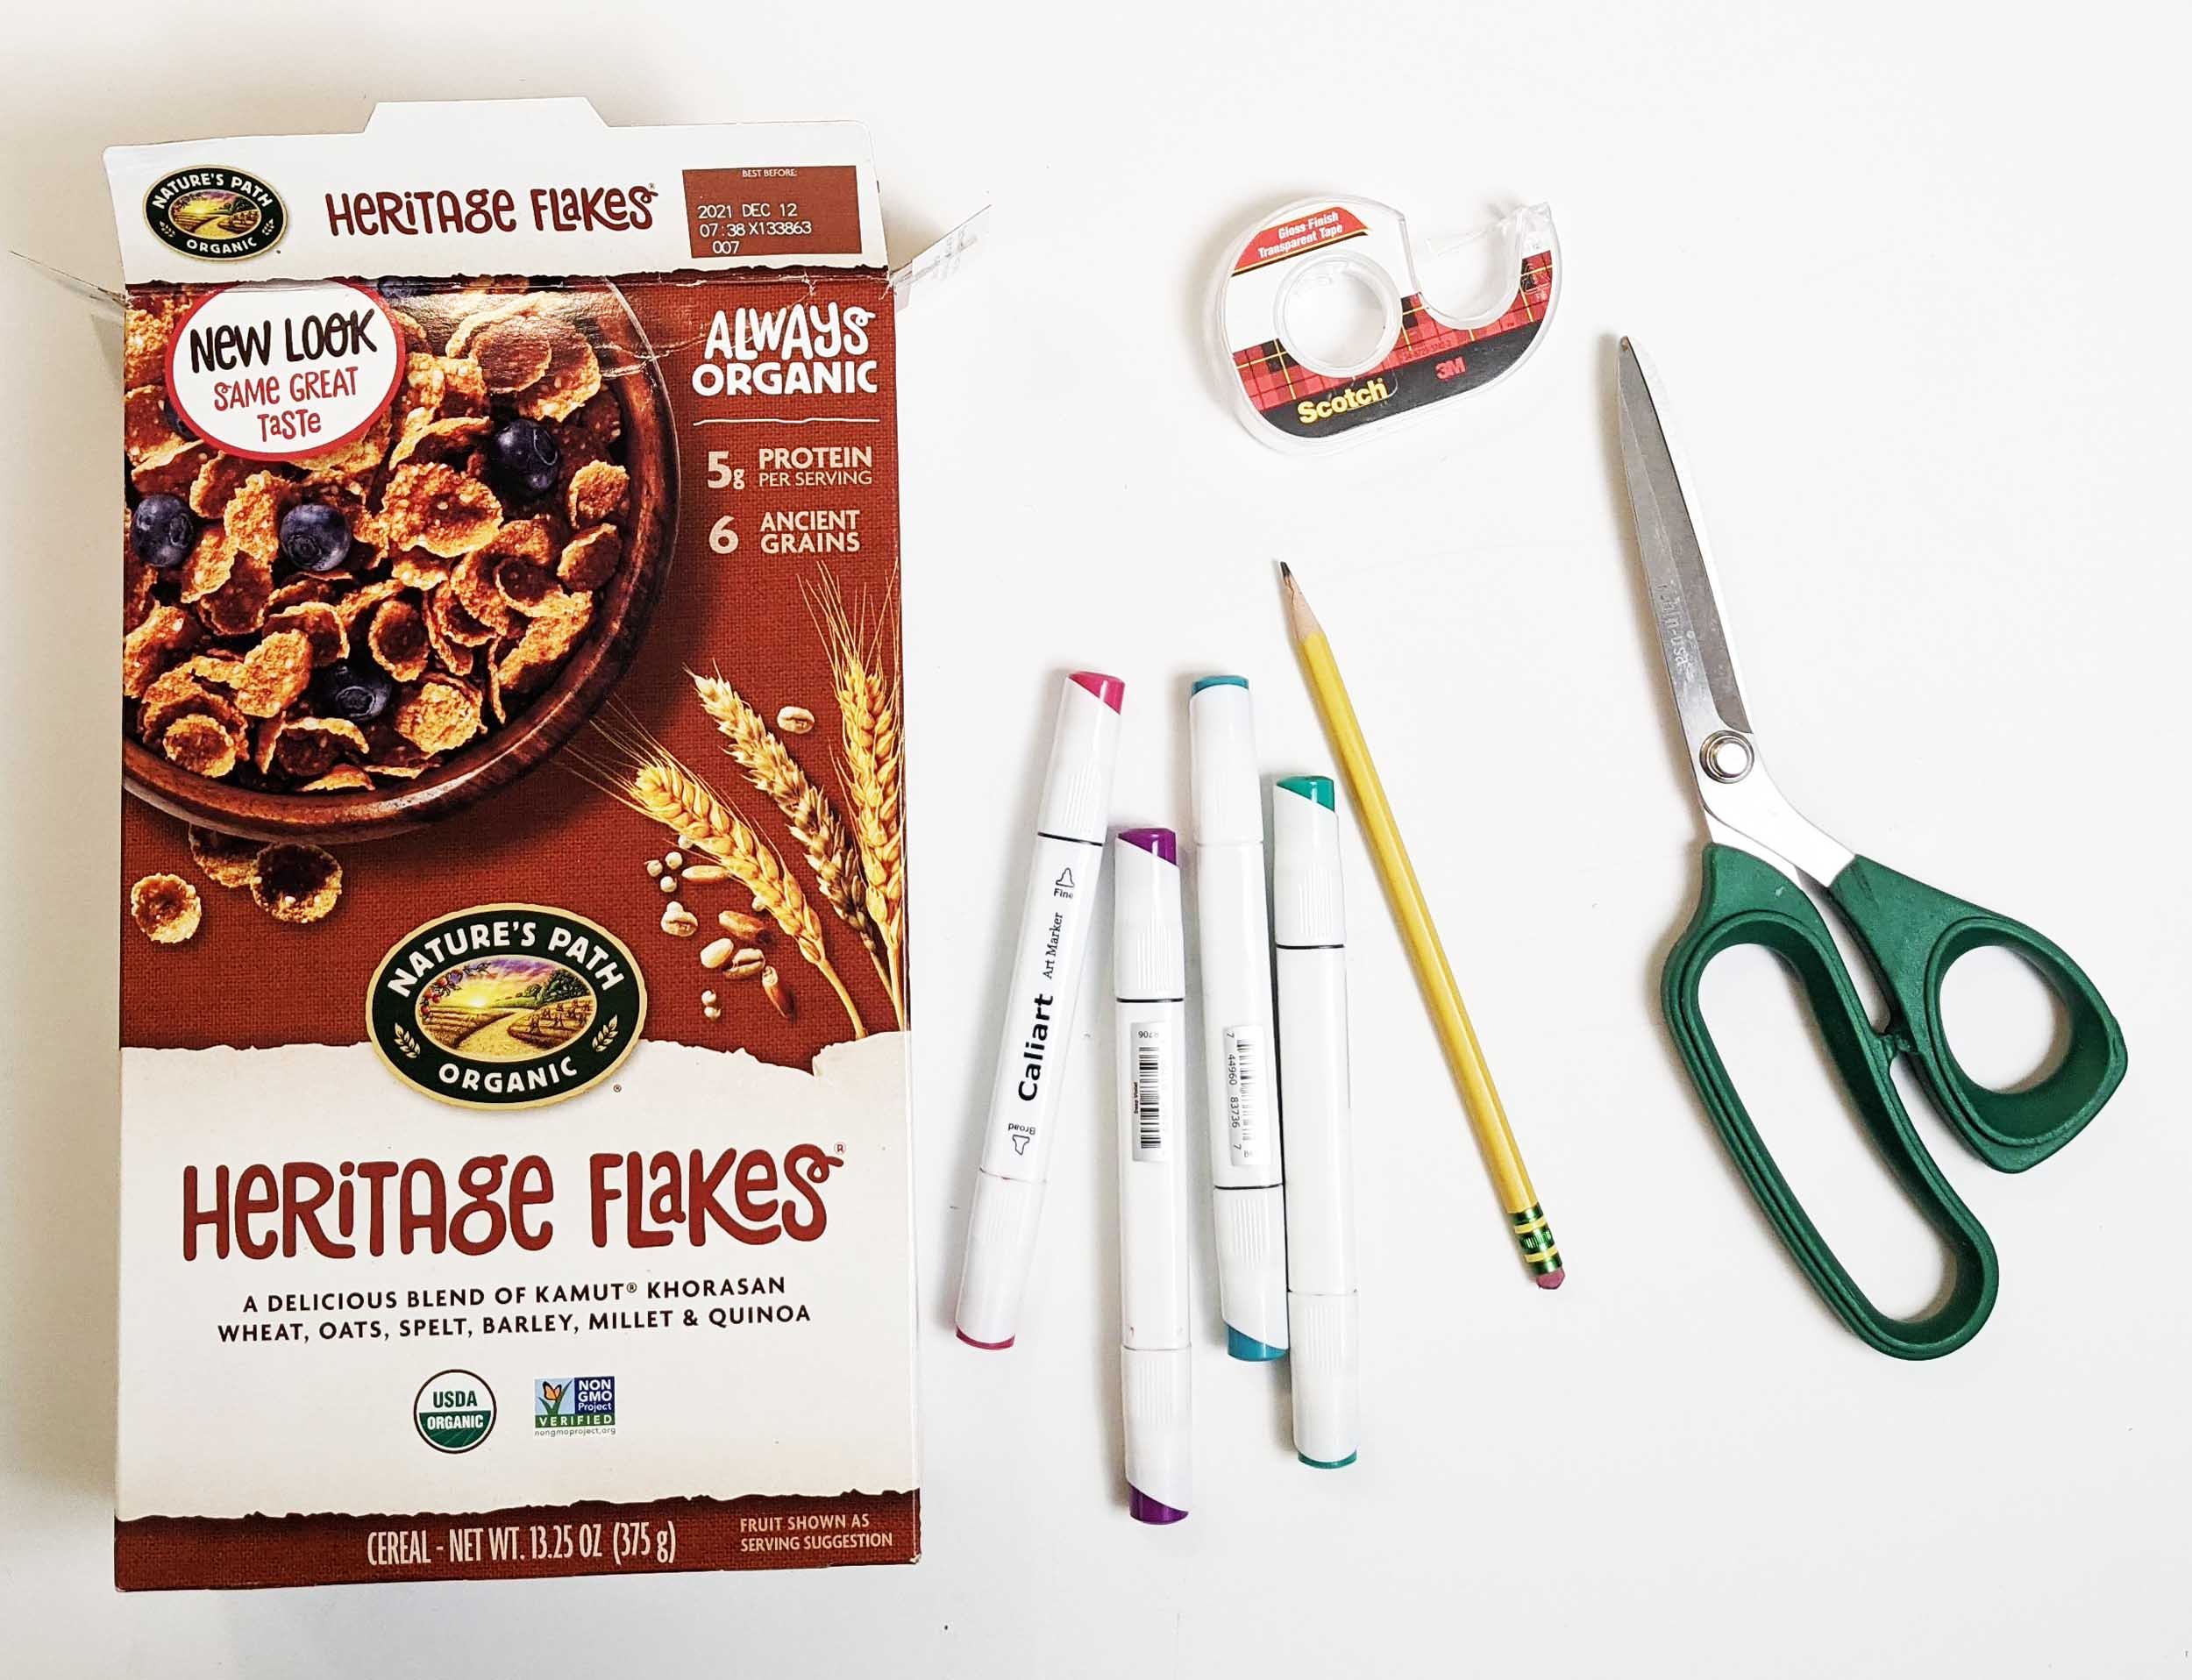
You’ll need:
an empty cereal box
scissors
tape
markers
a pencil
colored pencils or chalk marker, optional
2
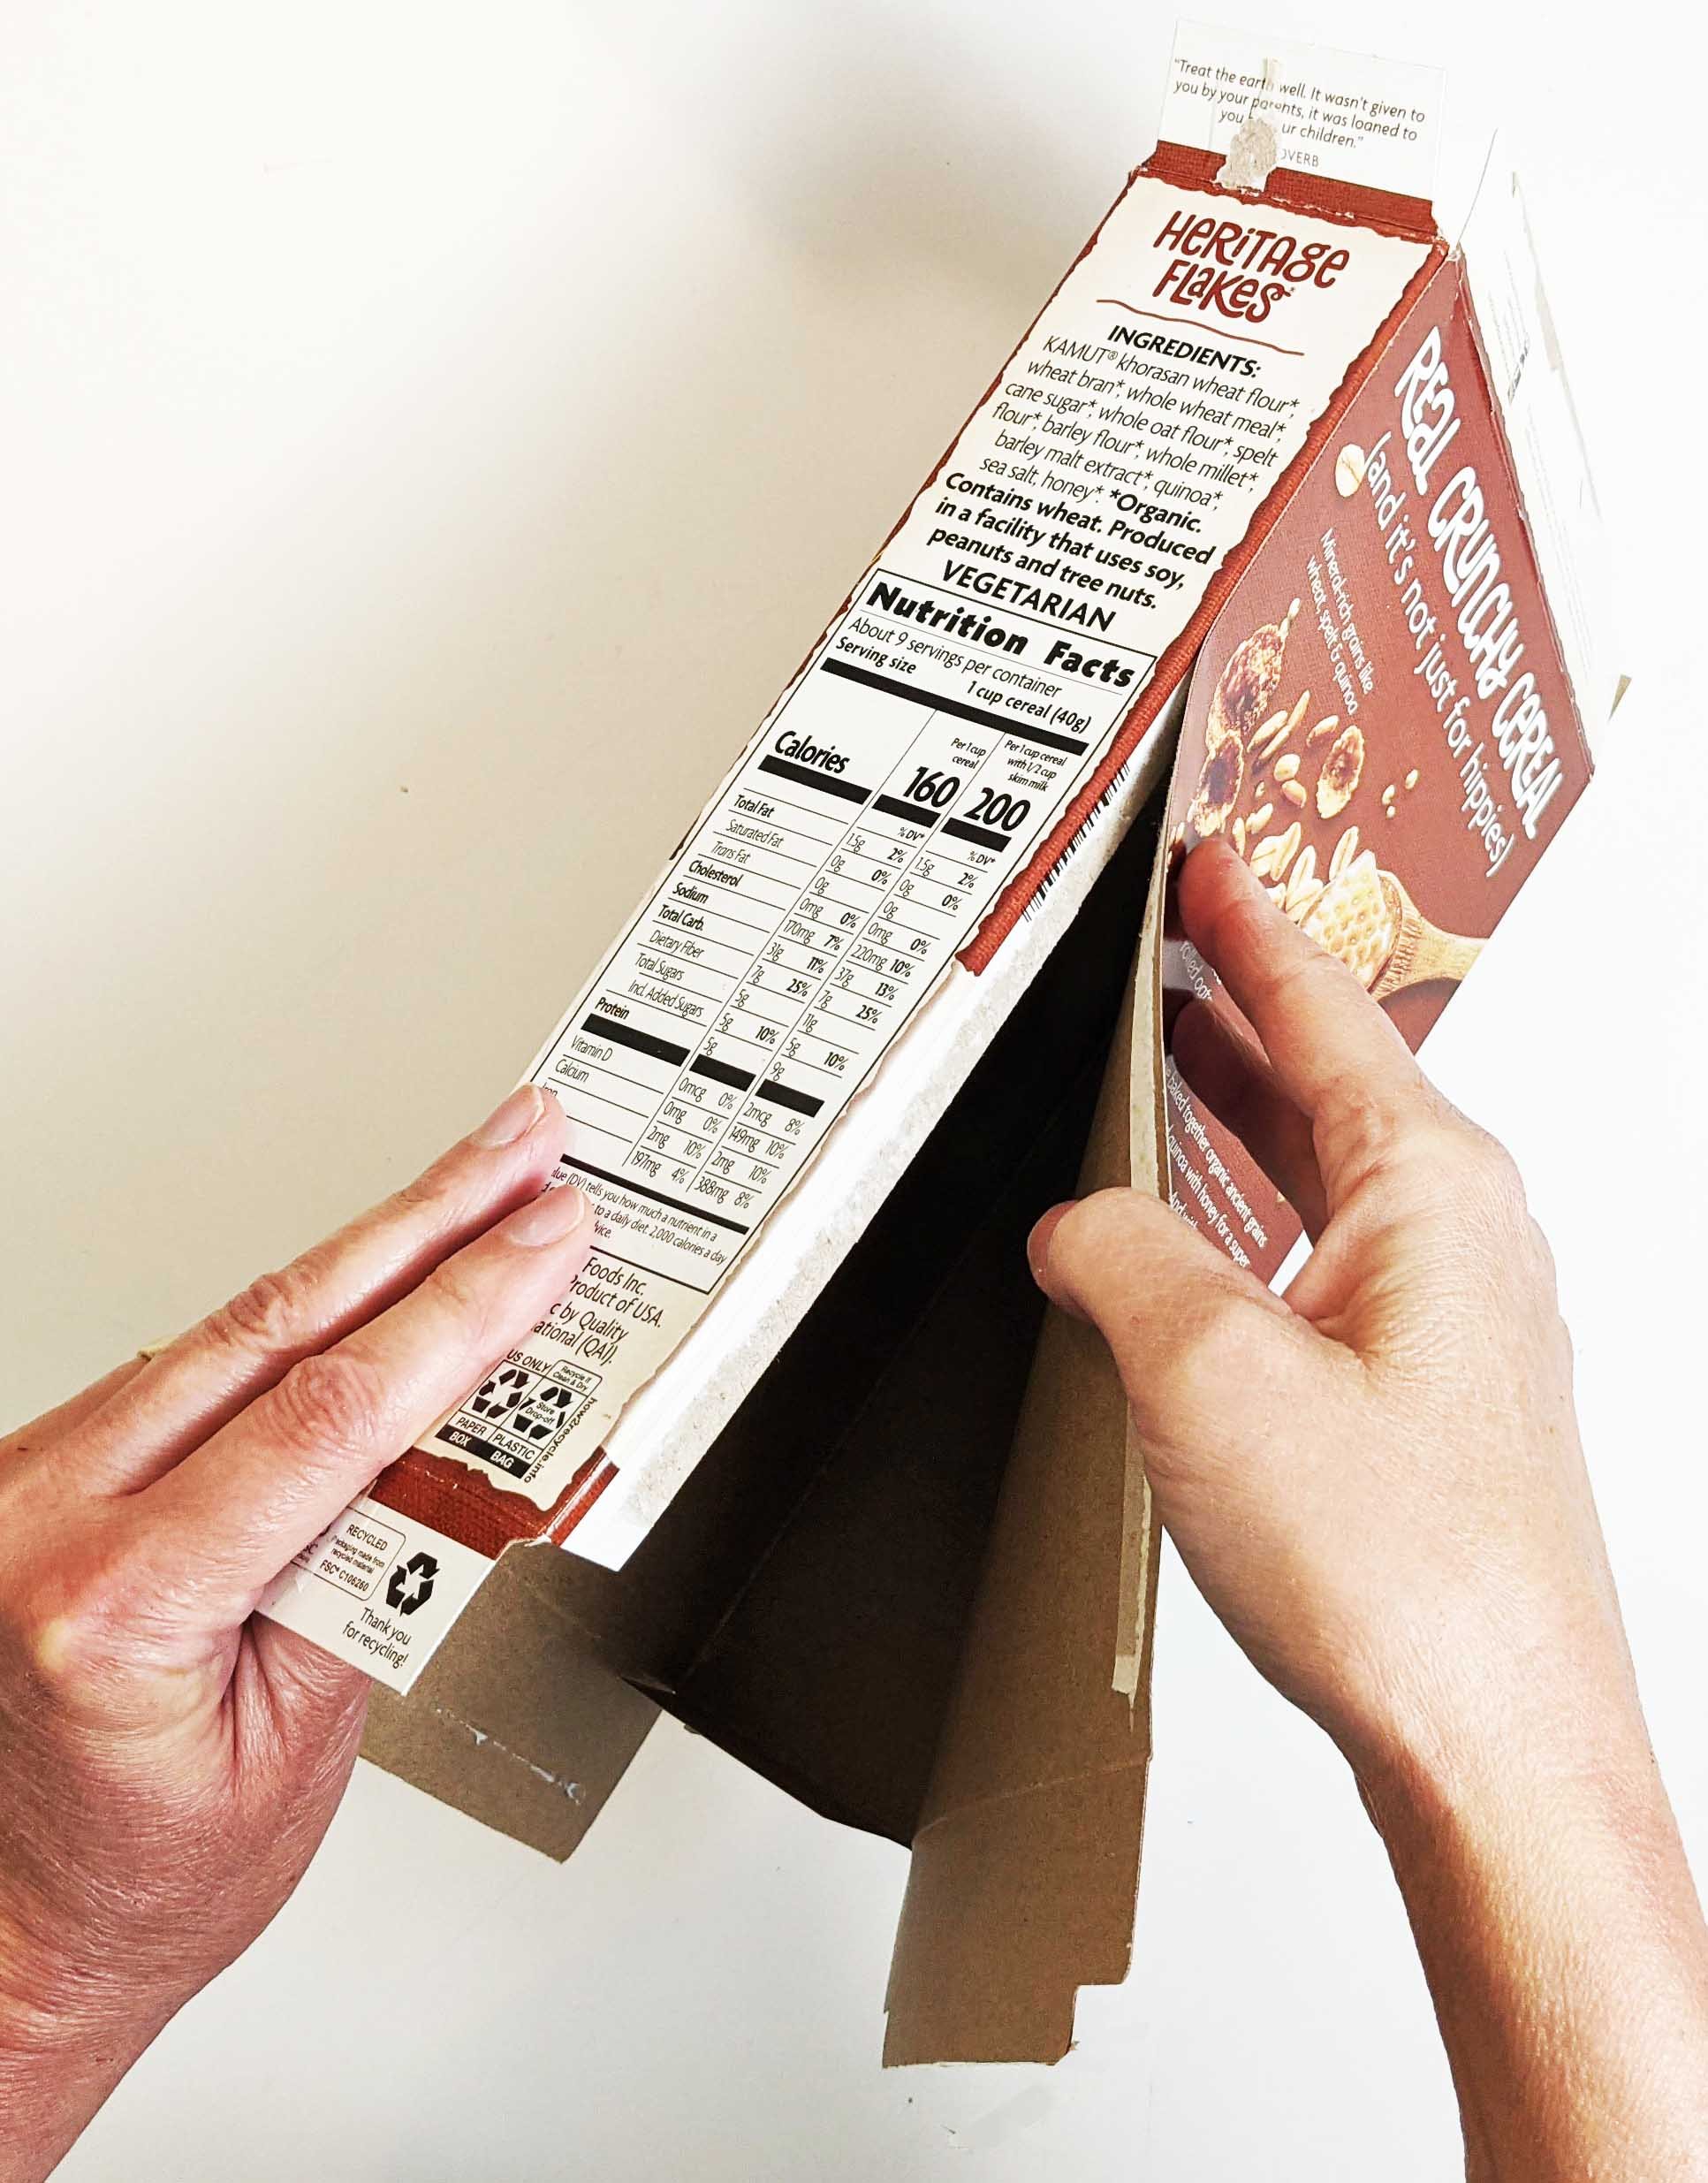
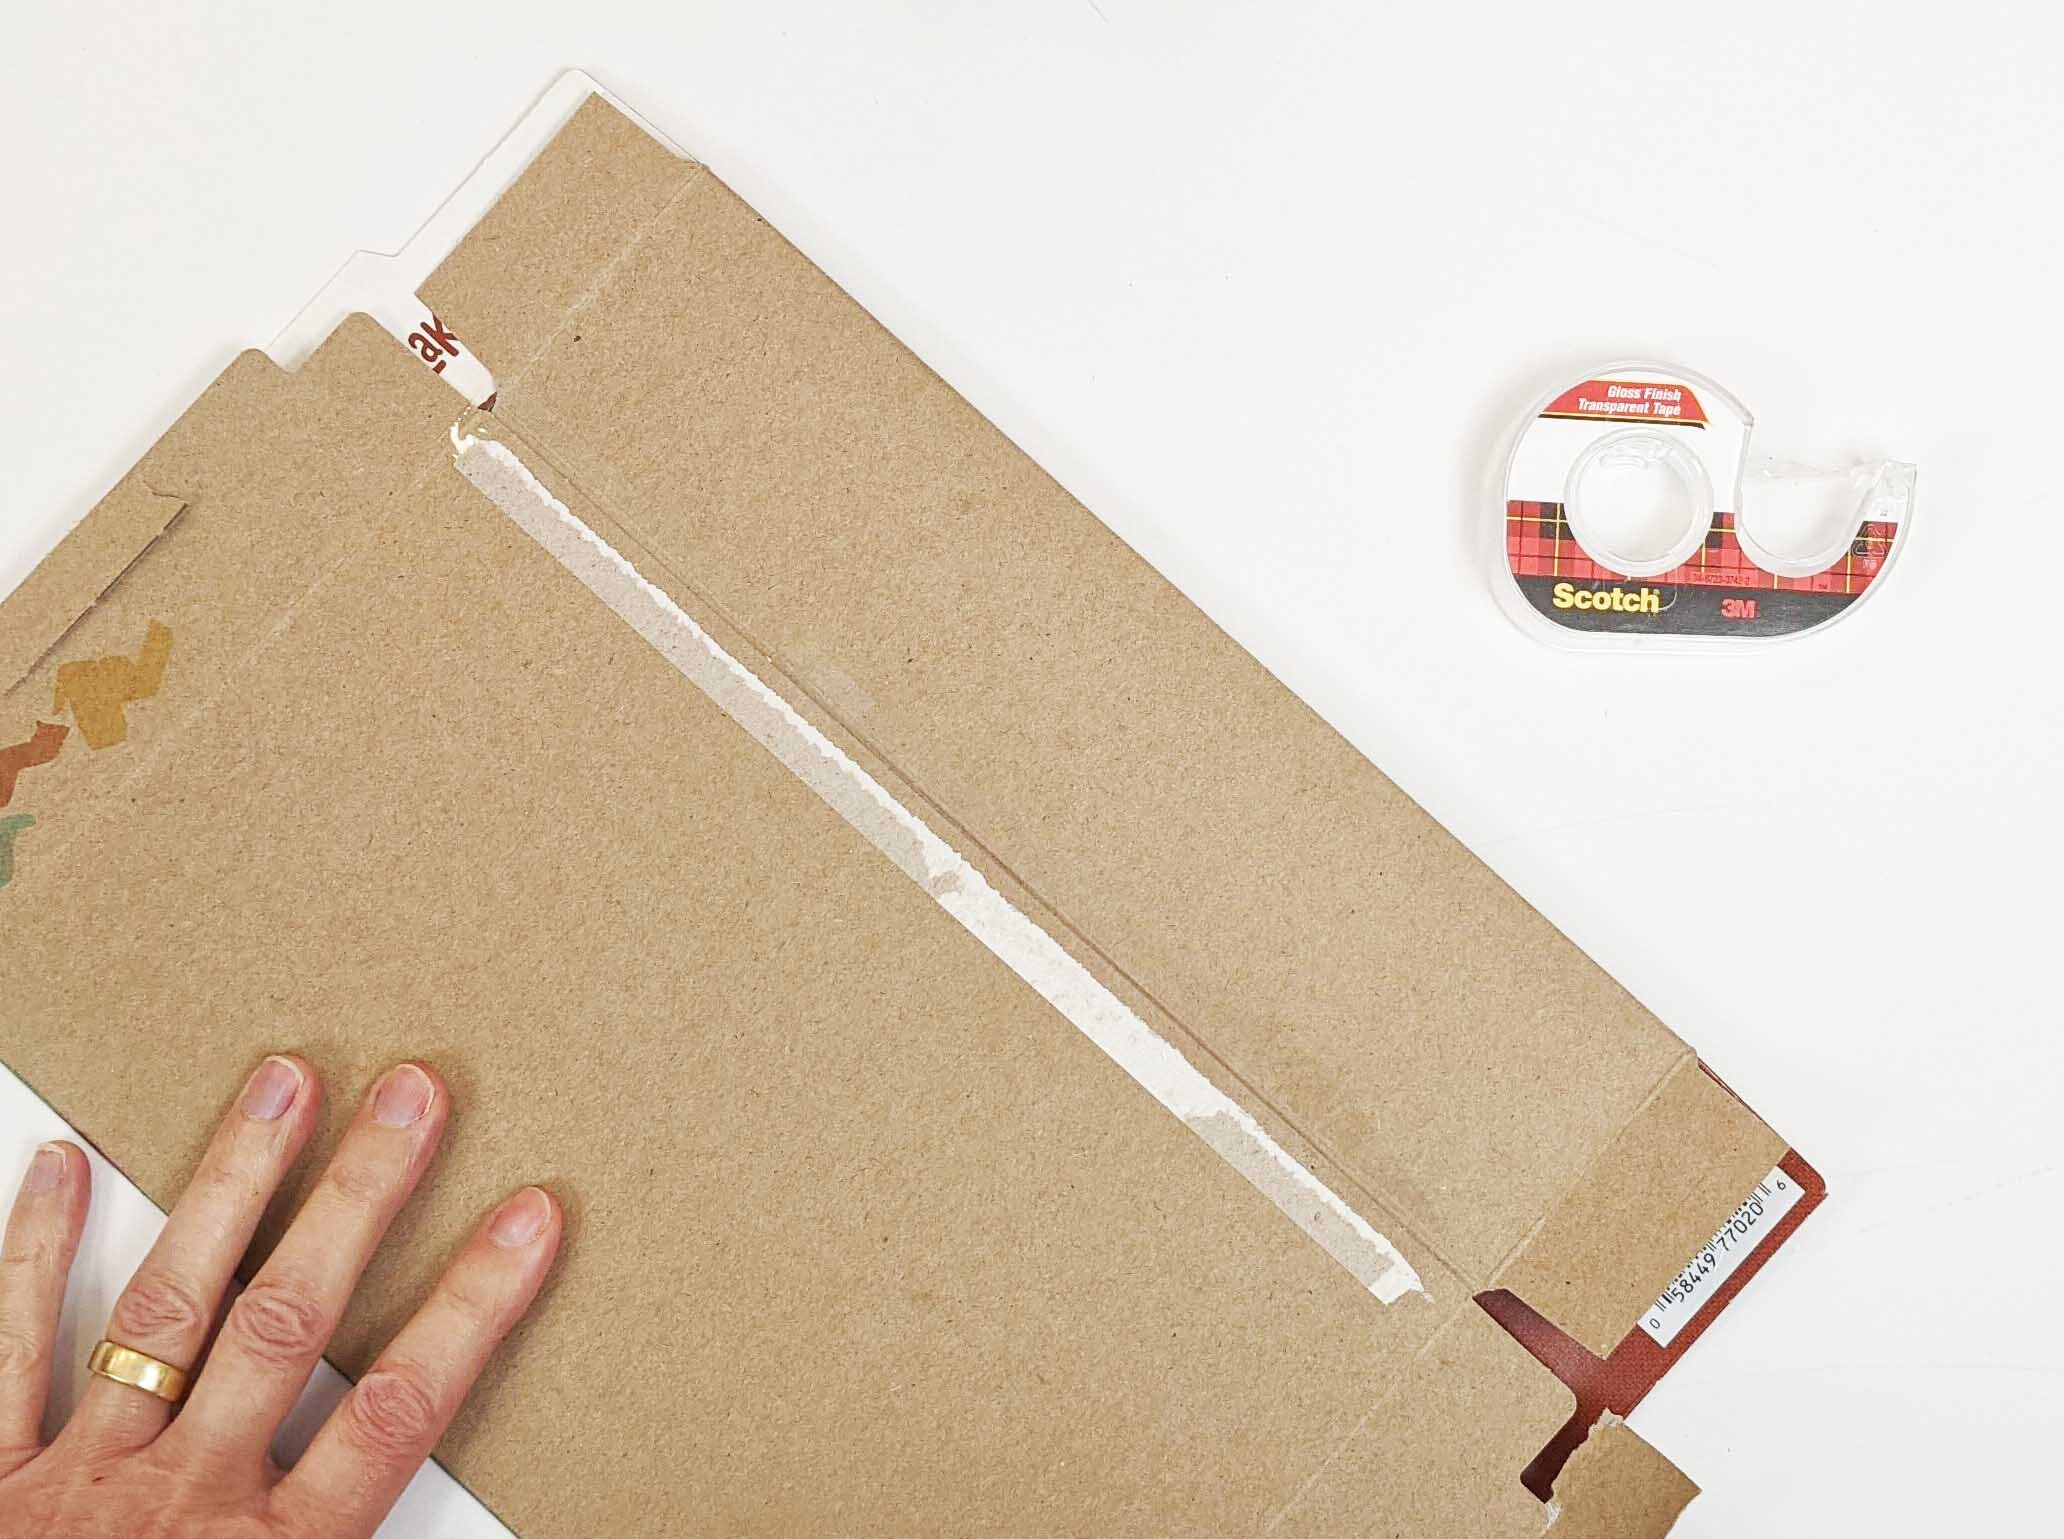
Open up the bottom of the box.
Find the side seam and open that up by gently separating the edges. It’s okay if the paper peels. If the glue is stubborn try starting from the other end.
Lay out your box with the plain side up.
3
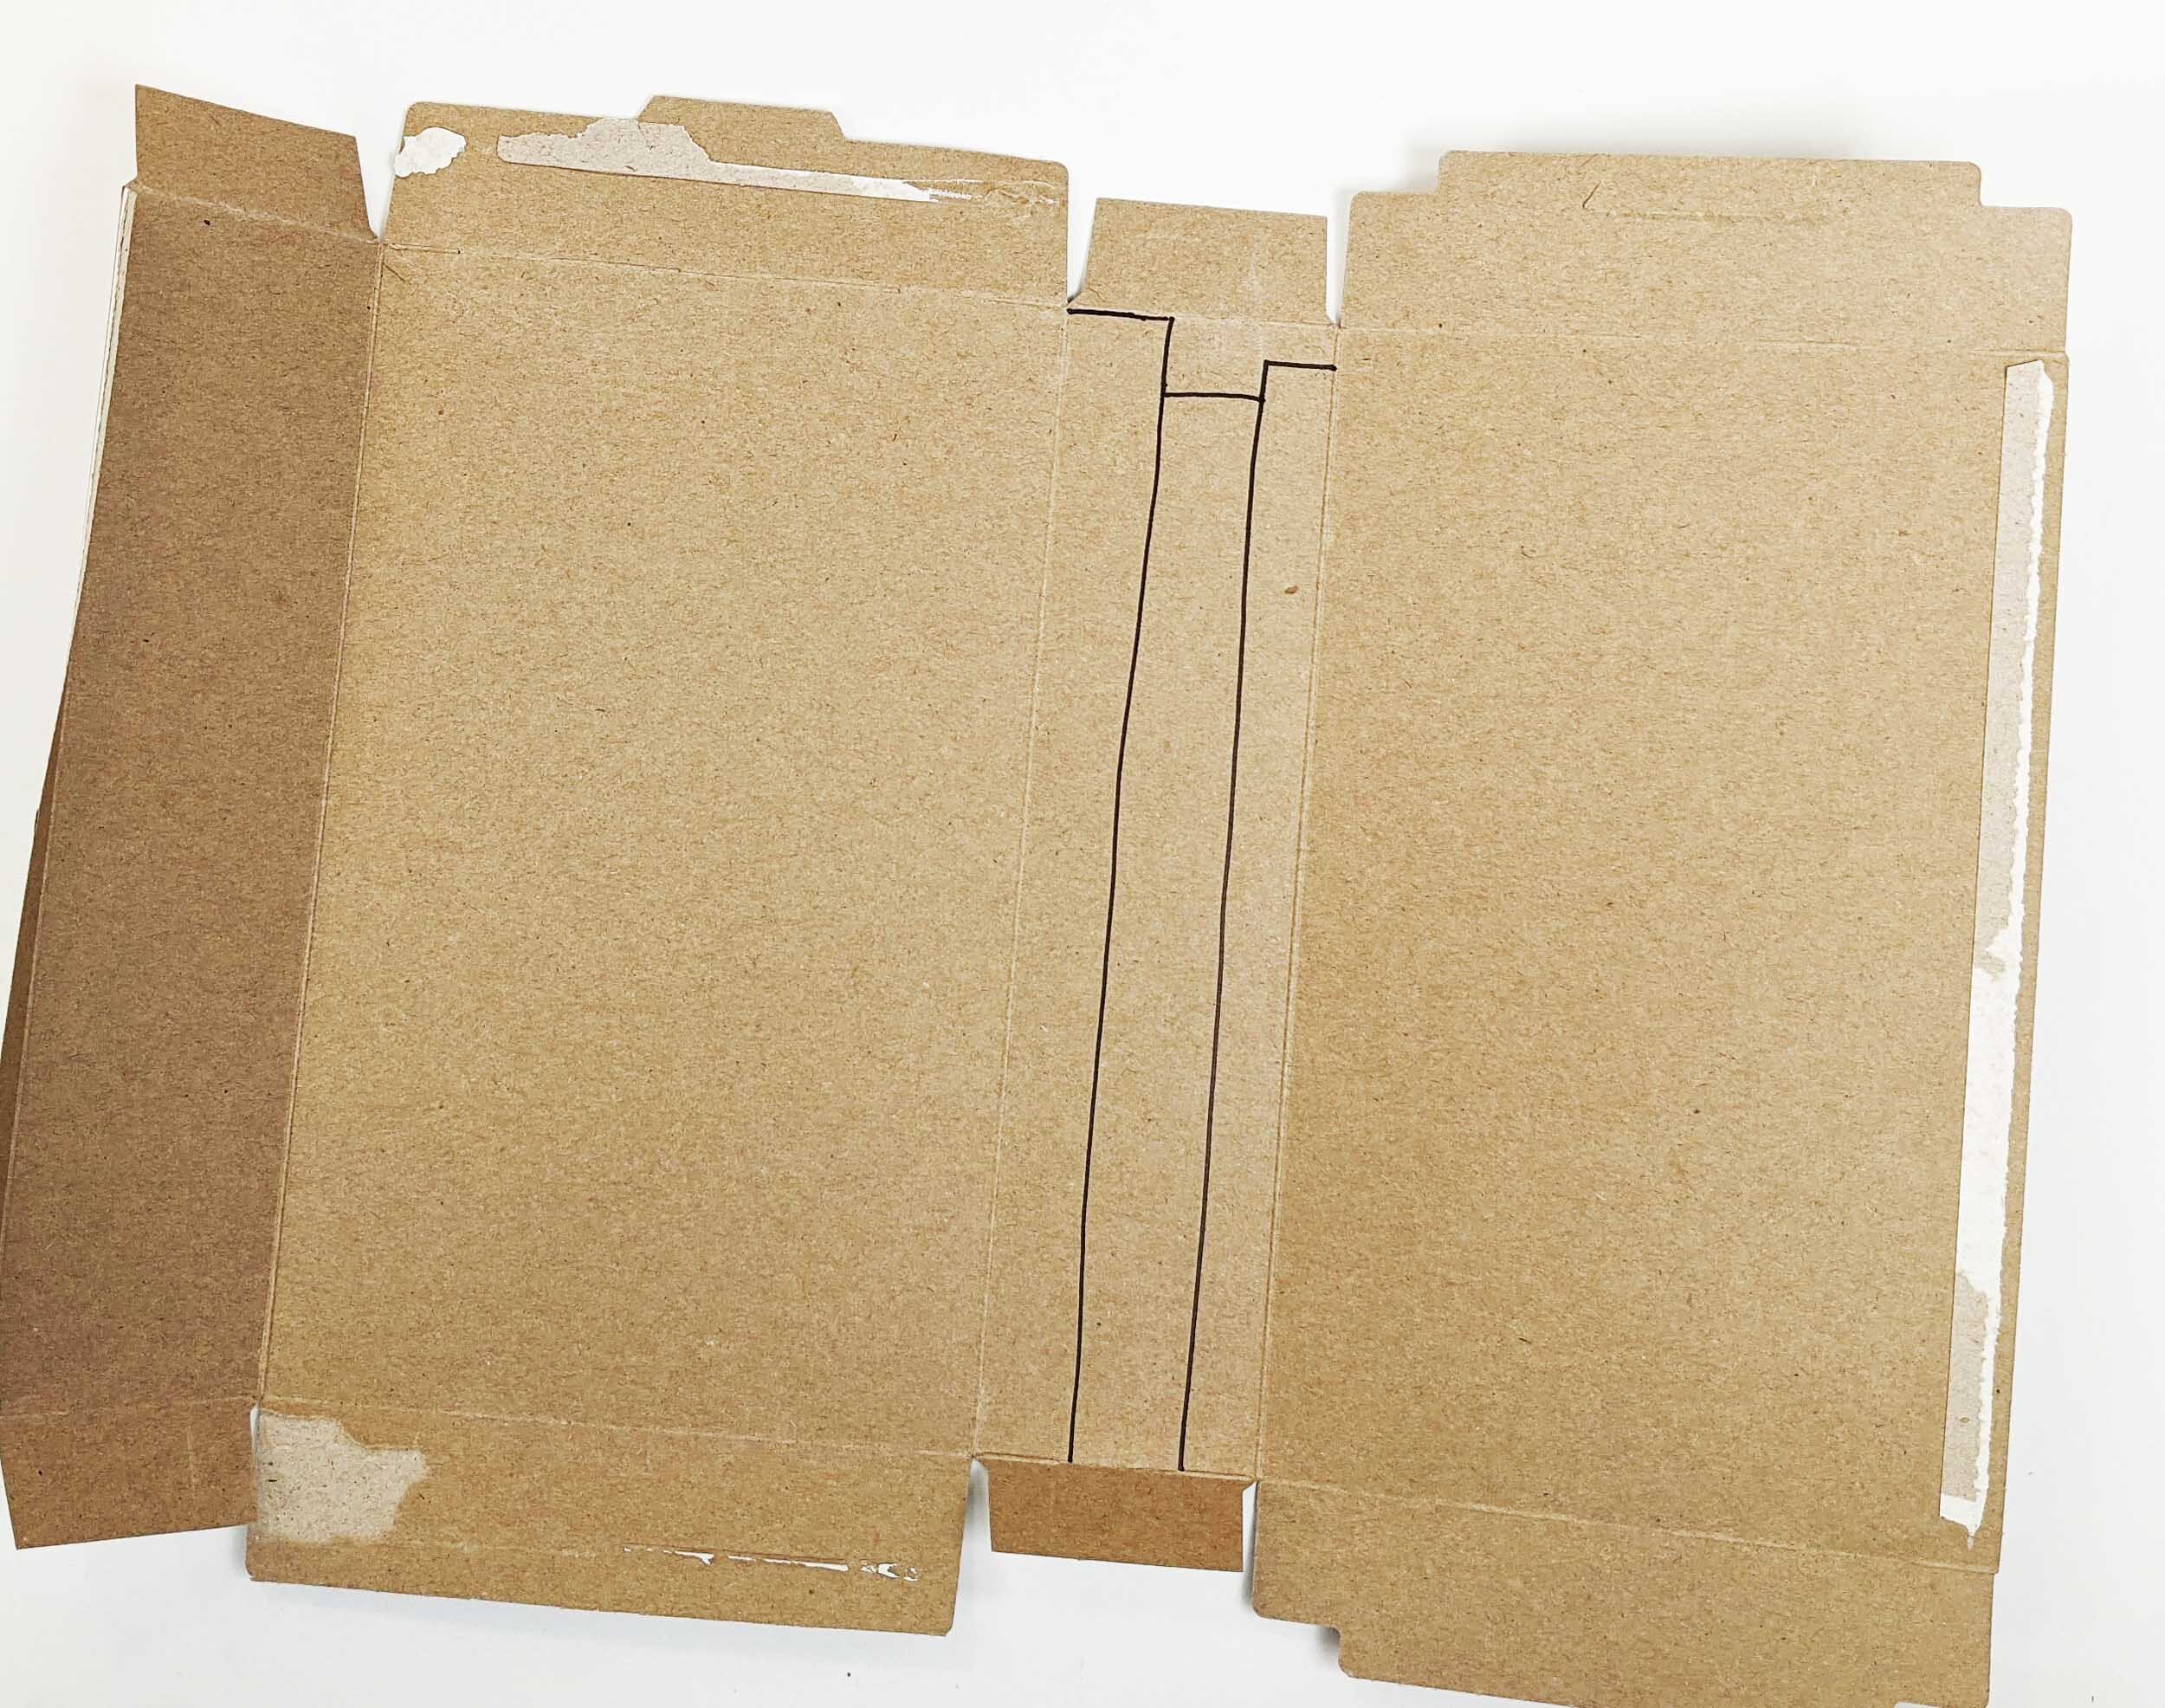
Your box has two narrow side panels. Find the one that sits between two large panels. This will be the spine of your Book Nook.
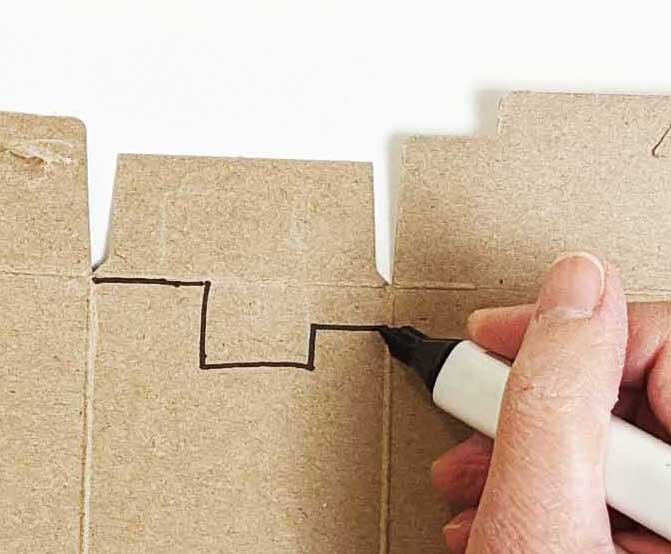
With the pencil draw two or three book spine tops at slightly different heights that look good to you. I’m using marker here to make it easier to see. Start just below the flap fold as in the photo.
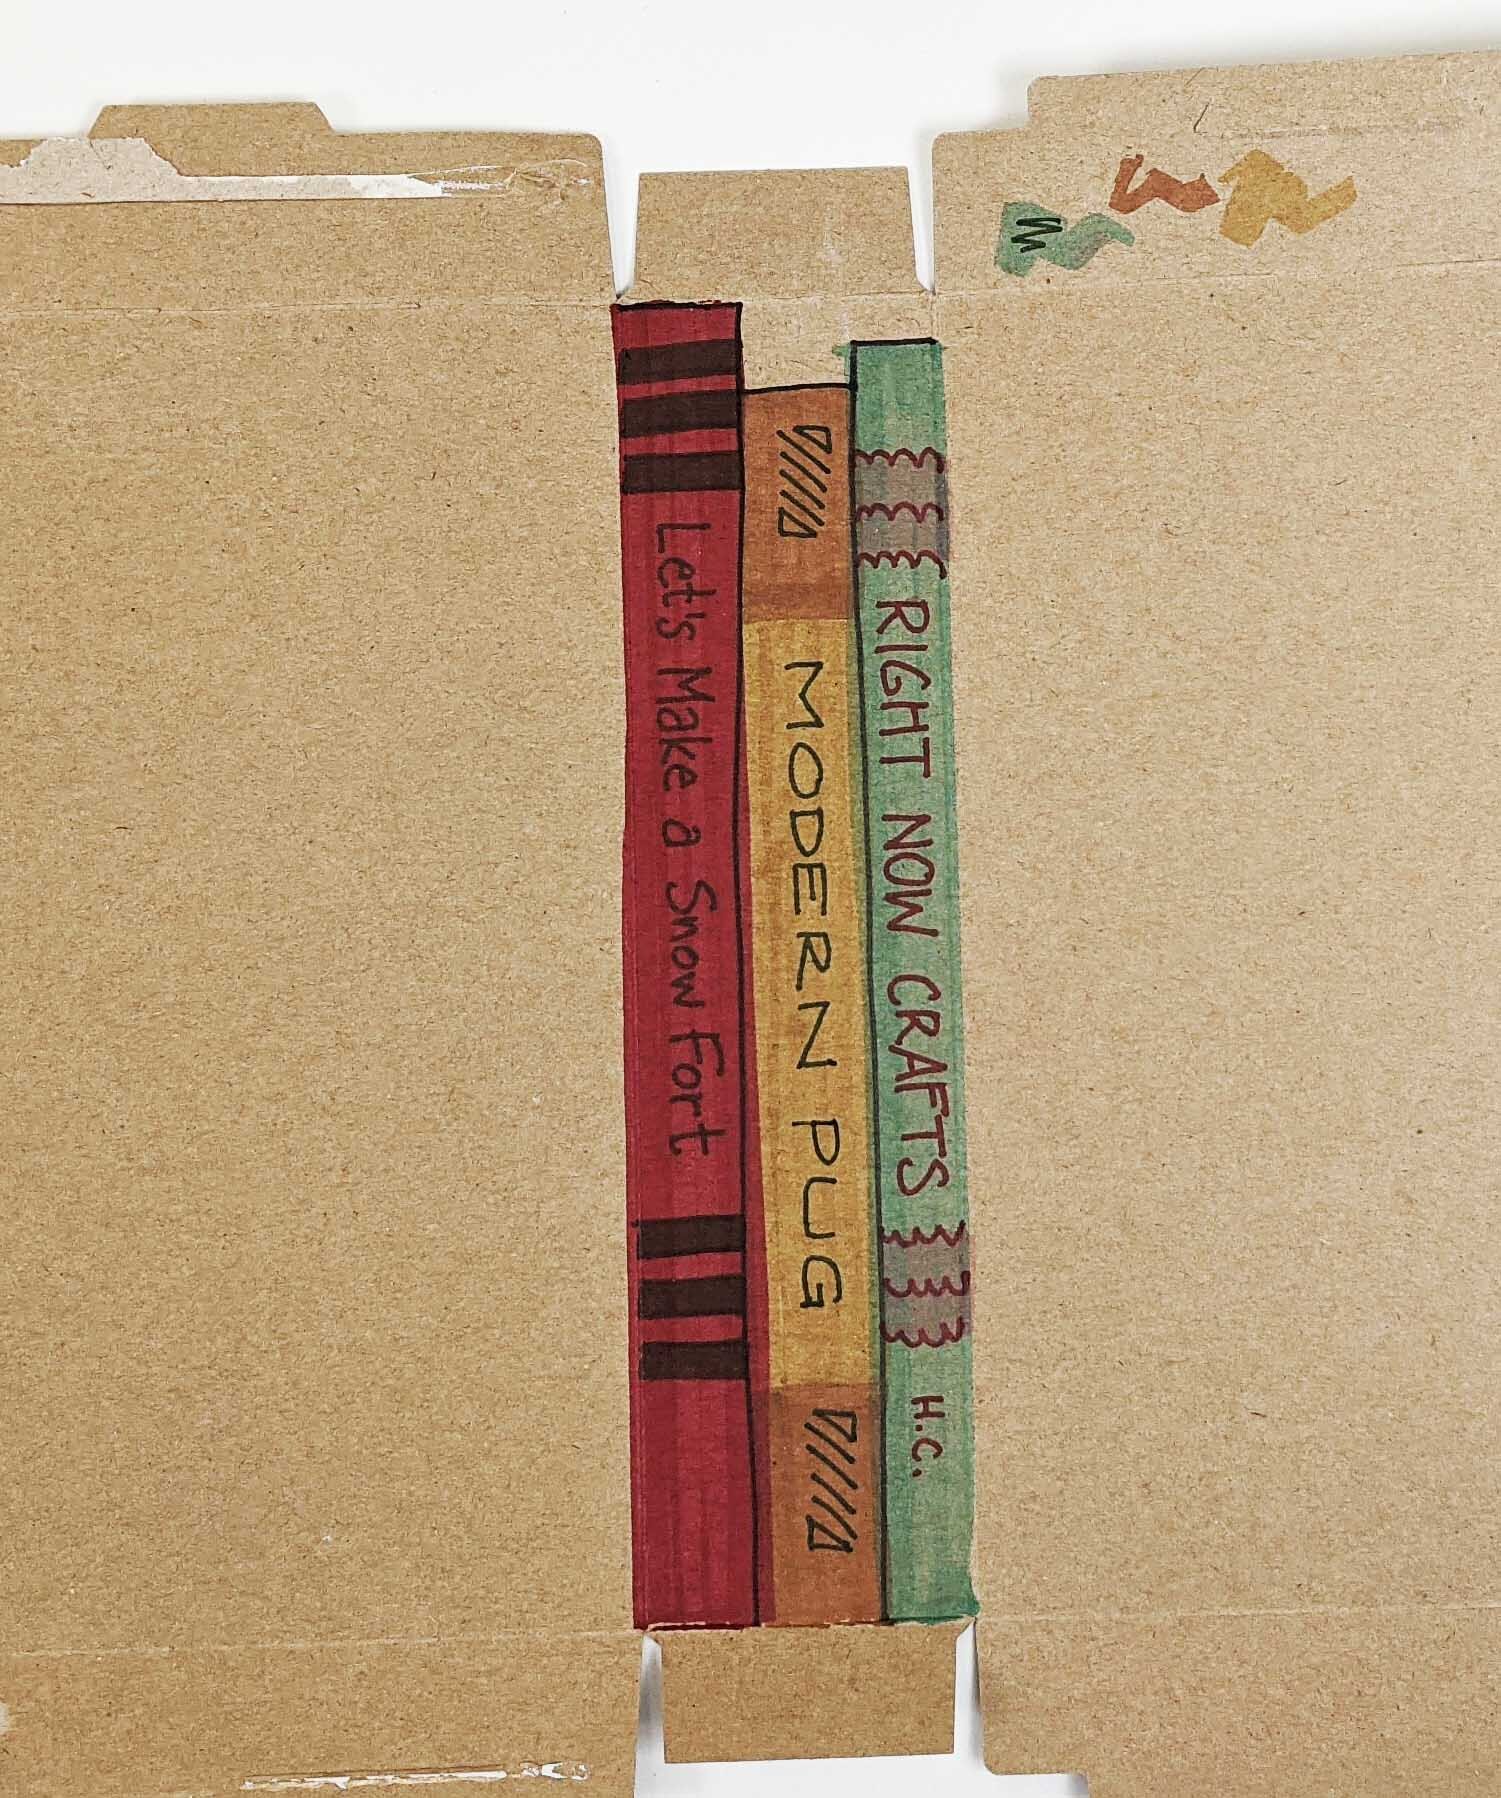
Draw lines down to create the separate book spines.
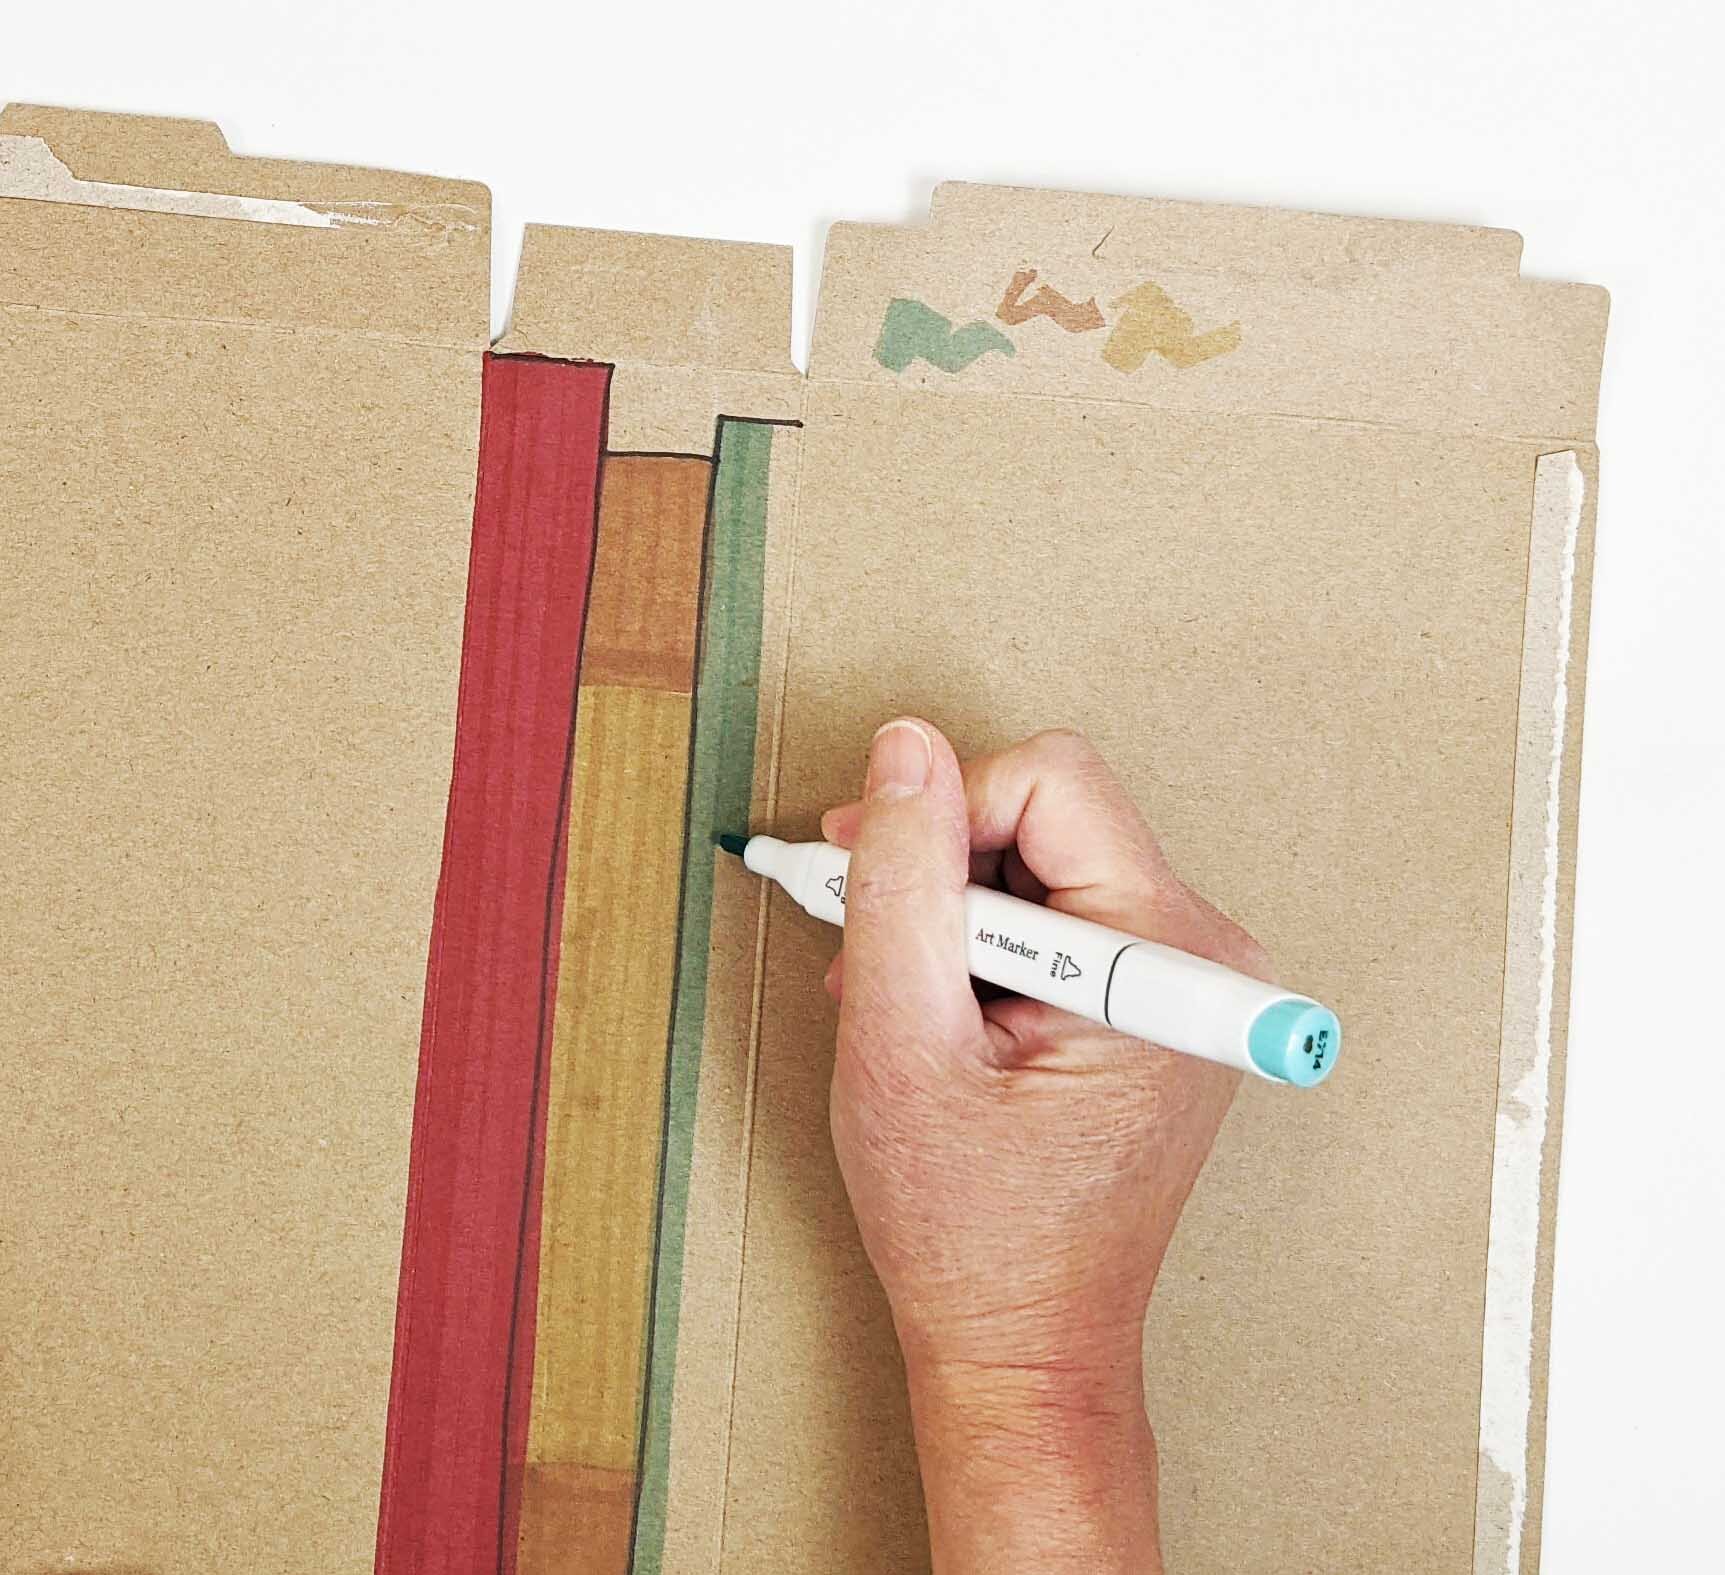
Color each spine with markers, and add the titles (see title tips below!). Keep the spine colors light if you plan to add titles with a darker color. Or color the spine dark and write the title using a white colored pencil or a chalk marker. Variety looks good.
The box flaps are a convenient place to test out colors and see how they look on the brown paper. We’ll cut them off later!
Books can have logos, lines, and other designs on the spine. Look at some real books to get ideas, or invent your own. Add an author’s name if you want!
4
Tape the side seam back together with the very narrow edge strip underneath.
Next, square your box back into shape. If the tape on the side seams pops open from being bent, just add more tape to seal.
Tape the bottom of the box closed.
5
On each side, cut from the back corner of the box to the front corner of your drawn-on books.
Now cut out the top edges of the spines — you might find it easiest to make all the downward cuts, then cut across the tops of the spines.
Cut off any remaining top flap.
That’s it — your Book Nook is ready to keep your secrets and look amazing on your shelf. Mix it in with real books for extra camoflage. What will you put inside? A Book Nook is a great place to keep notes and letters, photos, and any paper or lightweight items that are special to you!
and try this:
Full Cover Art
You can color in the whole front cover and back cover of your books while your Book Nook is still flat, before you tape up the side seam. Take a look at some real books for inspiration if you like. Maybe you want to add an author picture and bio like they do on back covers, or list the other titles in your imaginary book series.
Front covers can be as simple as one color and a title, or as fancy as you want to get!
Extra-Easy Book Nook
For a Book Nook with all the style and less work, just skip the step of drawing different-height spines. Instead make all your books as tall as the box. Color them different ways, or make them a two- or three-volume set.
Easiest Book Nook: Skip drawing the spines altogether and make one big book!
Thank you for reading! If you have questions, please drop me a line.

