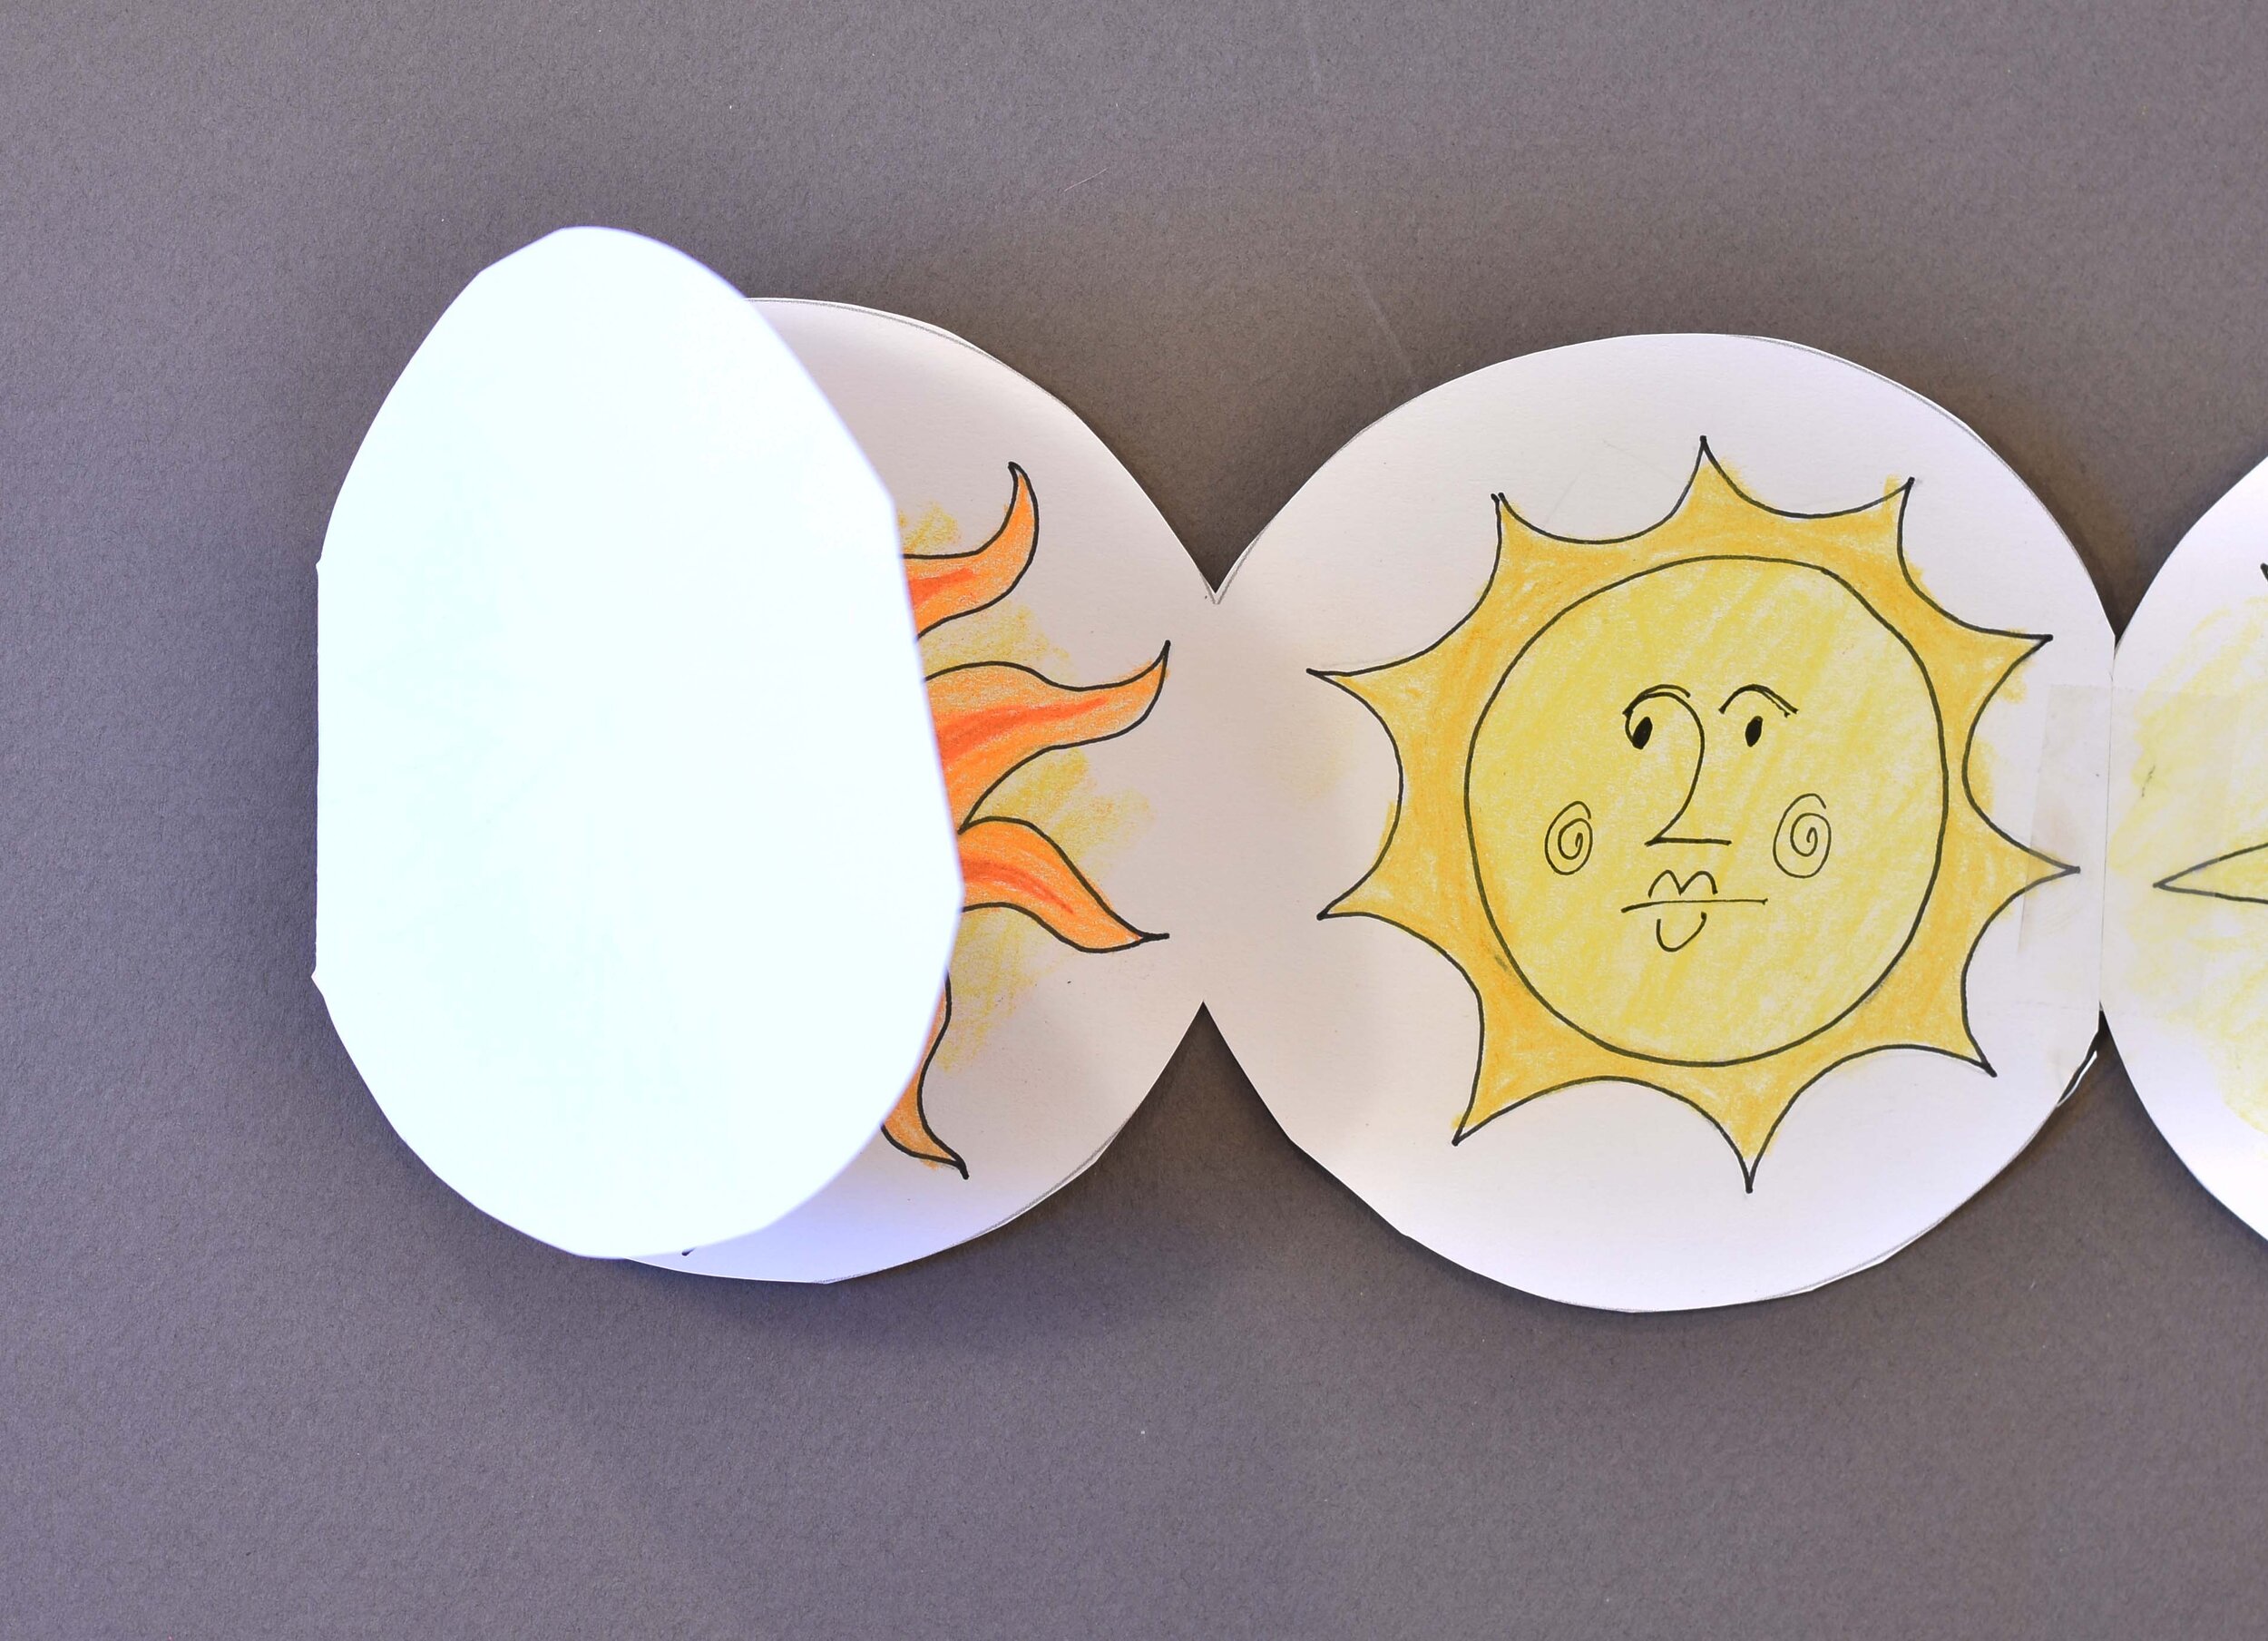
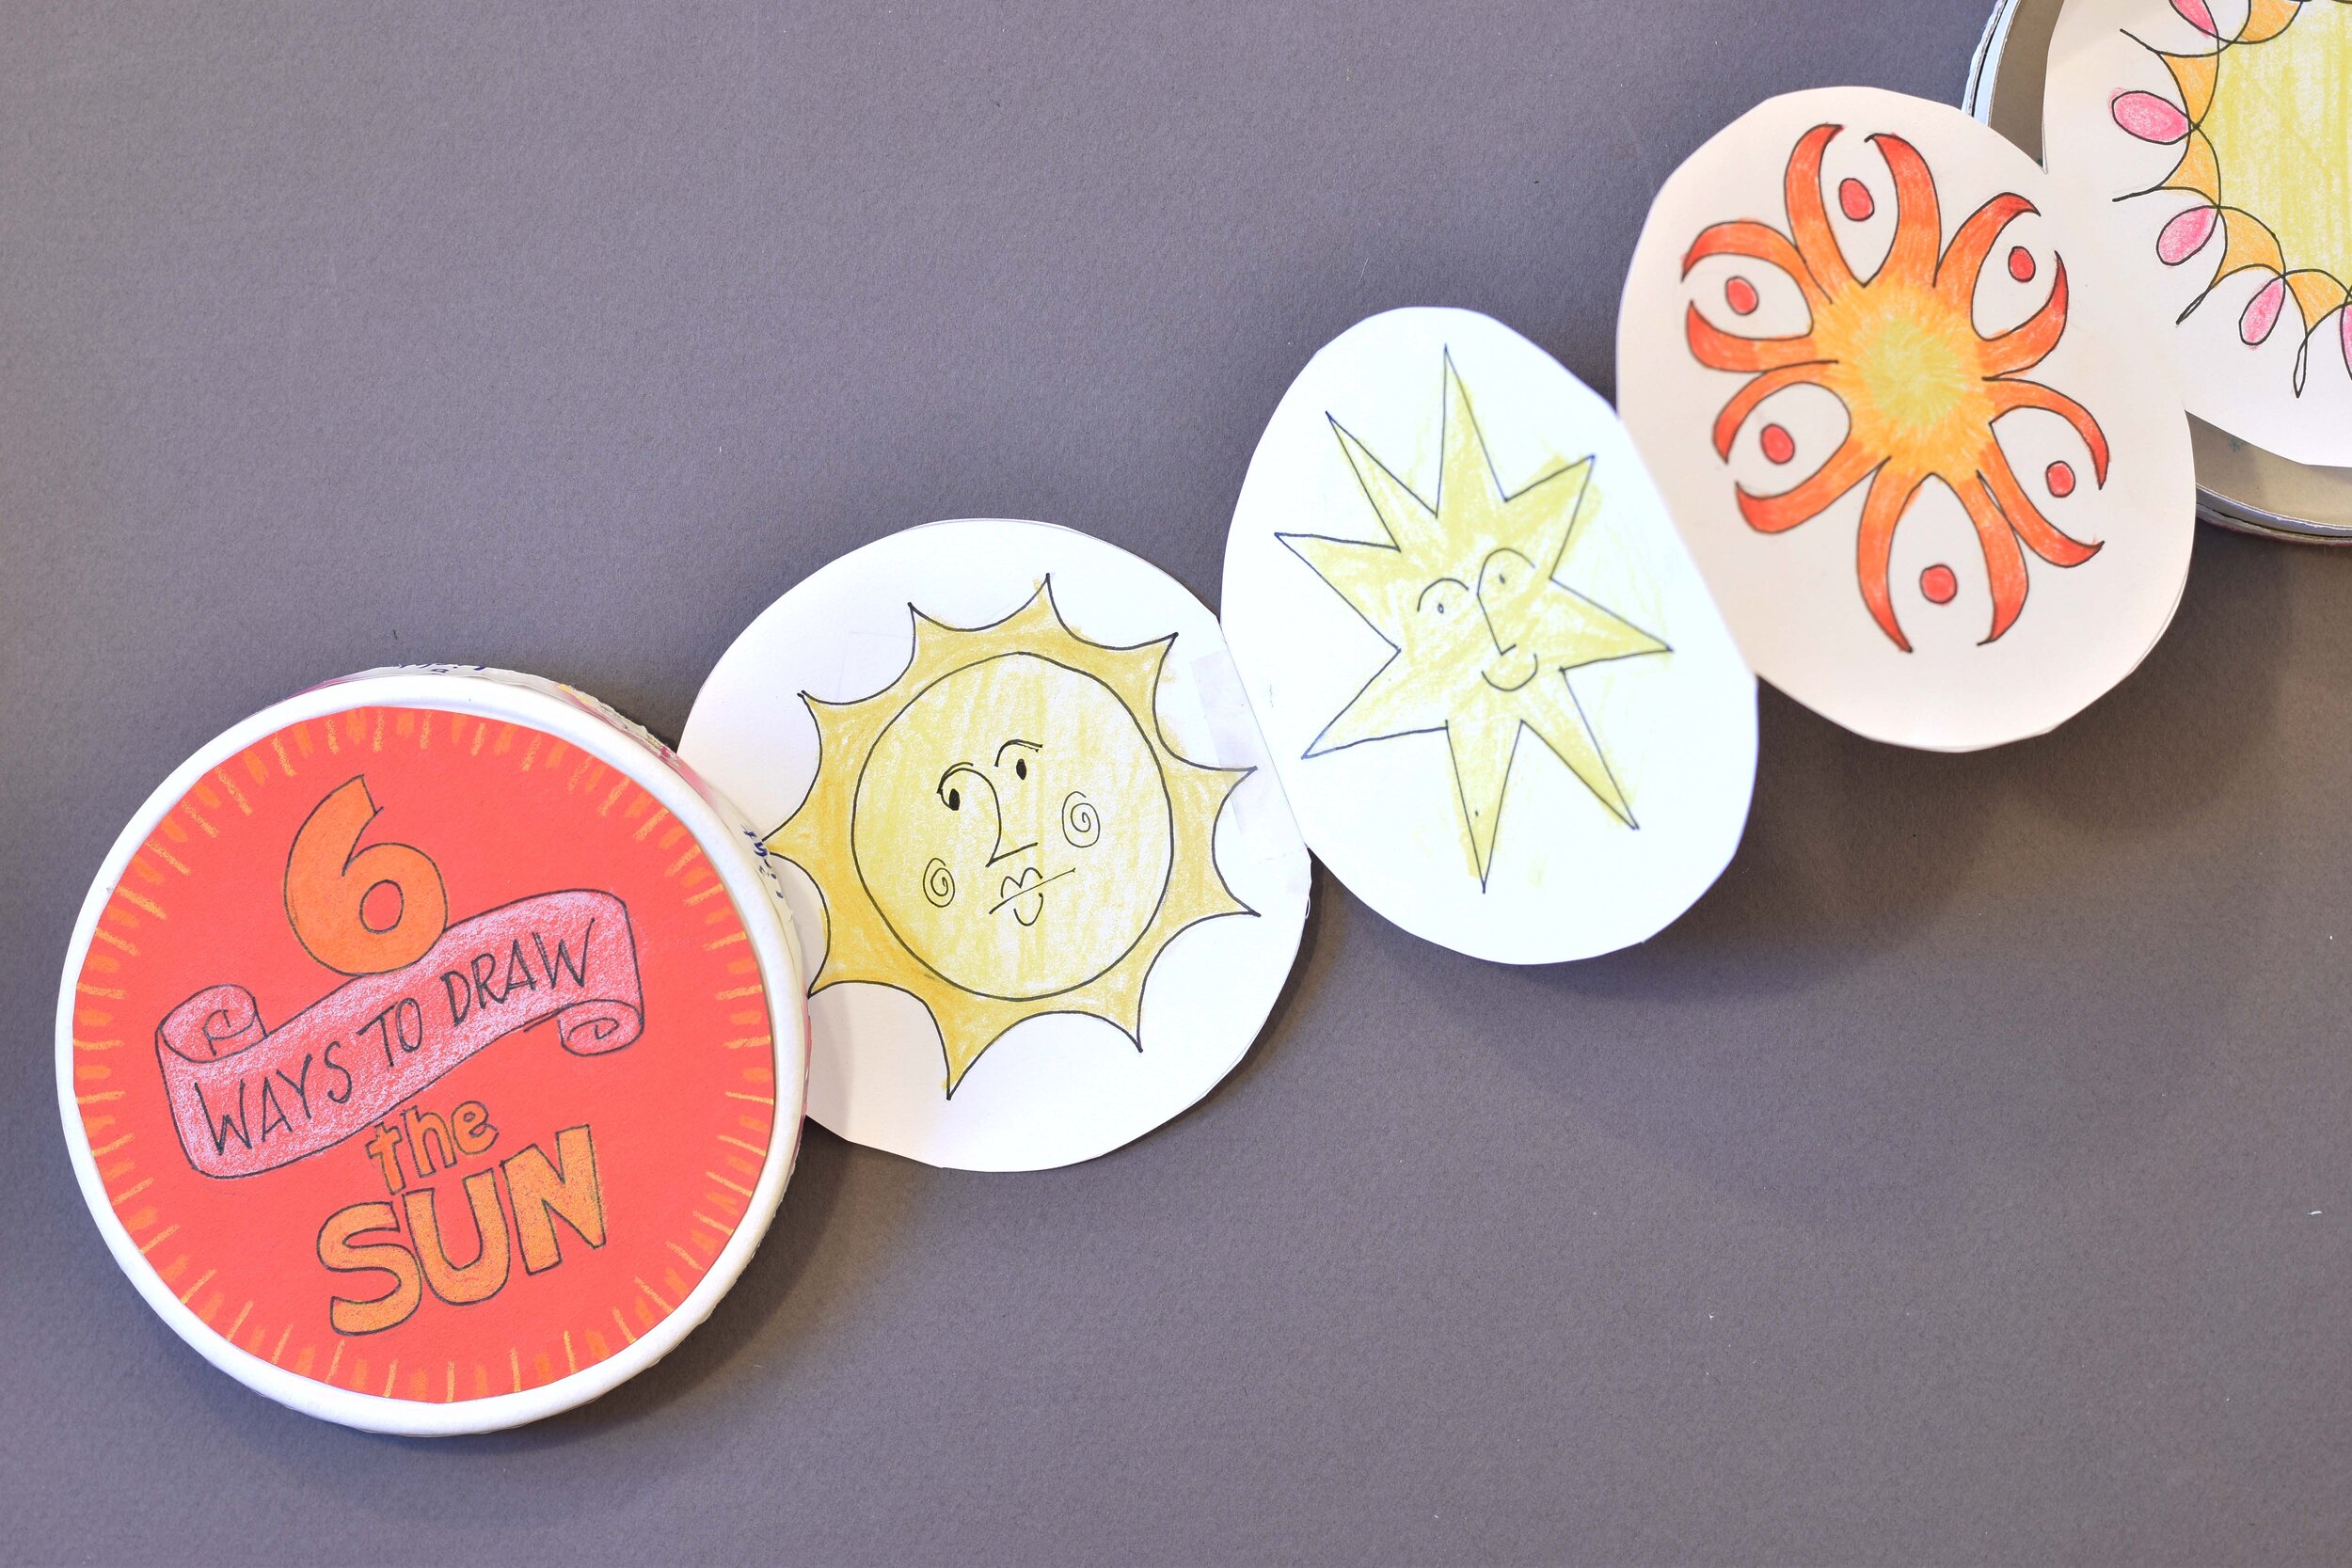
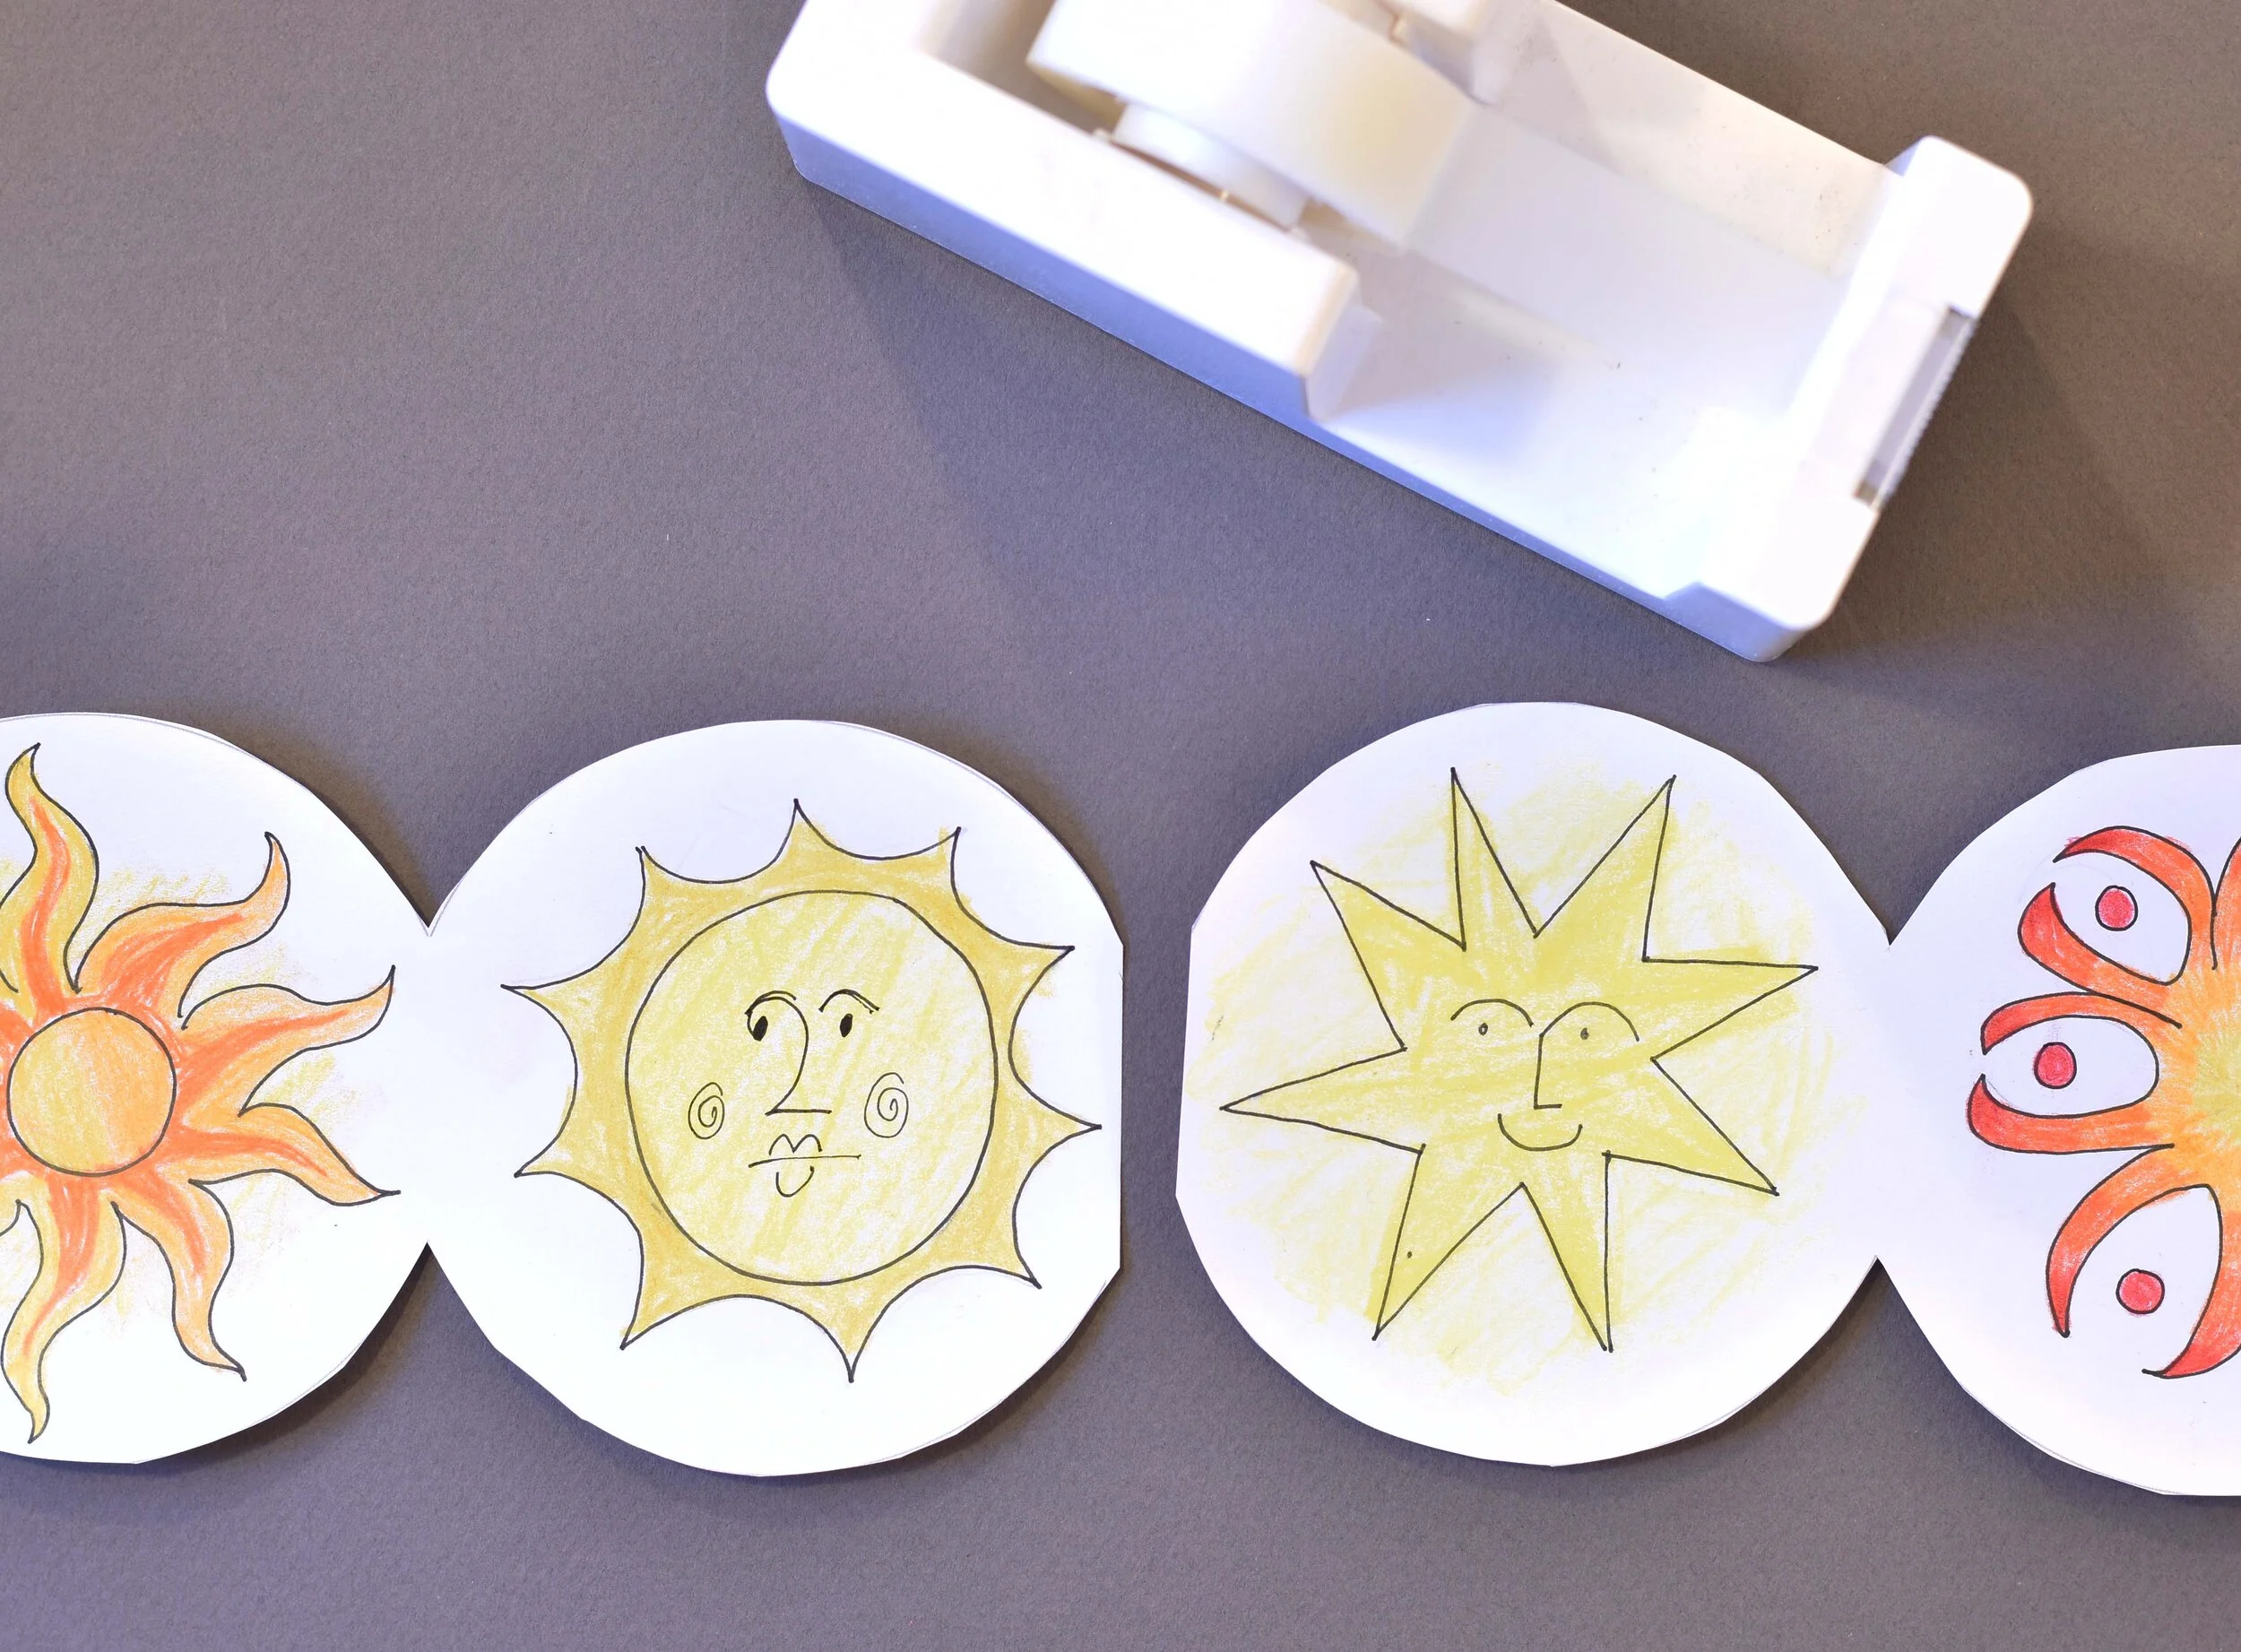
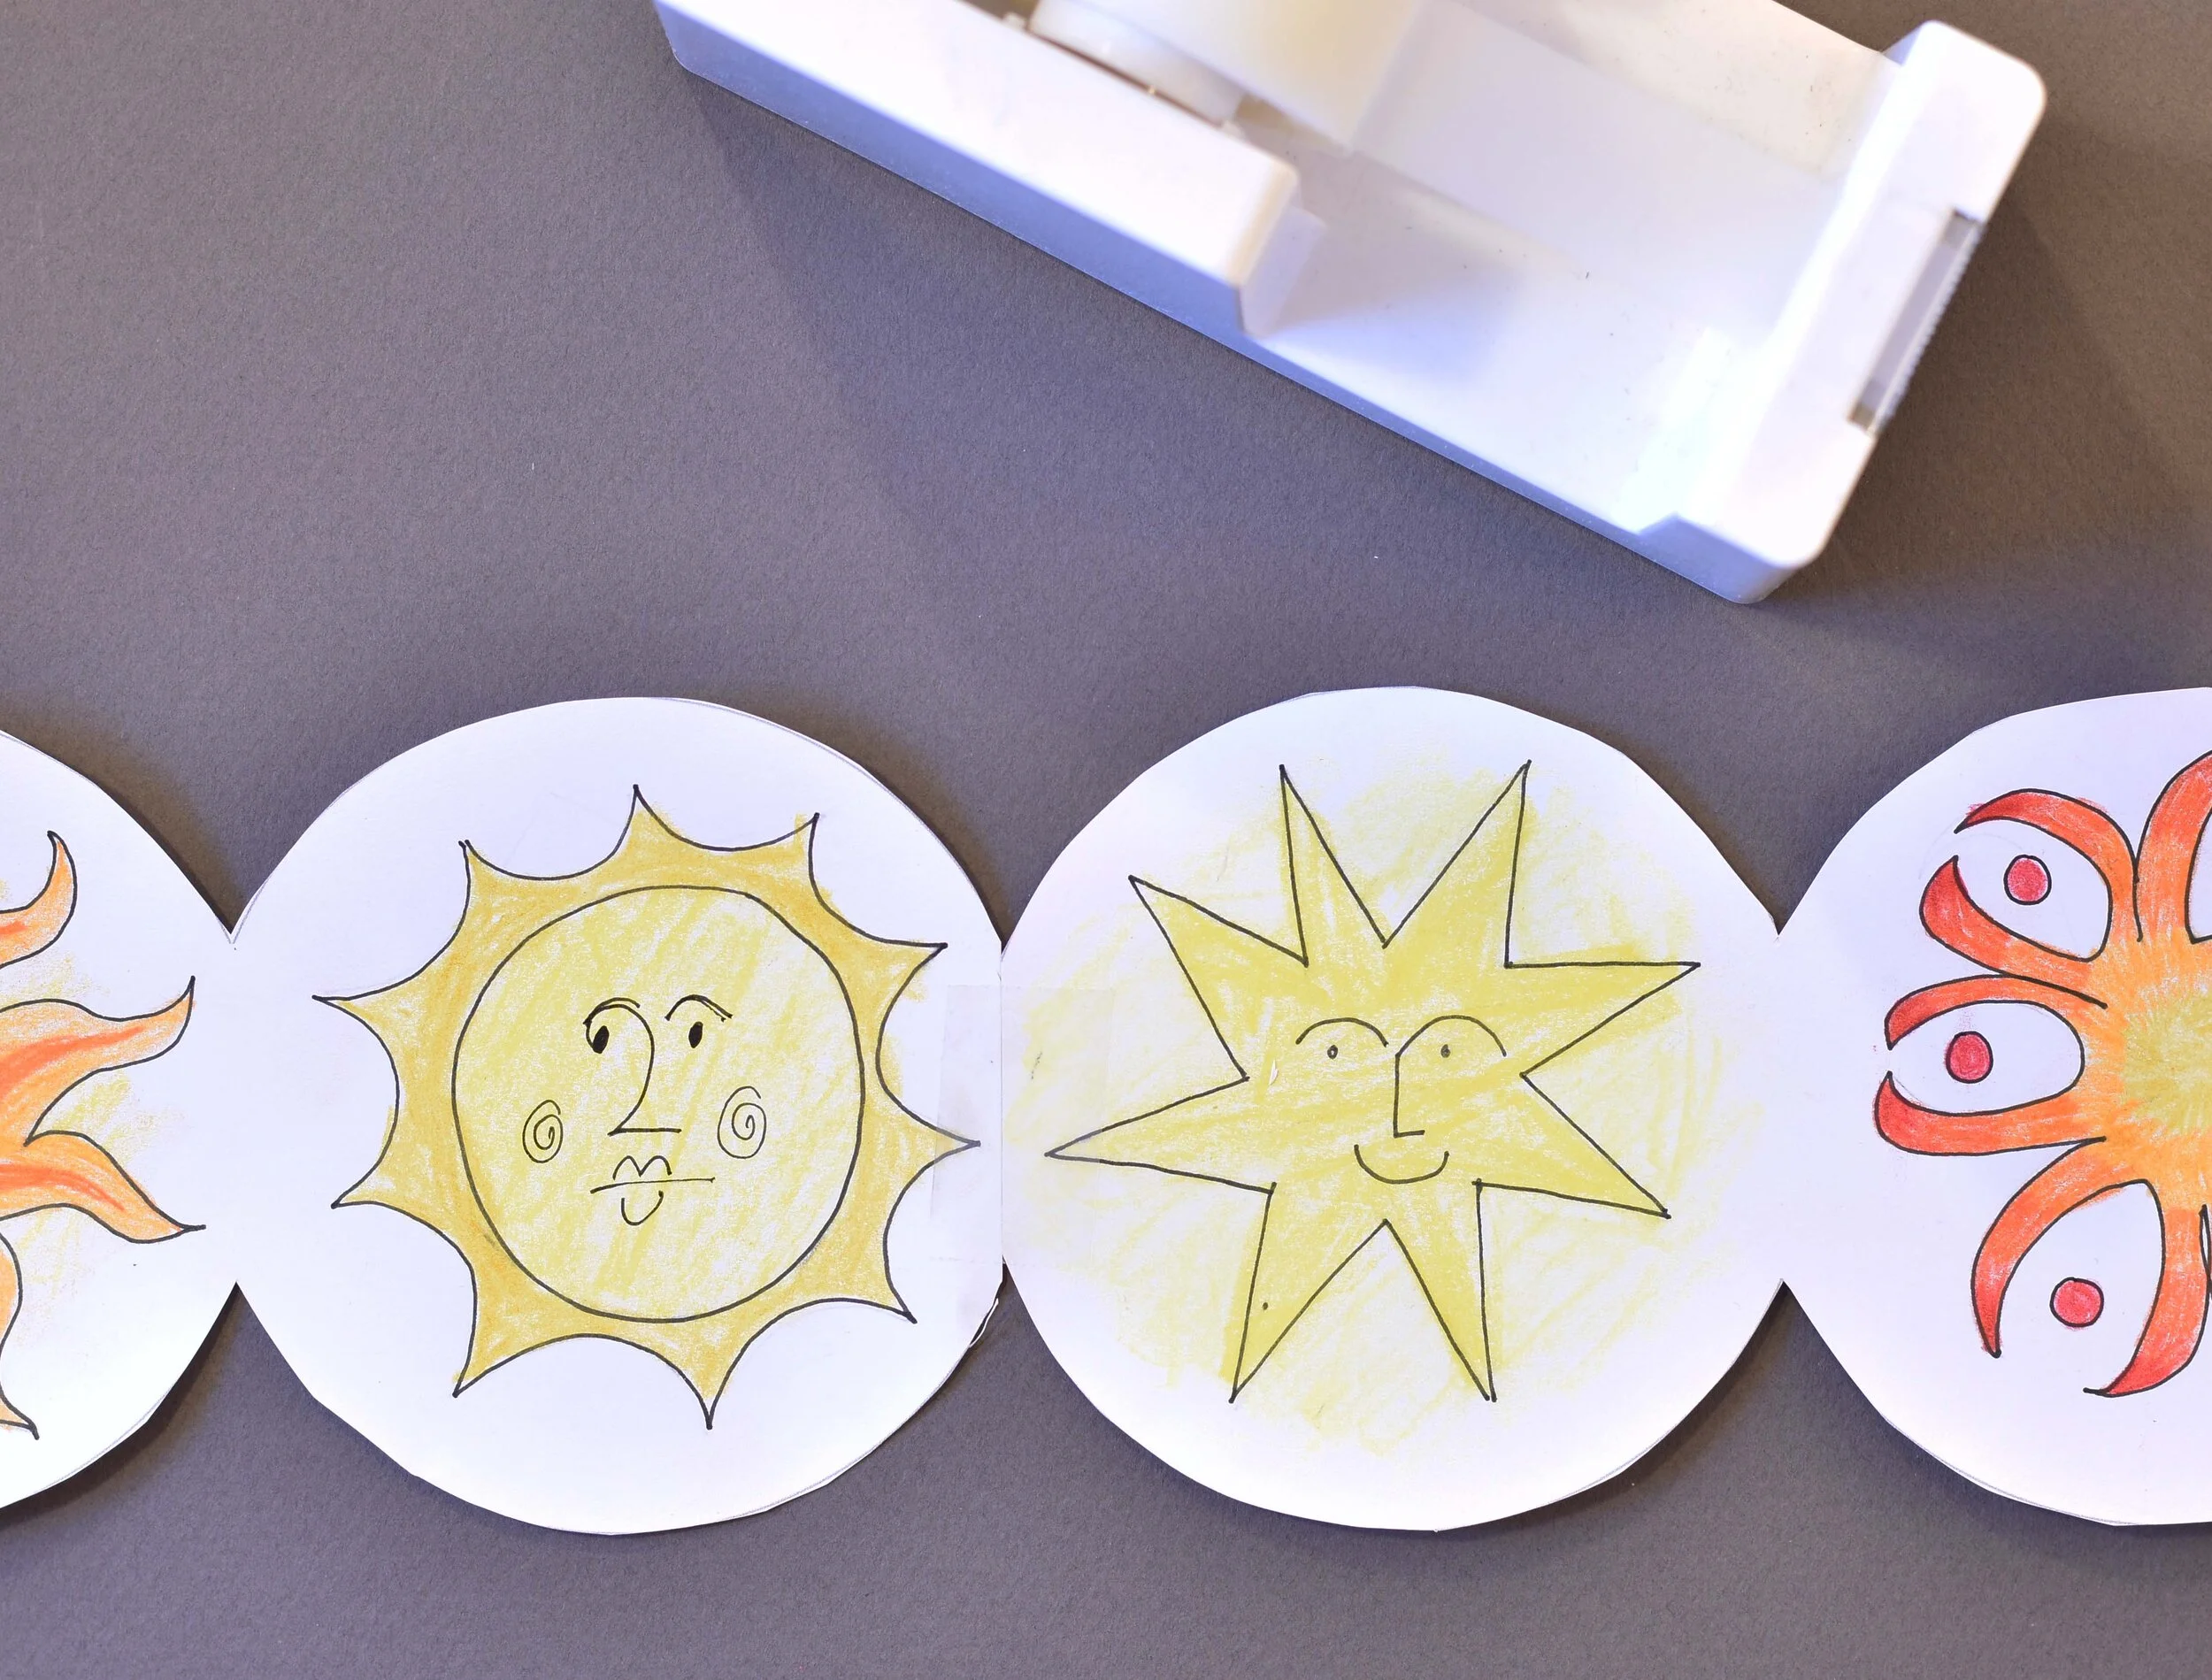
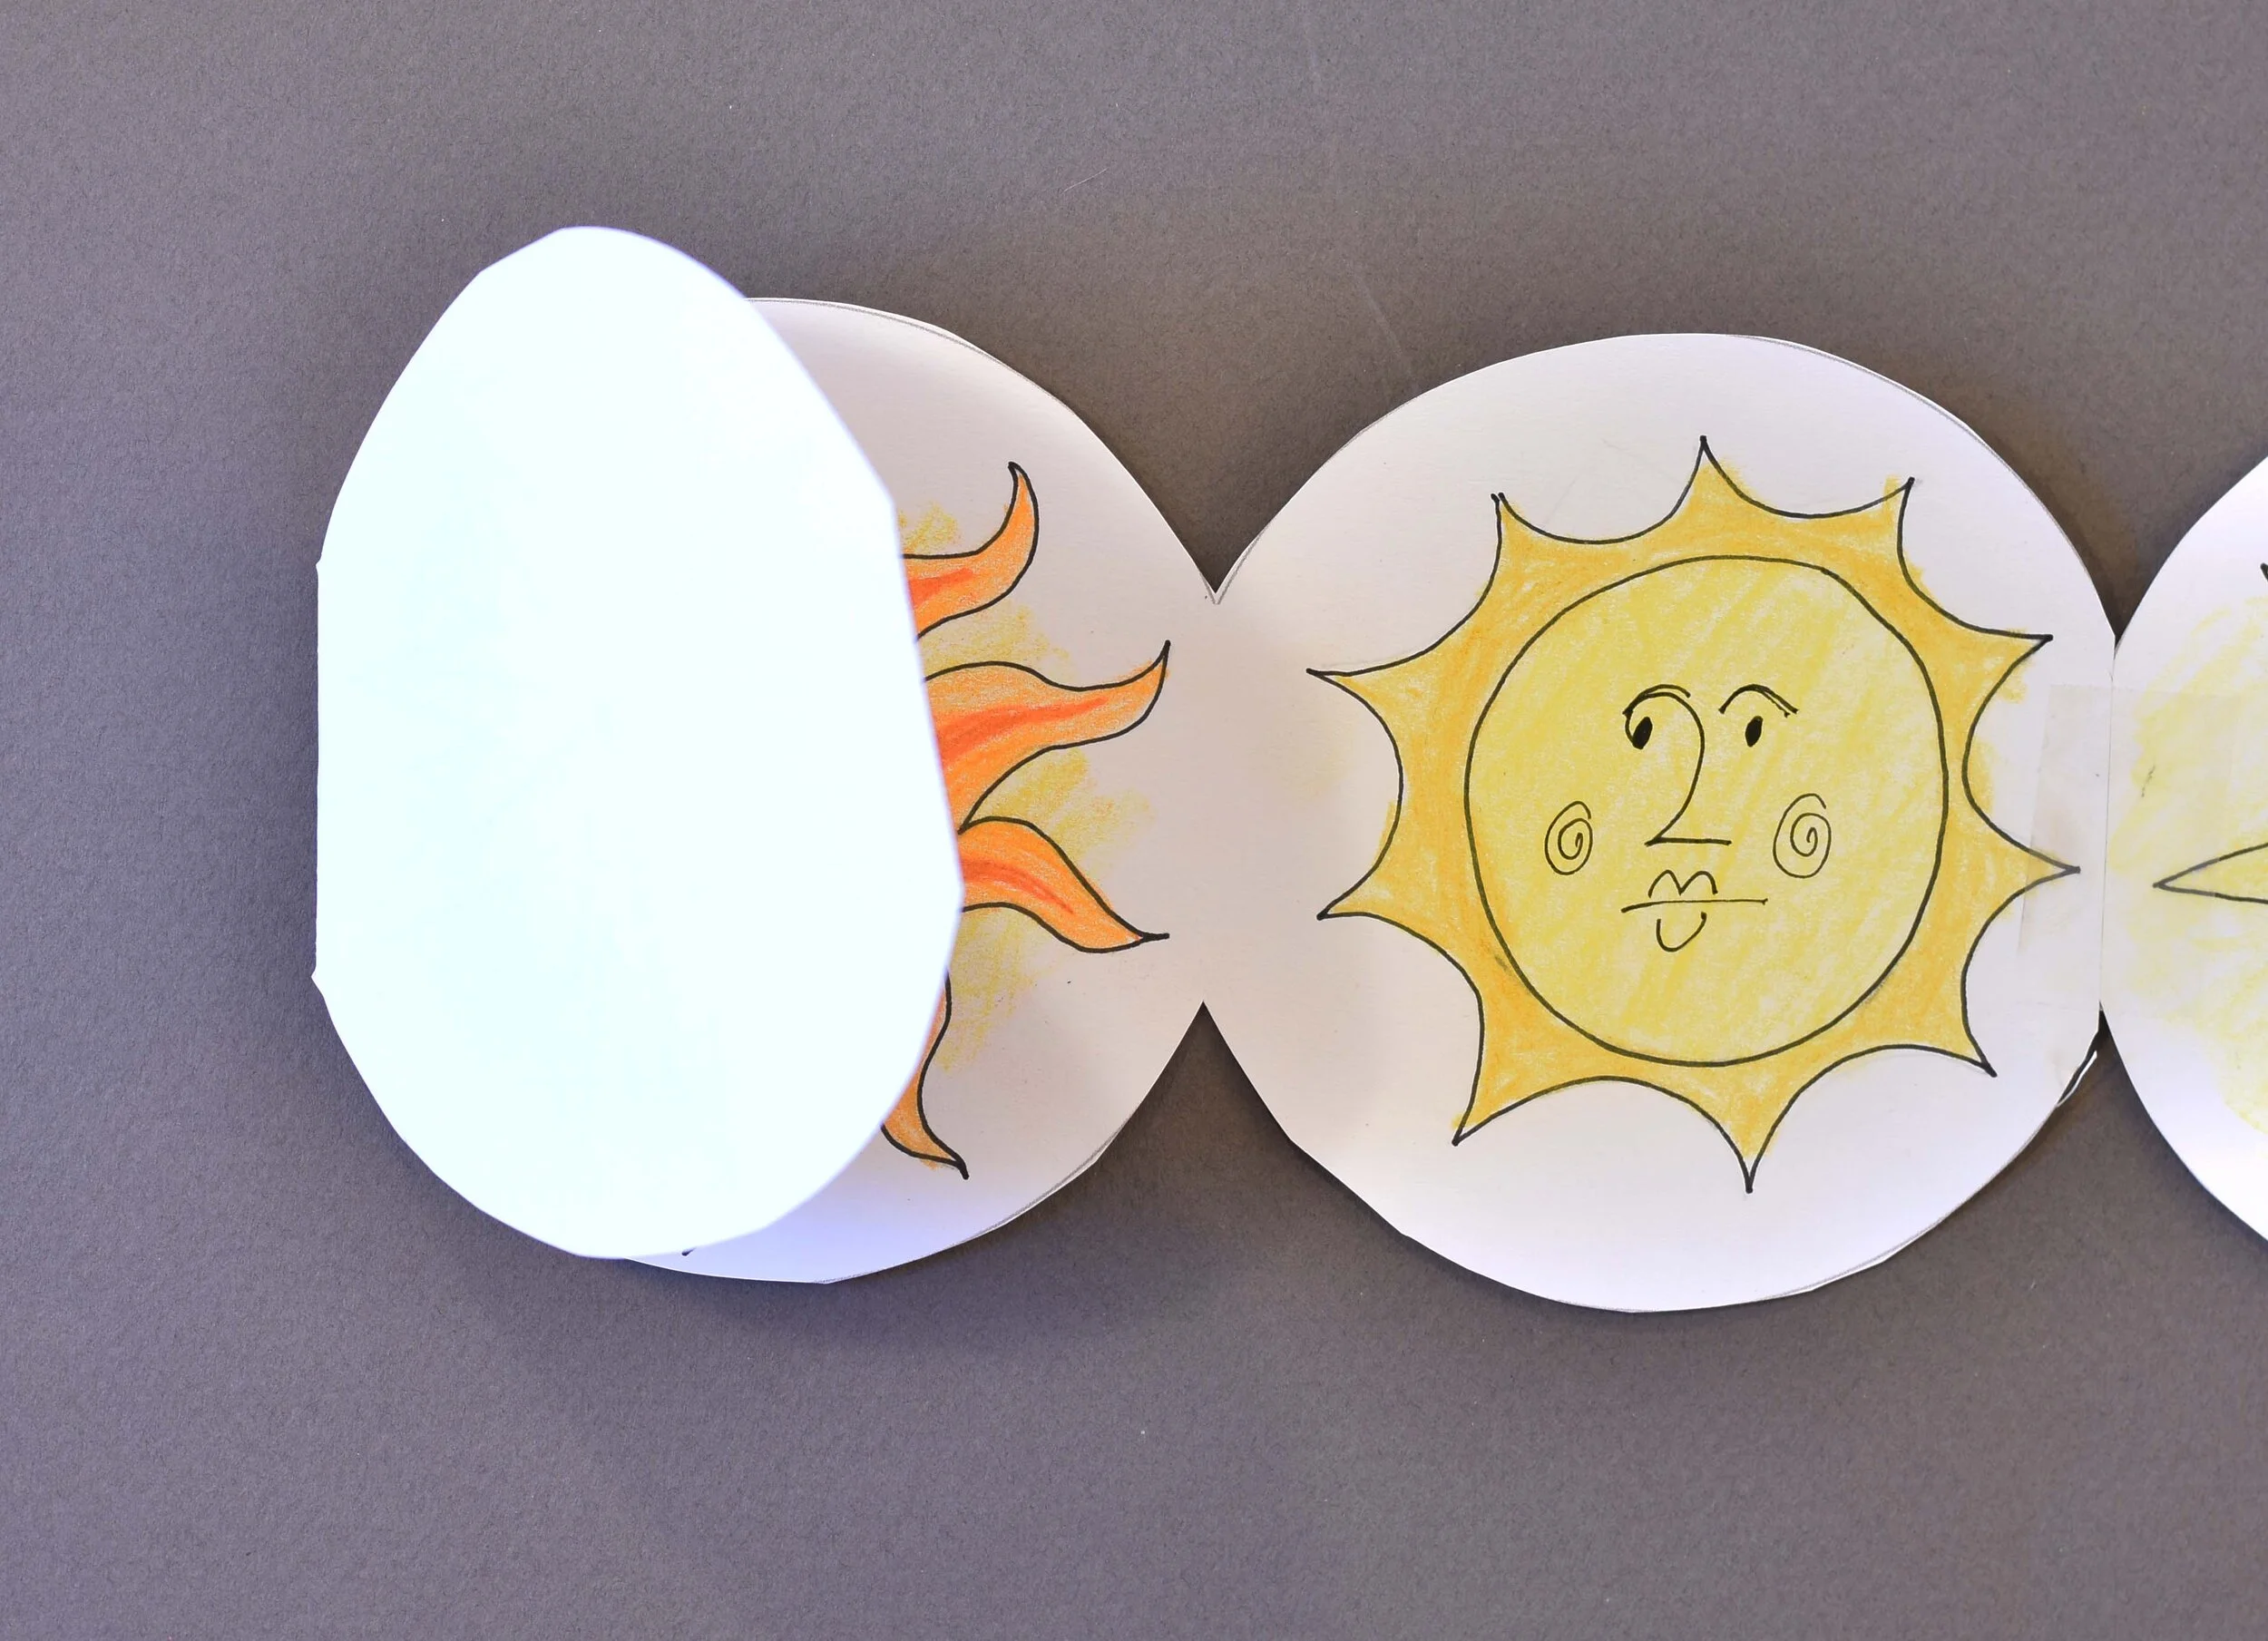
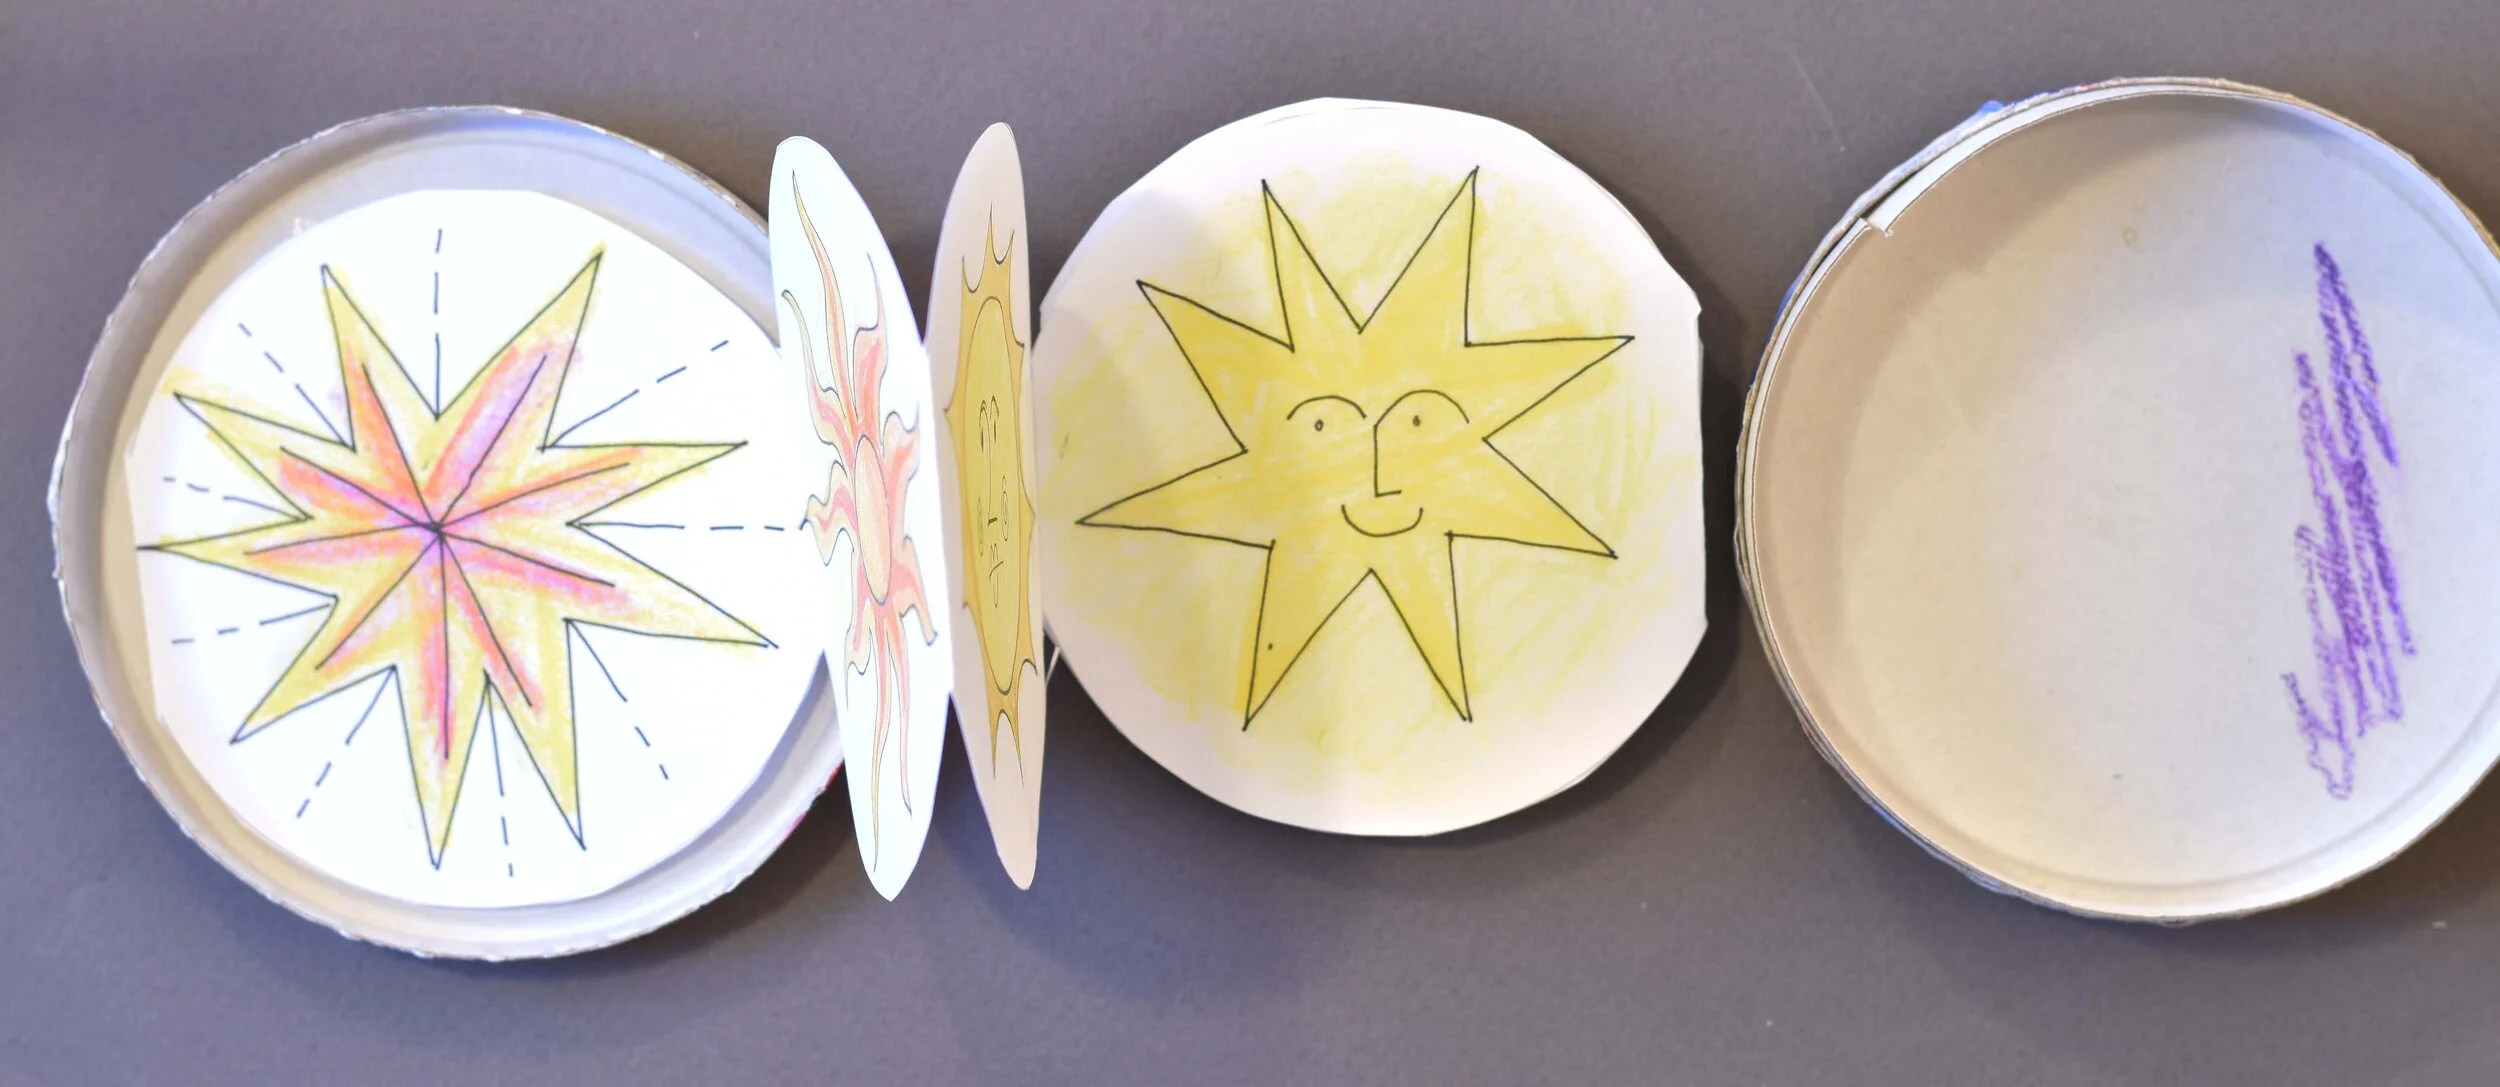
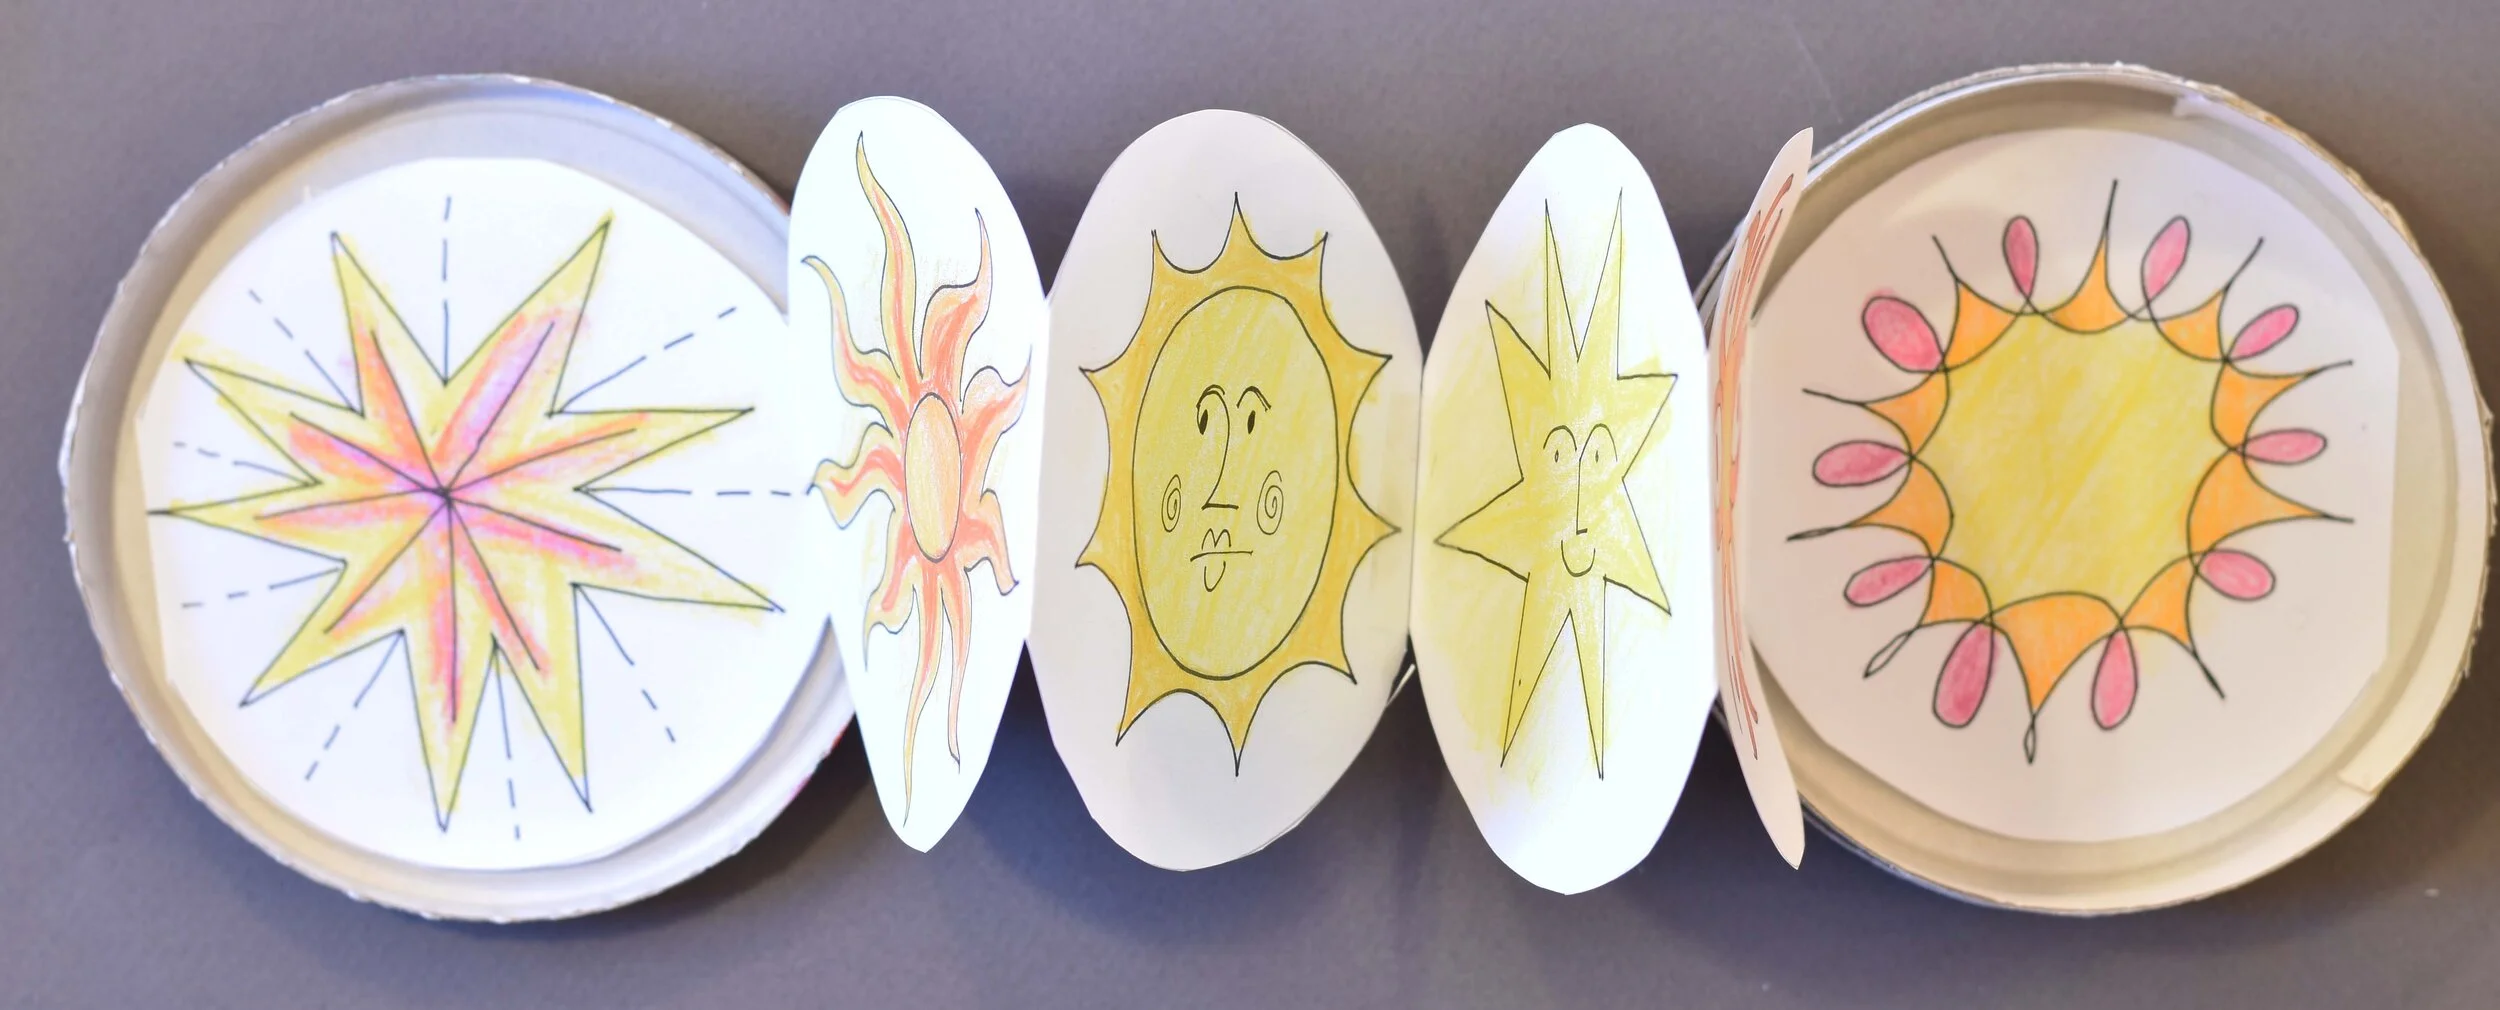
Make this cool accordion book out of a round cheese wedge box! Inspired by the work of book artist Esther K. Smith at Purgatory Pie Press, this book looks complicated but is simple to make. All you need is one box, scraps of colored paper, a glue stick, scissors, and this PDF printed on regular printer paper.
The actual making takes just a few minutes. You can spend a lot or a little time decorating the outside and the six pages. And if you have blank book anxiety, just know that literally anything you put inside this beauty will look brilliant. Just six pages! You can do it.
Make a unique art book in minutes
Uses one round cheese wedge box
Also perfect as a special greeting card
Fun variations follow. By the way, can you guess how this project got its name? (Answer is at the end of the post!)
Steps At a Glance:
Ready? Here’s how:
1
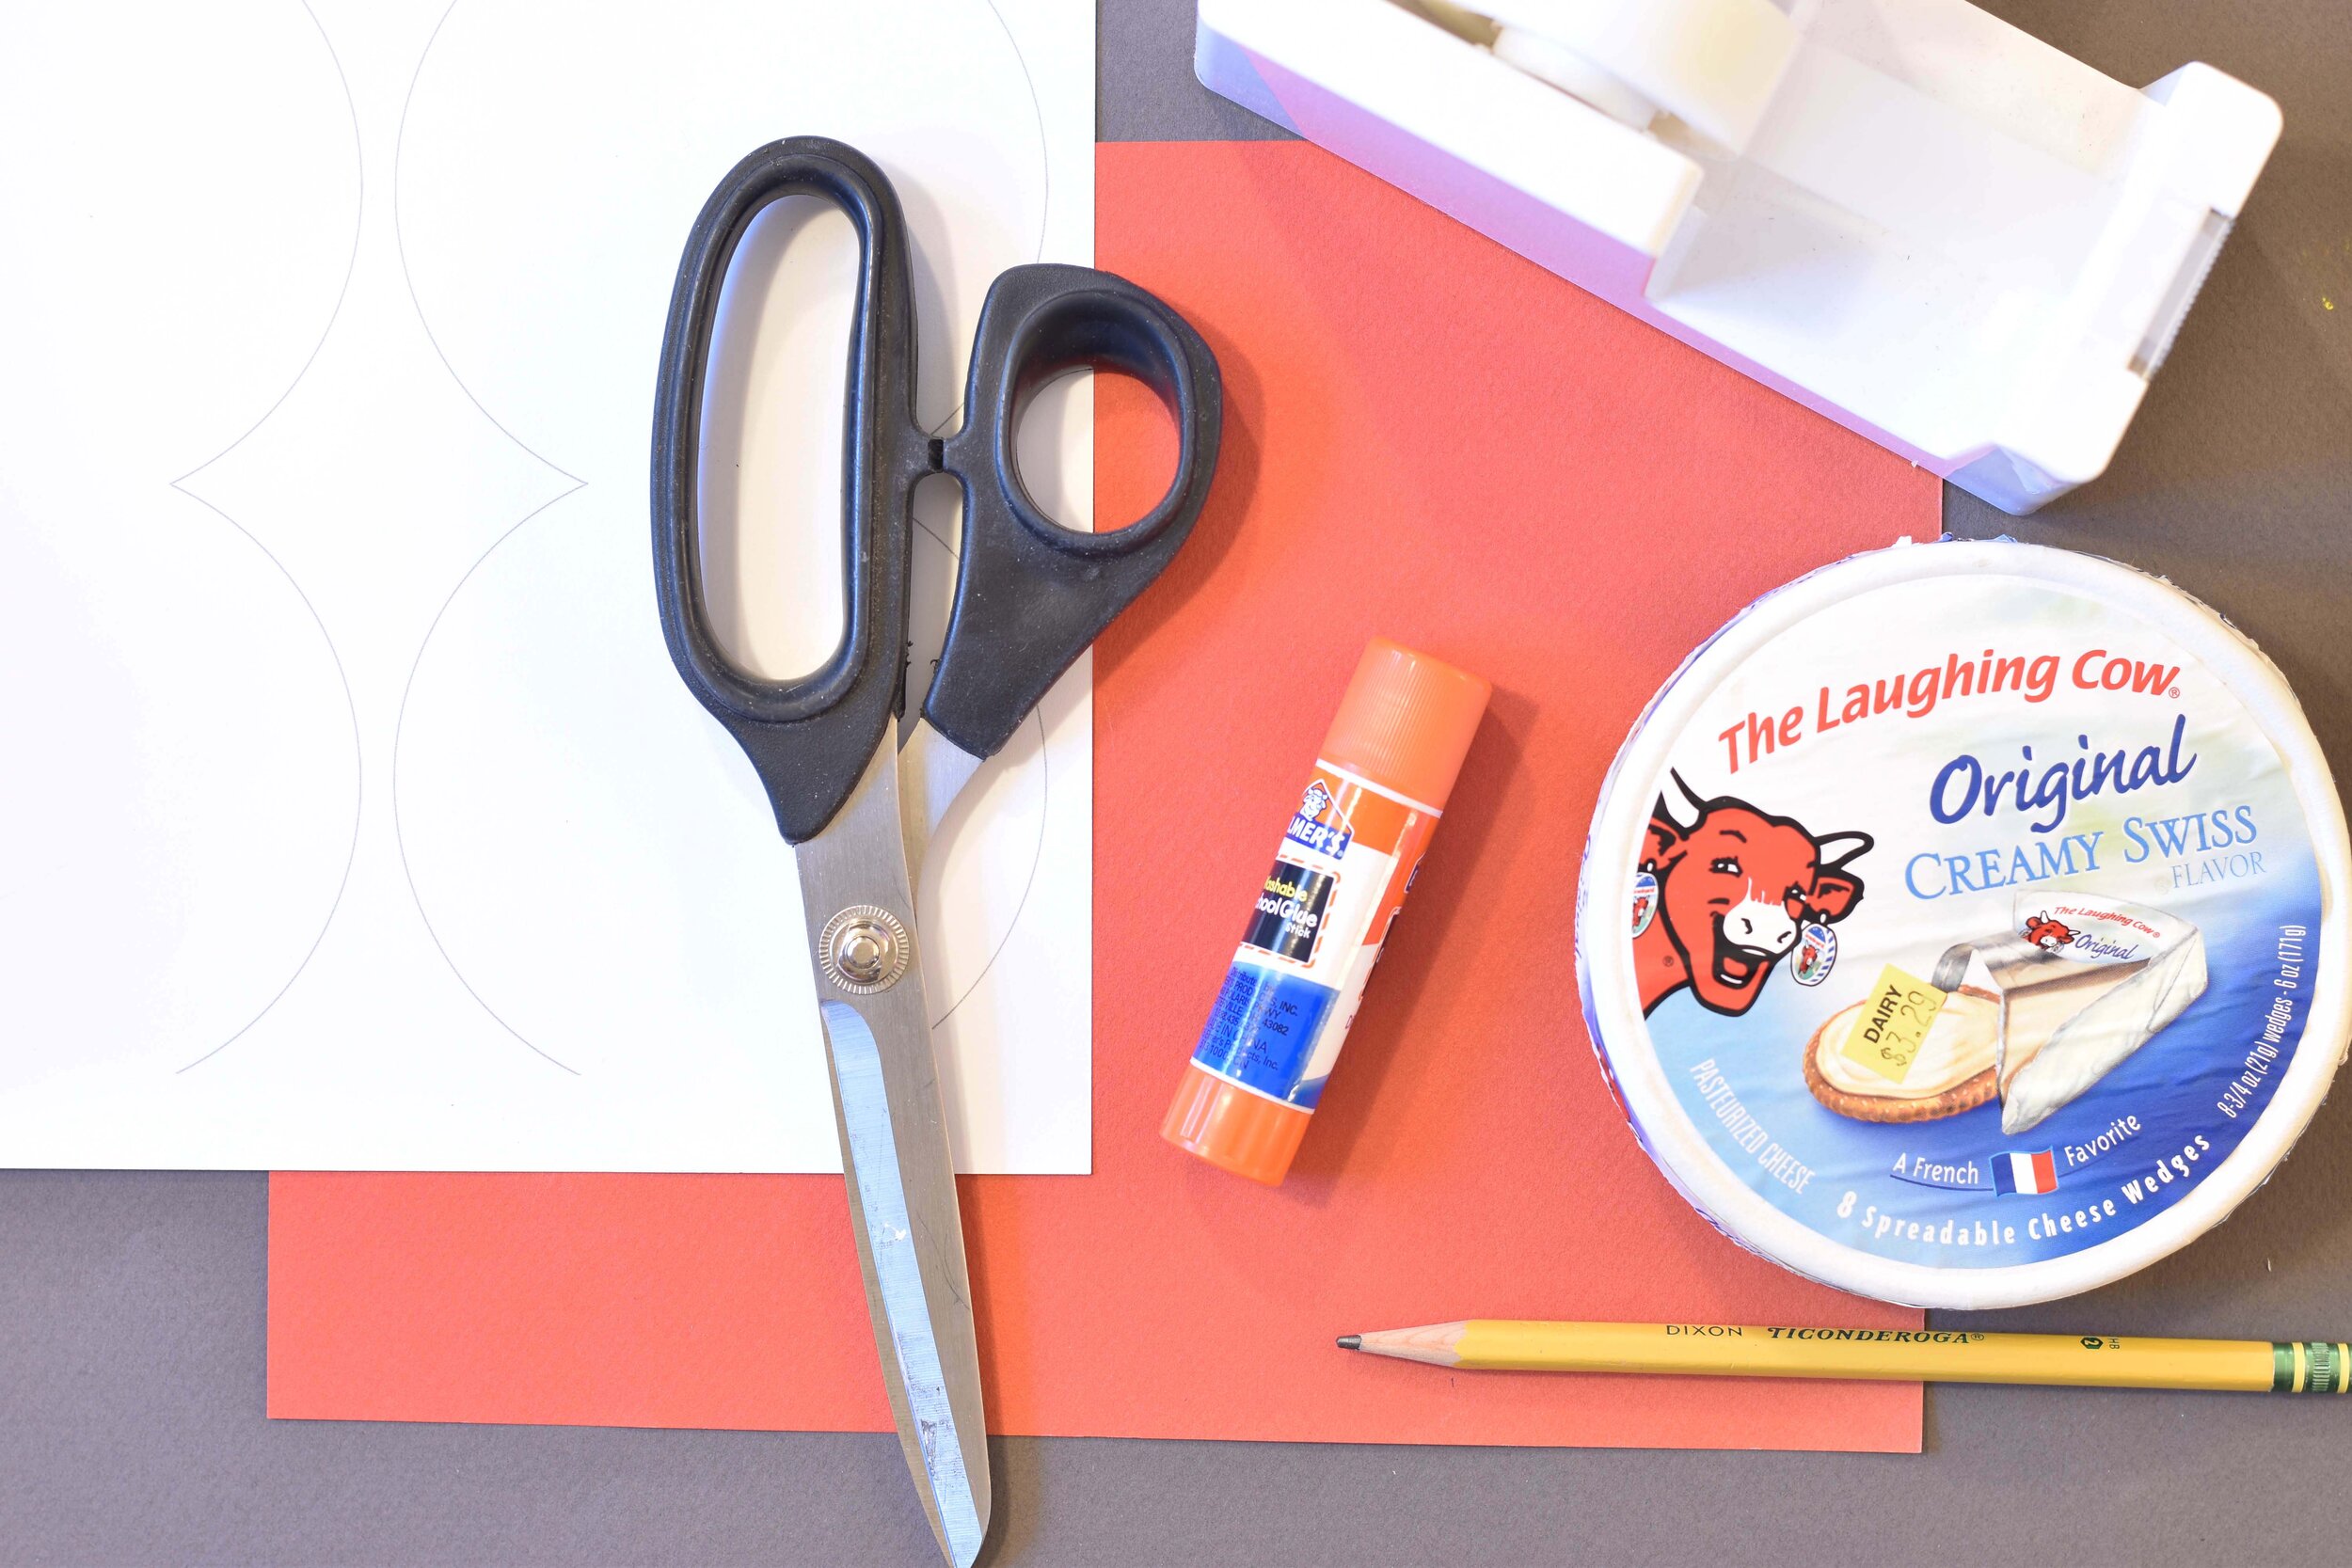
You’ll need:
one round Laughing Cow box
scissors
pencil
glue stick or double-sided tape
scrap paper for the covers
a piece of tape
this PDF printed on regular paper
2
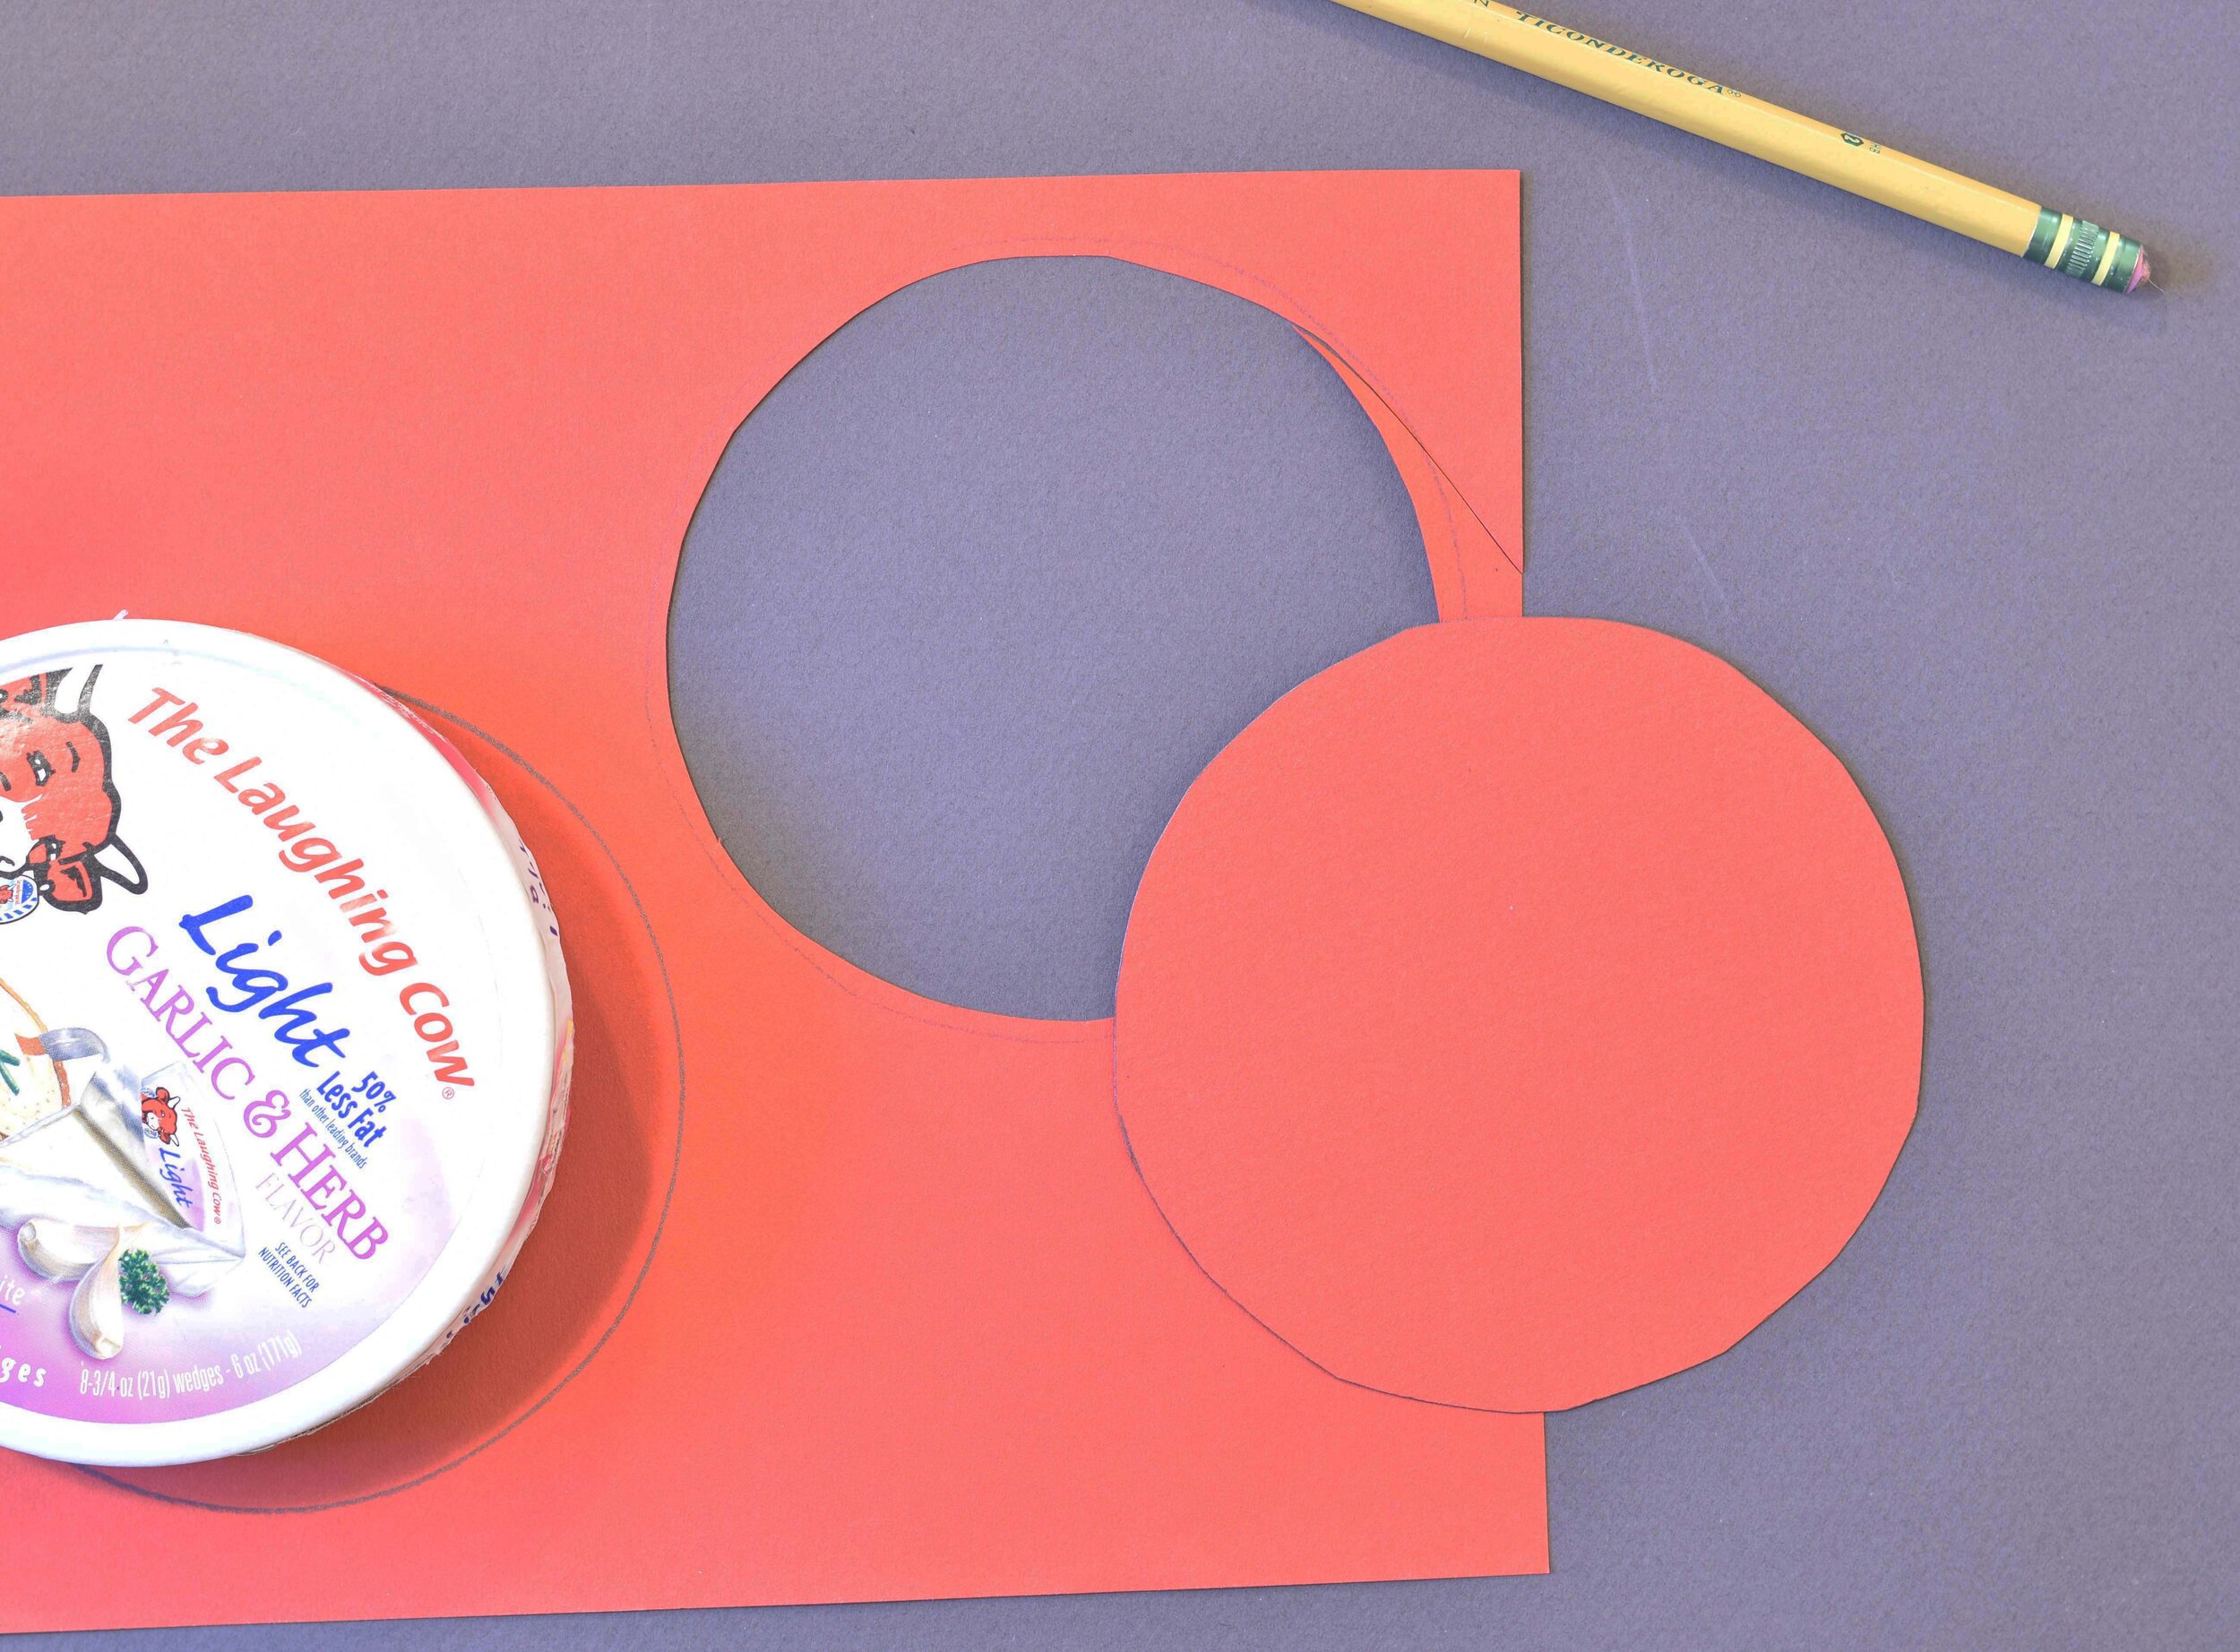
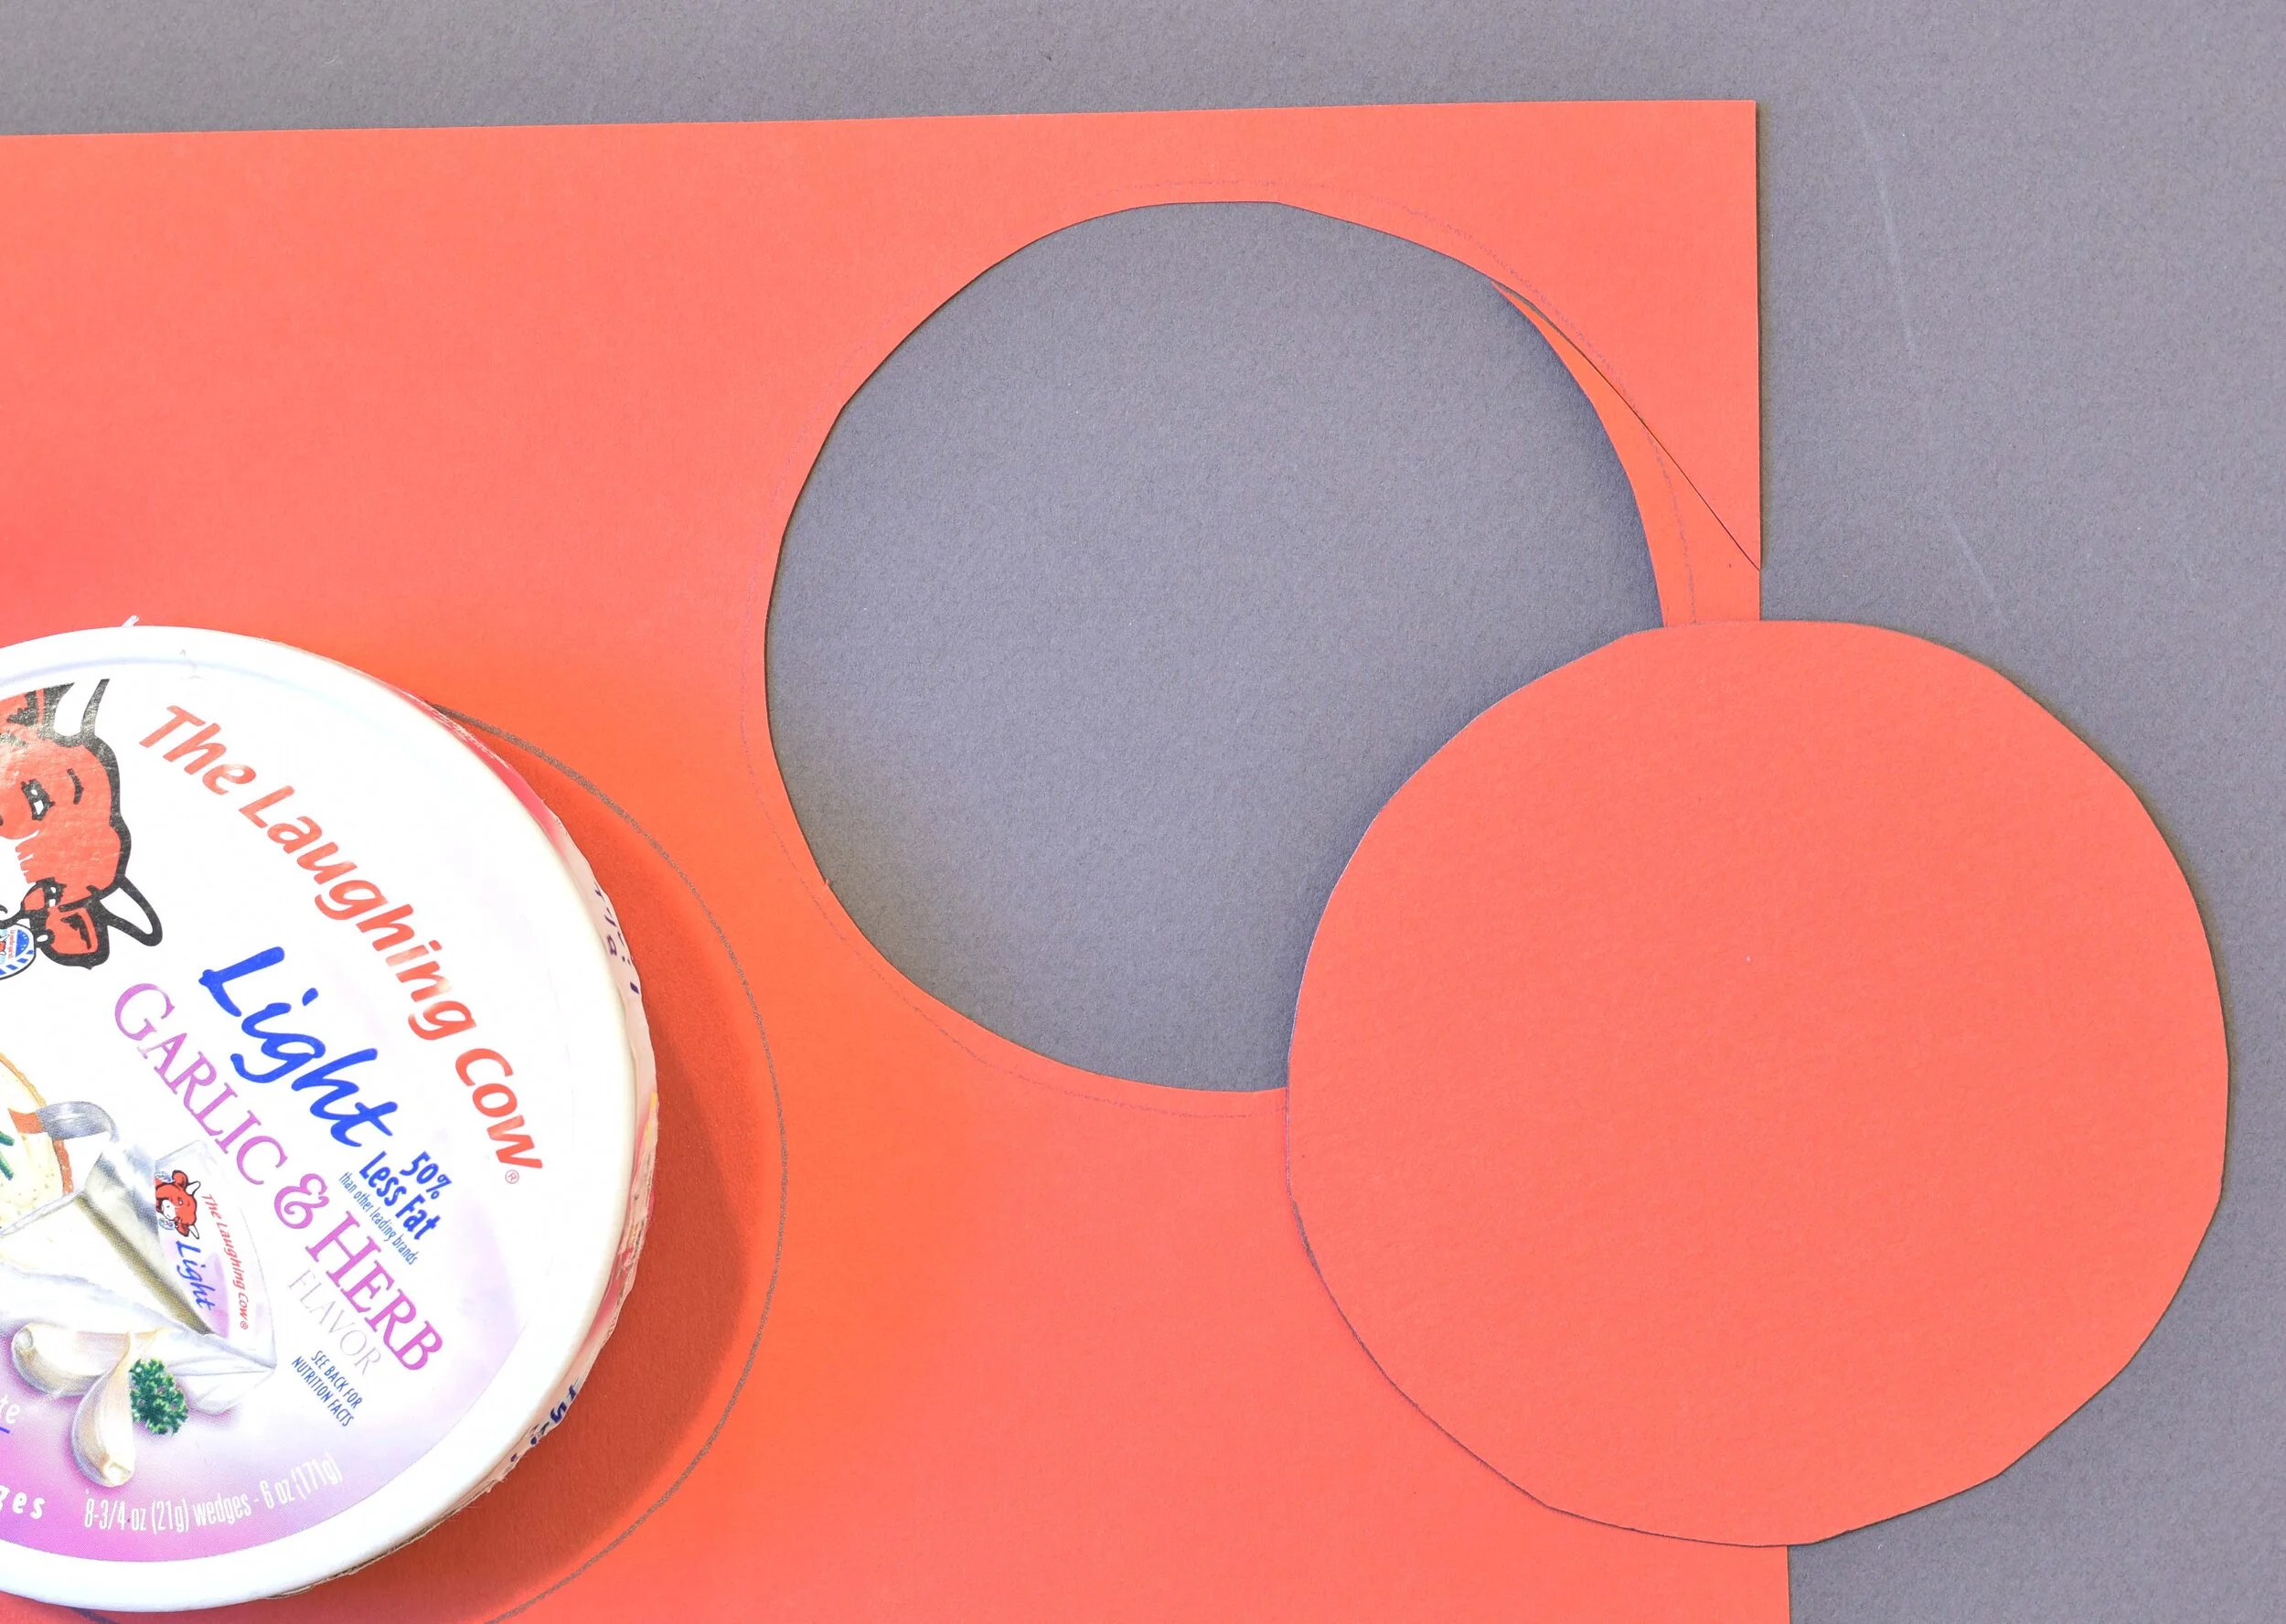
Trace the box onto the scrap paper. Cut the two circles out a little smaller than the traced shapes. These will be your front and back covers.
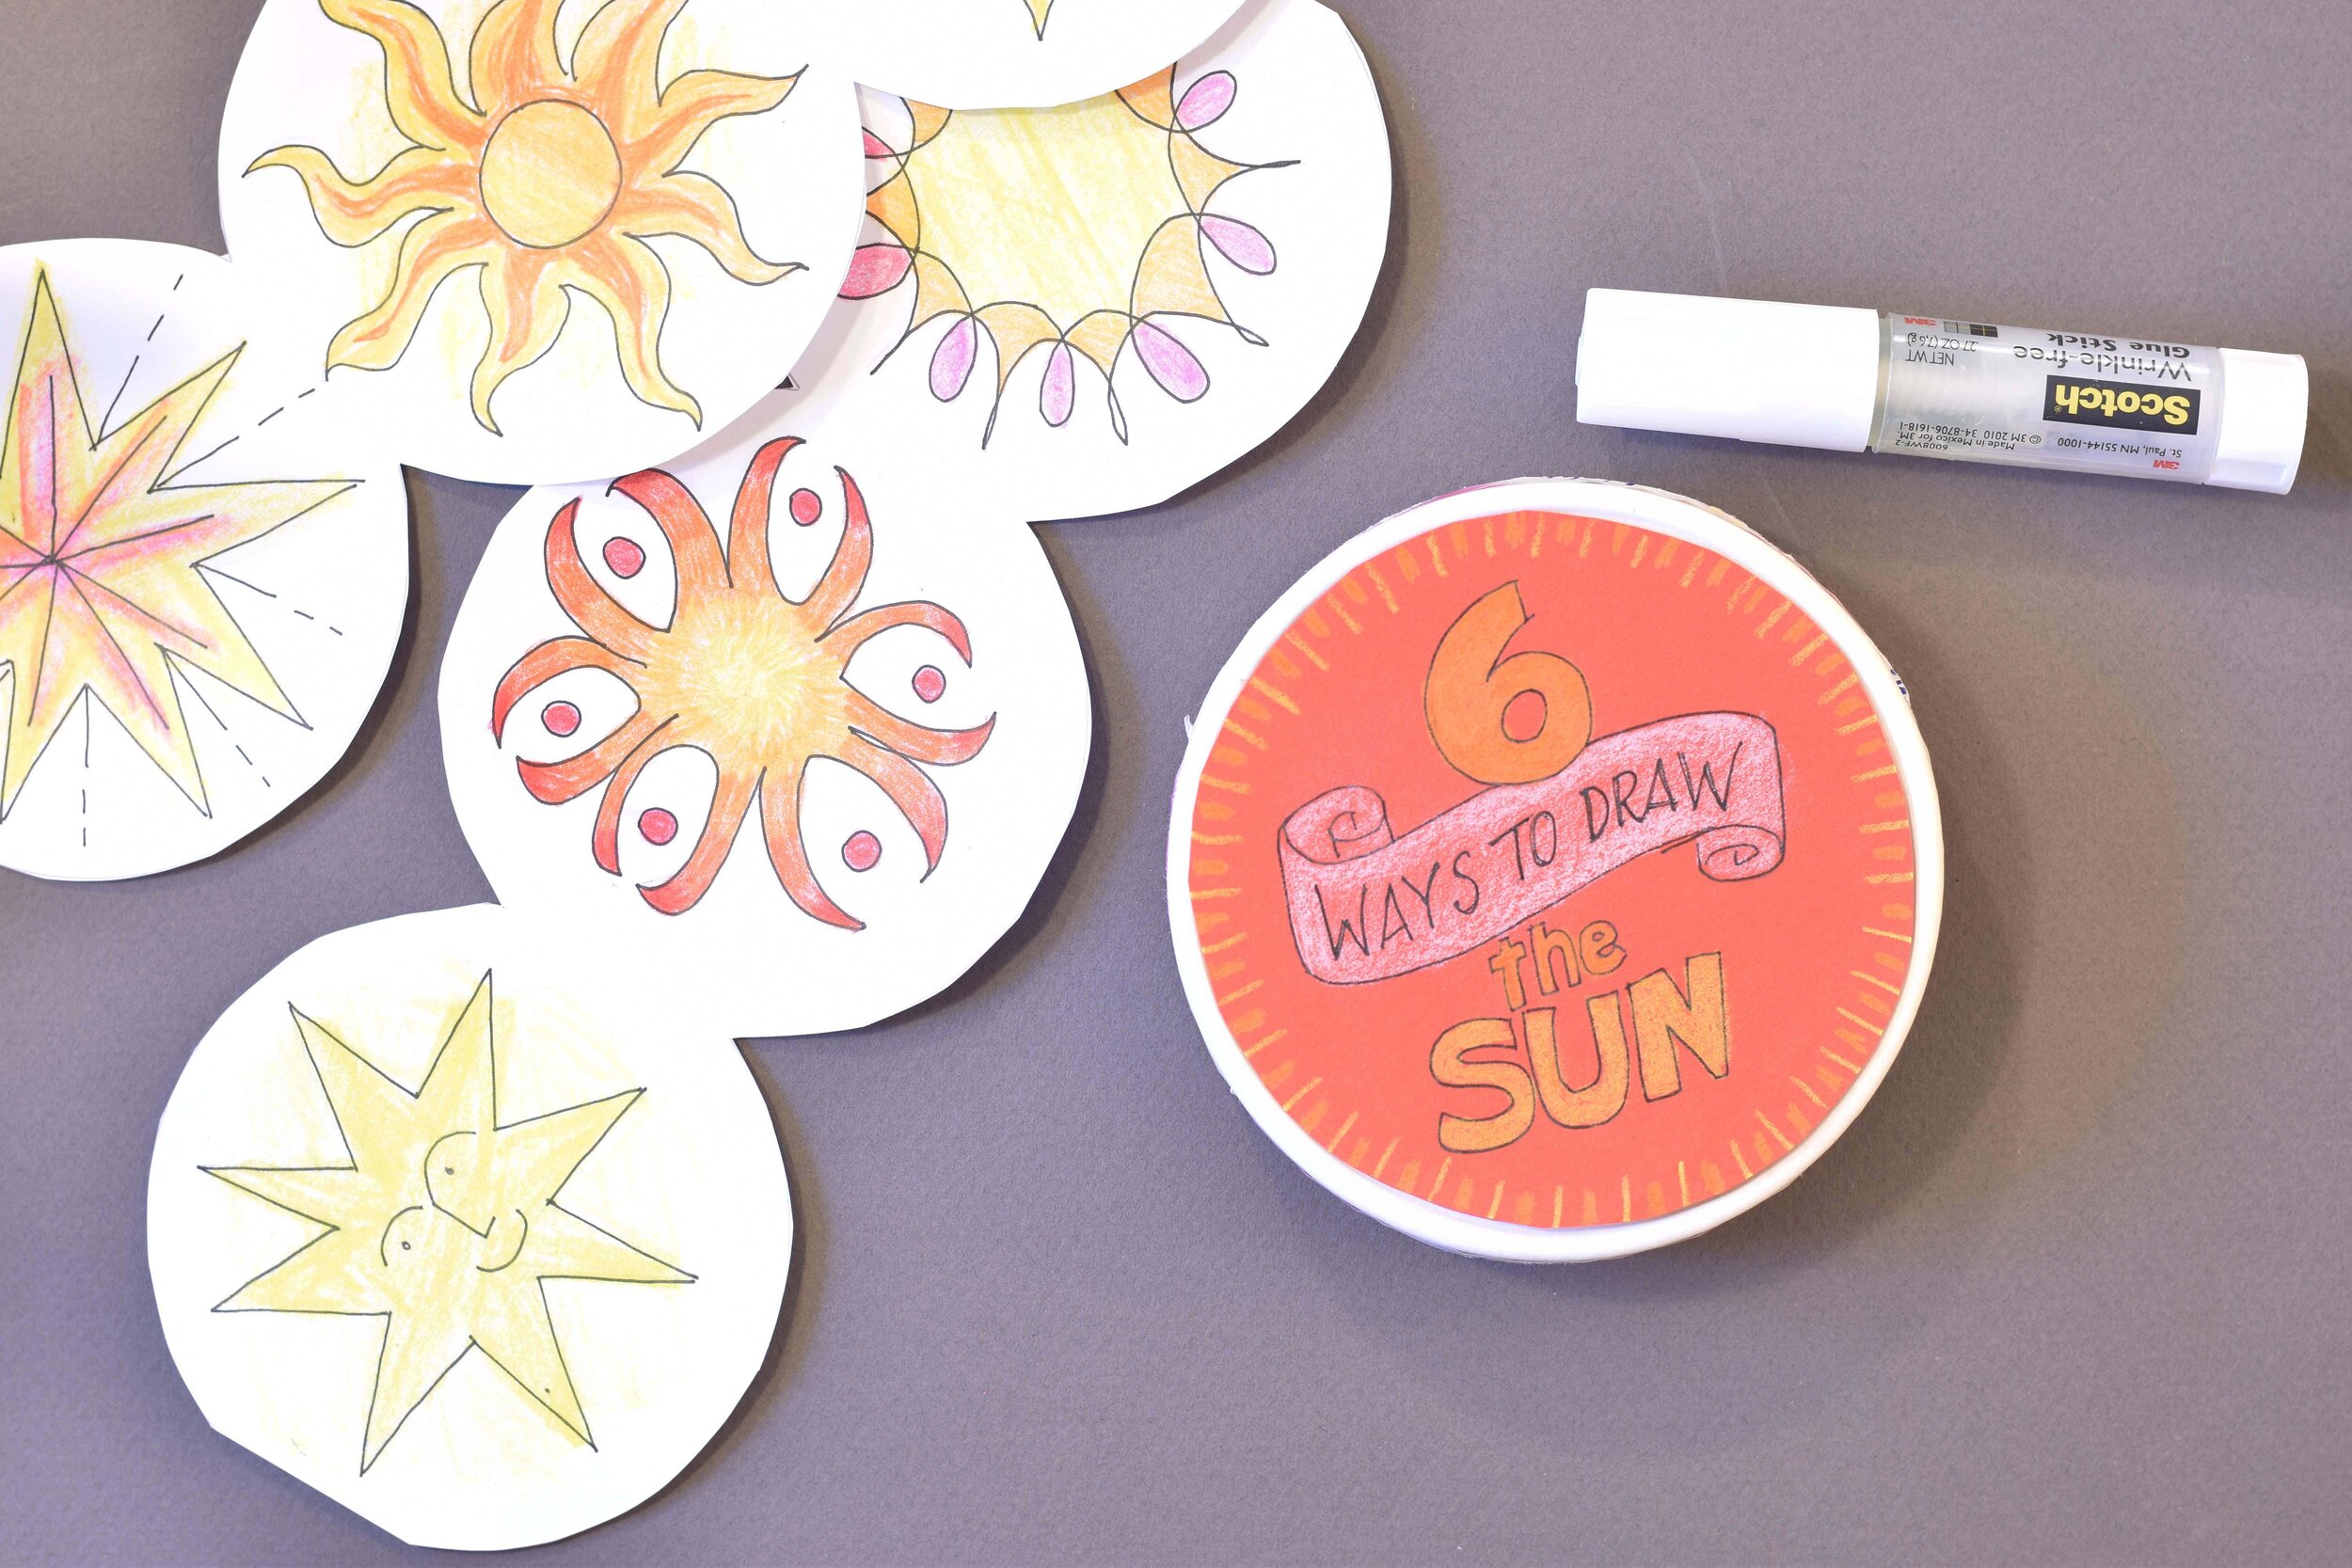
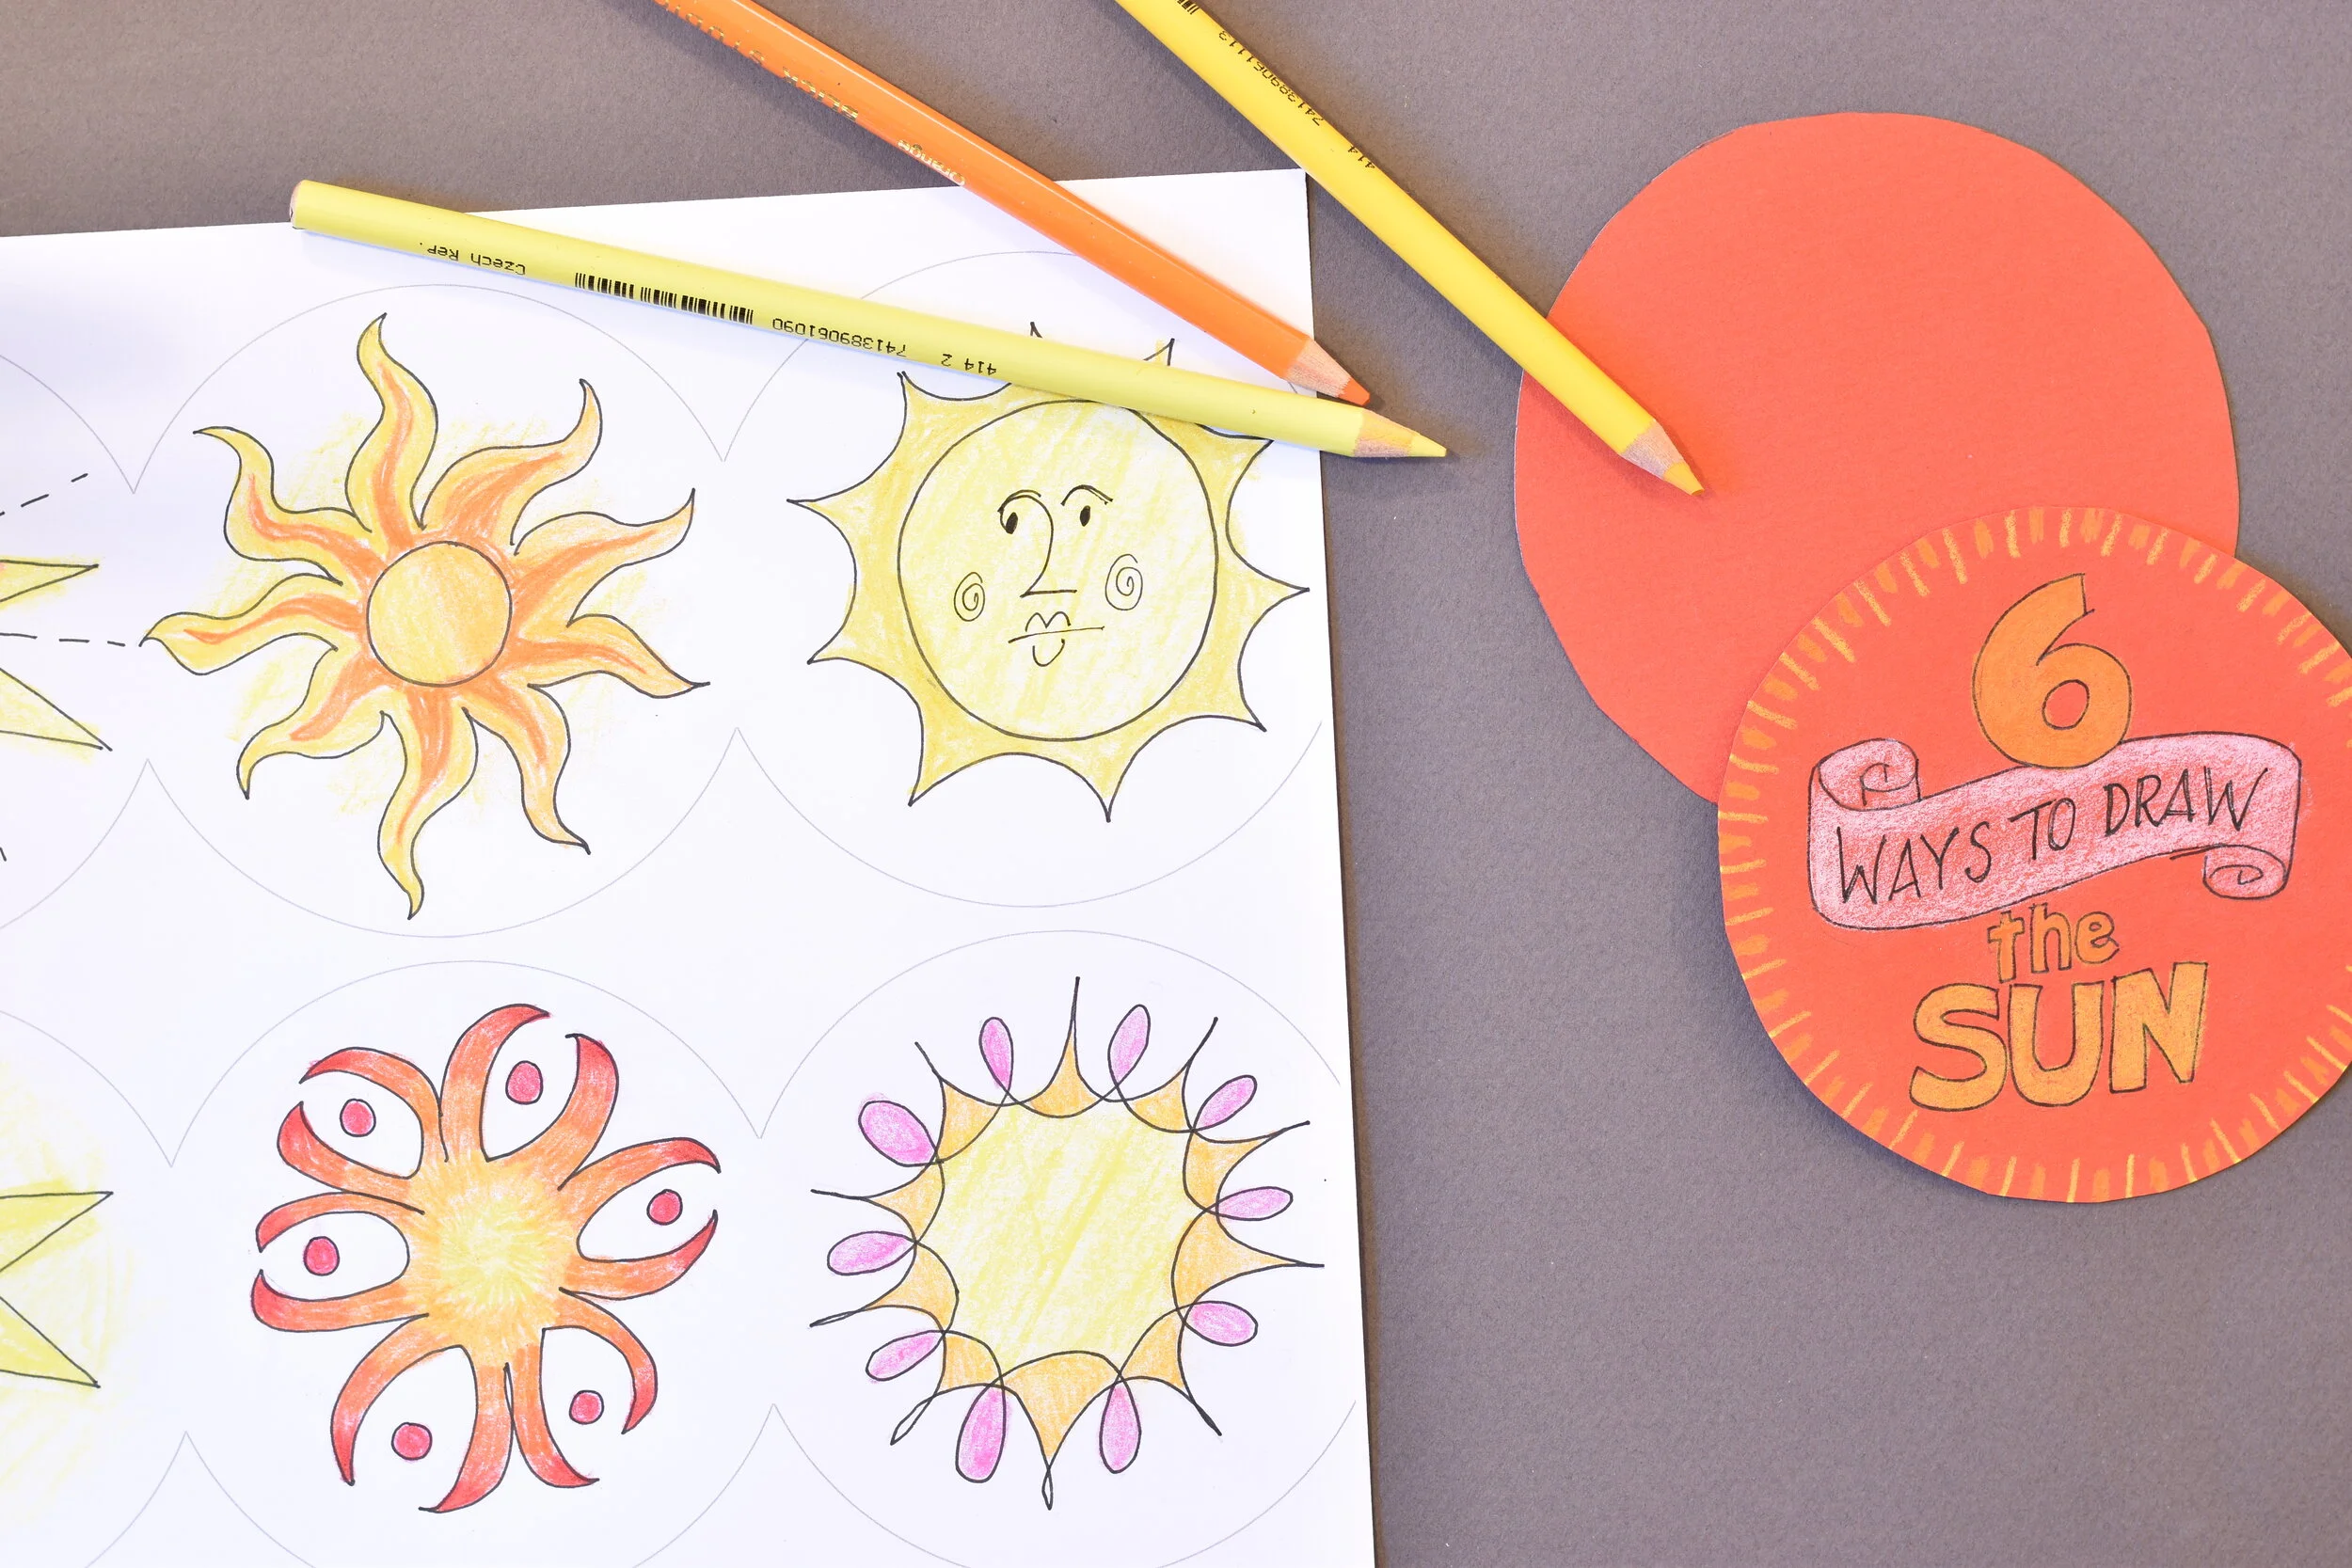
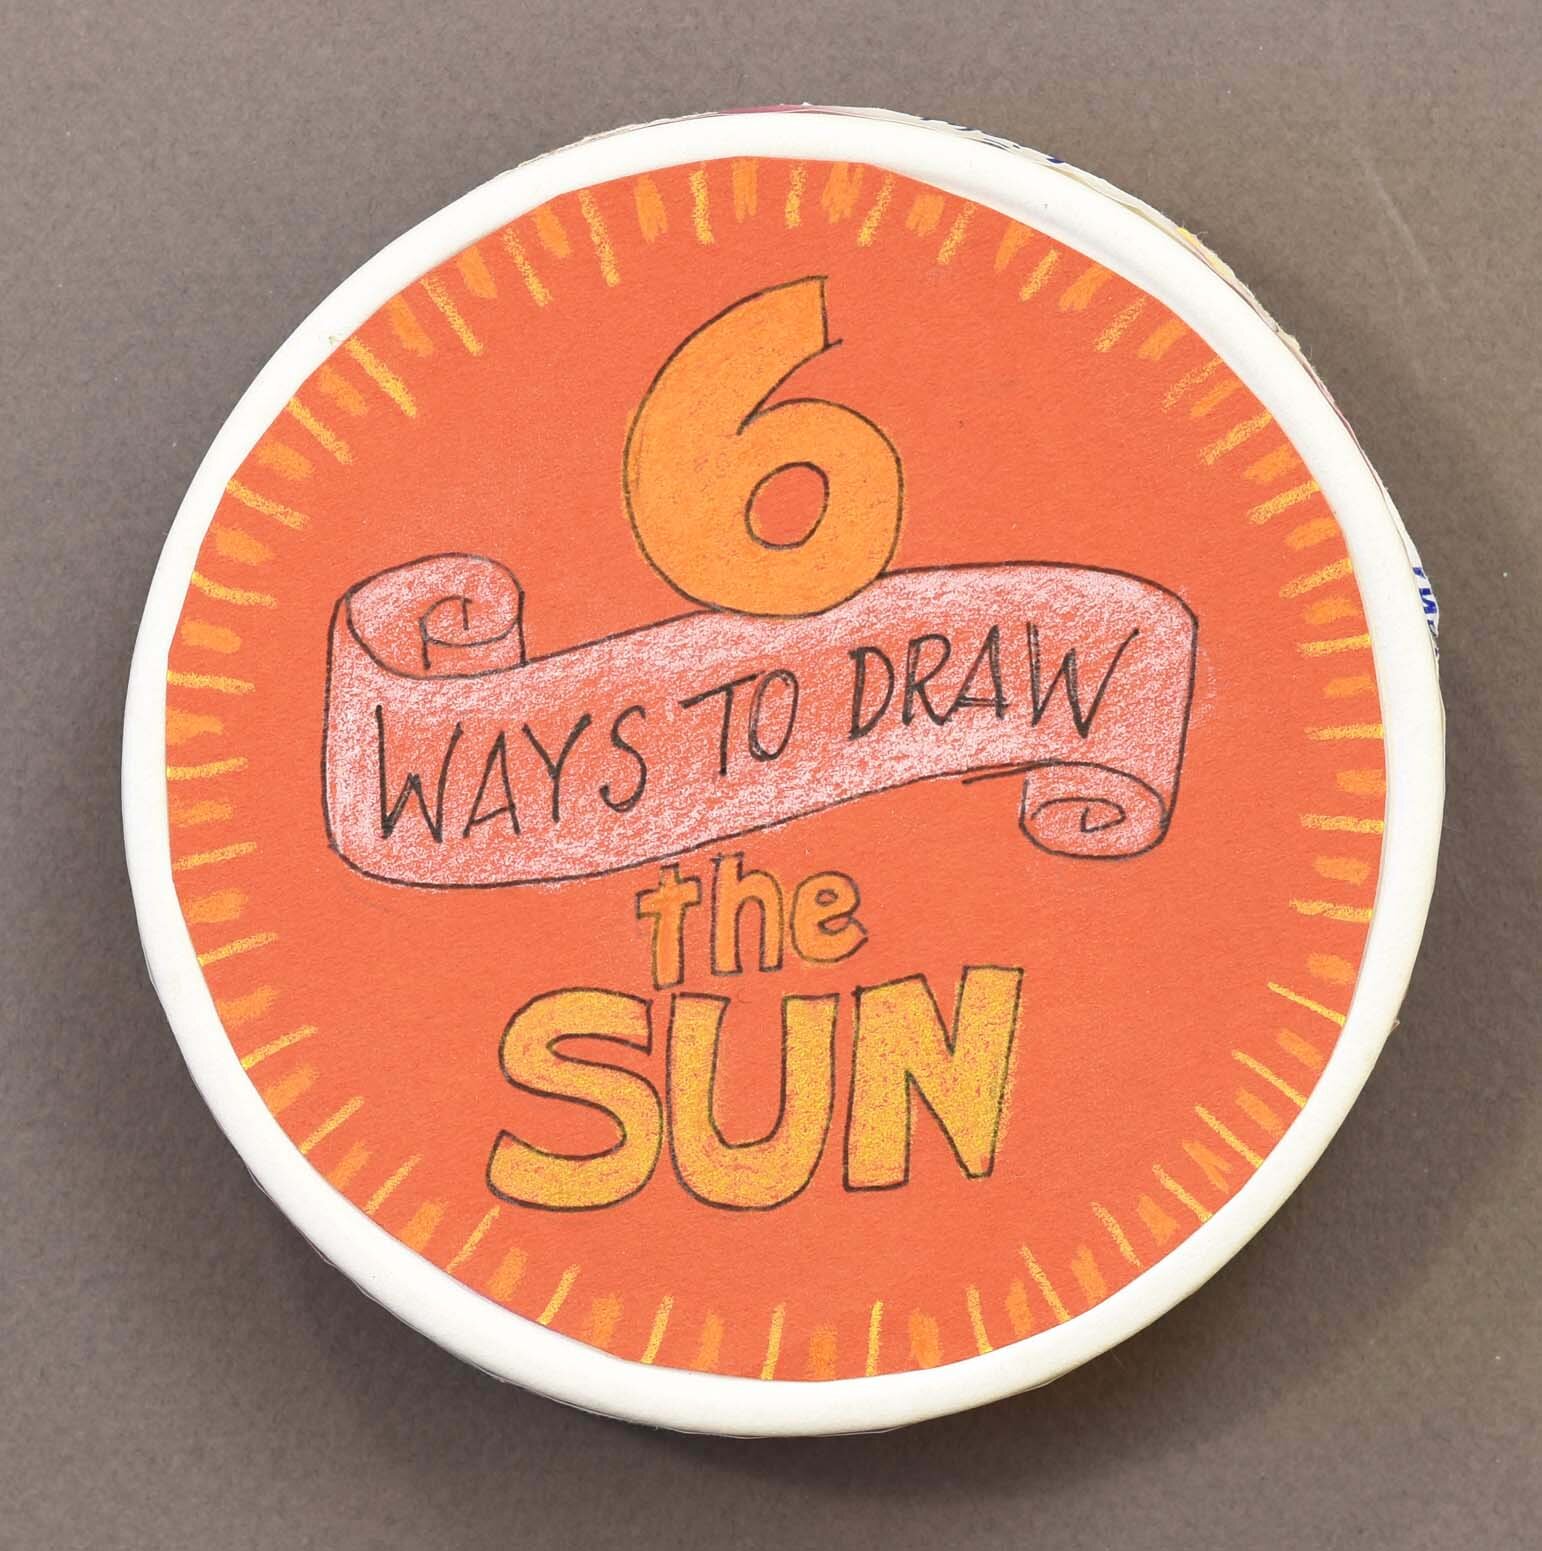
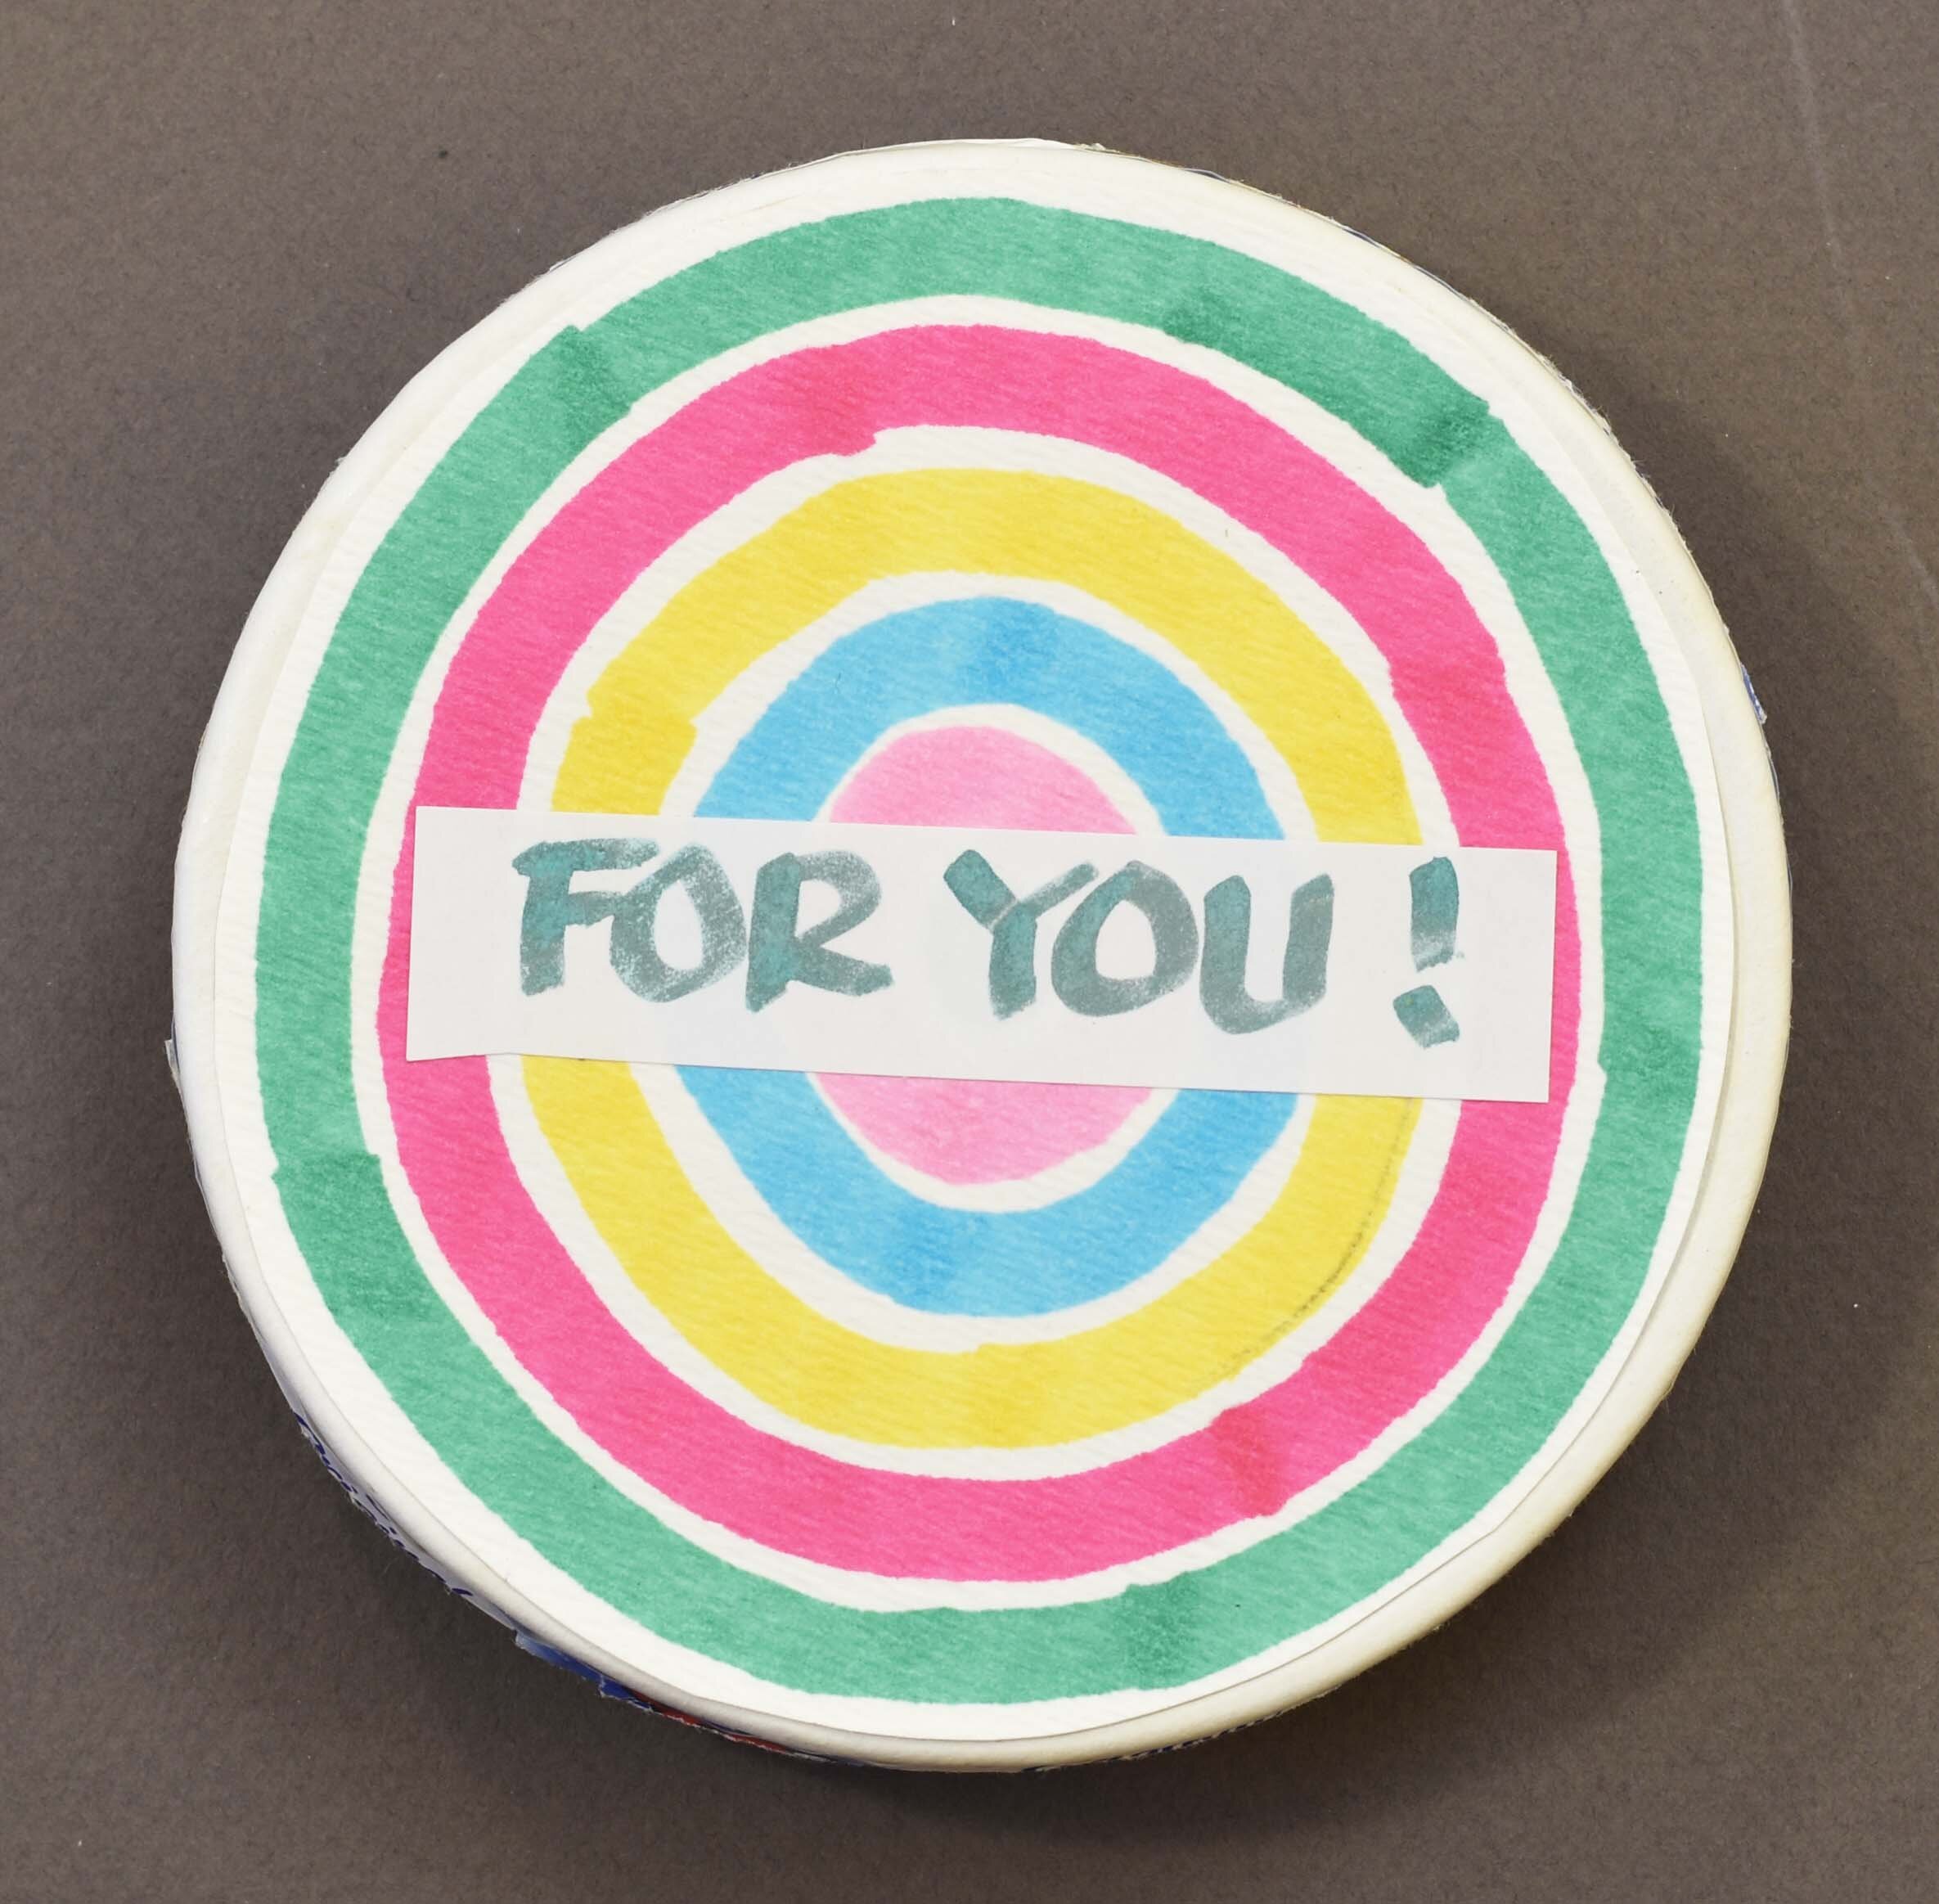
Decorate your covers and pages any way you want, with markers, colored pencils, rubber stamps, or stickers. Will your book have a title?
You can see some ideas at the bottom of the post.
3
Cut out the two strips of pages.
Attach the front and back covers to the box with glue stick or double-sided tape.
4
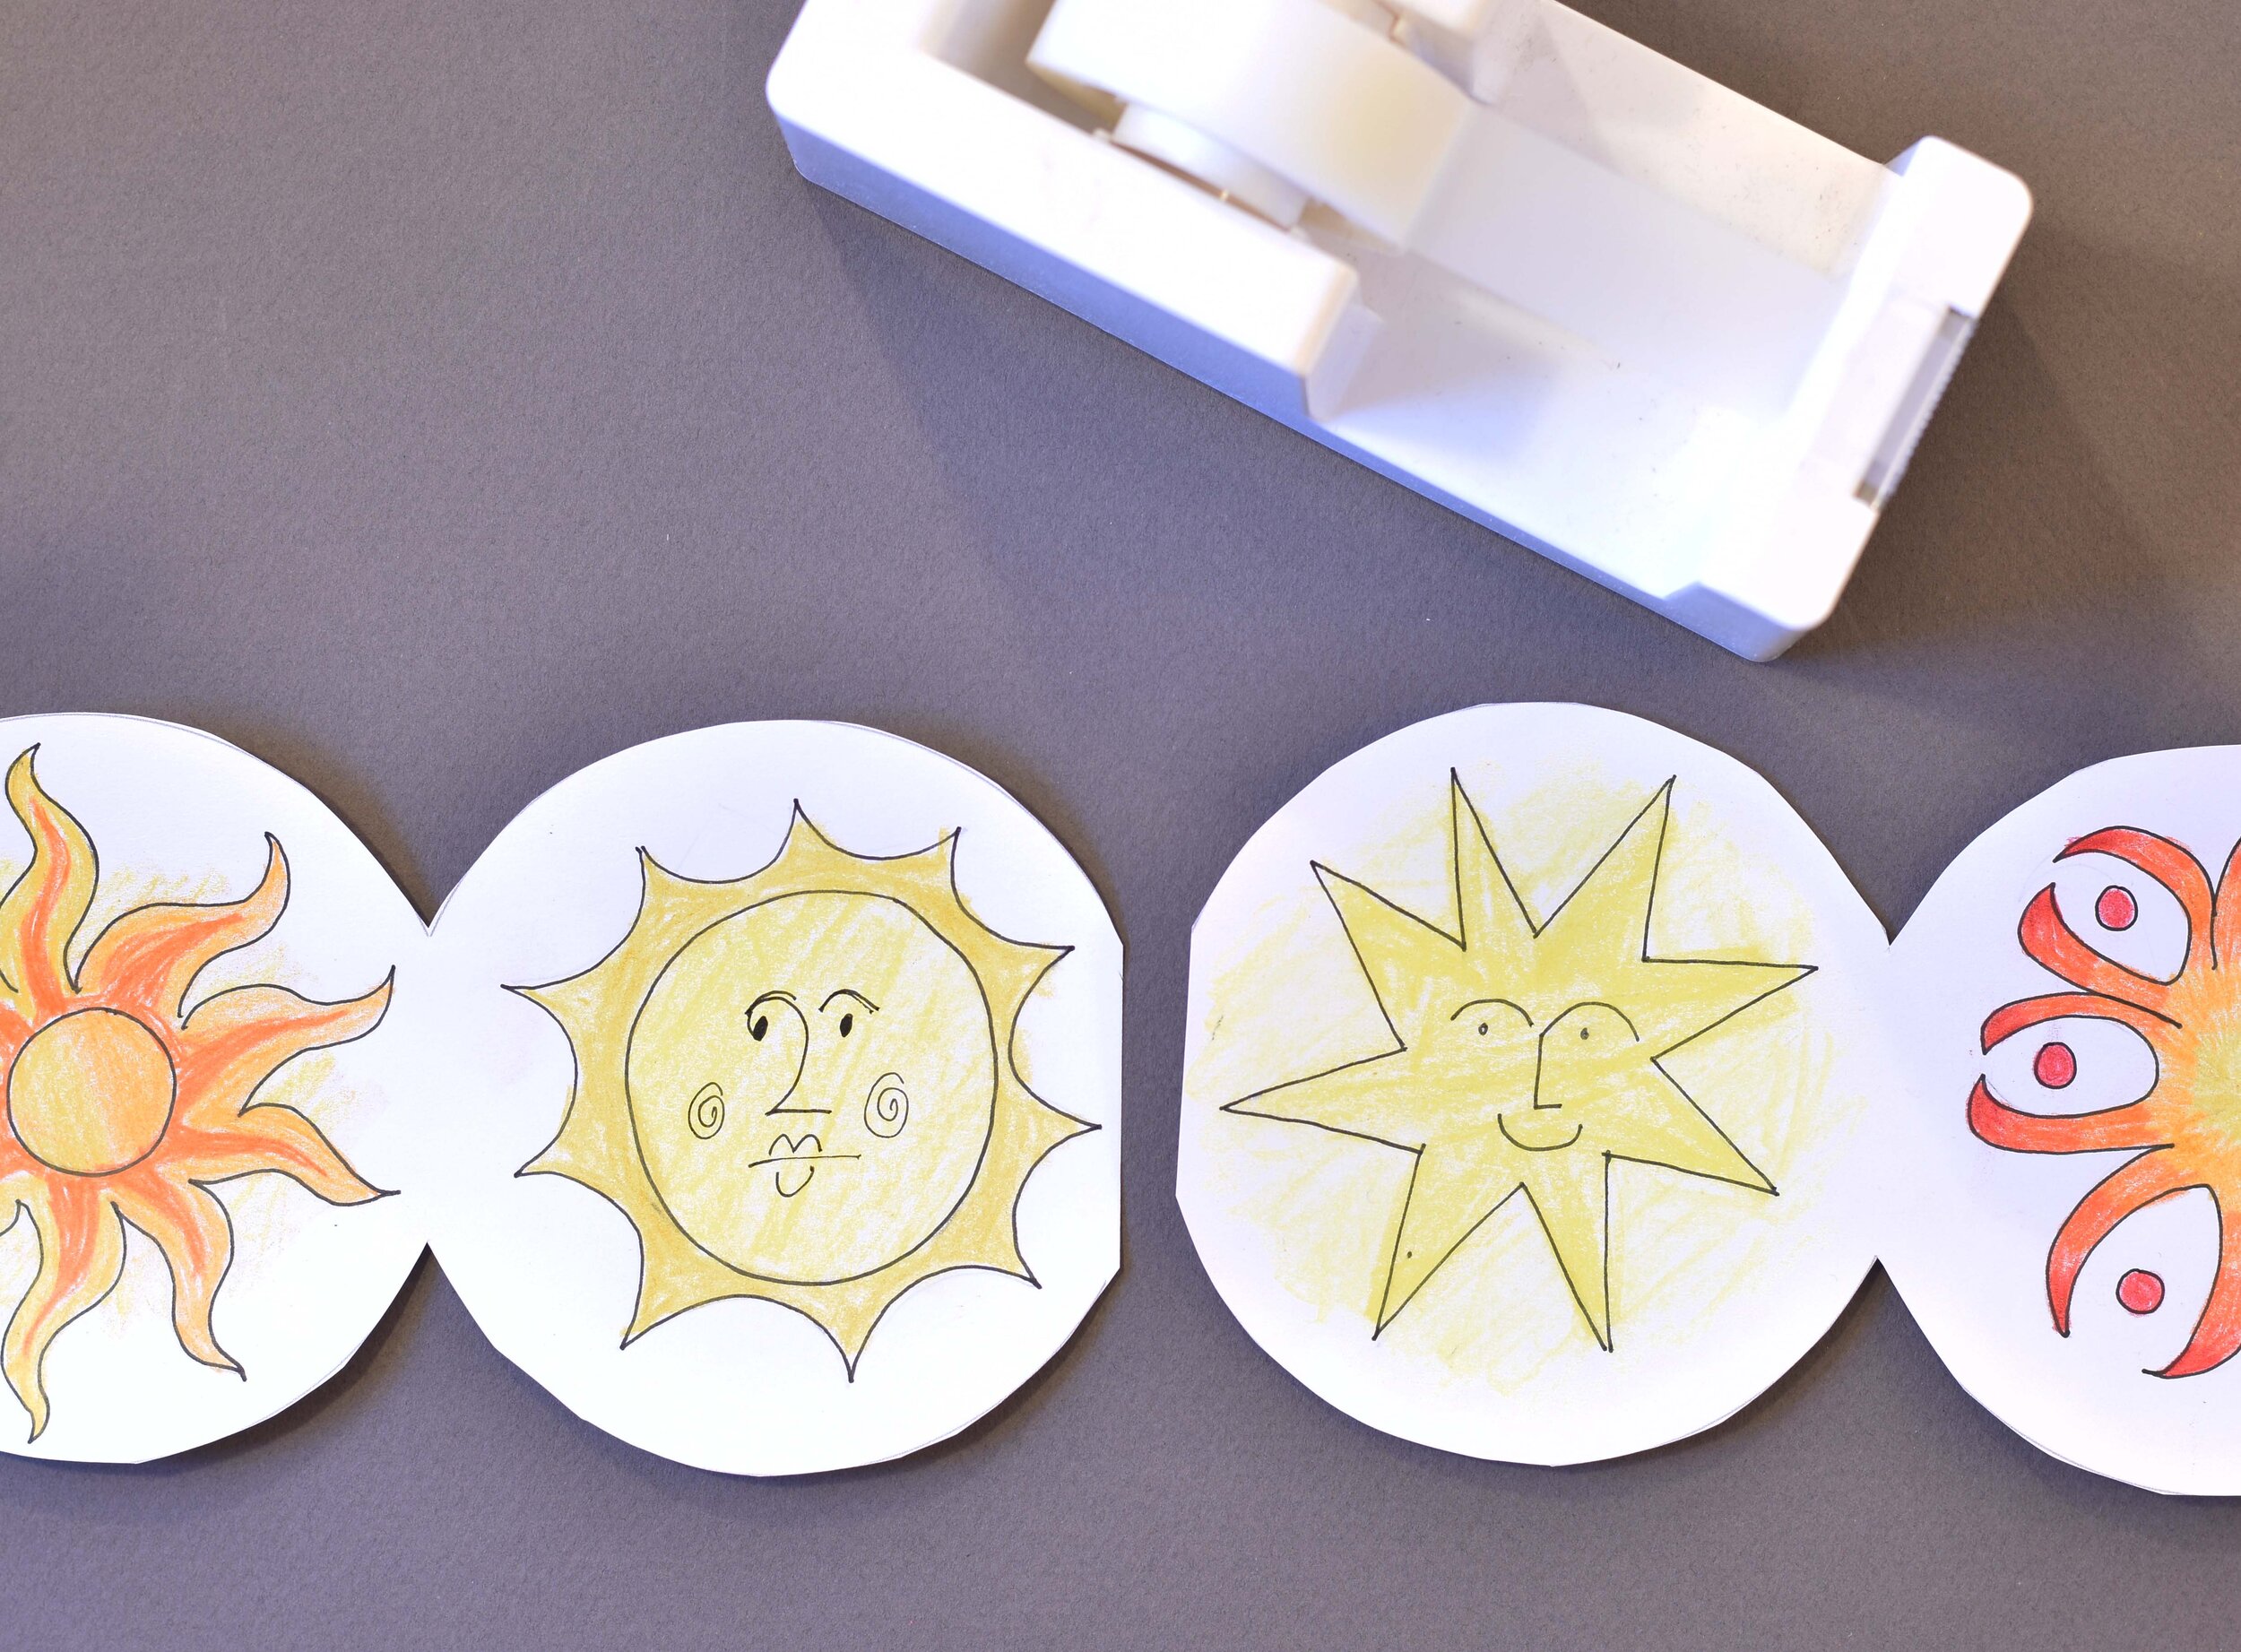
Connect the two strips of pages: butt the straight edges together and join with tape.
5
Fold them up accordion-style, starting by bringing the far left O over to the right.
6
Set the front cover to the left of your folded stack of pages. Set the other cover to the right.
Now flip your covers keeping your artwork pointing at 12 o’clock. Flip them as if you were opening a cabinet door, not a garage door.
Apply glue stick or double-sided tape to the outer part of each cover. It’s colored purple here so you can see where the glue goes.
Hold just the top page of your stack and bring it to the left and down onto the glue inside the front cover. Press to stick.
It doesn’t have to be perfectly centered in the lid.
Take the bottom page of your stack and set onto the glue inside the other cover; press to stick.
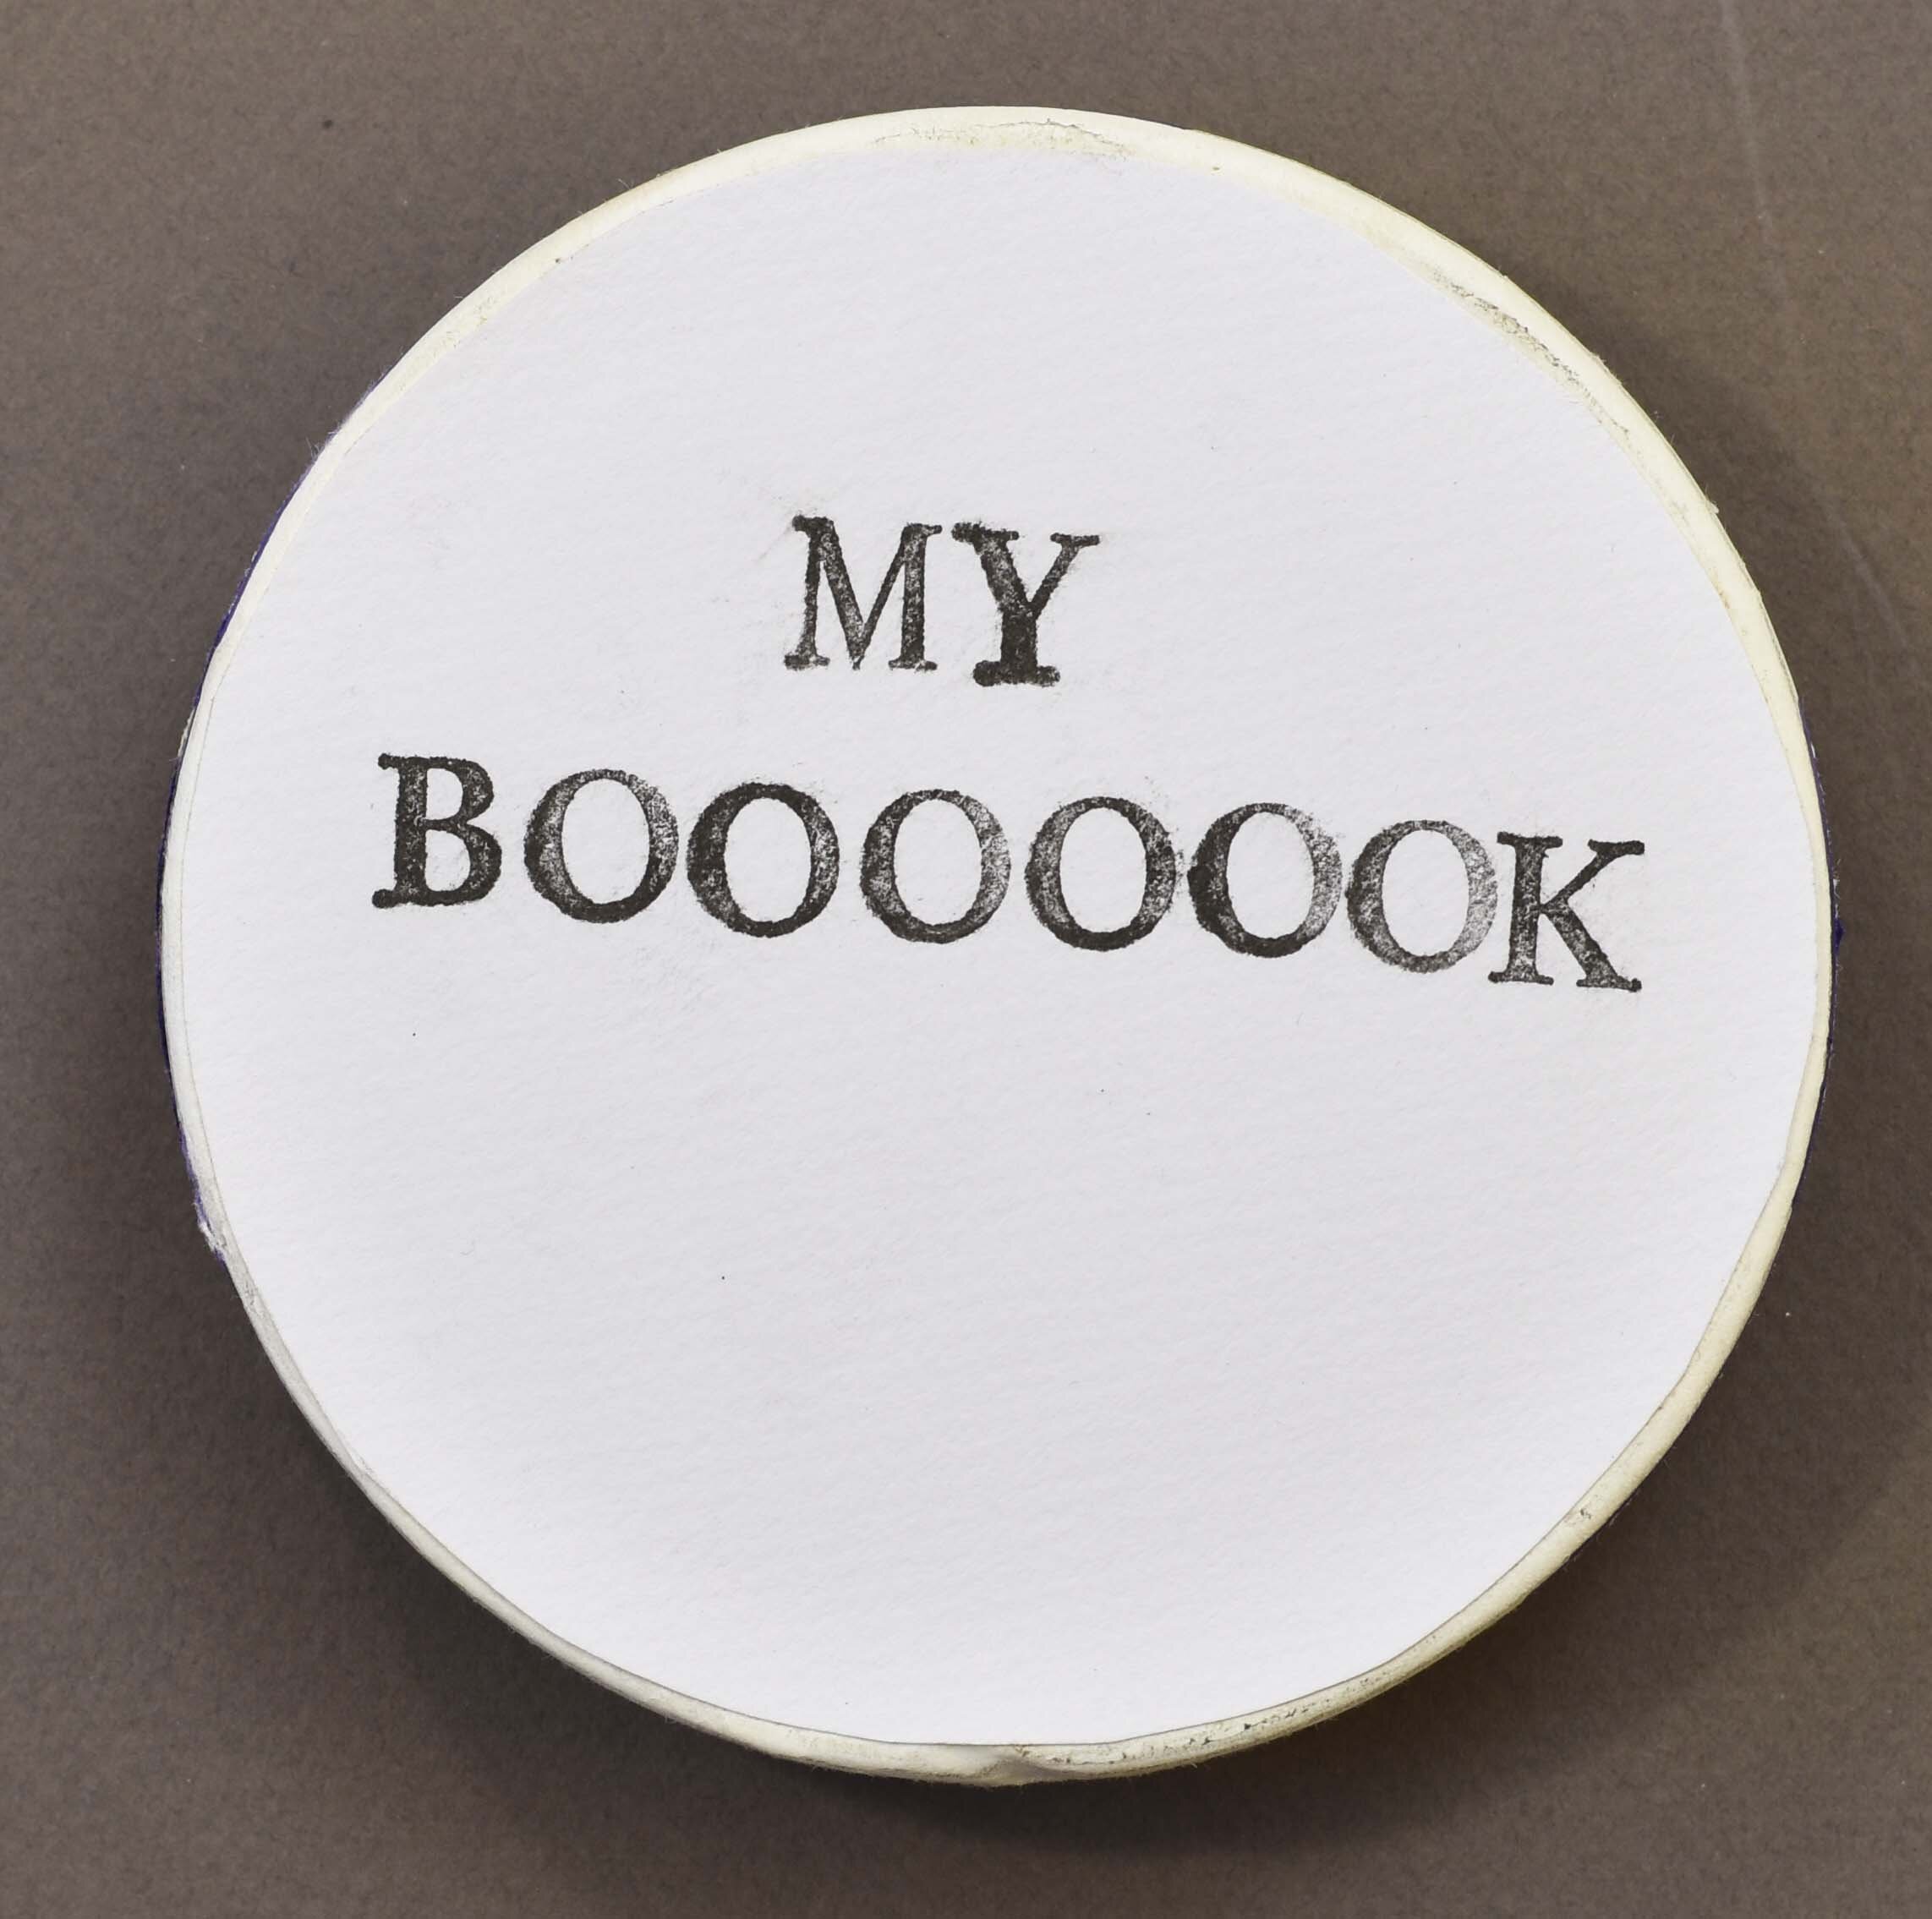
That’s it! Your completely awesome BOOOOOOK is finished! Looks great, plus it’s fun to open and close.
and try this:
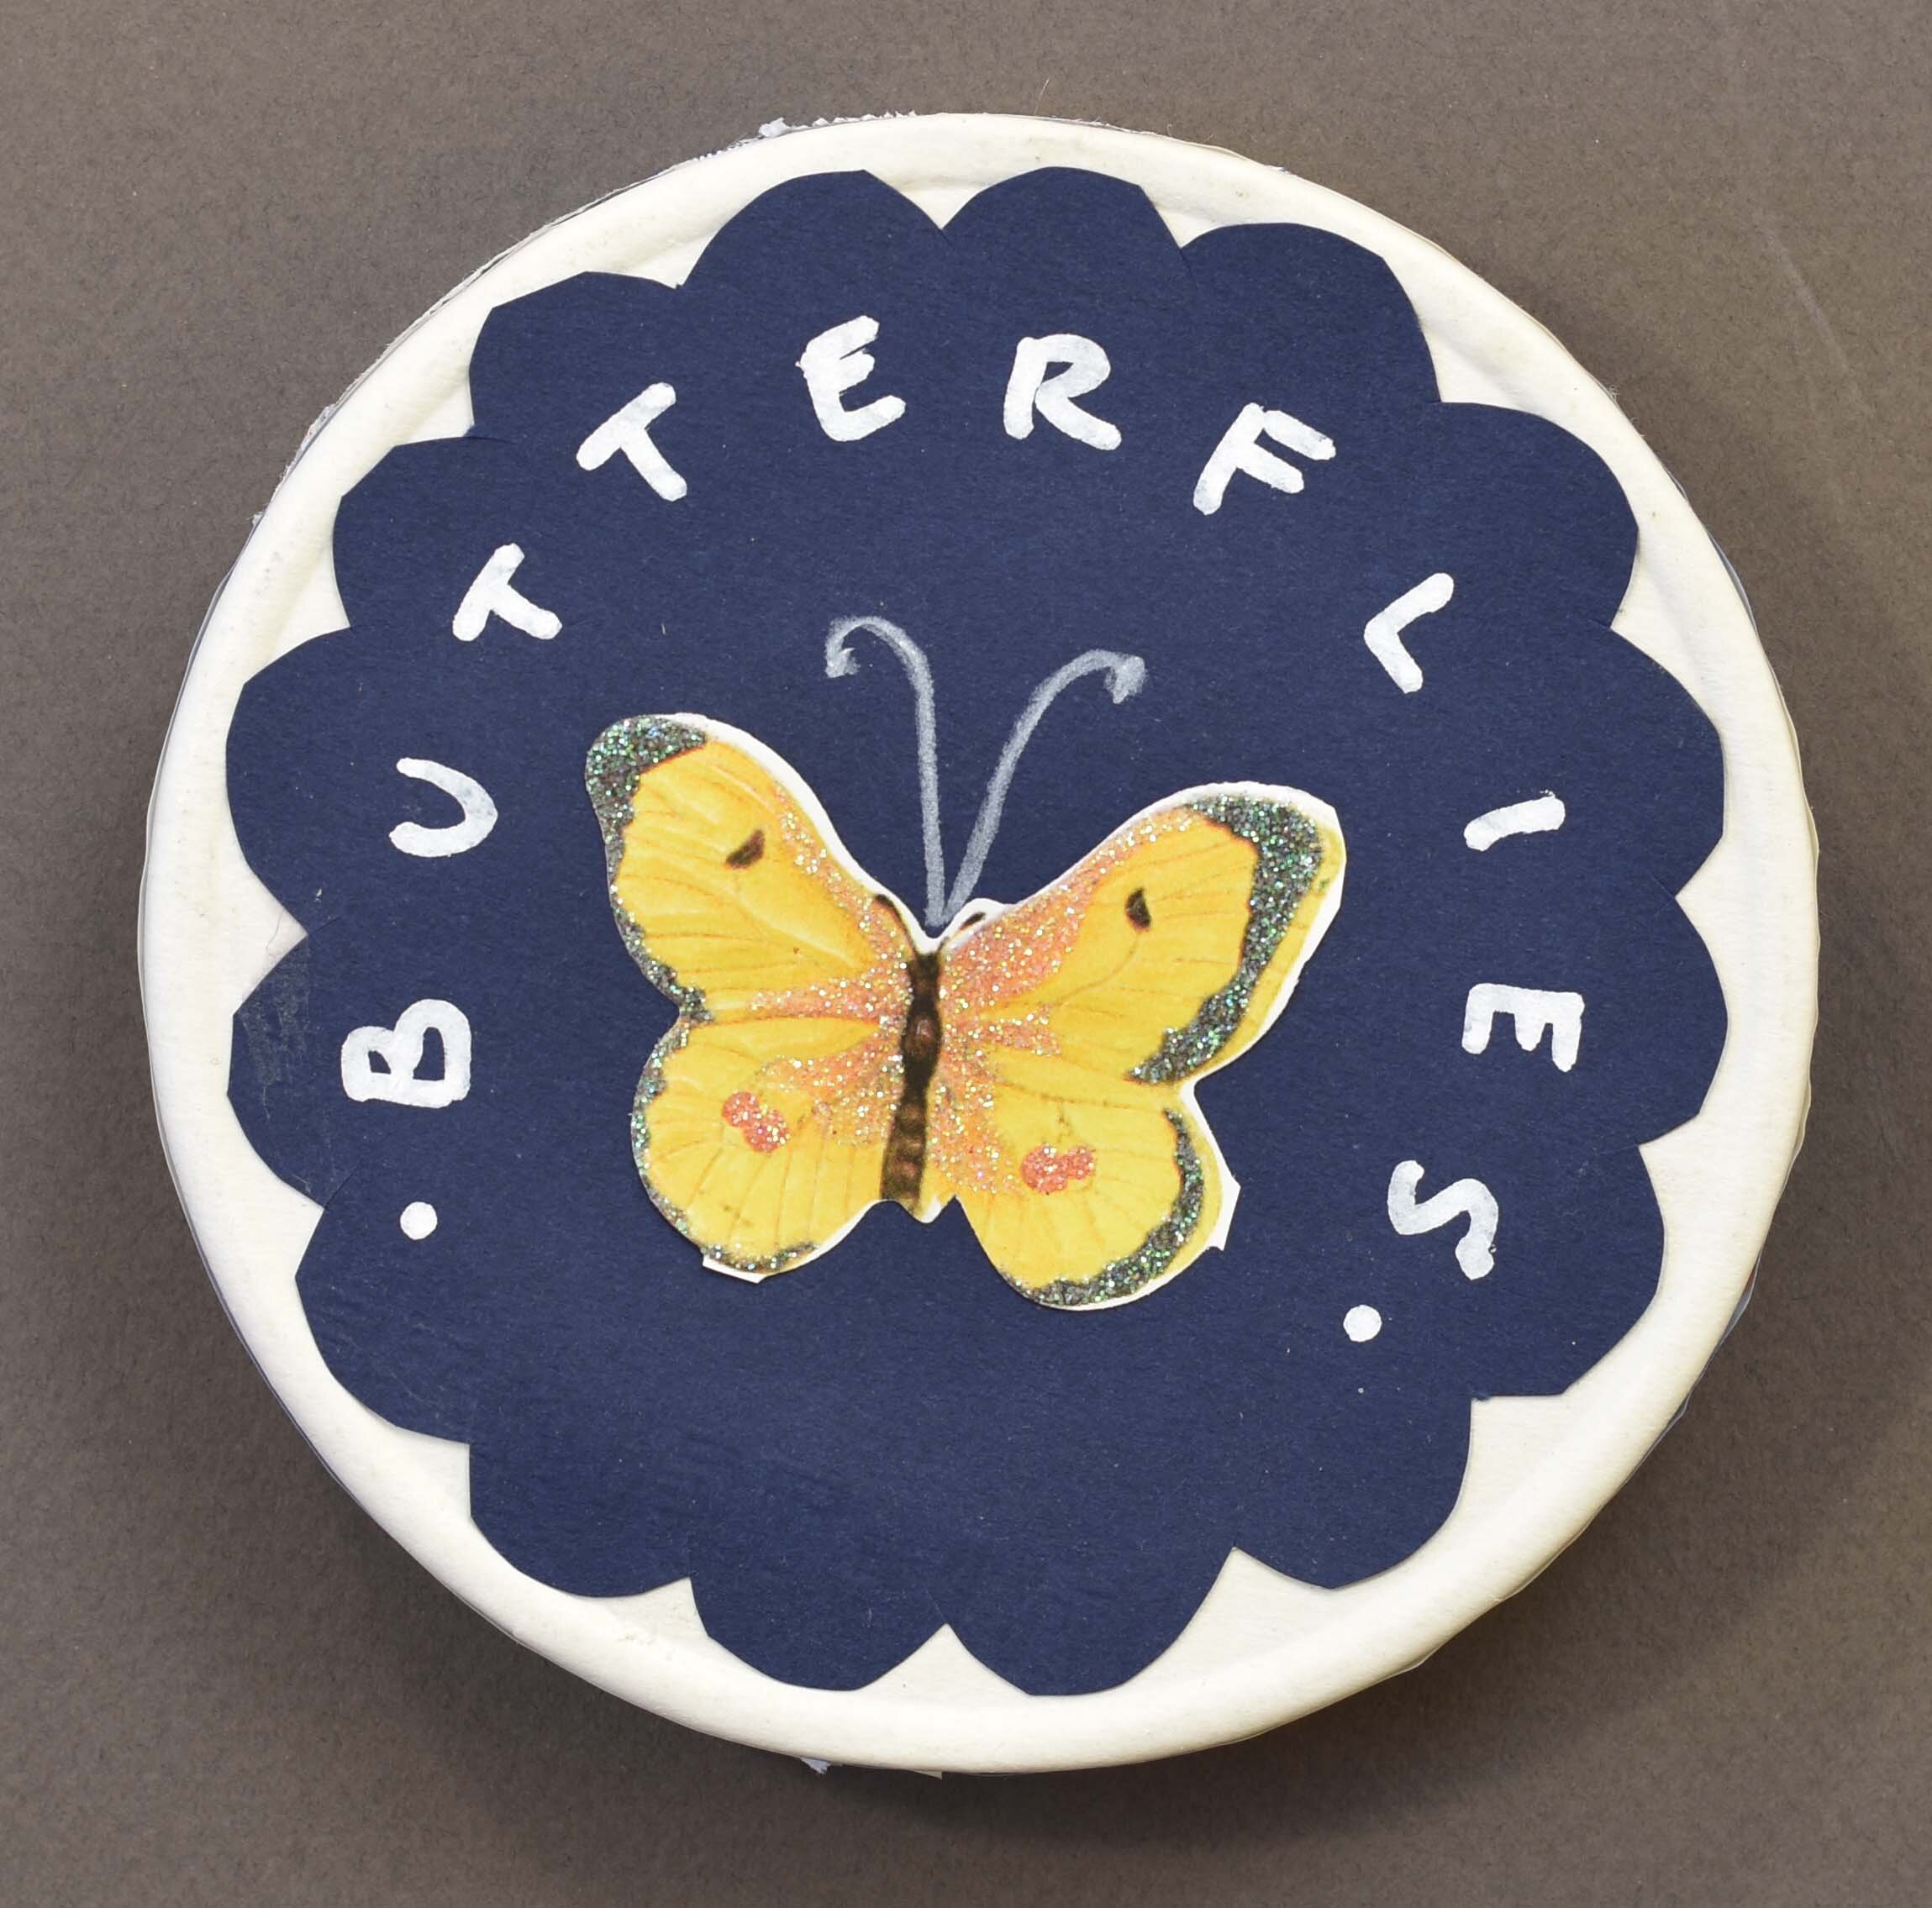
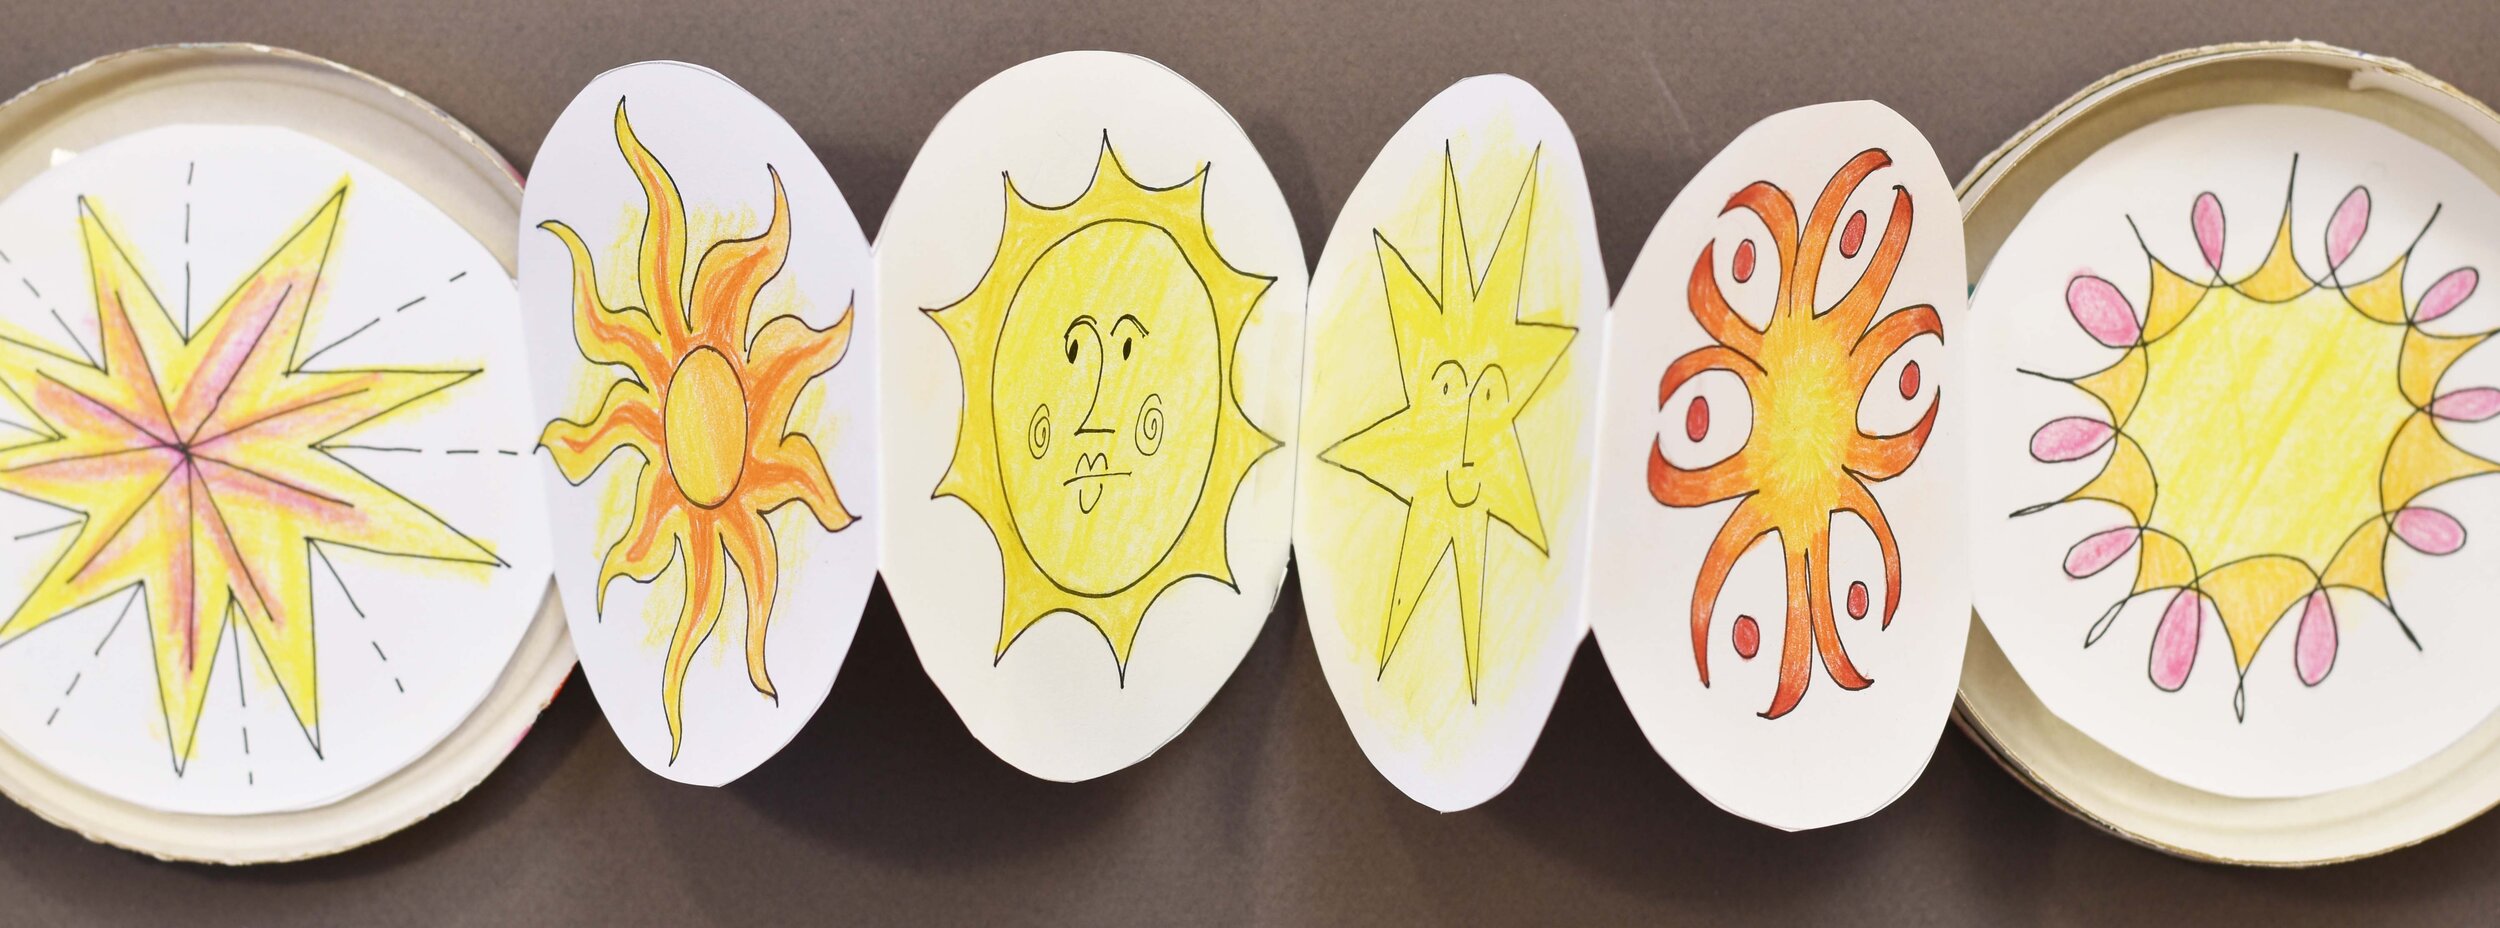
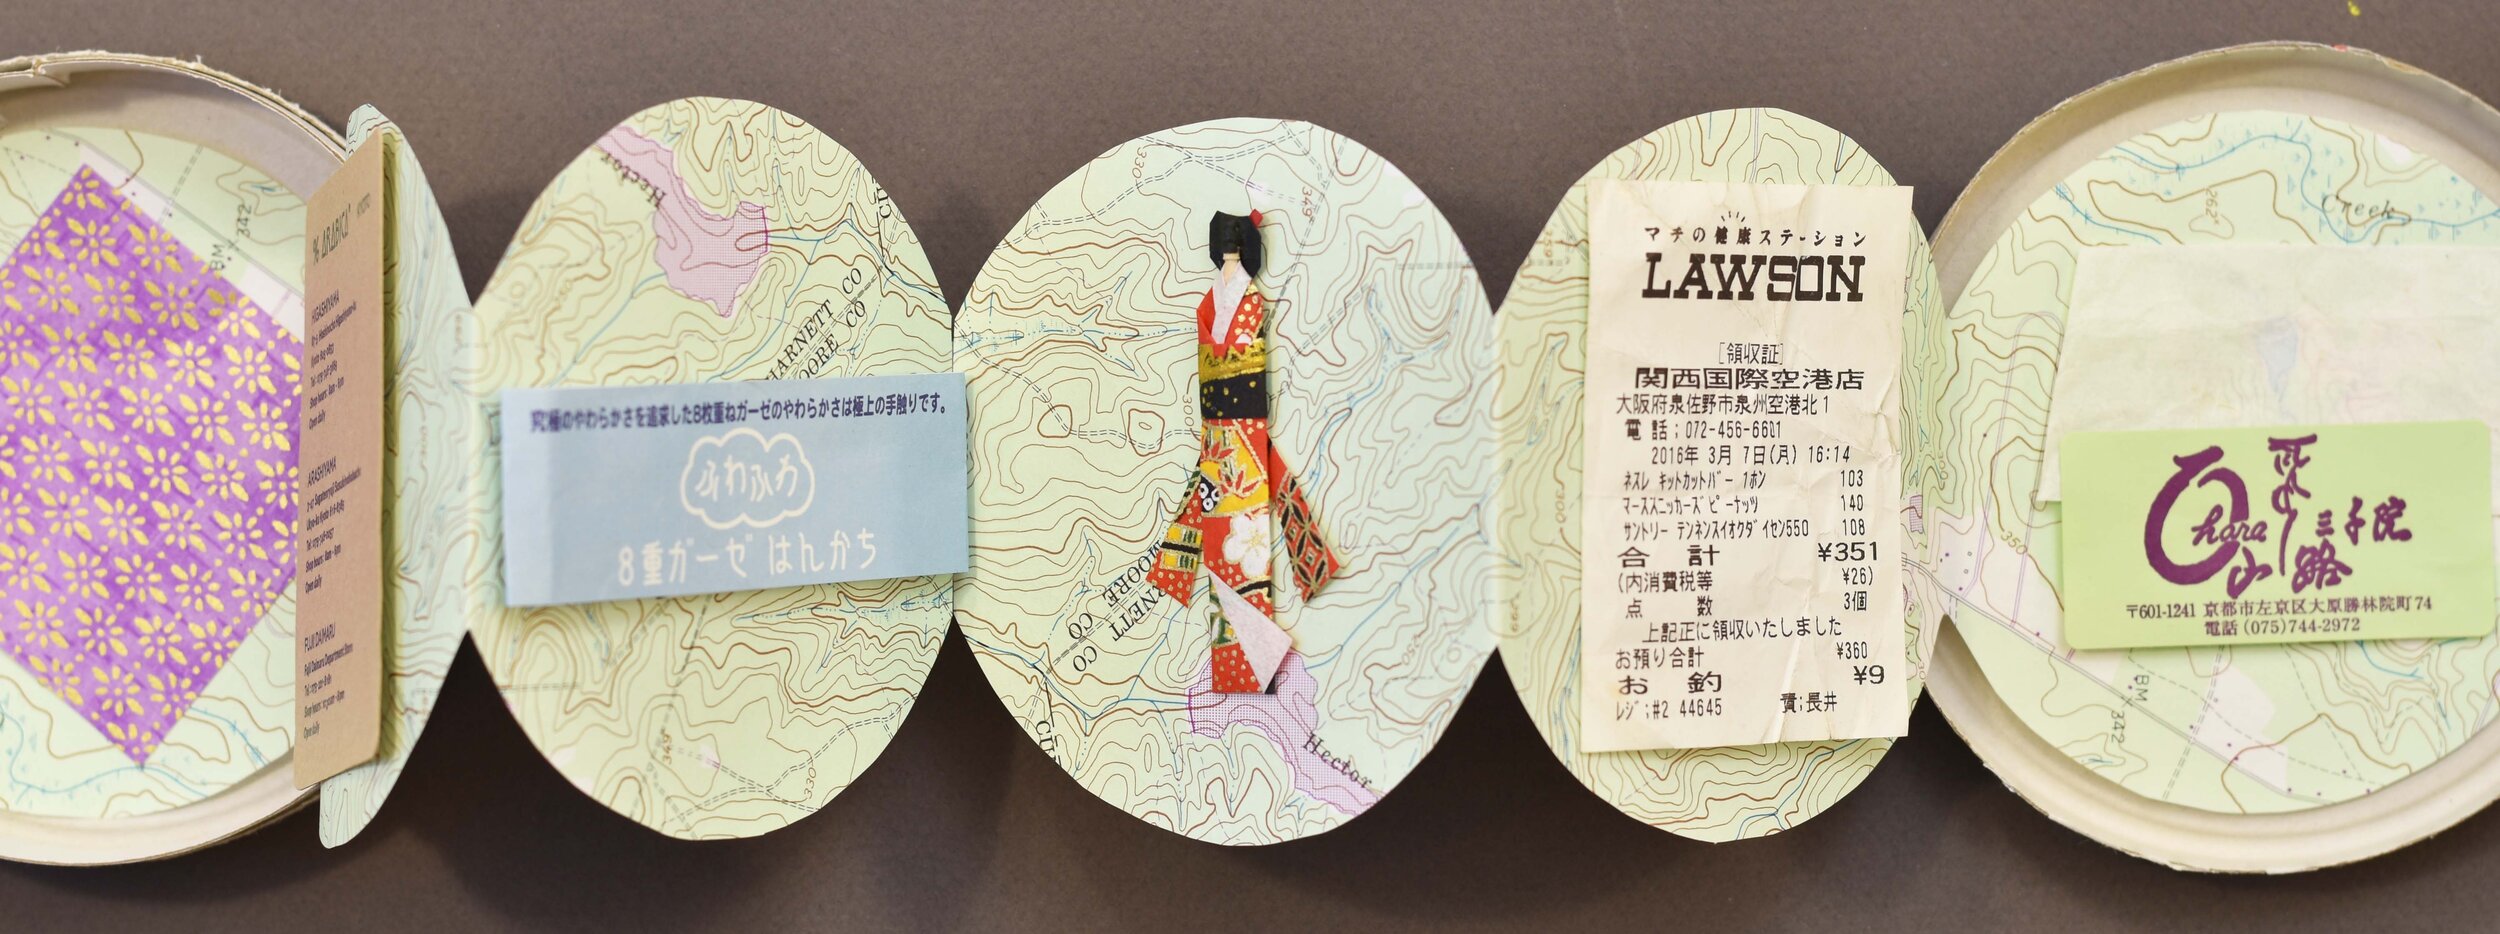
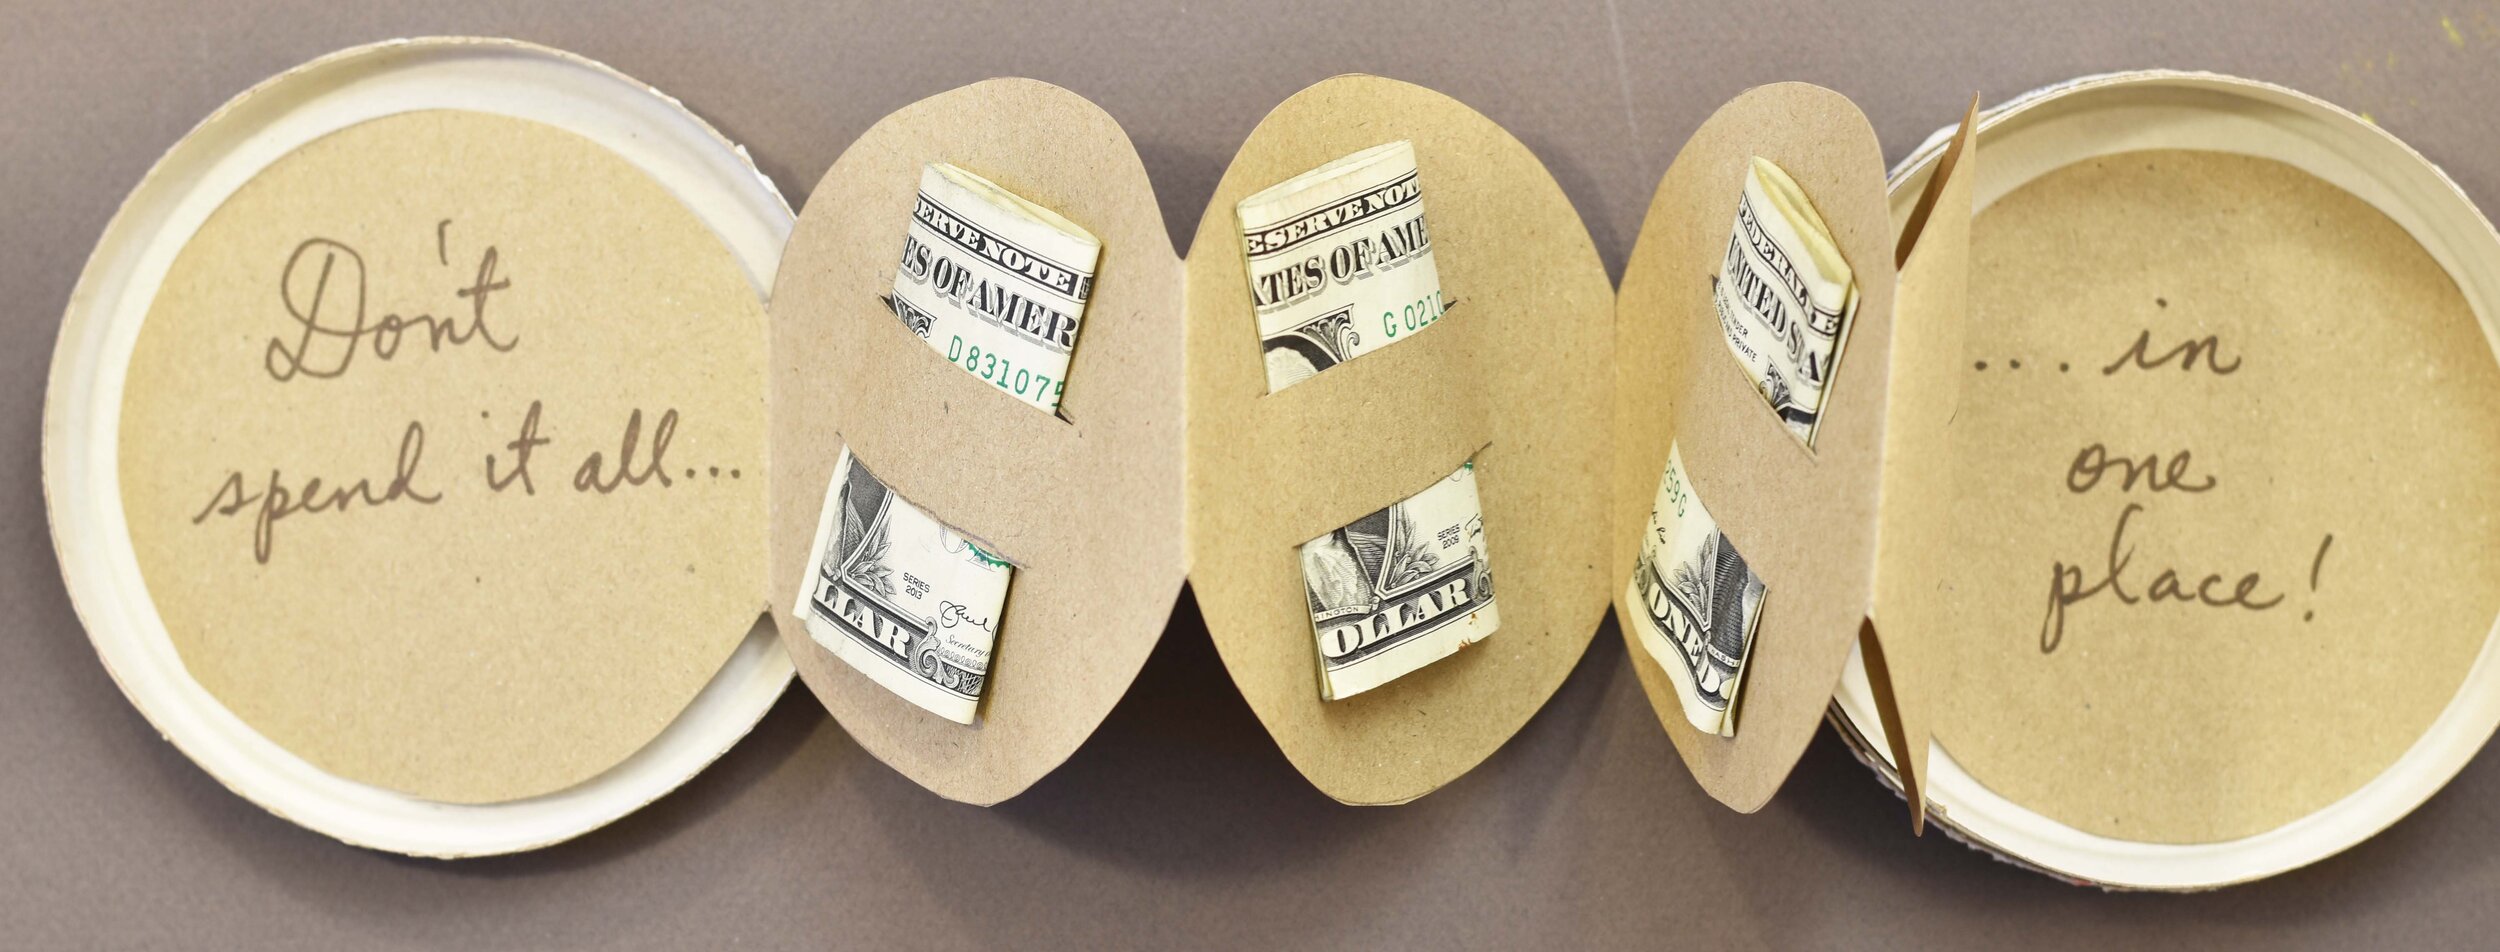
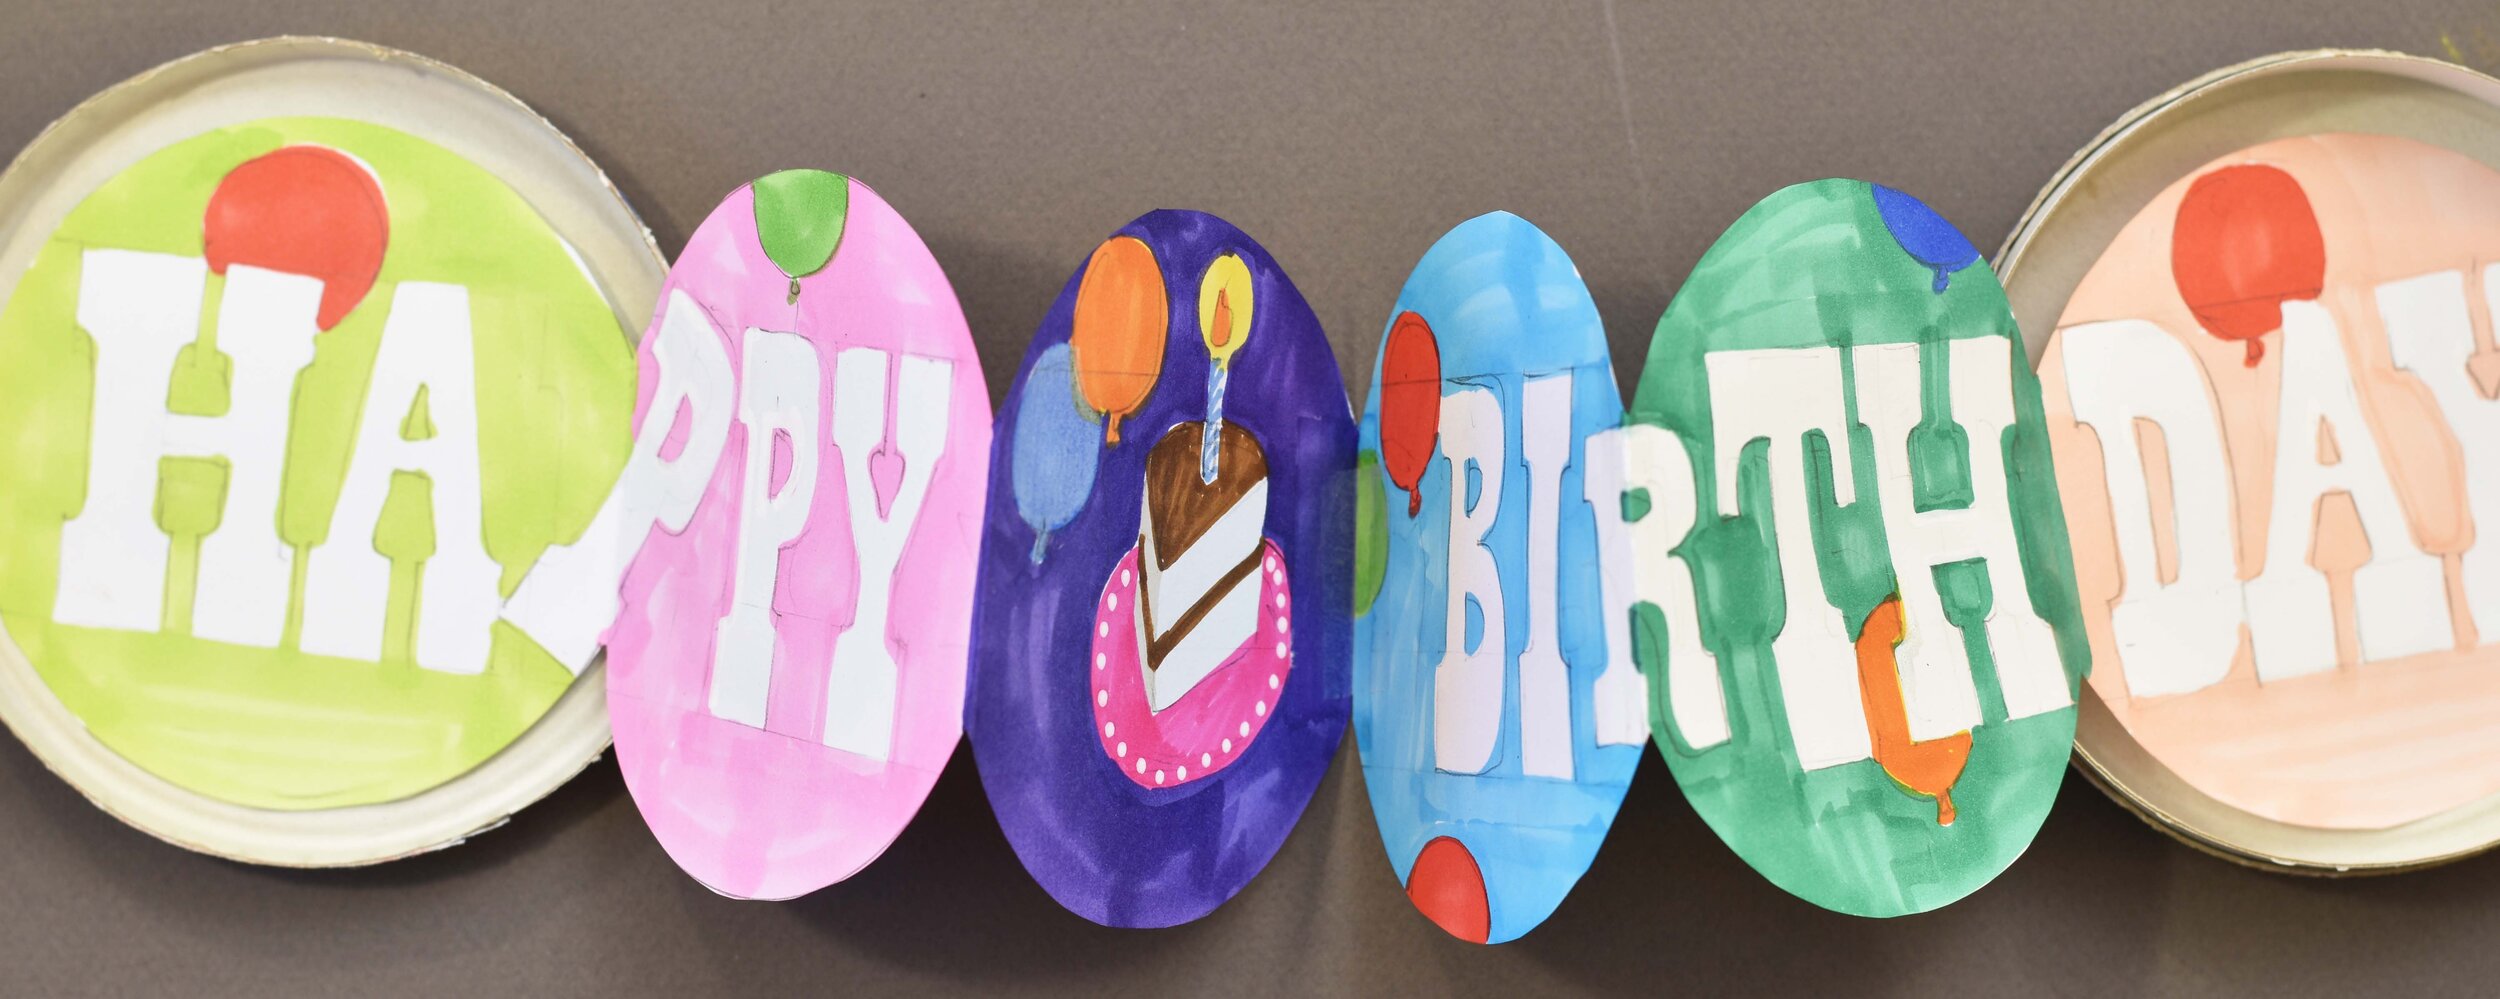
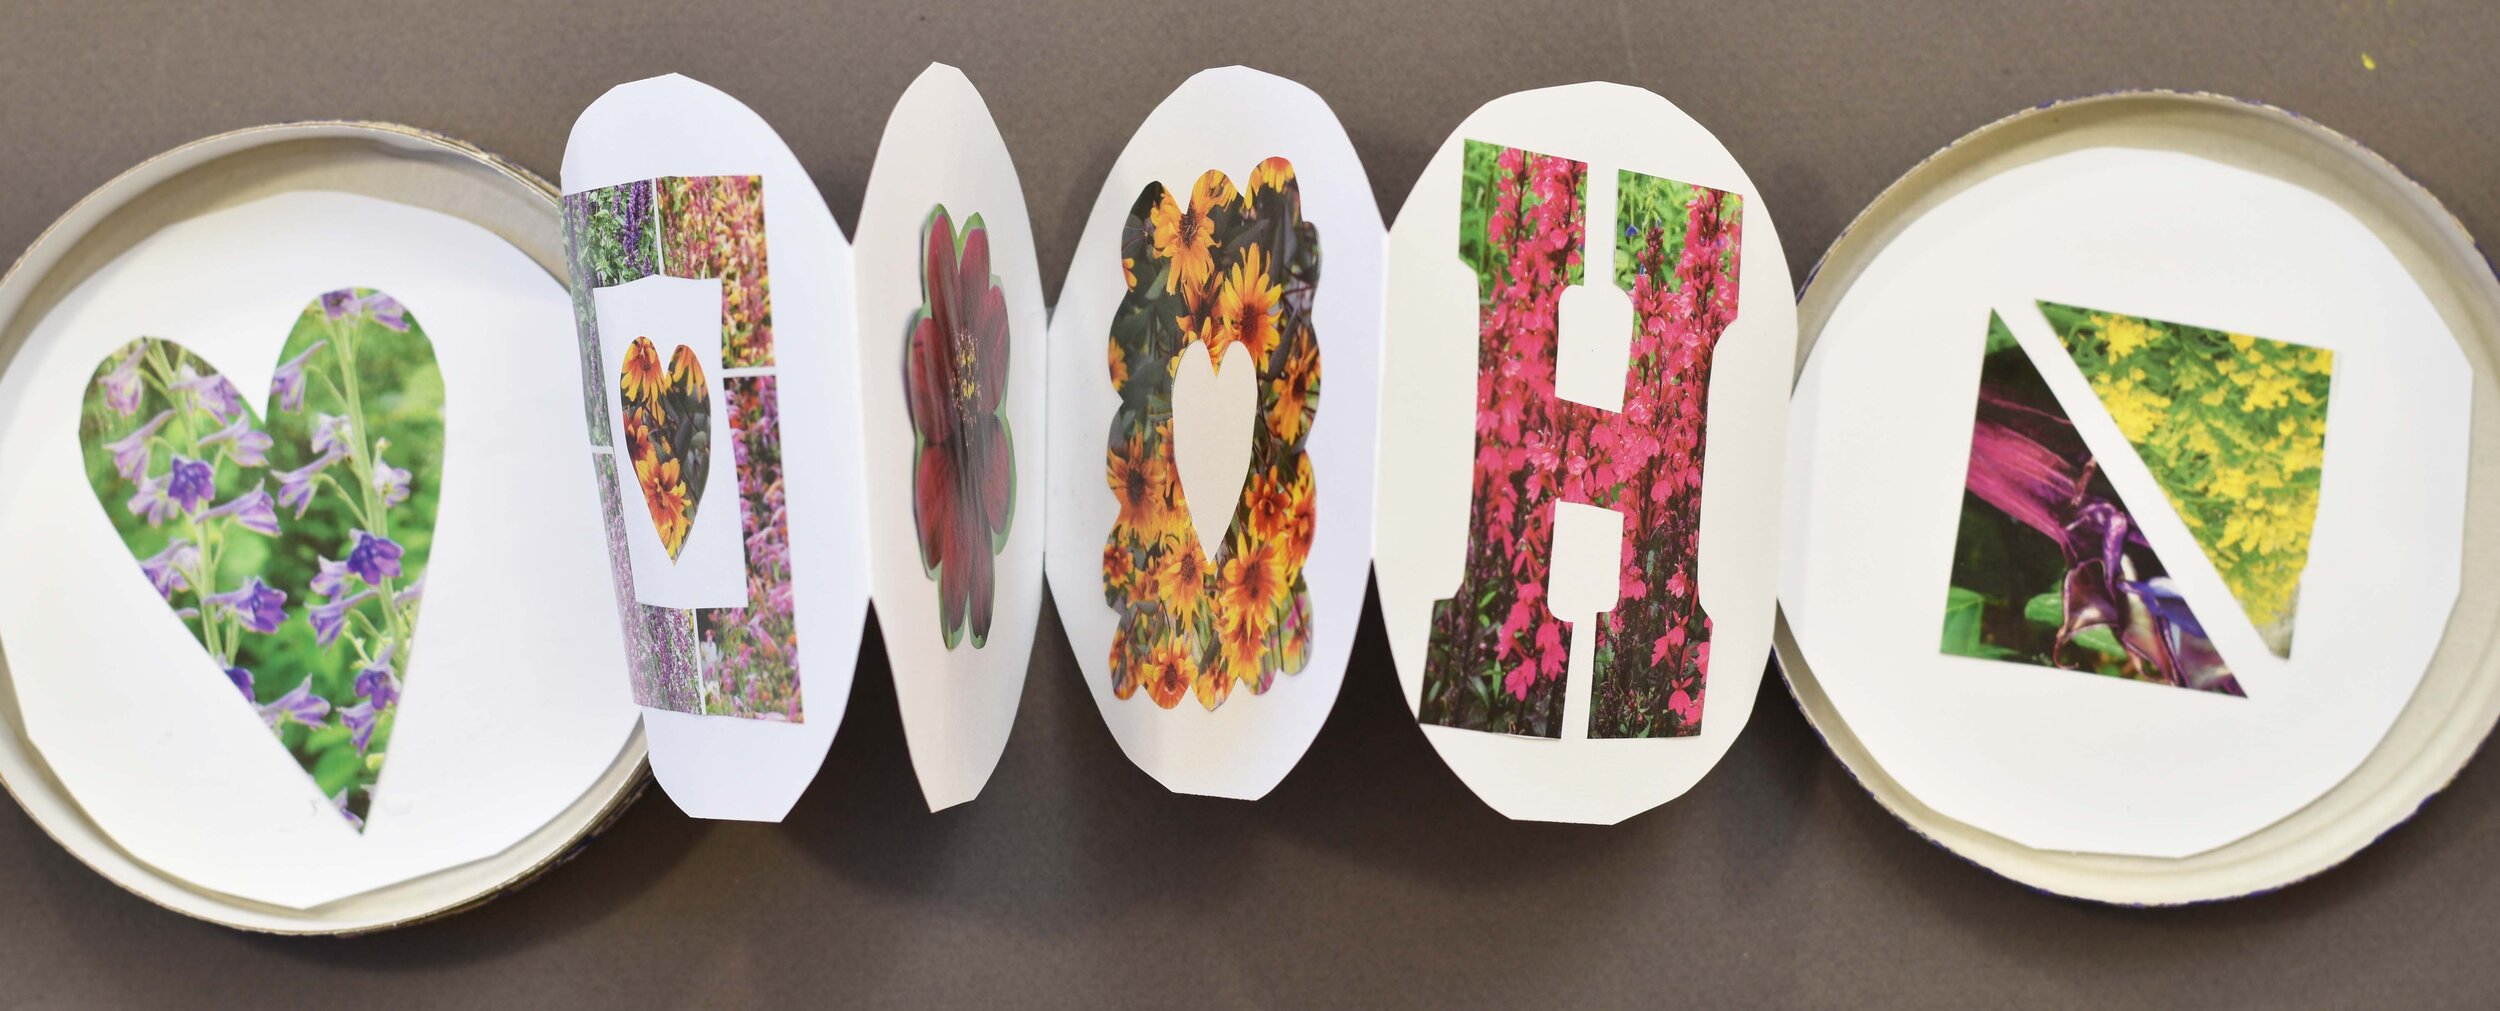
The books below are filled with drawings, travel souvenirs, butterfly stickers, Christmas money, a Happy Birthday message, and some random bits of cut-out magazine pictures. How-to’s for these ideas below!
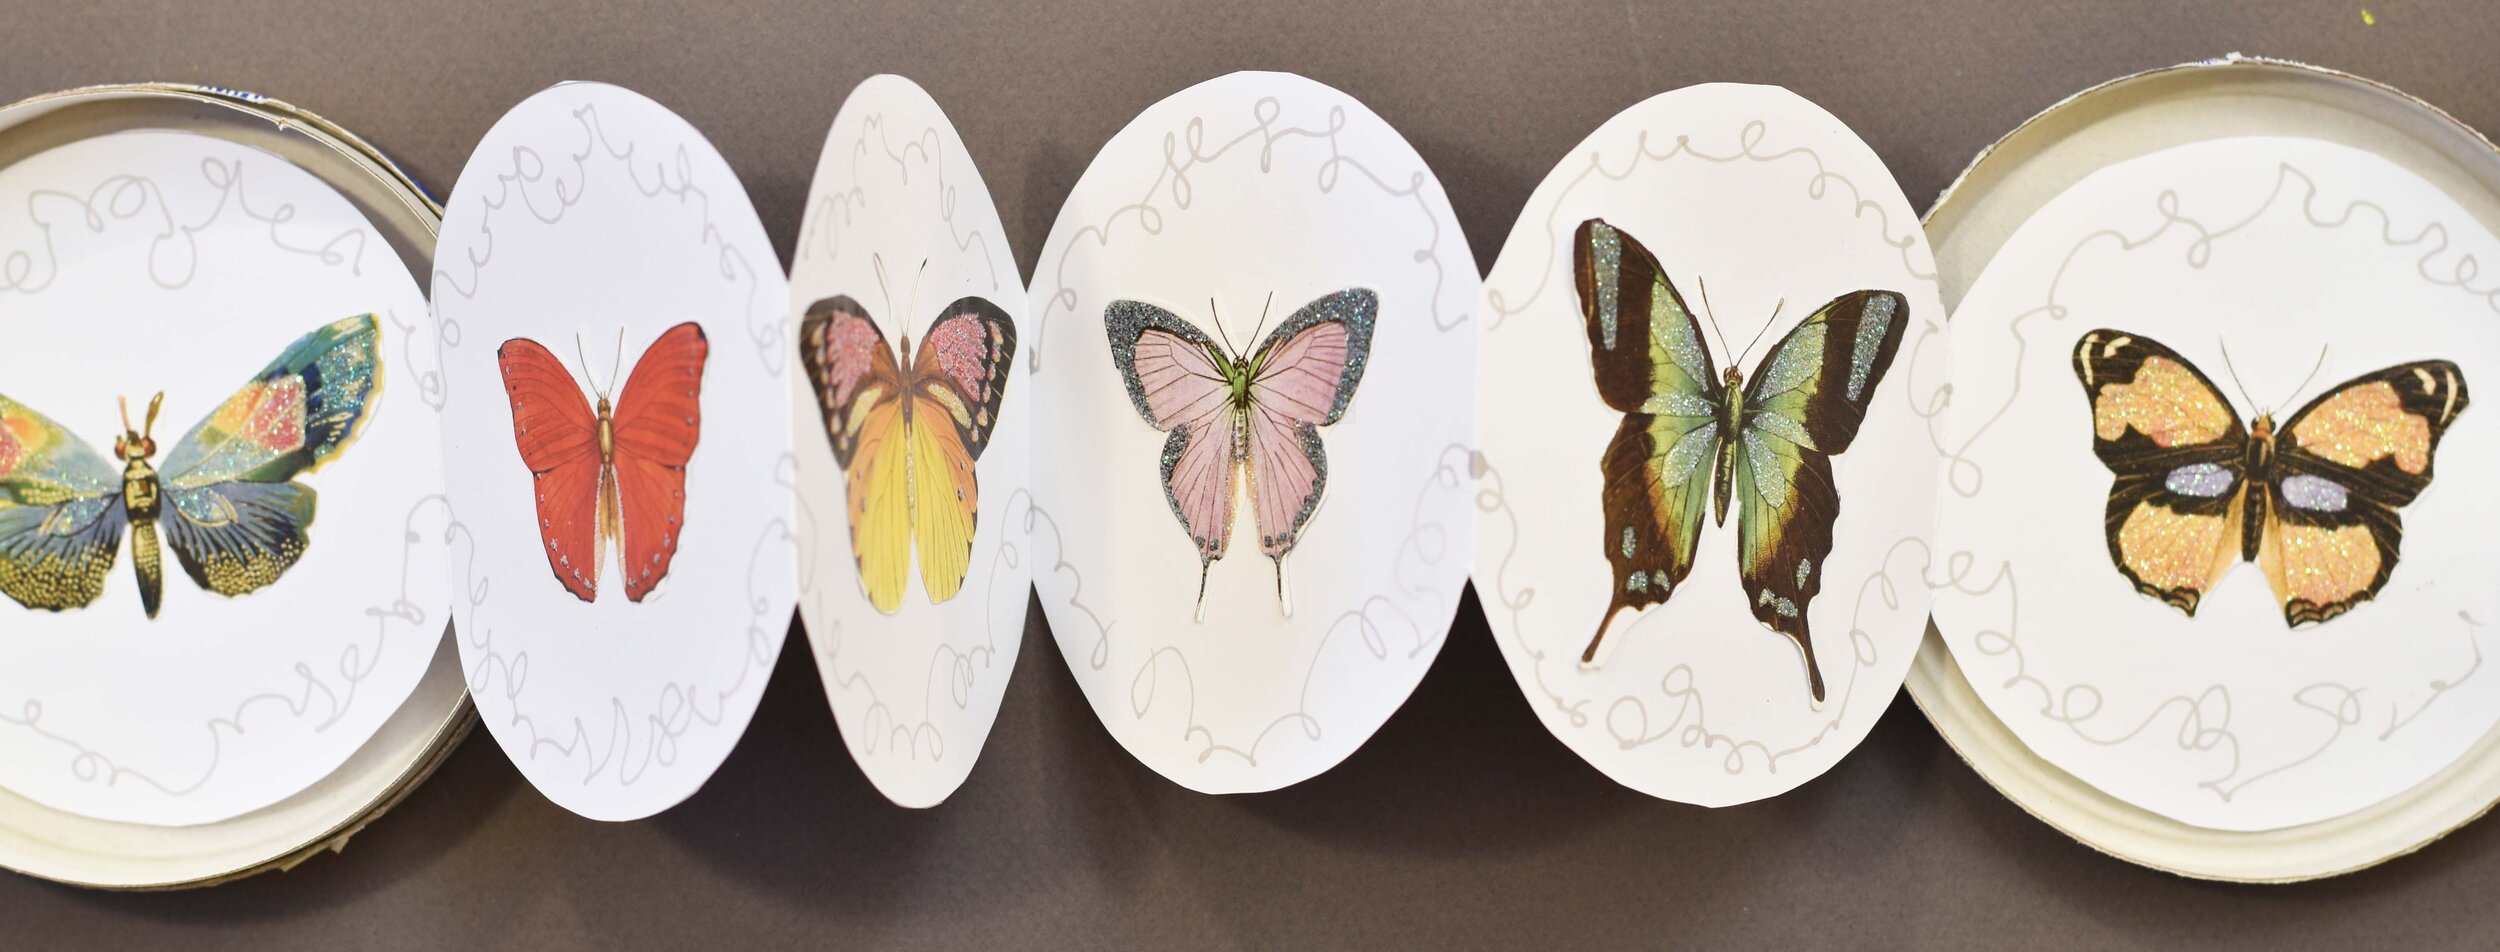
Use different paper for the pages
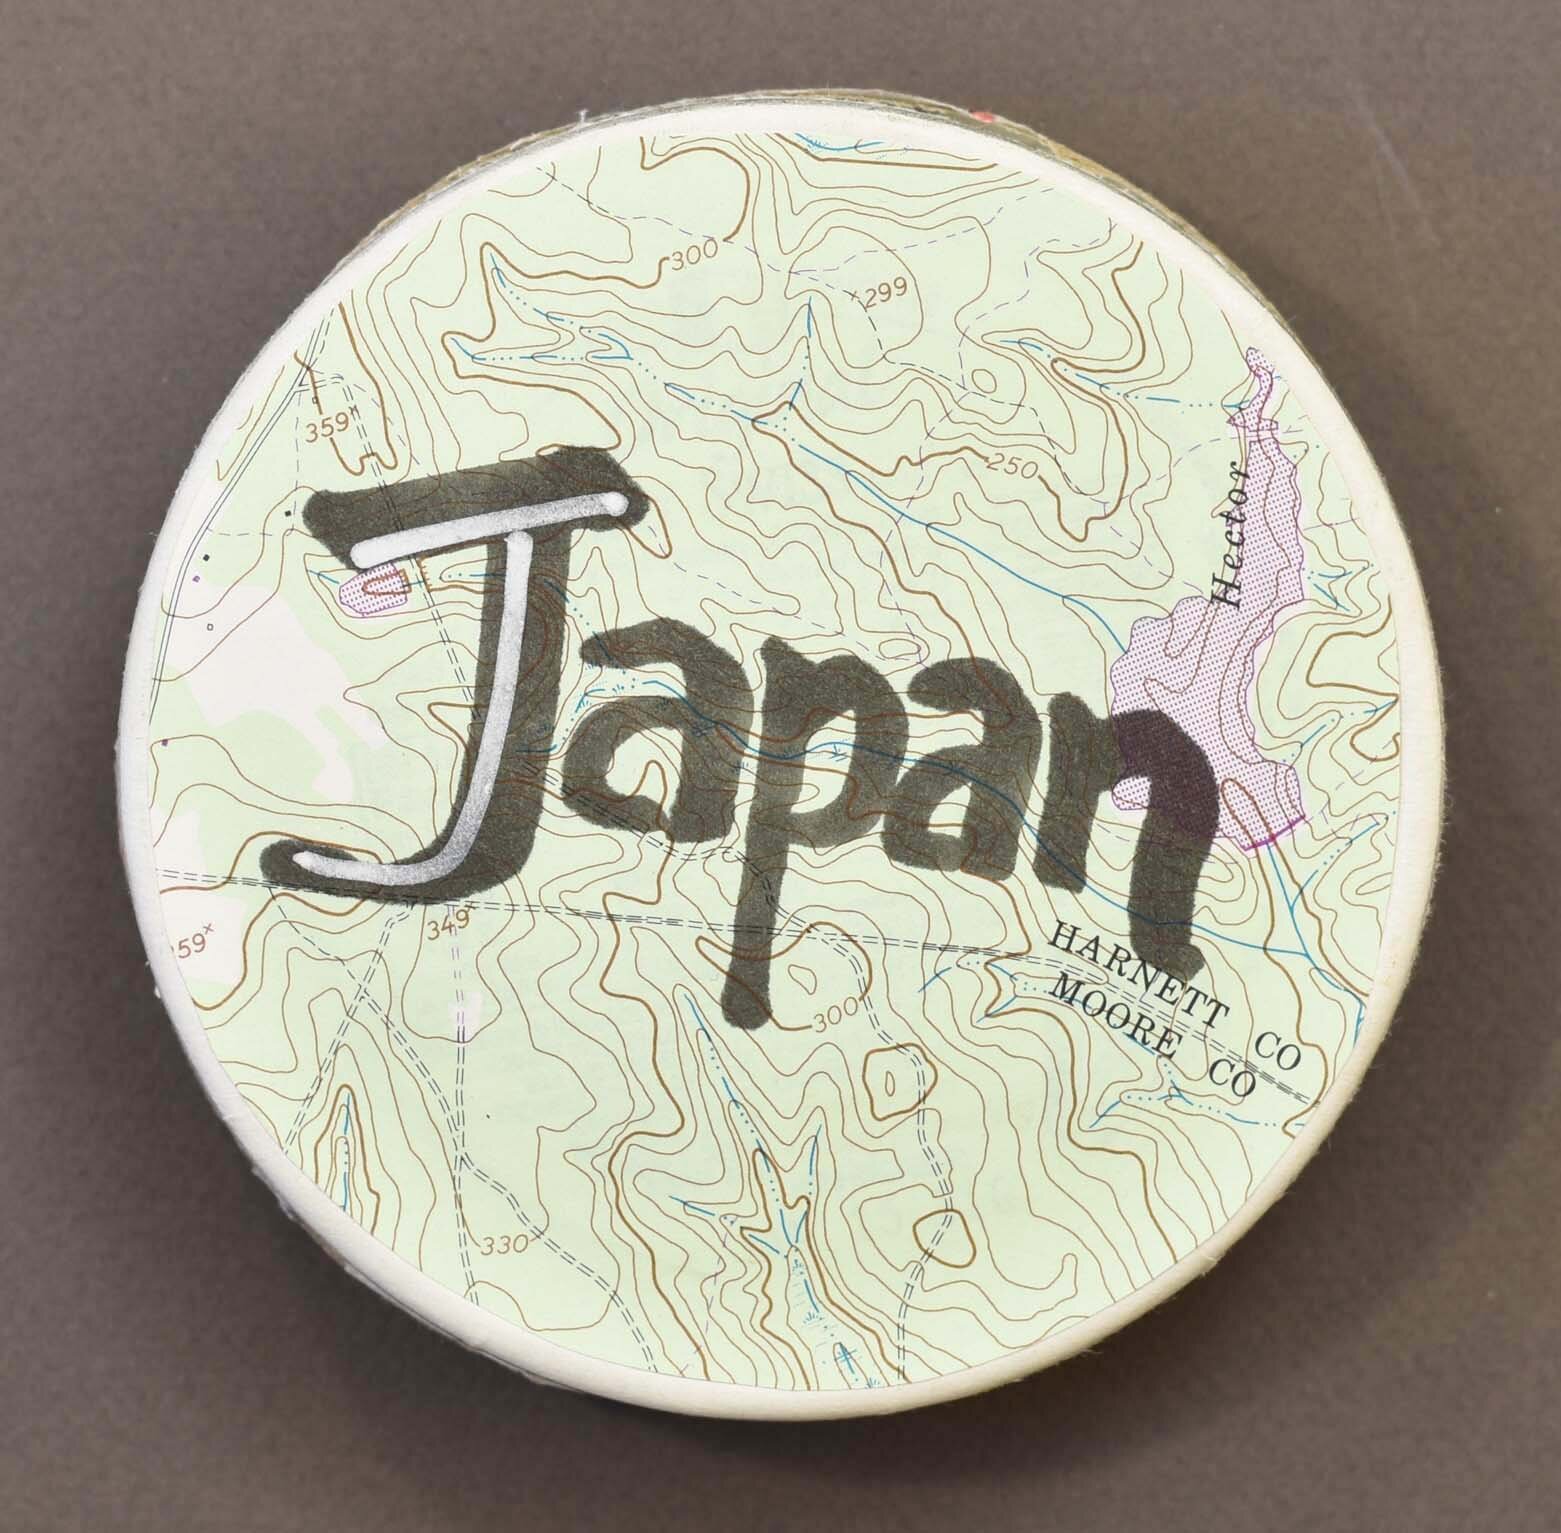
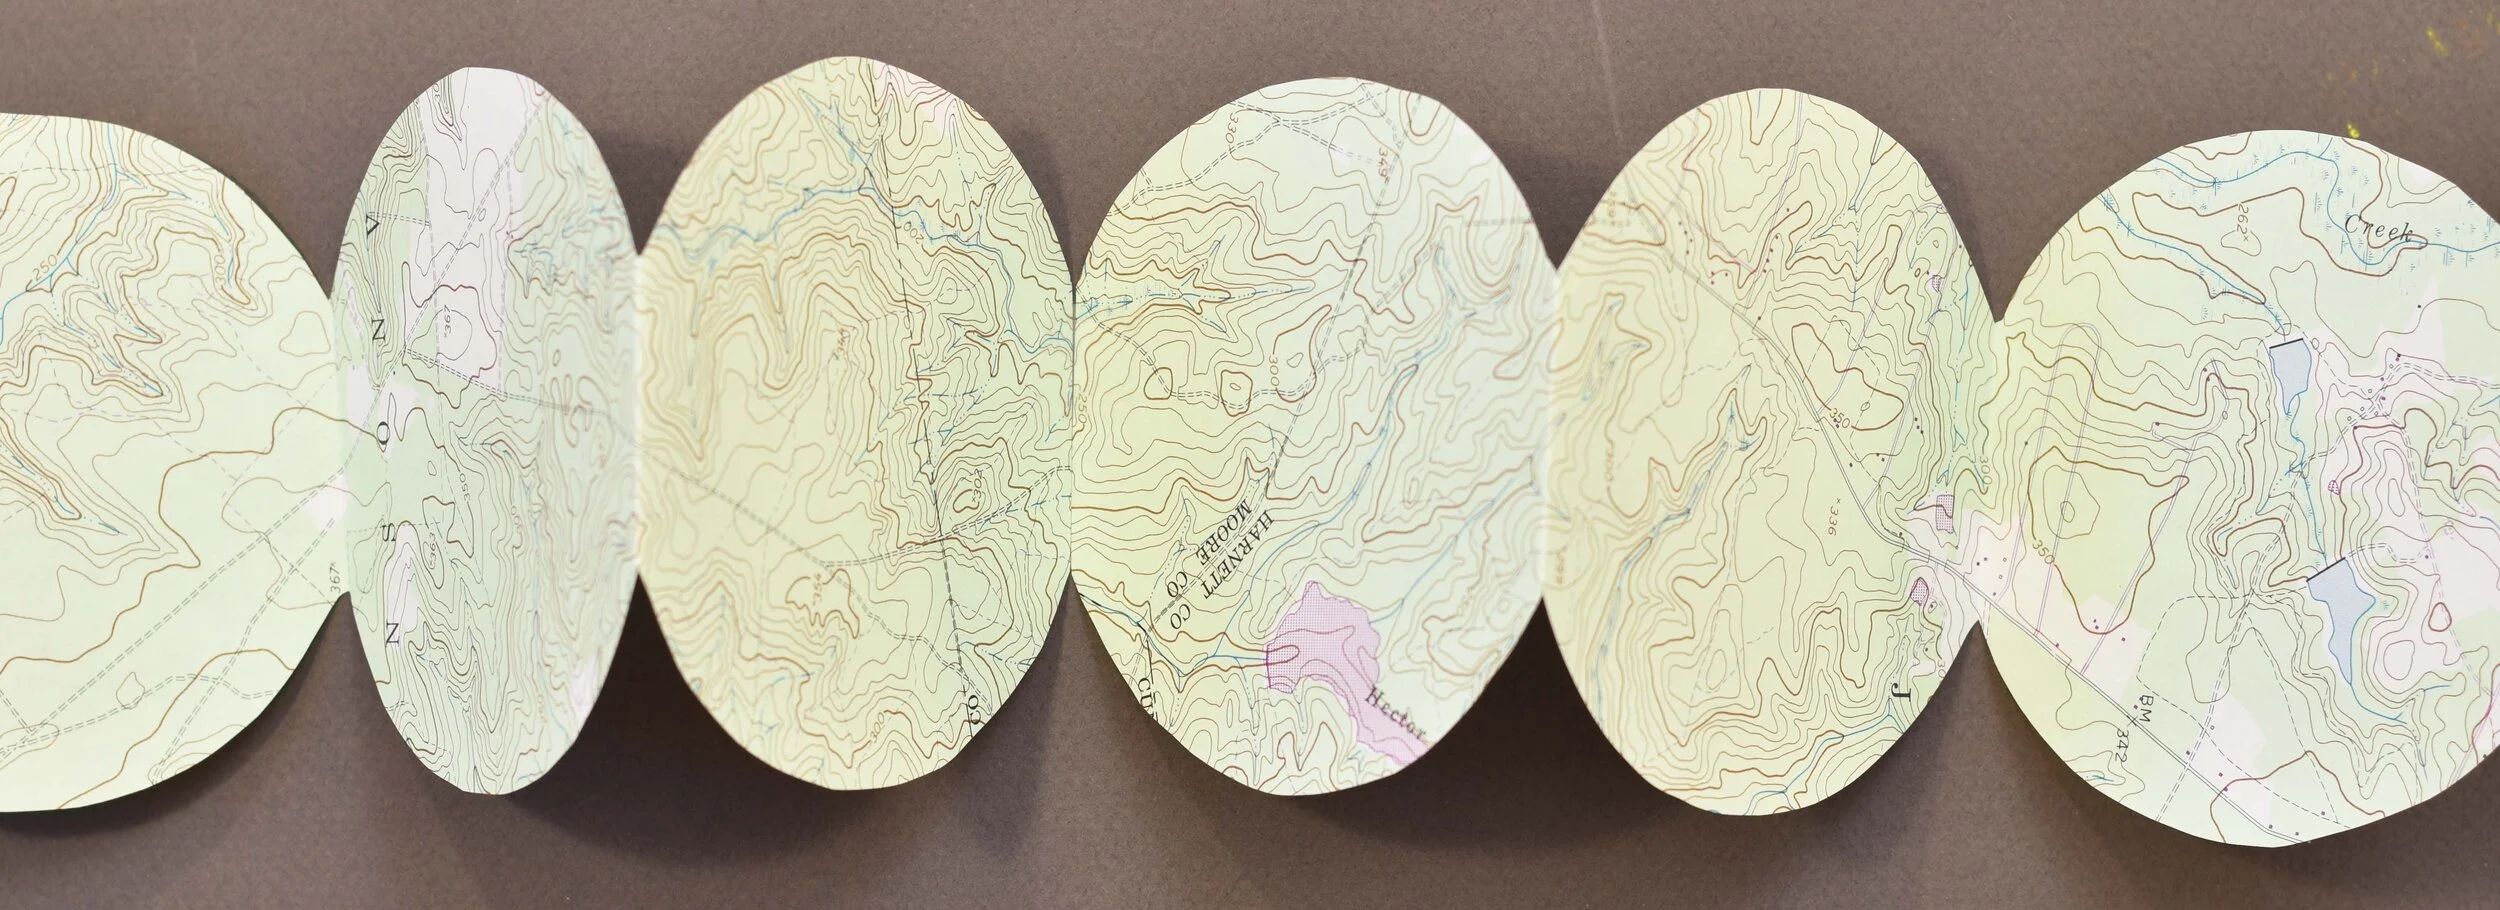
You can make your pages out of any paper that can go through an inkjet printer. Even patterned papers! I put this map paper into the printer face-down so the PDF got printed on the plain back side, and it was easier to see where to cut.
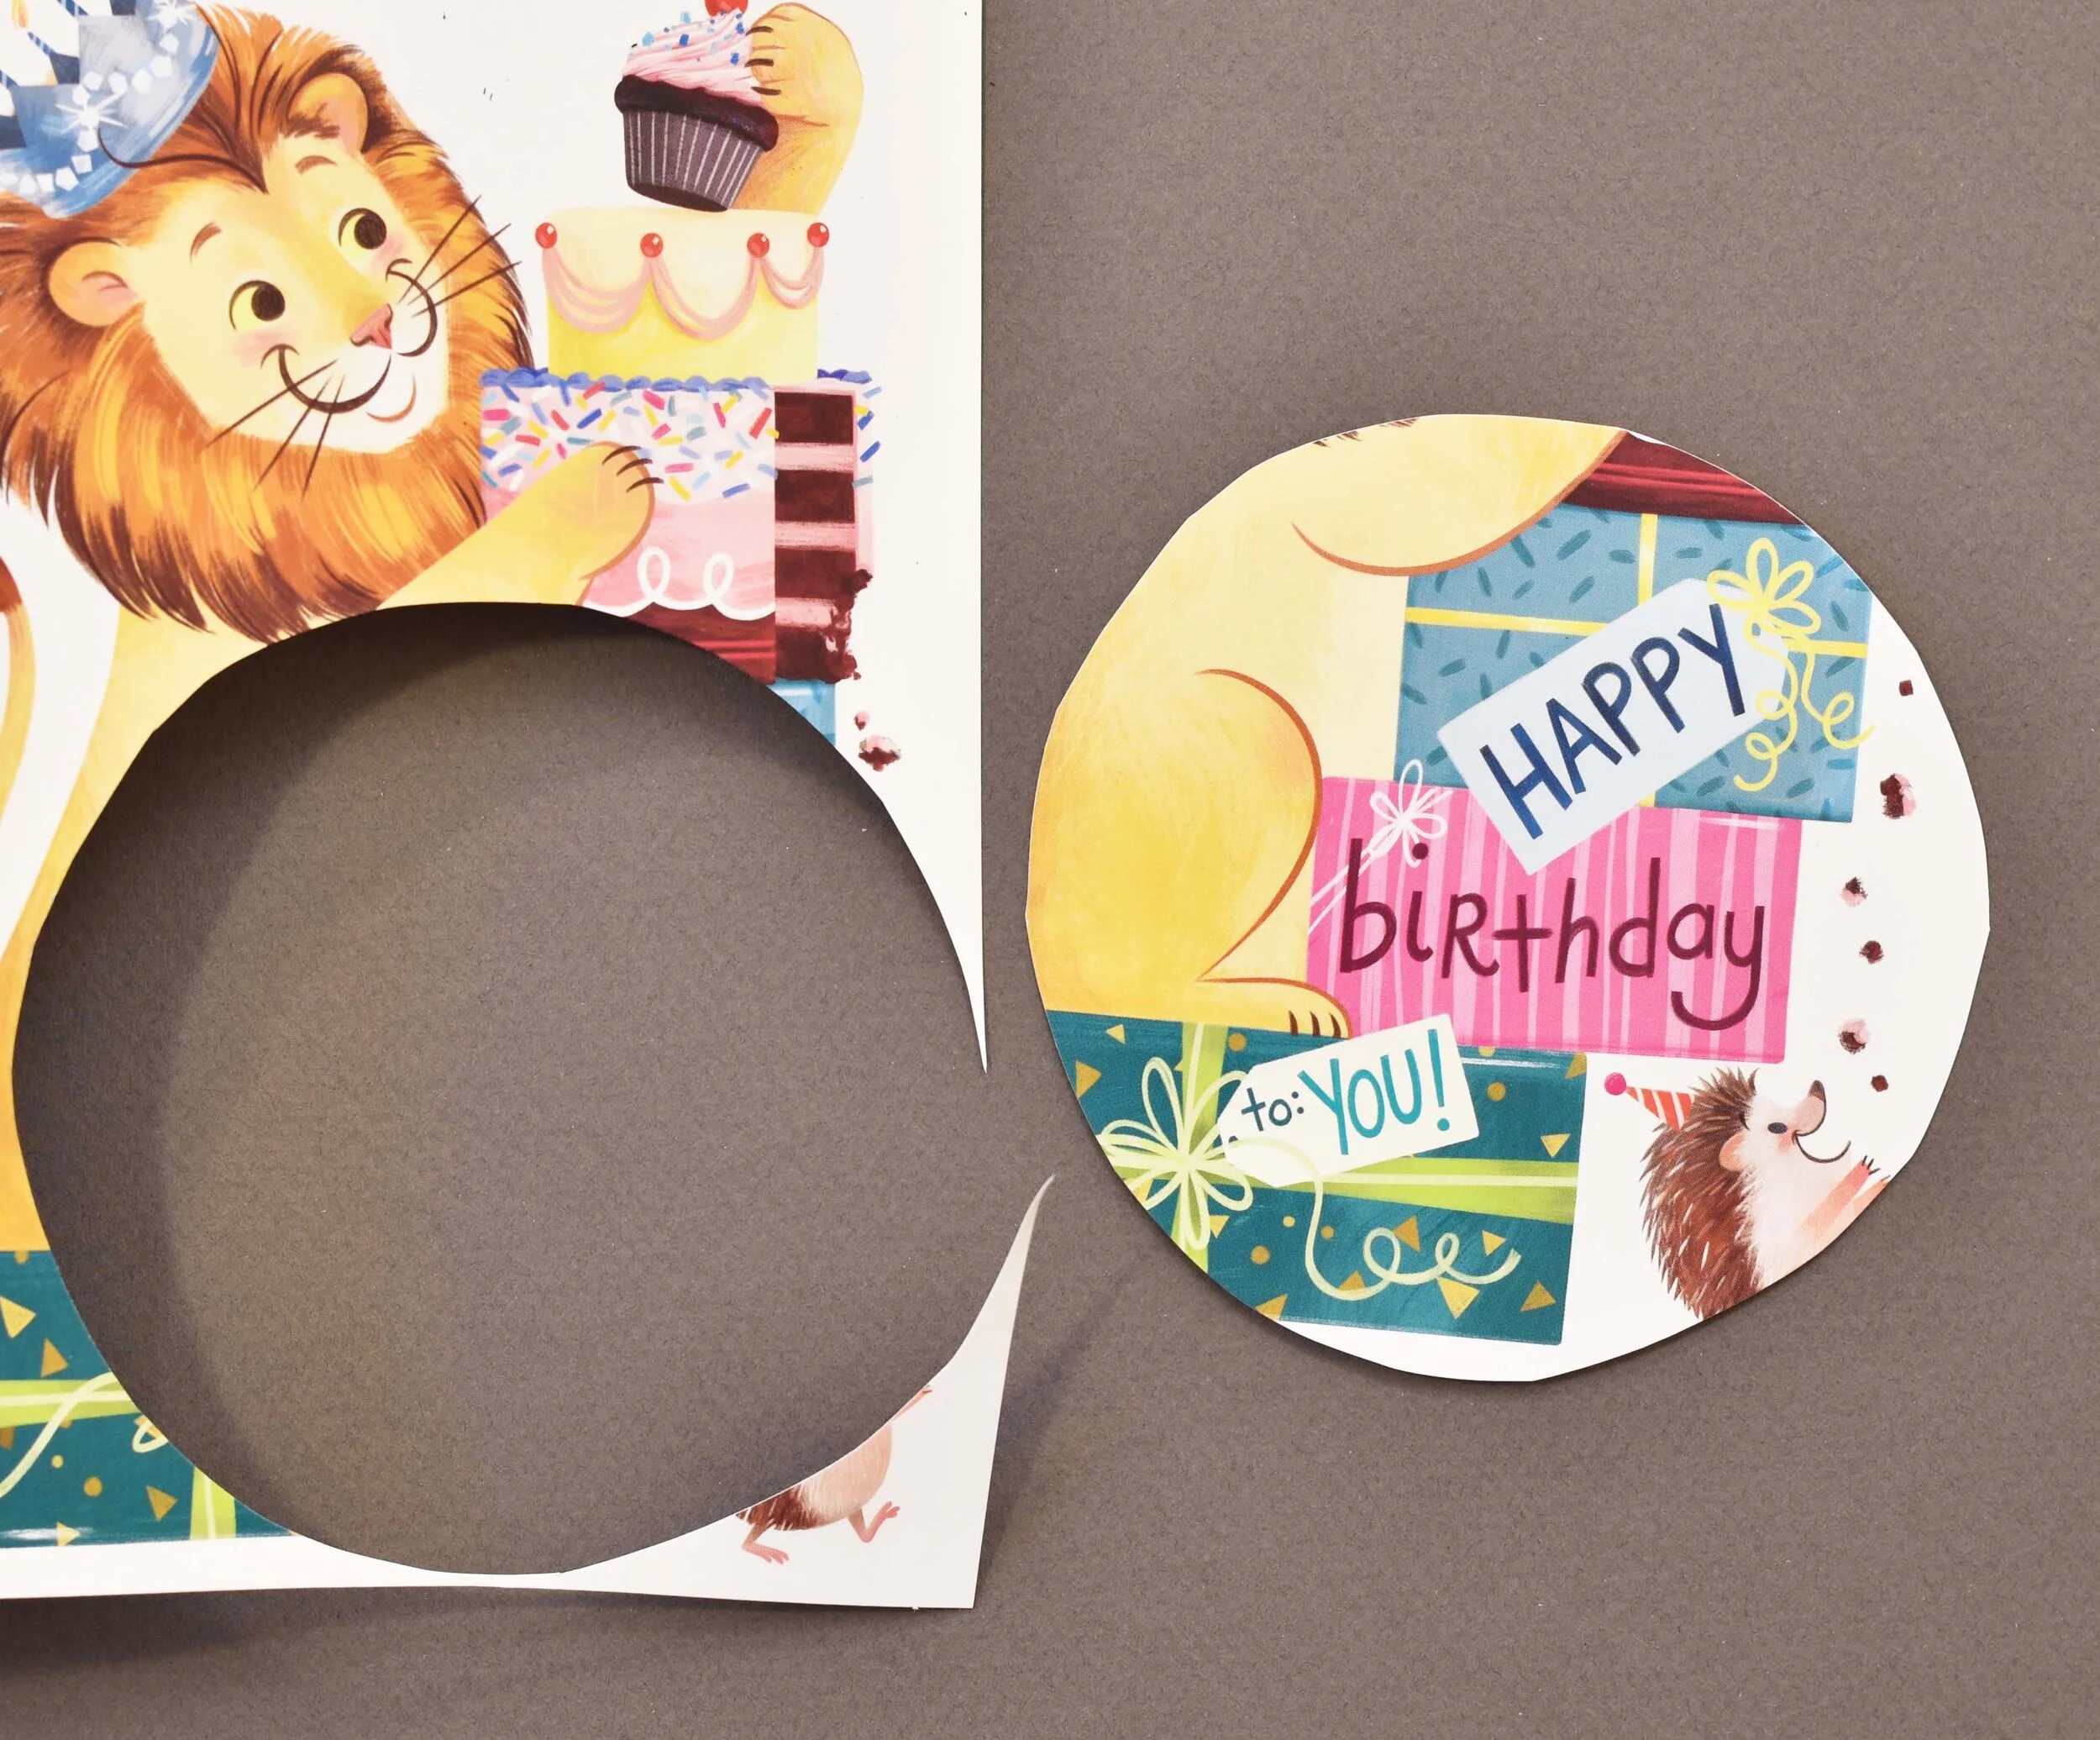
Recycle your greeting cards
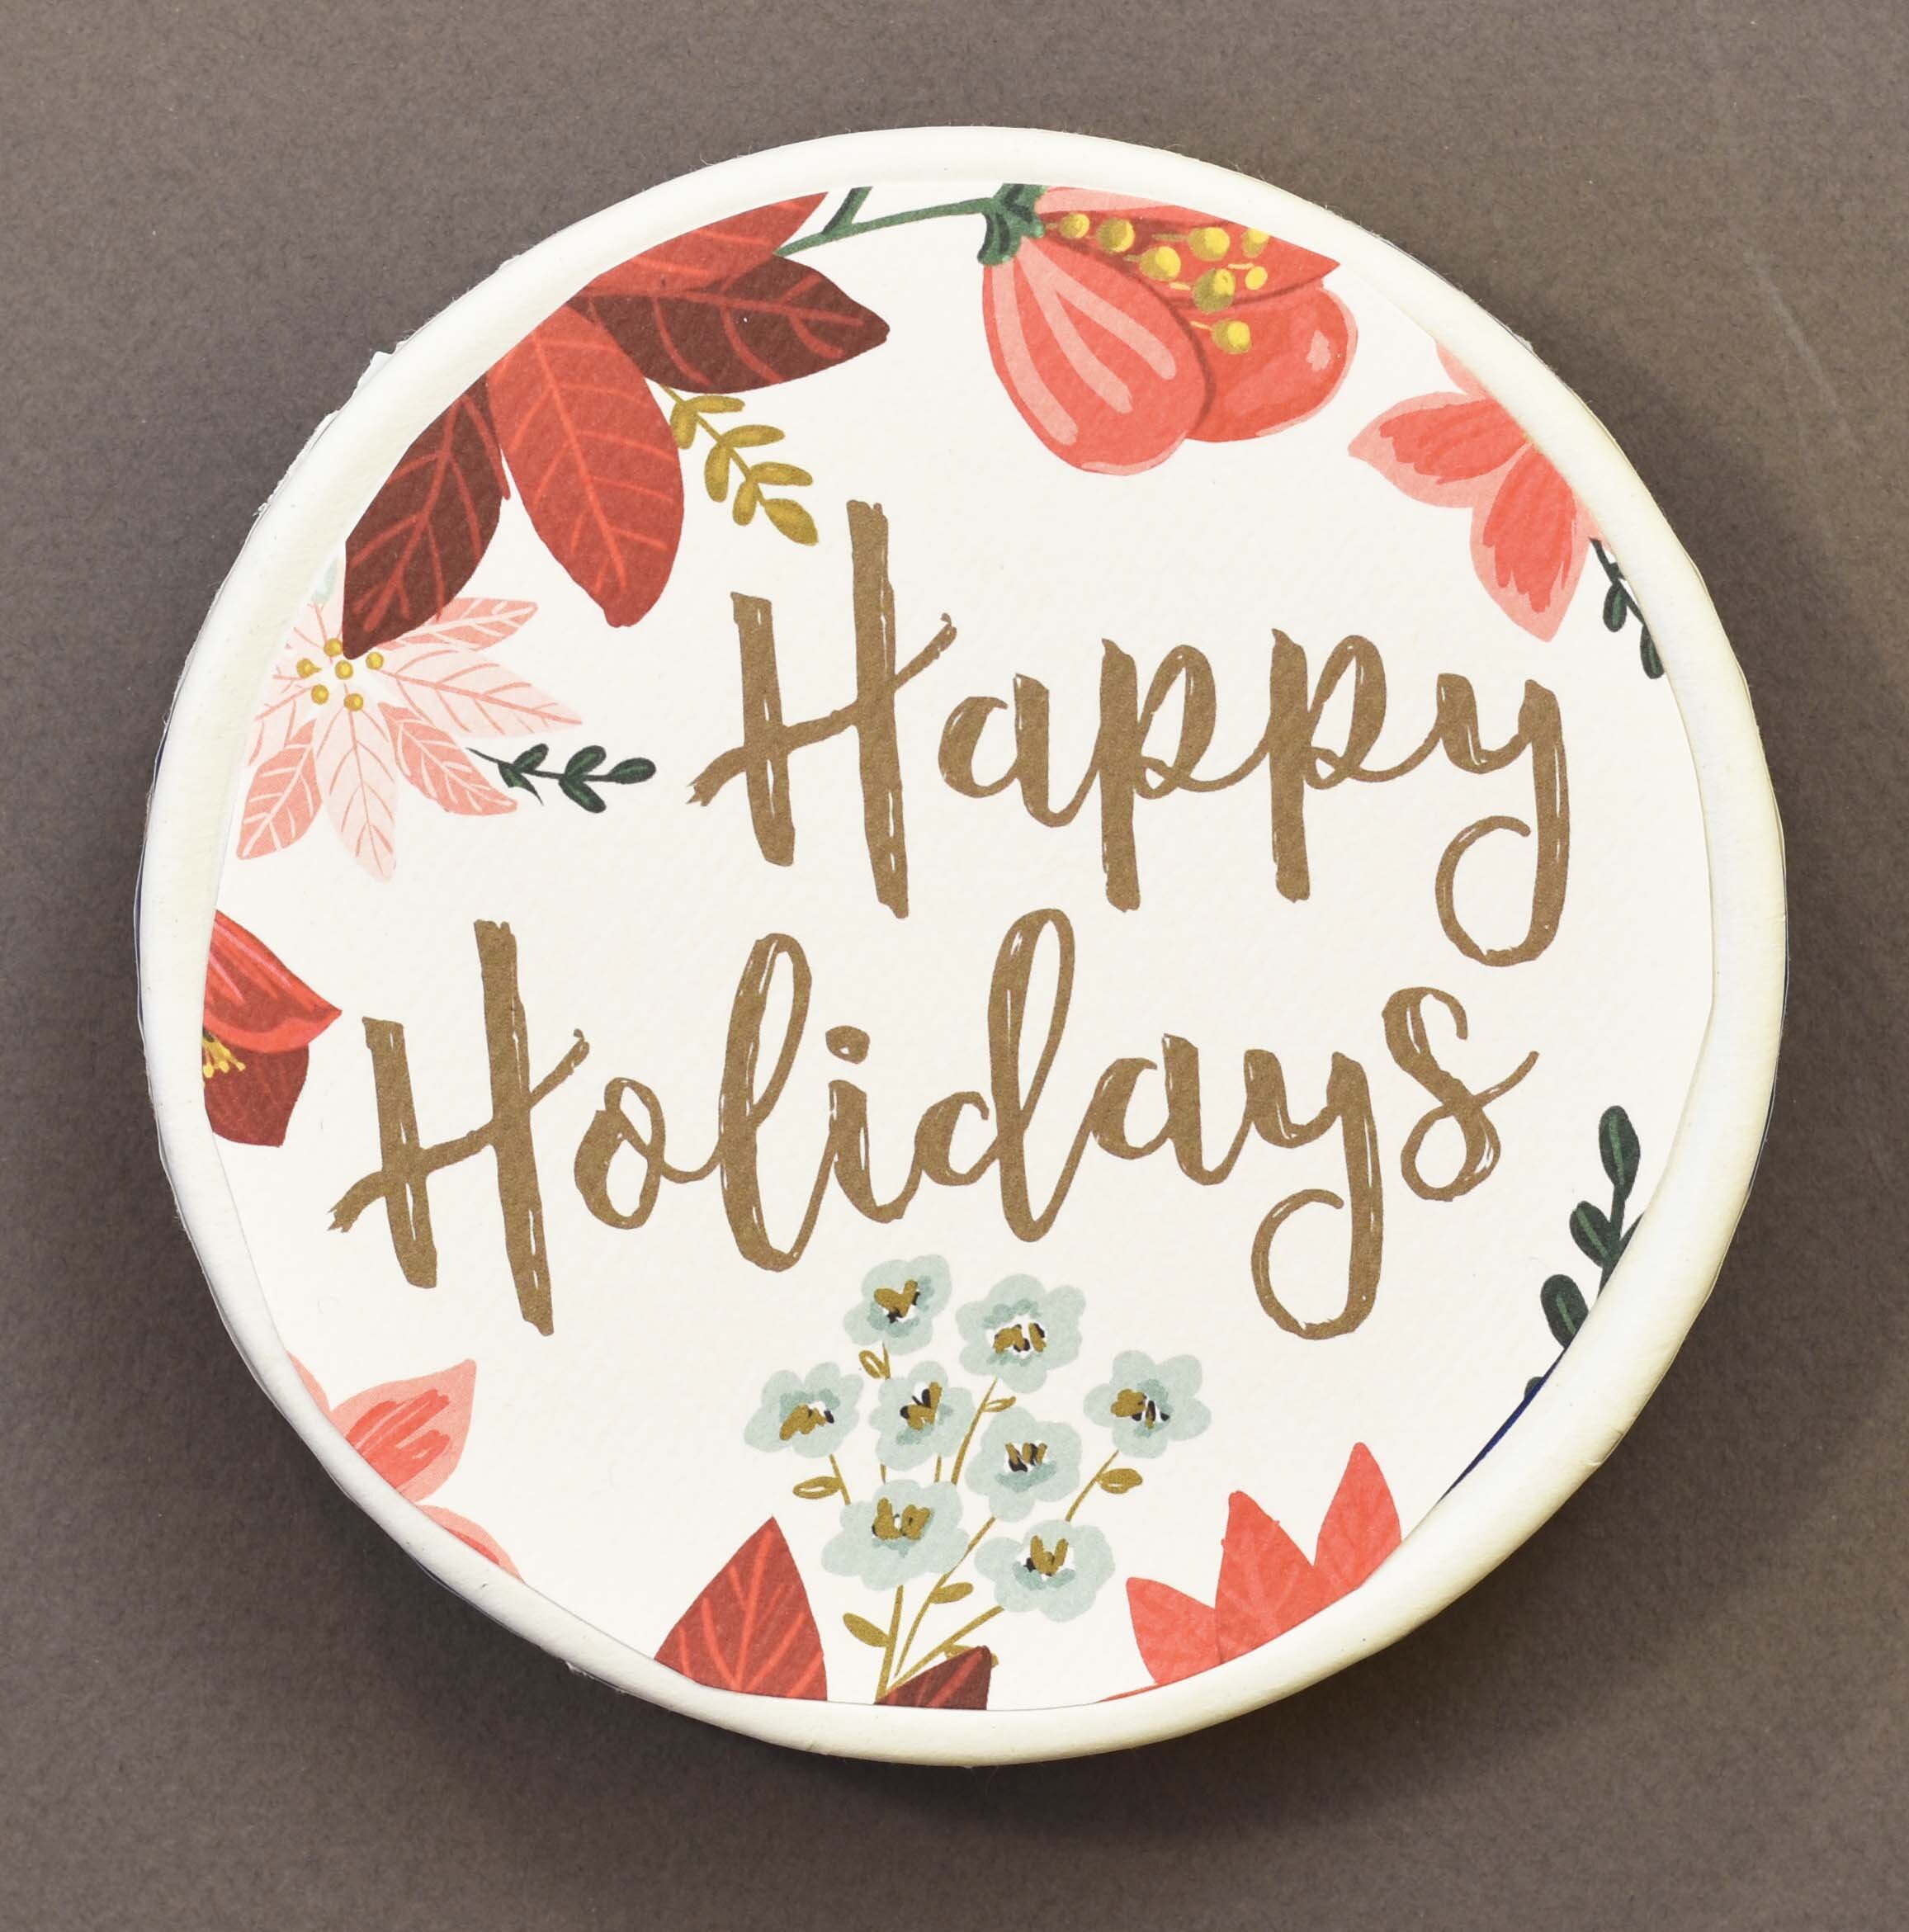
Old cards make great covers with almost zero work. Just trace your box onto the card and cut out. You can also add your own decoration on top of the printed design.
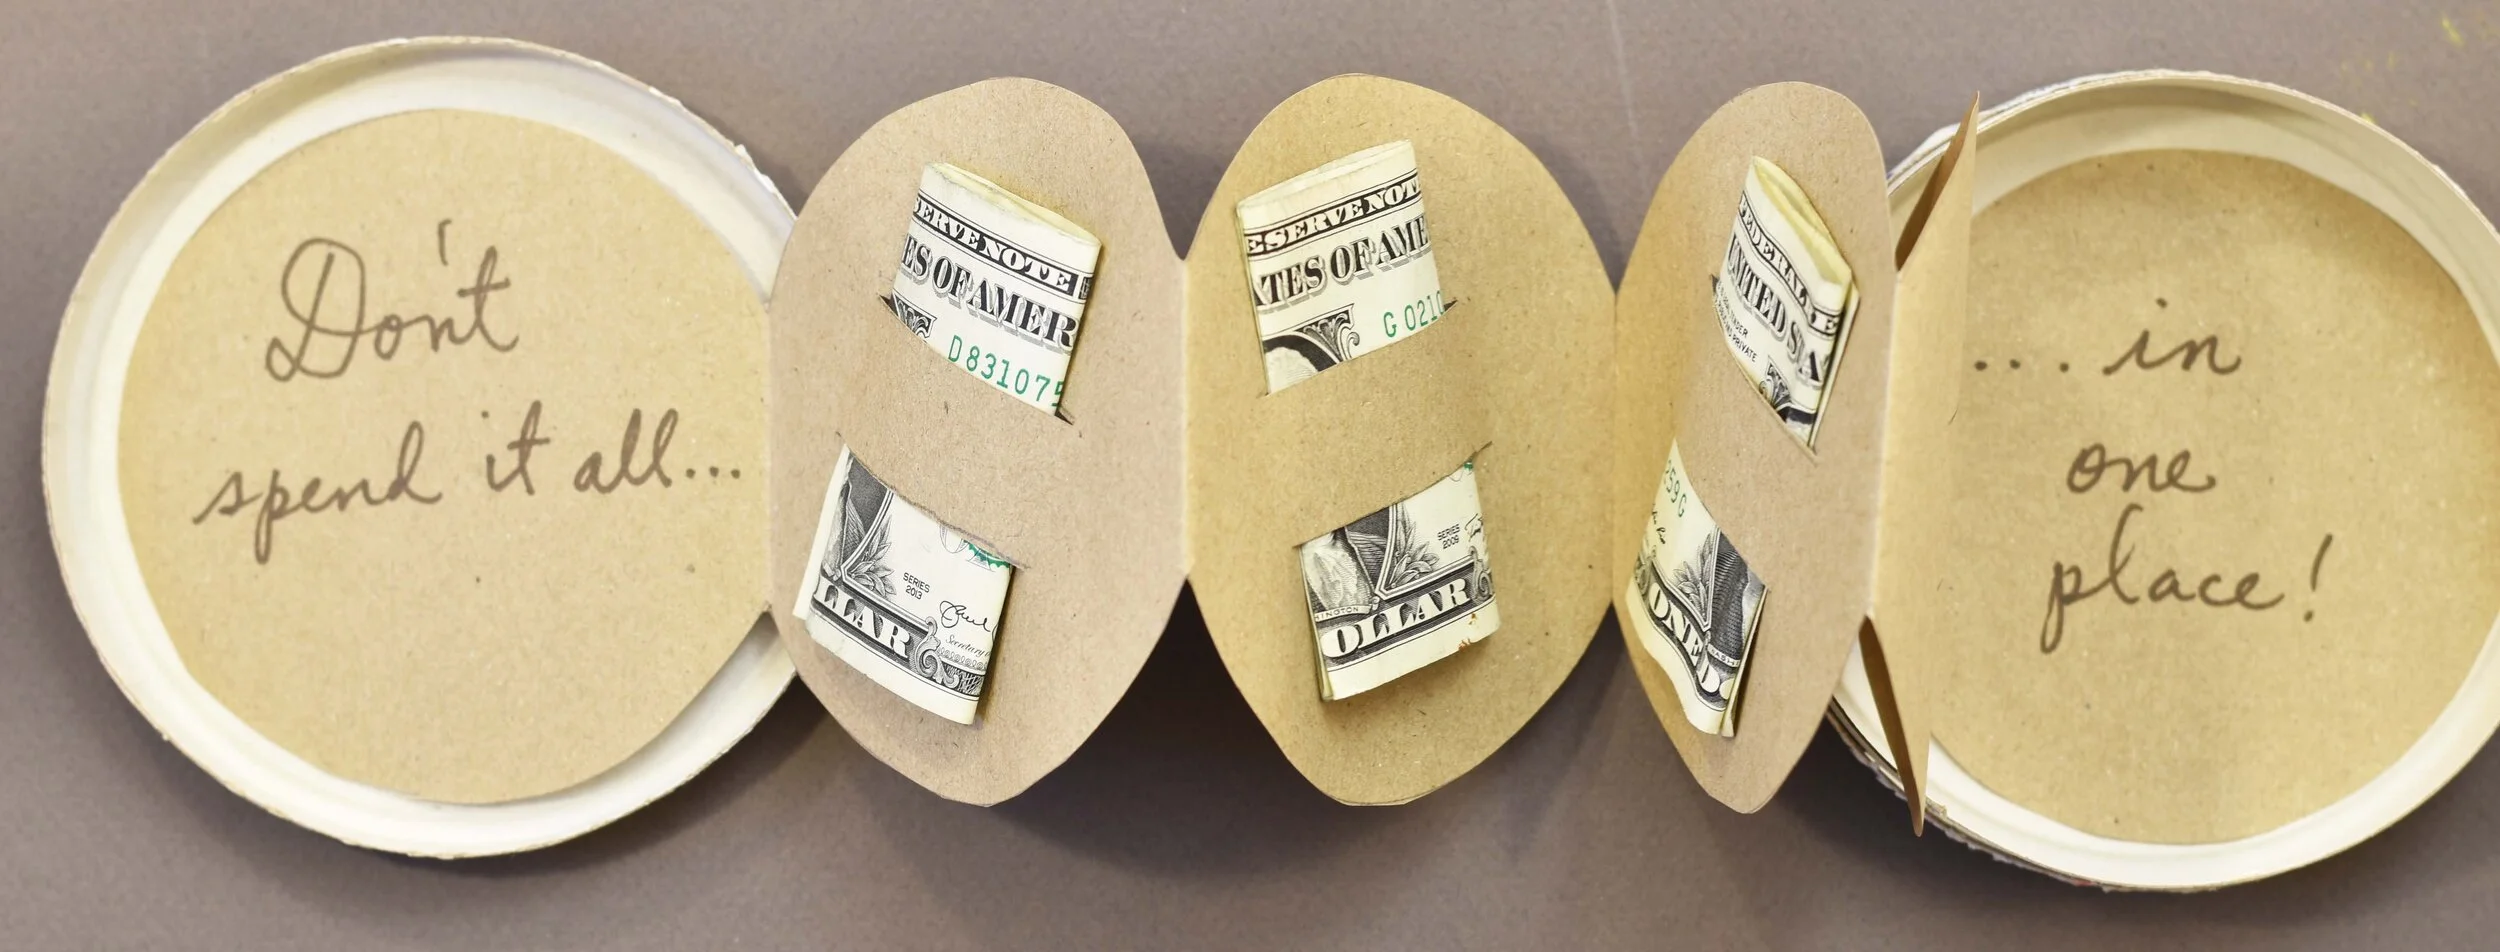
Money holder
Cut two parallel slits into one page, or all of them, to hold folded bills, theater tickets, or other small surprises.
Did you guess it?
The O’s are the six round pages inside! I pronounce it boo - oo - ook.
Questions
Can my BOOOOOOK have more than six pages?
Yes! You can have any even number of pages that will fit inside the box. Connect extra sets of pages to form a longer strip in step 3. If you end up with an odd number of pages, cut one off.
Can I take out my pages and put new ones in?
Yes! Peel off the parts of the old ones that will come up easily, then stick the new set in. You can stick on new cover art too, right over the old.
Can I decorate the back of the pages?
You sure can. Keep these tips in mind:
Use decorations that won’t bleed through to the other side of the paper.
The back of the first page and last page will be glued down, so leave those blank.


