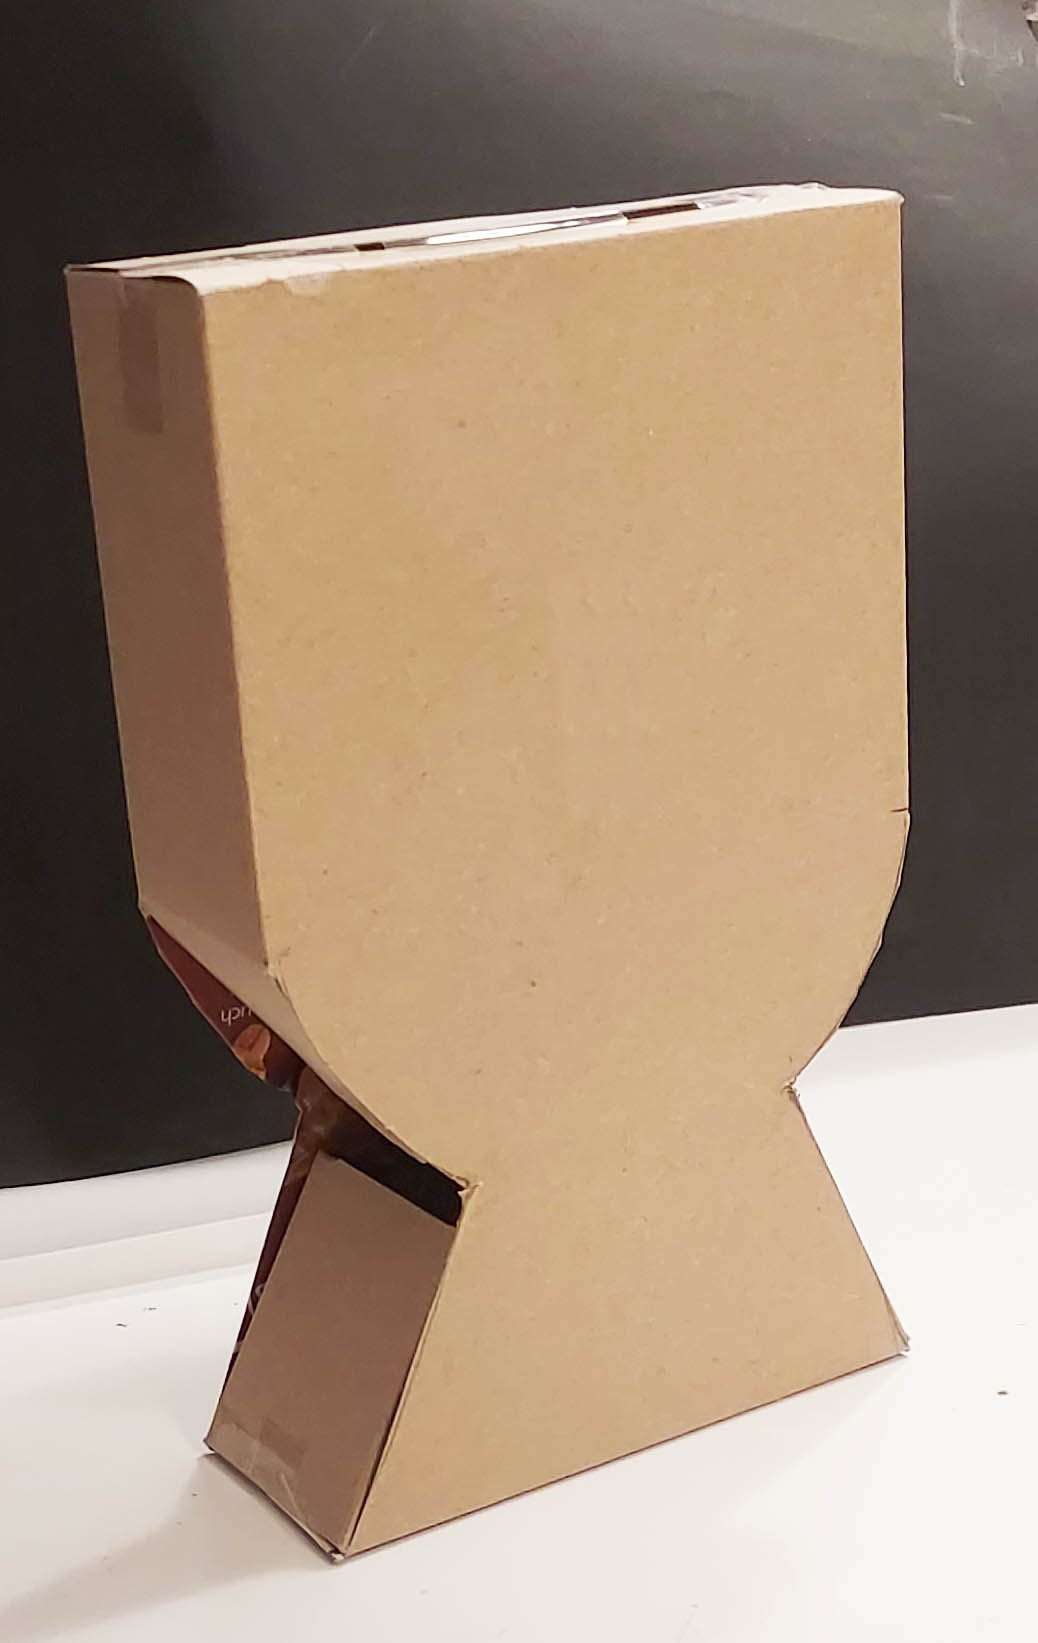
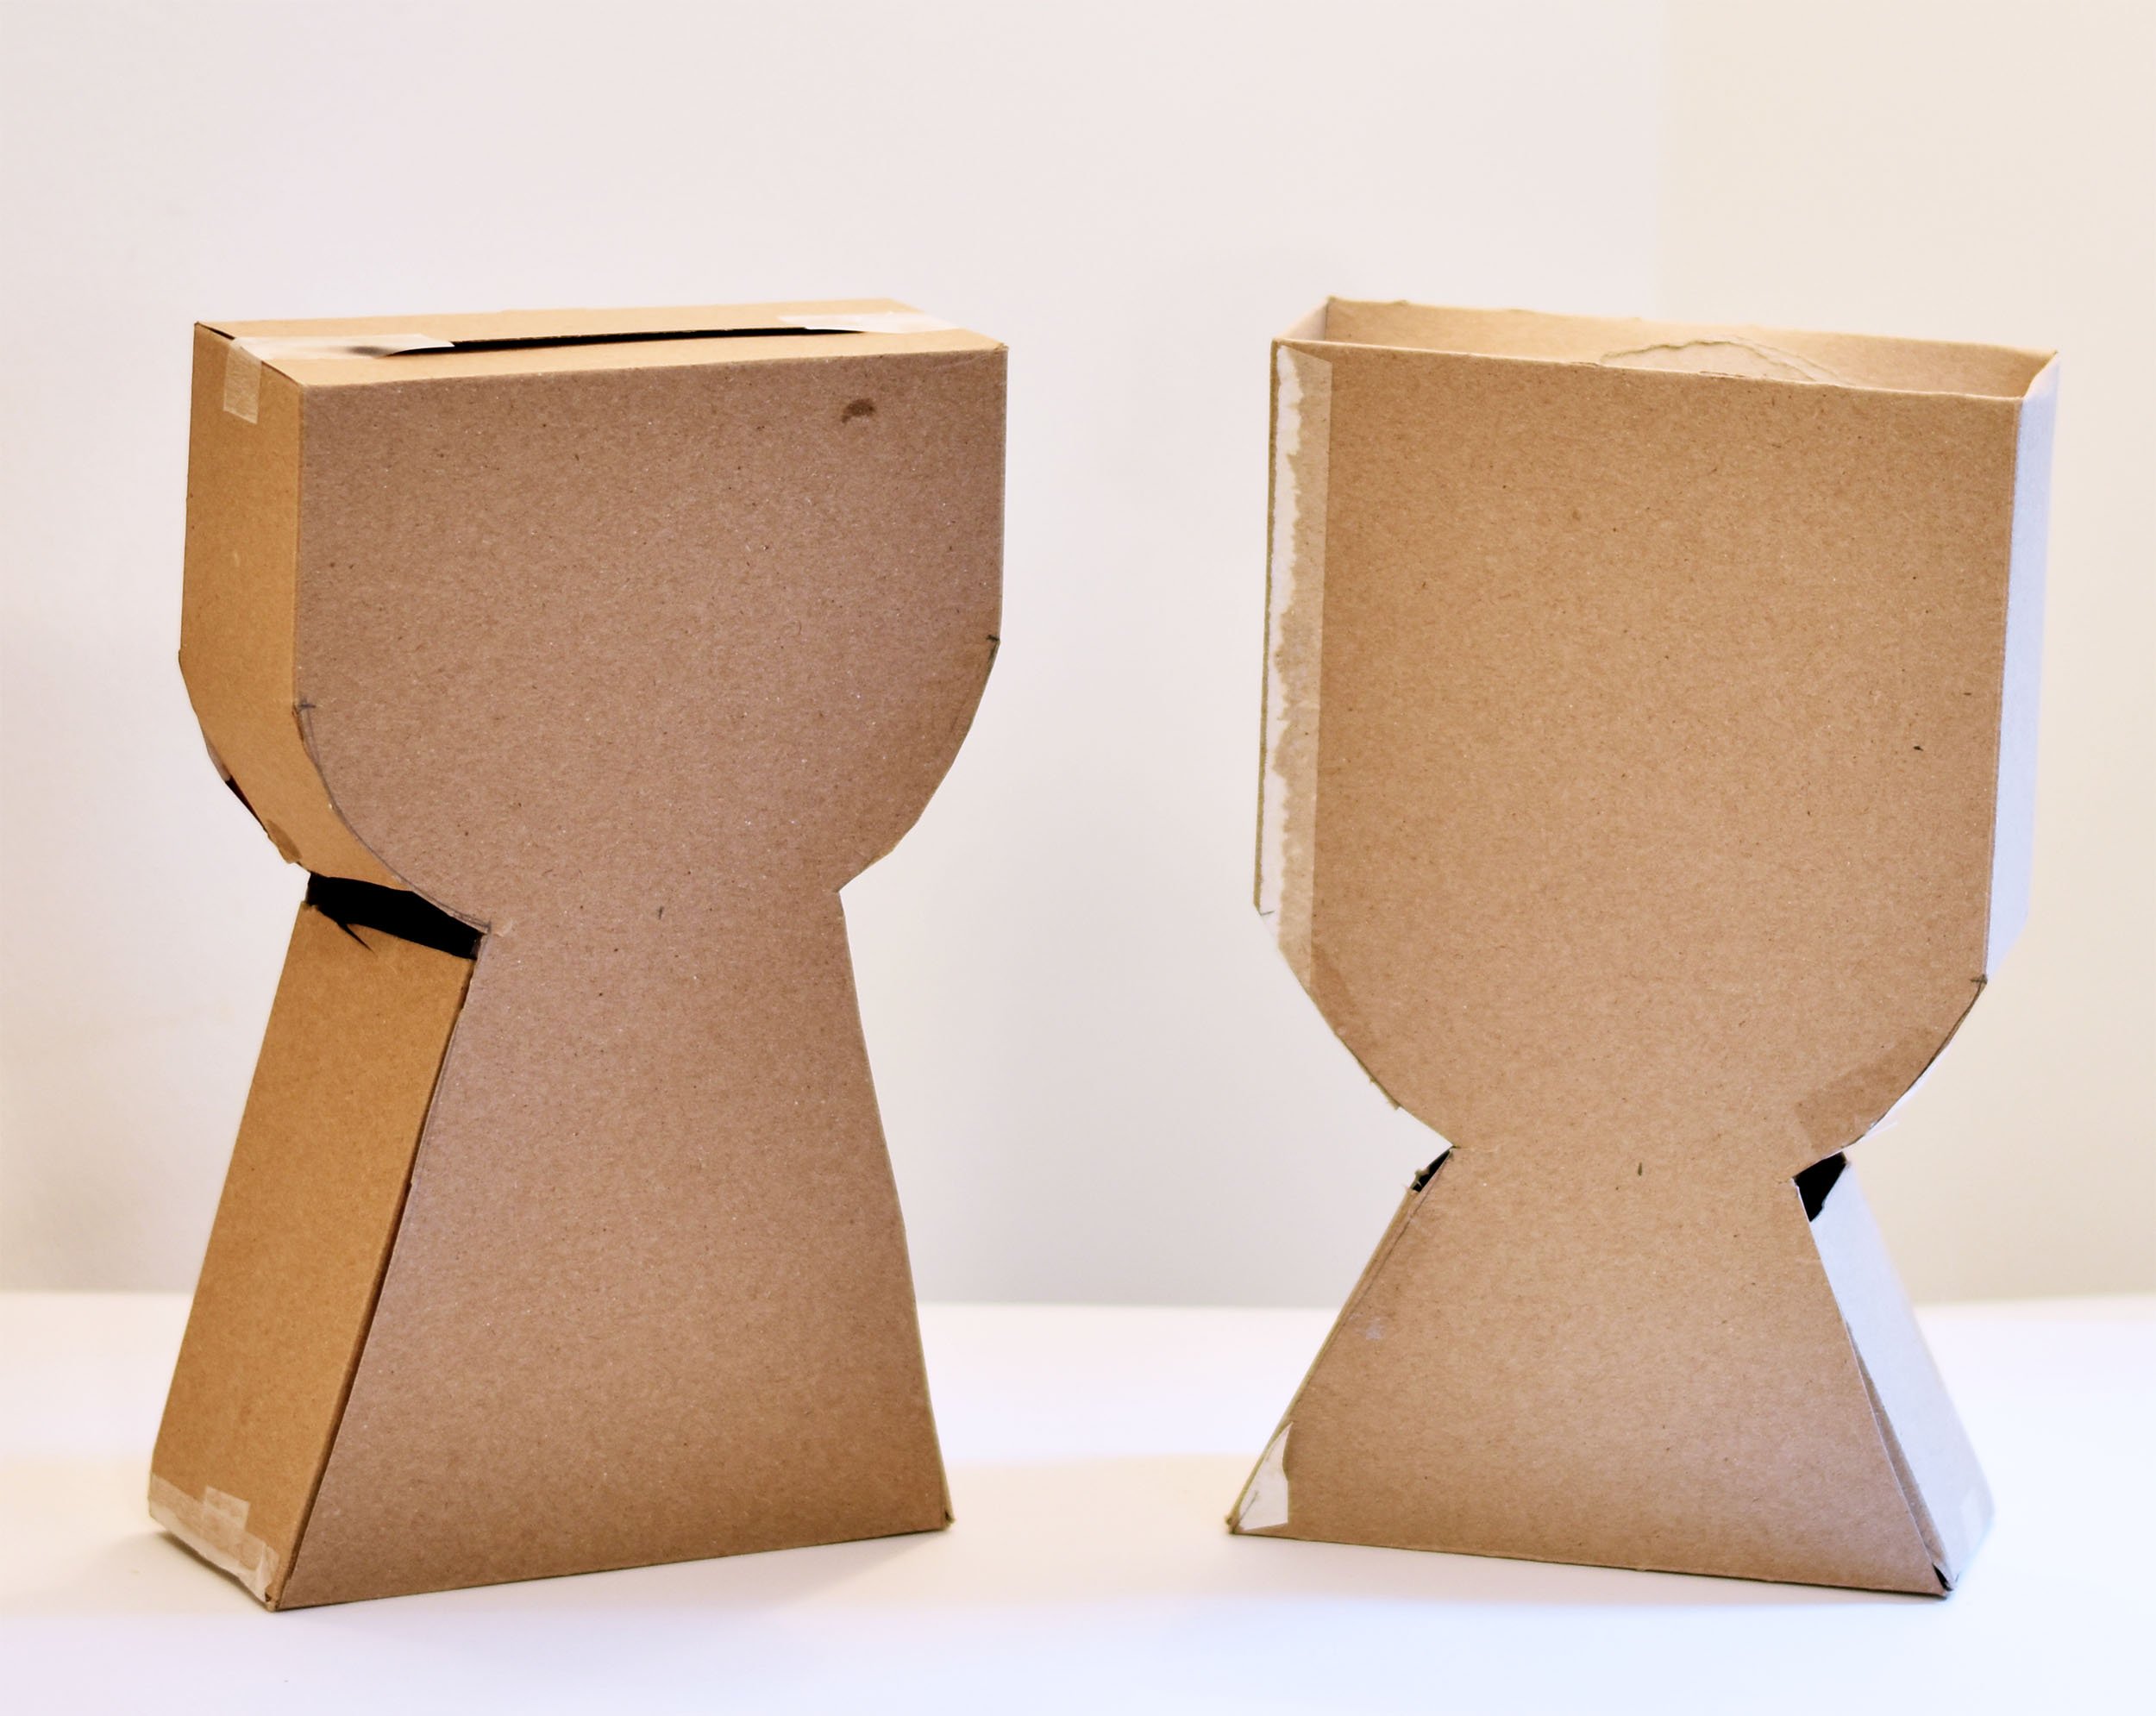
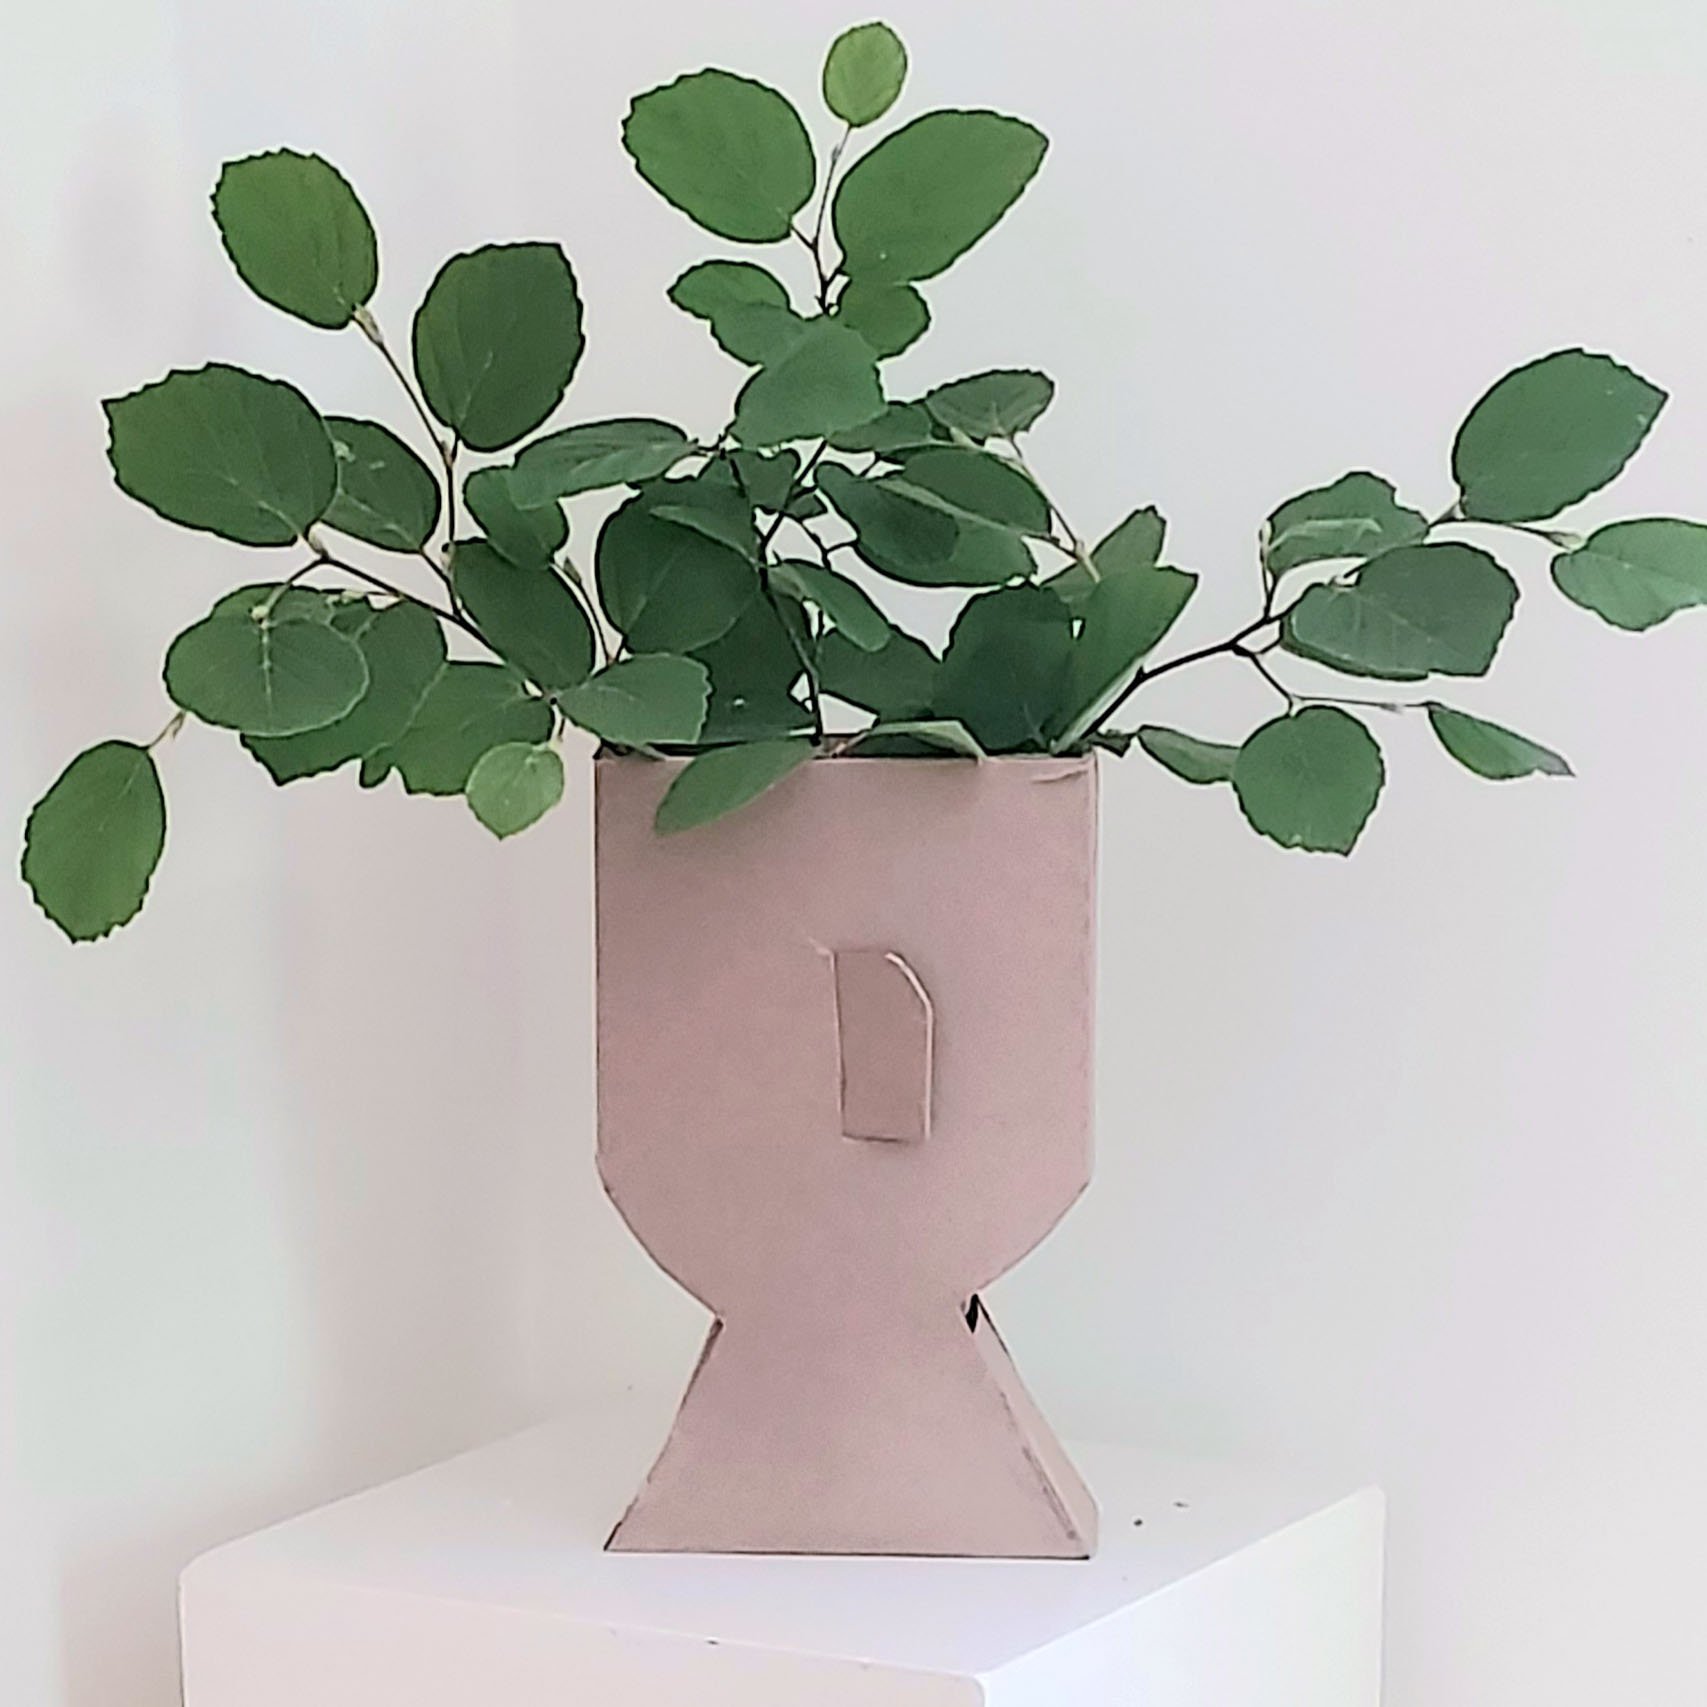
A Box Head makes a fun decorative accent anywhere and takes minutes to make out of a cereal box. A rubber band gives you foolproof cutting lines. Leave your new friend plain, give it a face with markers, or add a 3D nose for extra character. Did you know it can even double as an on-trend head vase? See the easy variation at the end!
Made in minutes with any cereal box
Looks great alone or in a group, decorated or plain
There is some specific taping, marking, and cutting involved but it’s all super easy, and it all makes sense once you have made your first Head.
Steps At a Glance:
Ready? Here’s how:
1
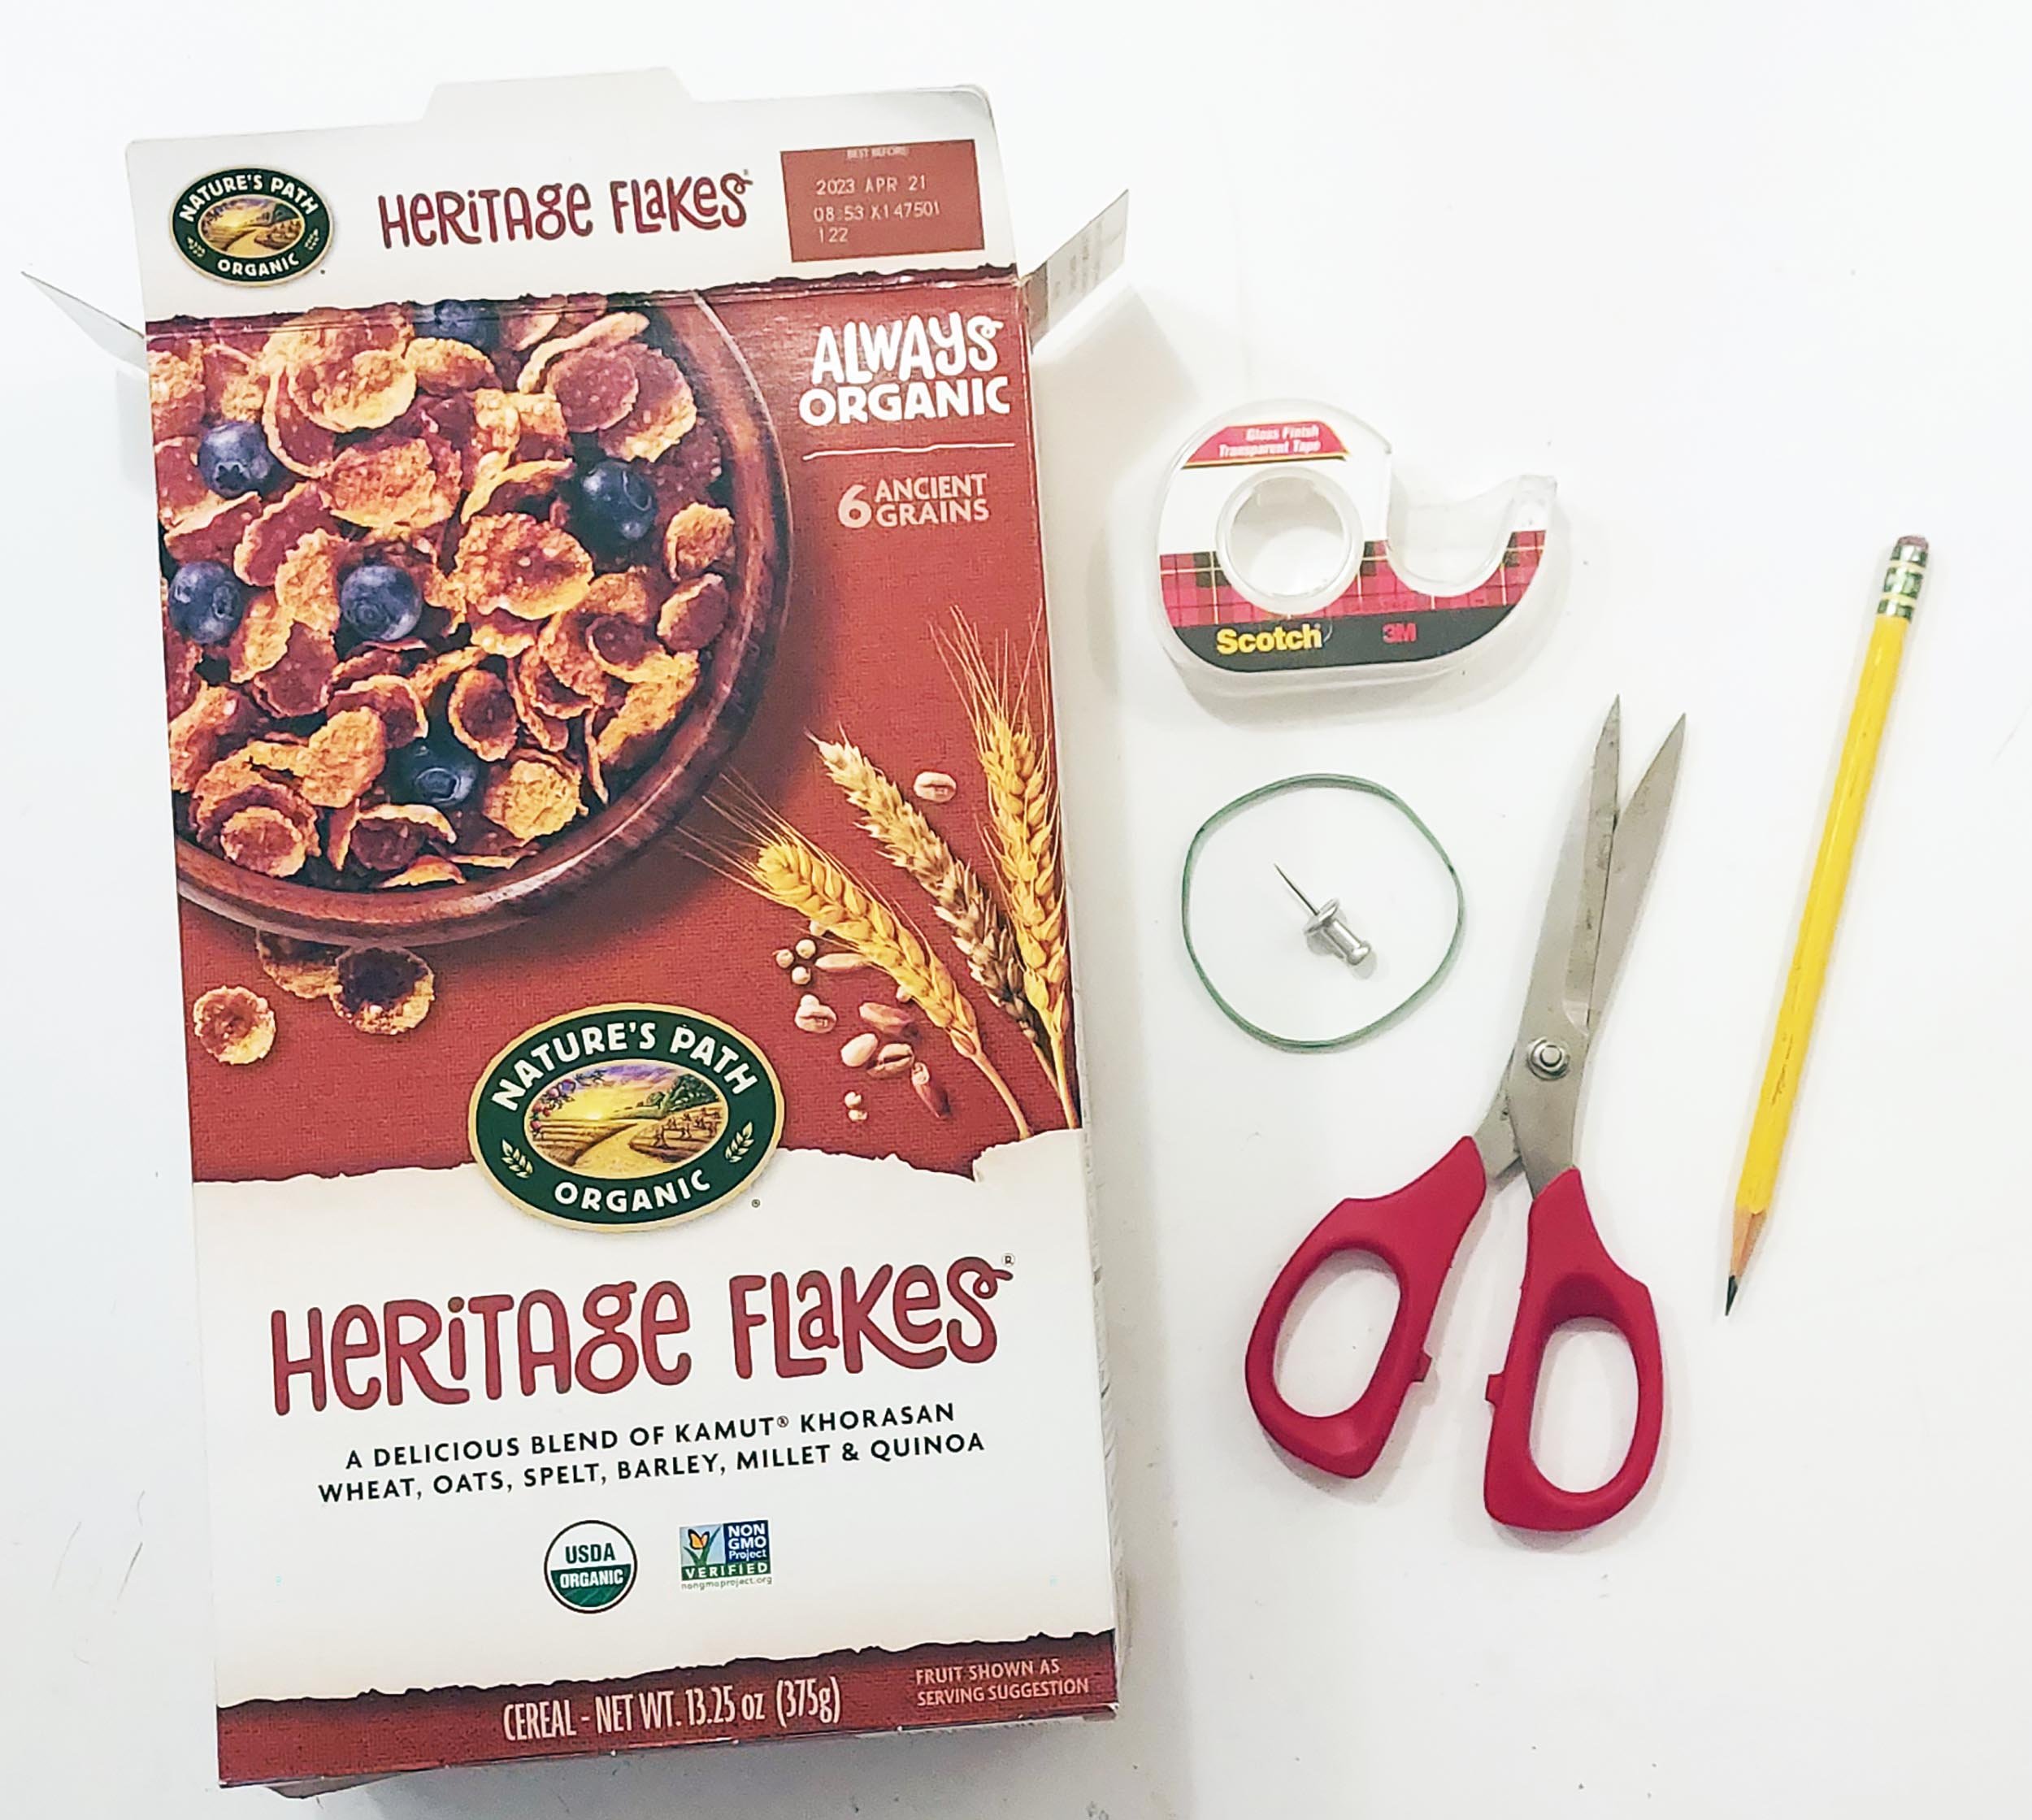
You’ll need:
an empty cereal box
scissors
tape
pencil
rubber band
markers (optional)
2
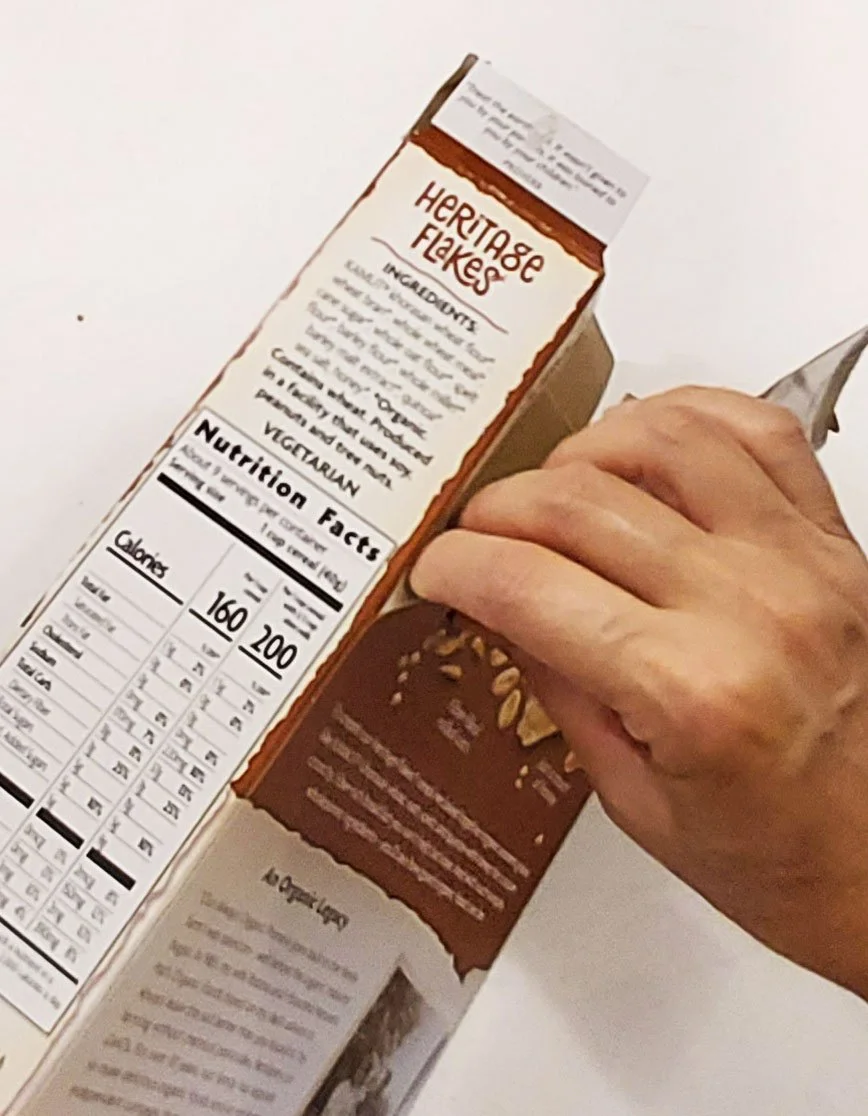
Open the bottom of the box.
Open the side seam by gently separating the glued edges. Tip: If the seam is hard to find look inside the box. If the glue is stubborn try starting from the other end. It’s totally OK if the box peels as you are separating the seam.
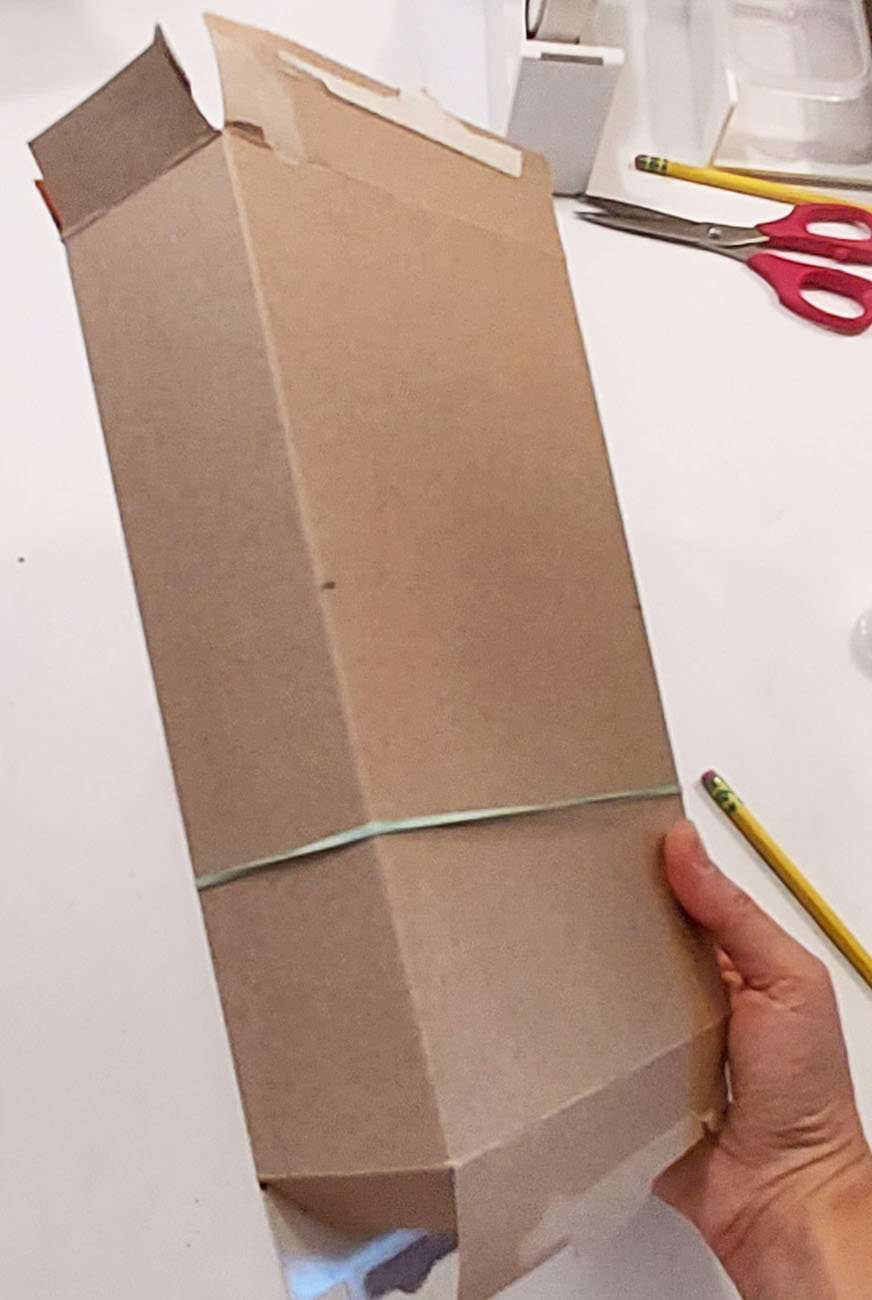
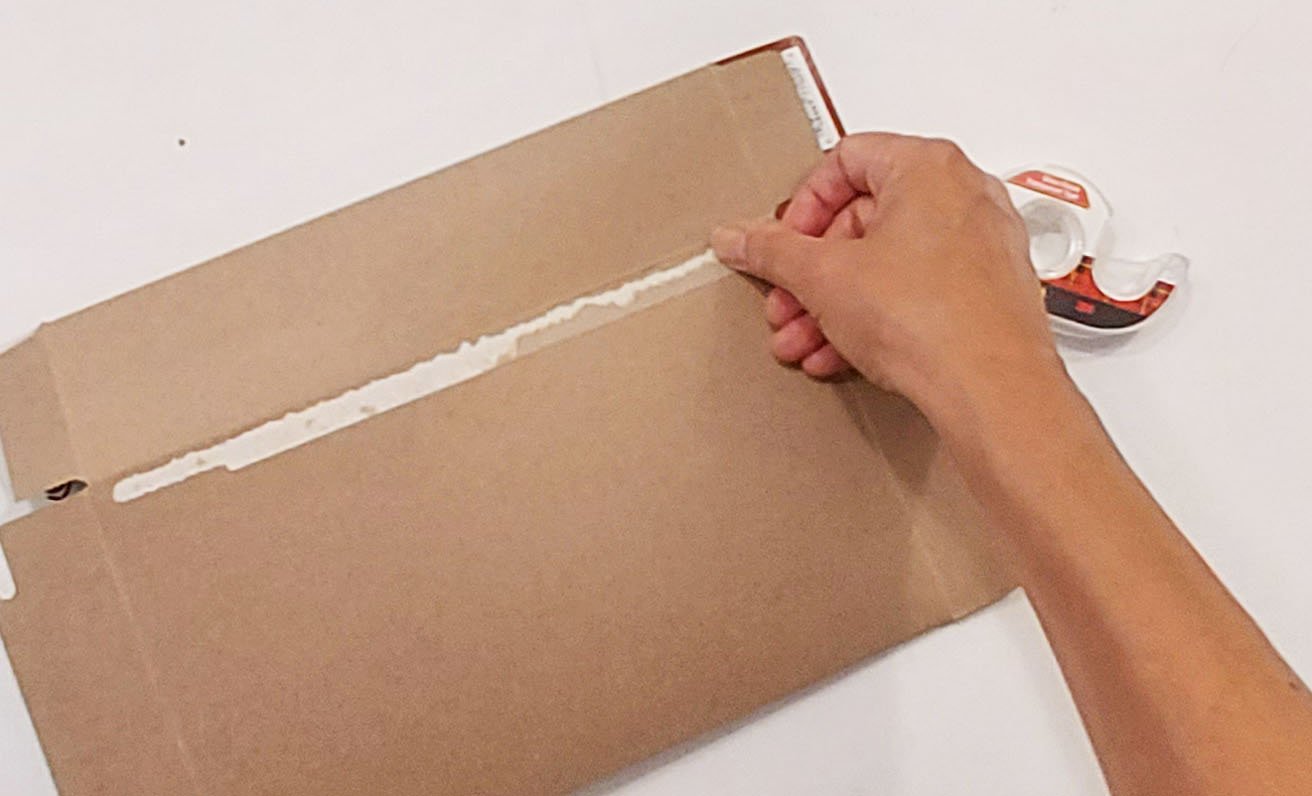
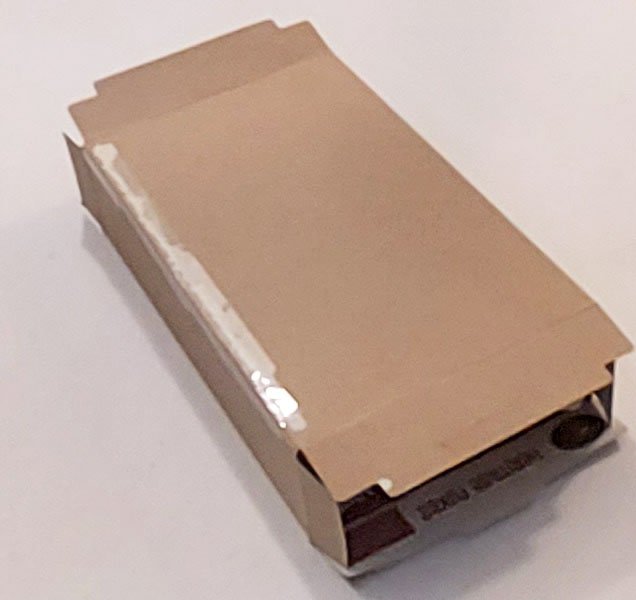
Fold the box back together inside out and tape the side seam back up, with the narrow strip of flap underneath.
Bend the seam you just taped to make it go this new opposite way. If it pops open, no worries - just retape.
3
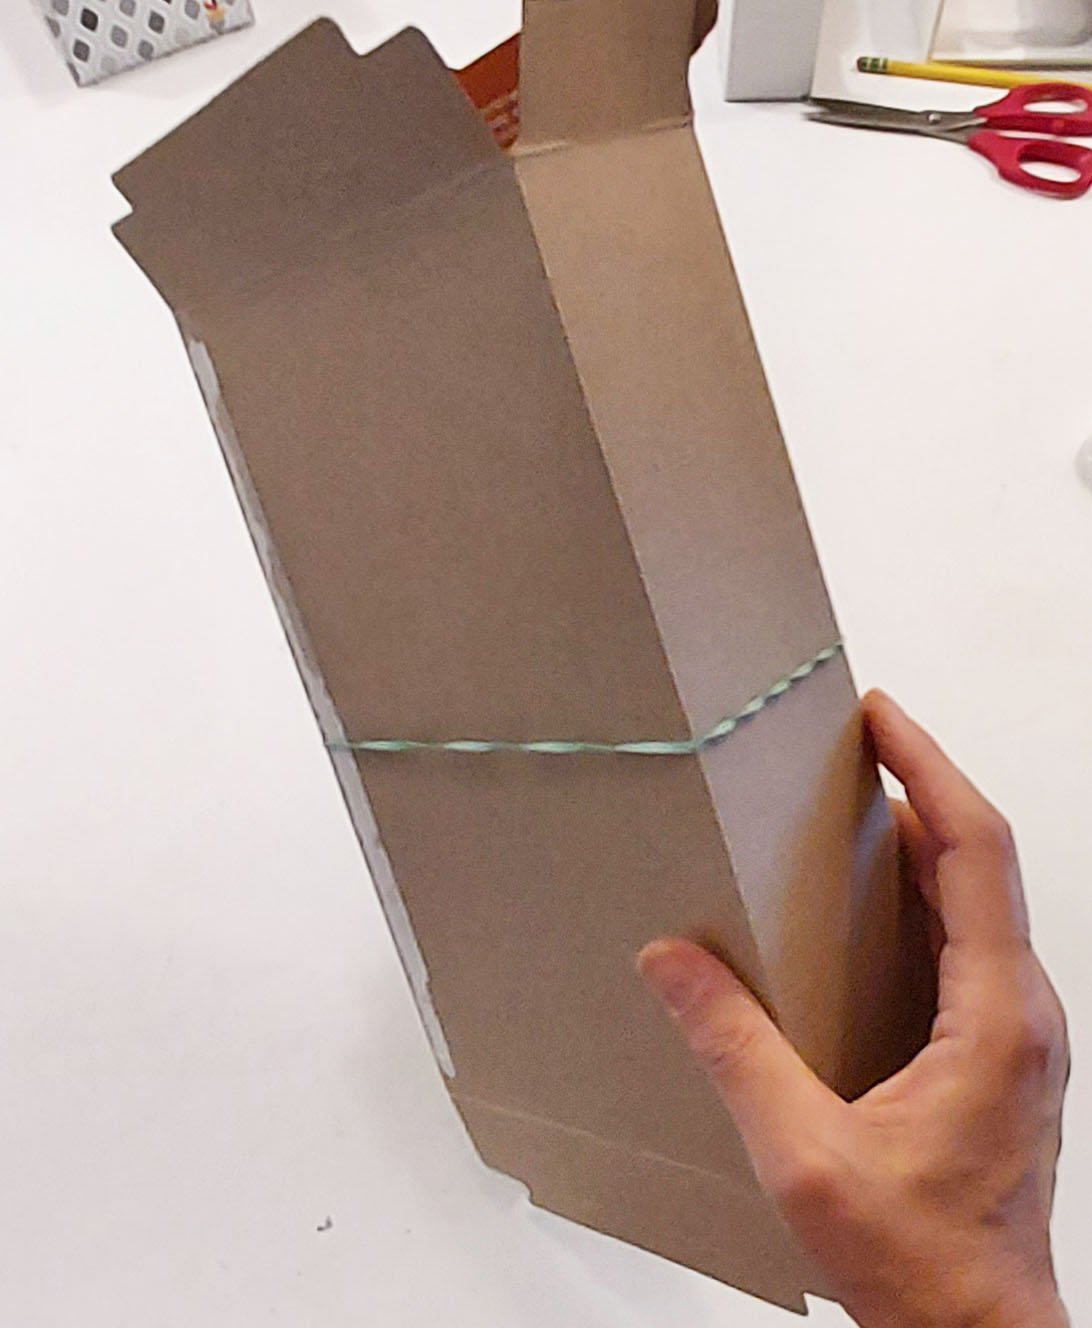
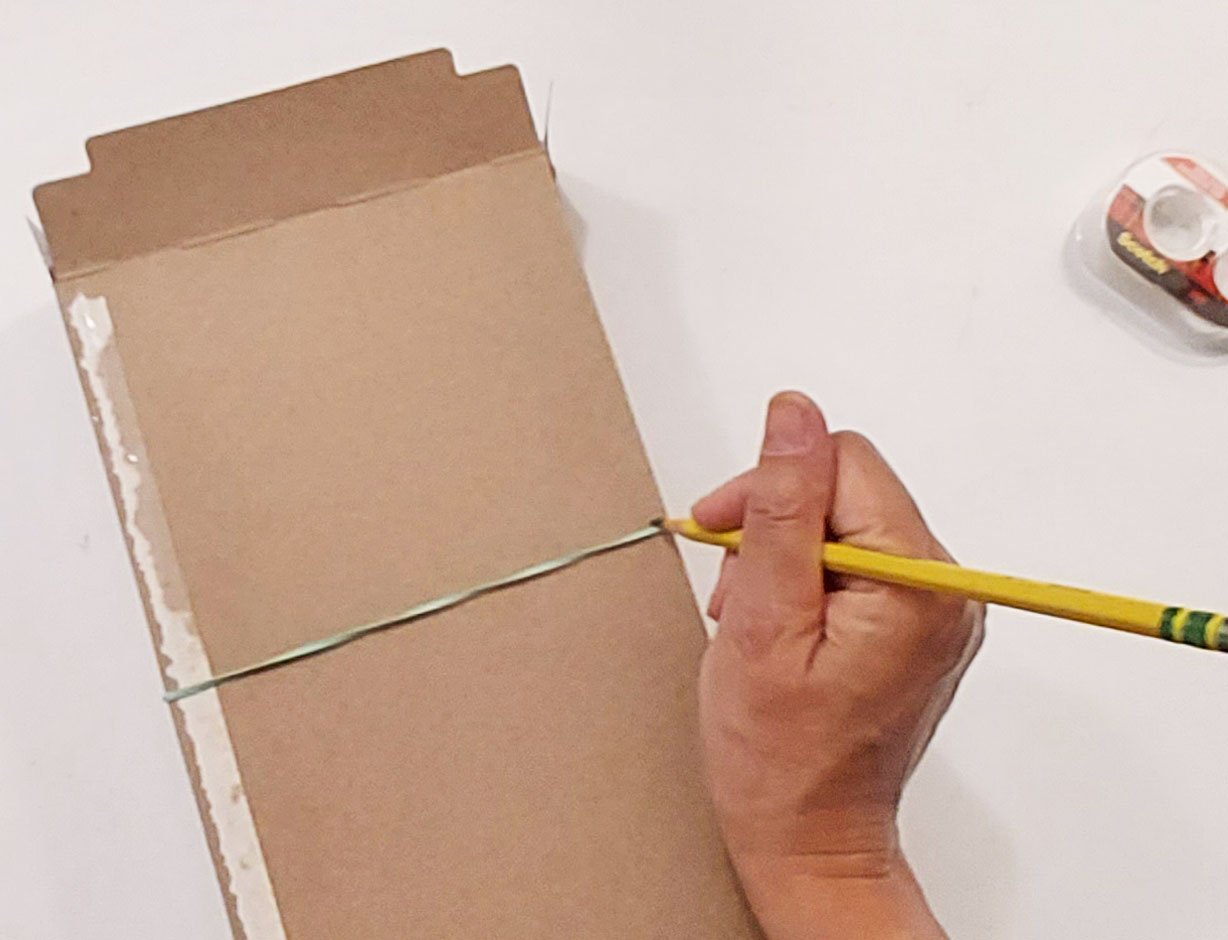
Put the rubber band around the middle of the box. Turn it around to look at all four sides and adjust the rubber band to make as straight a line as you can.
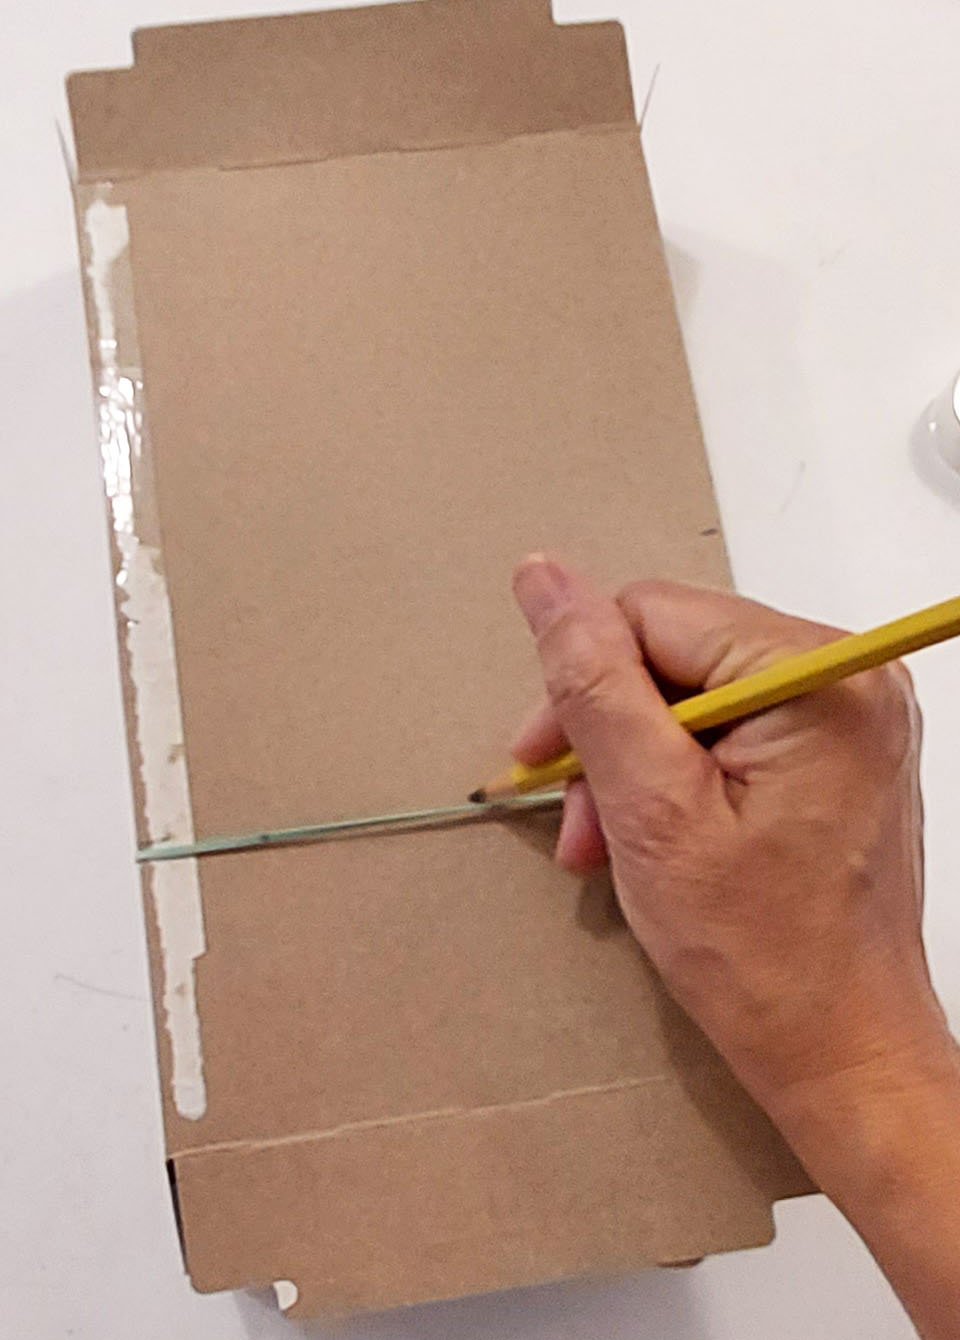
Mark the four corners with pencil.
Now move the rubber band halfway between your pencil marks and the bottom of the box — again making the rubber band as straight as you can. Mark these corners with pencil. Then put a pencil mark in the center, and one halfway to each side of the center. Erase and re-mark if they look way off, but they don’t have to be perfectly spaced. Do the same front and back. Take off the rubber band.
4
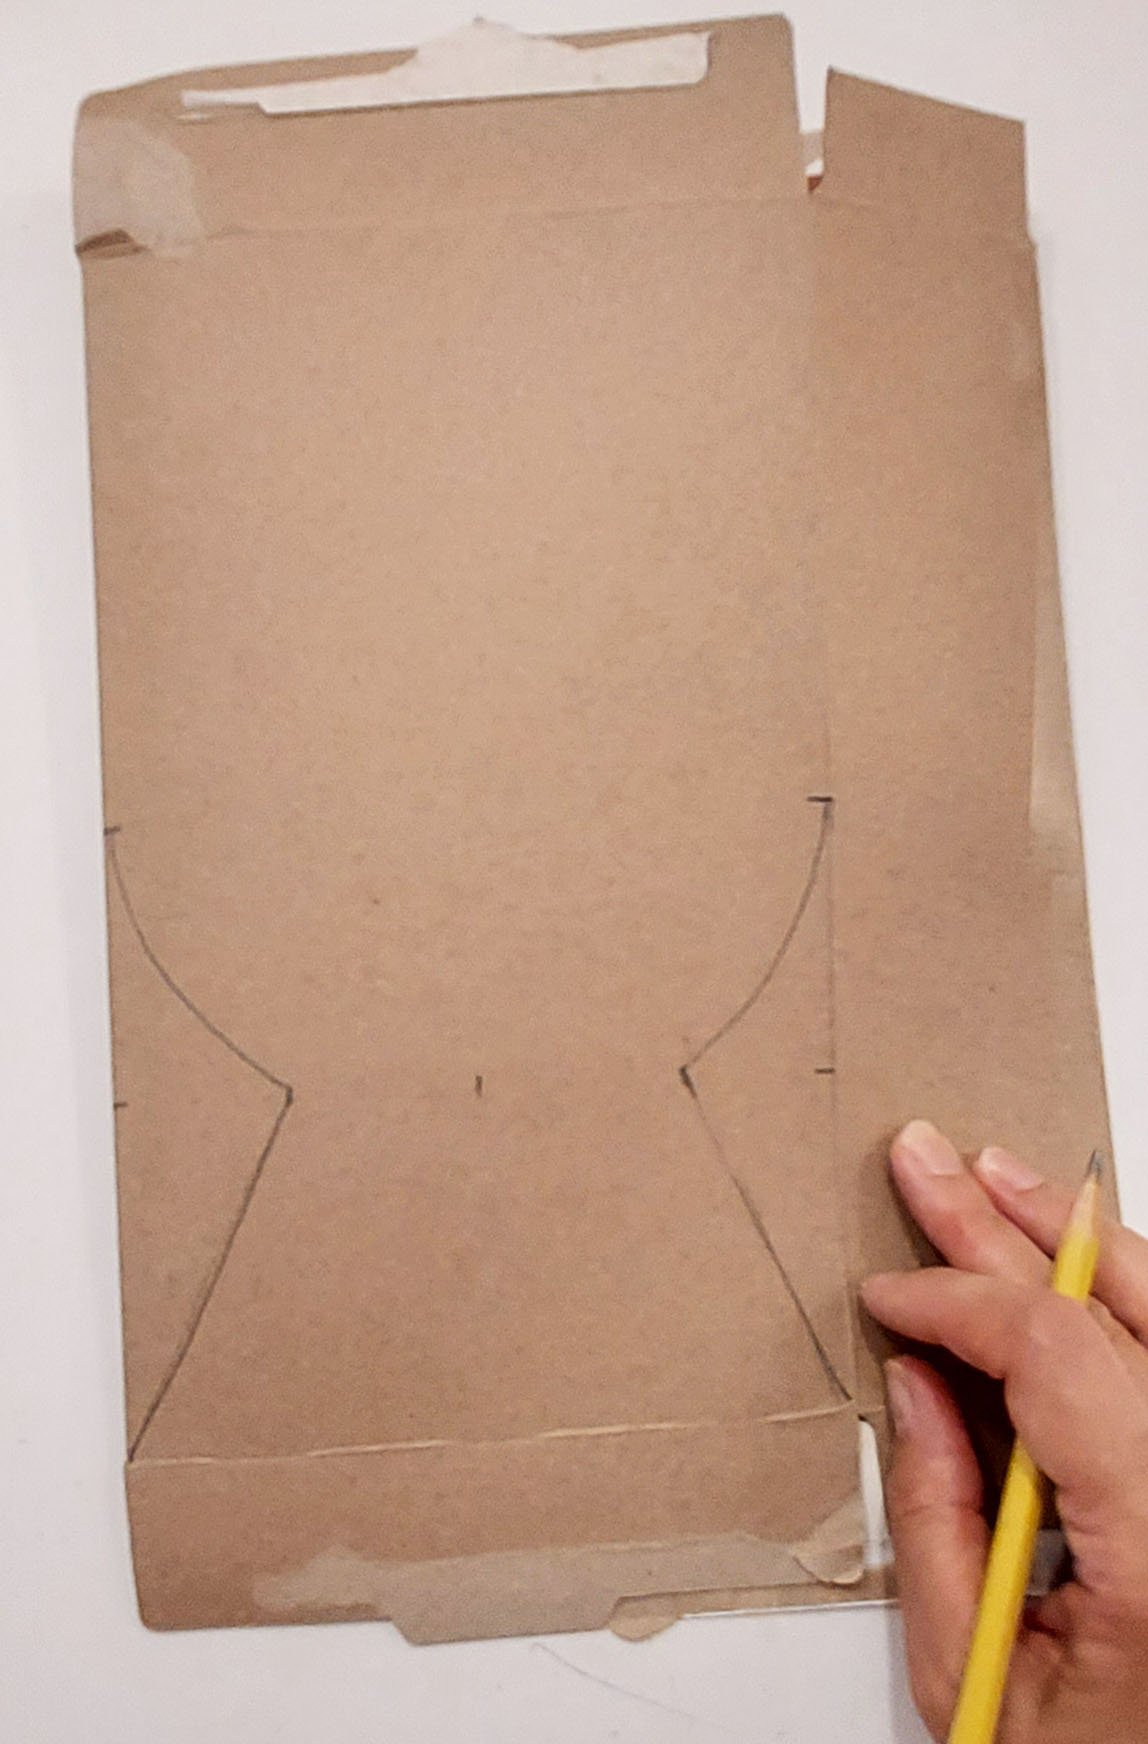
Flatten the box for easier drawing.
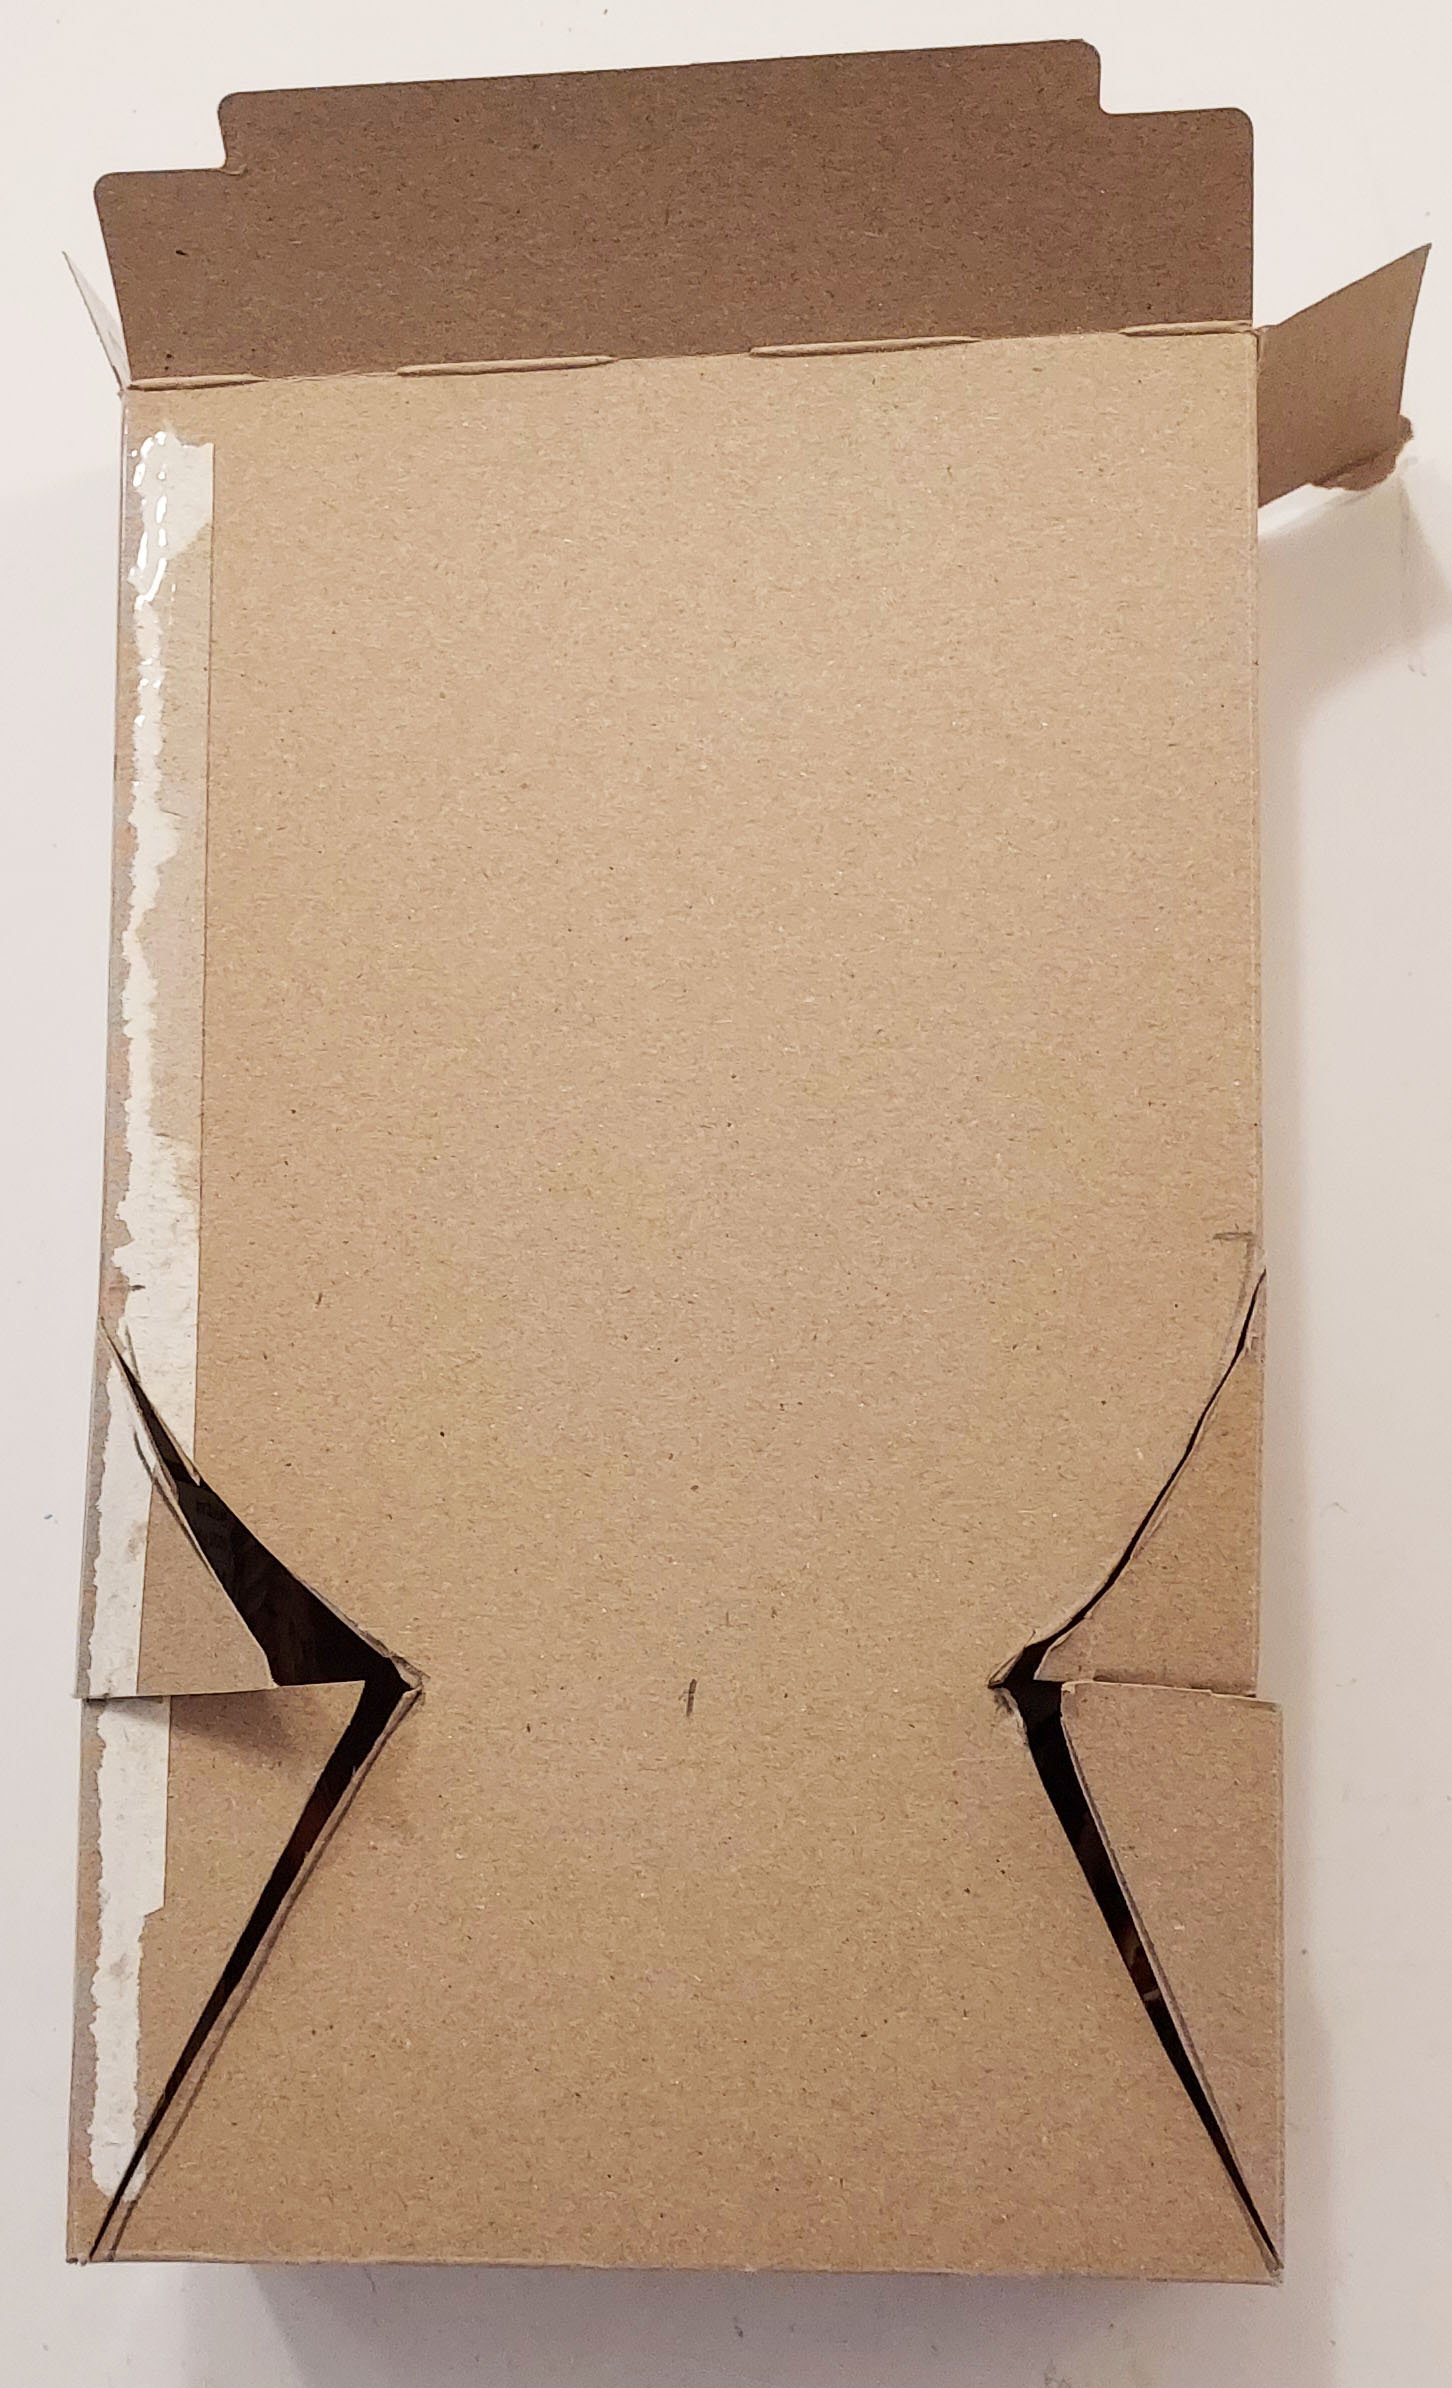
Draw a curved line going from a middle corner mark down to a halfway-from-the-center mark and a straight line from there to the bottom corner. Do the same left and right, front and back.
You can erase and redraw so they are roughly alike, but the lines don’t have to be perfectly identical.
Now is a perfect time to draw a face on your Box Head (you can also draw one on later). And your Box Head has two sides to draw on so you can try another idea on the other side.
5
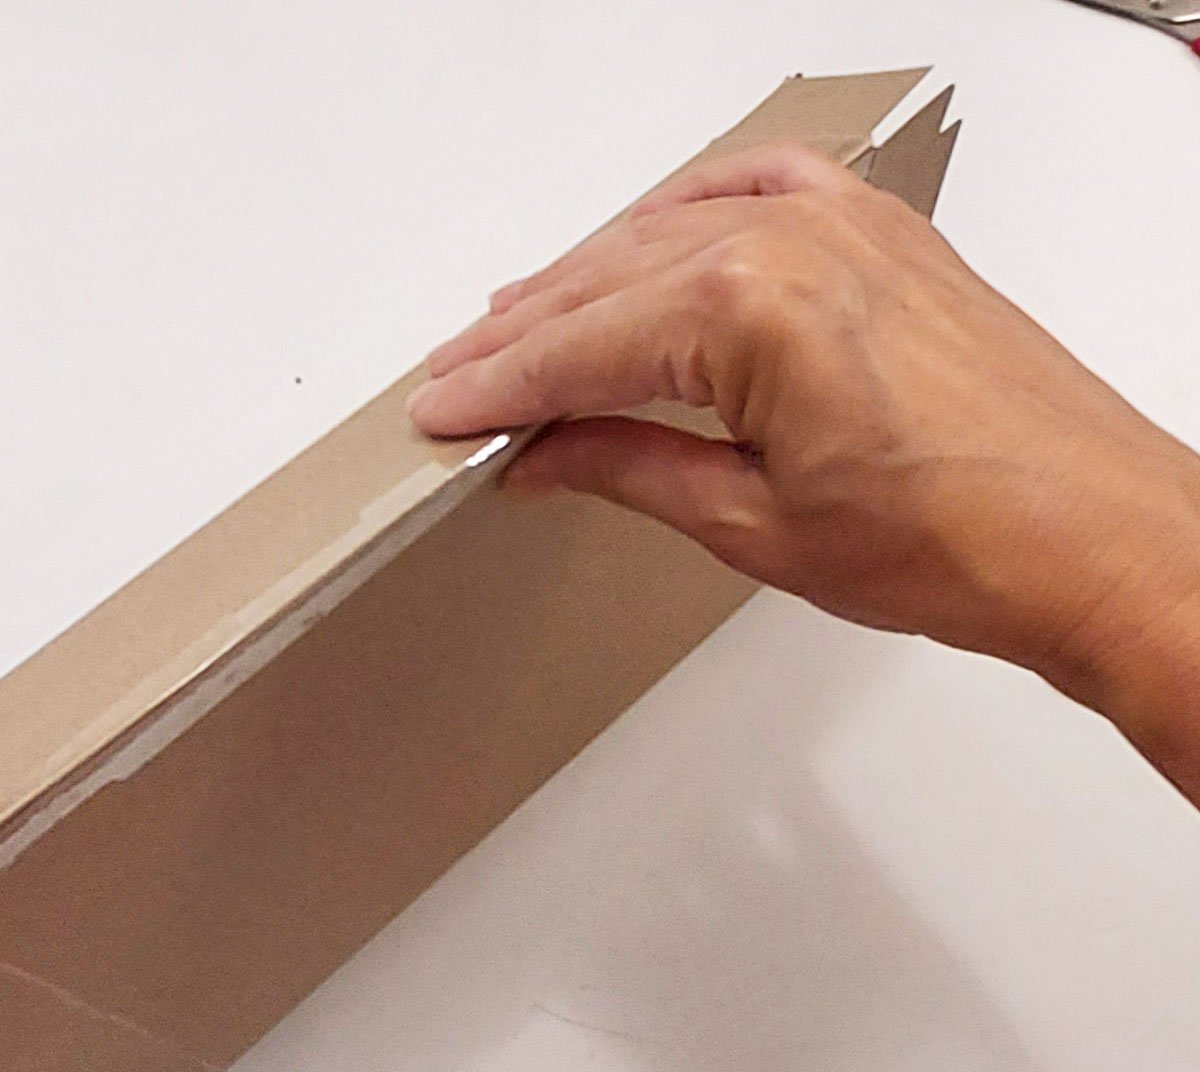
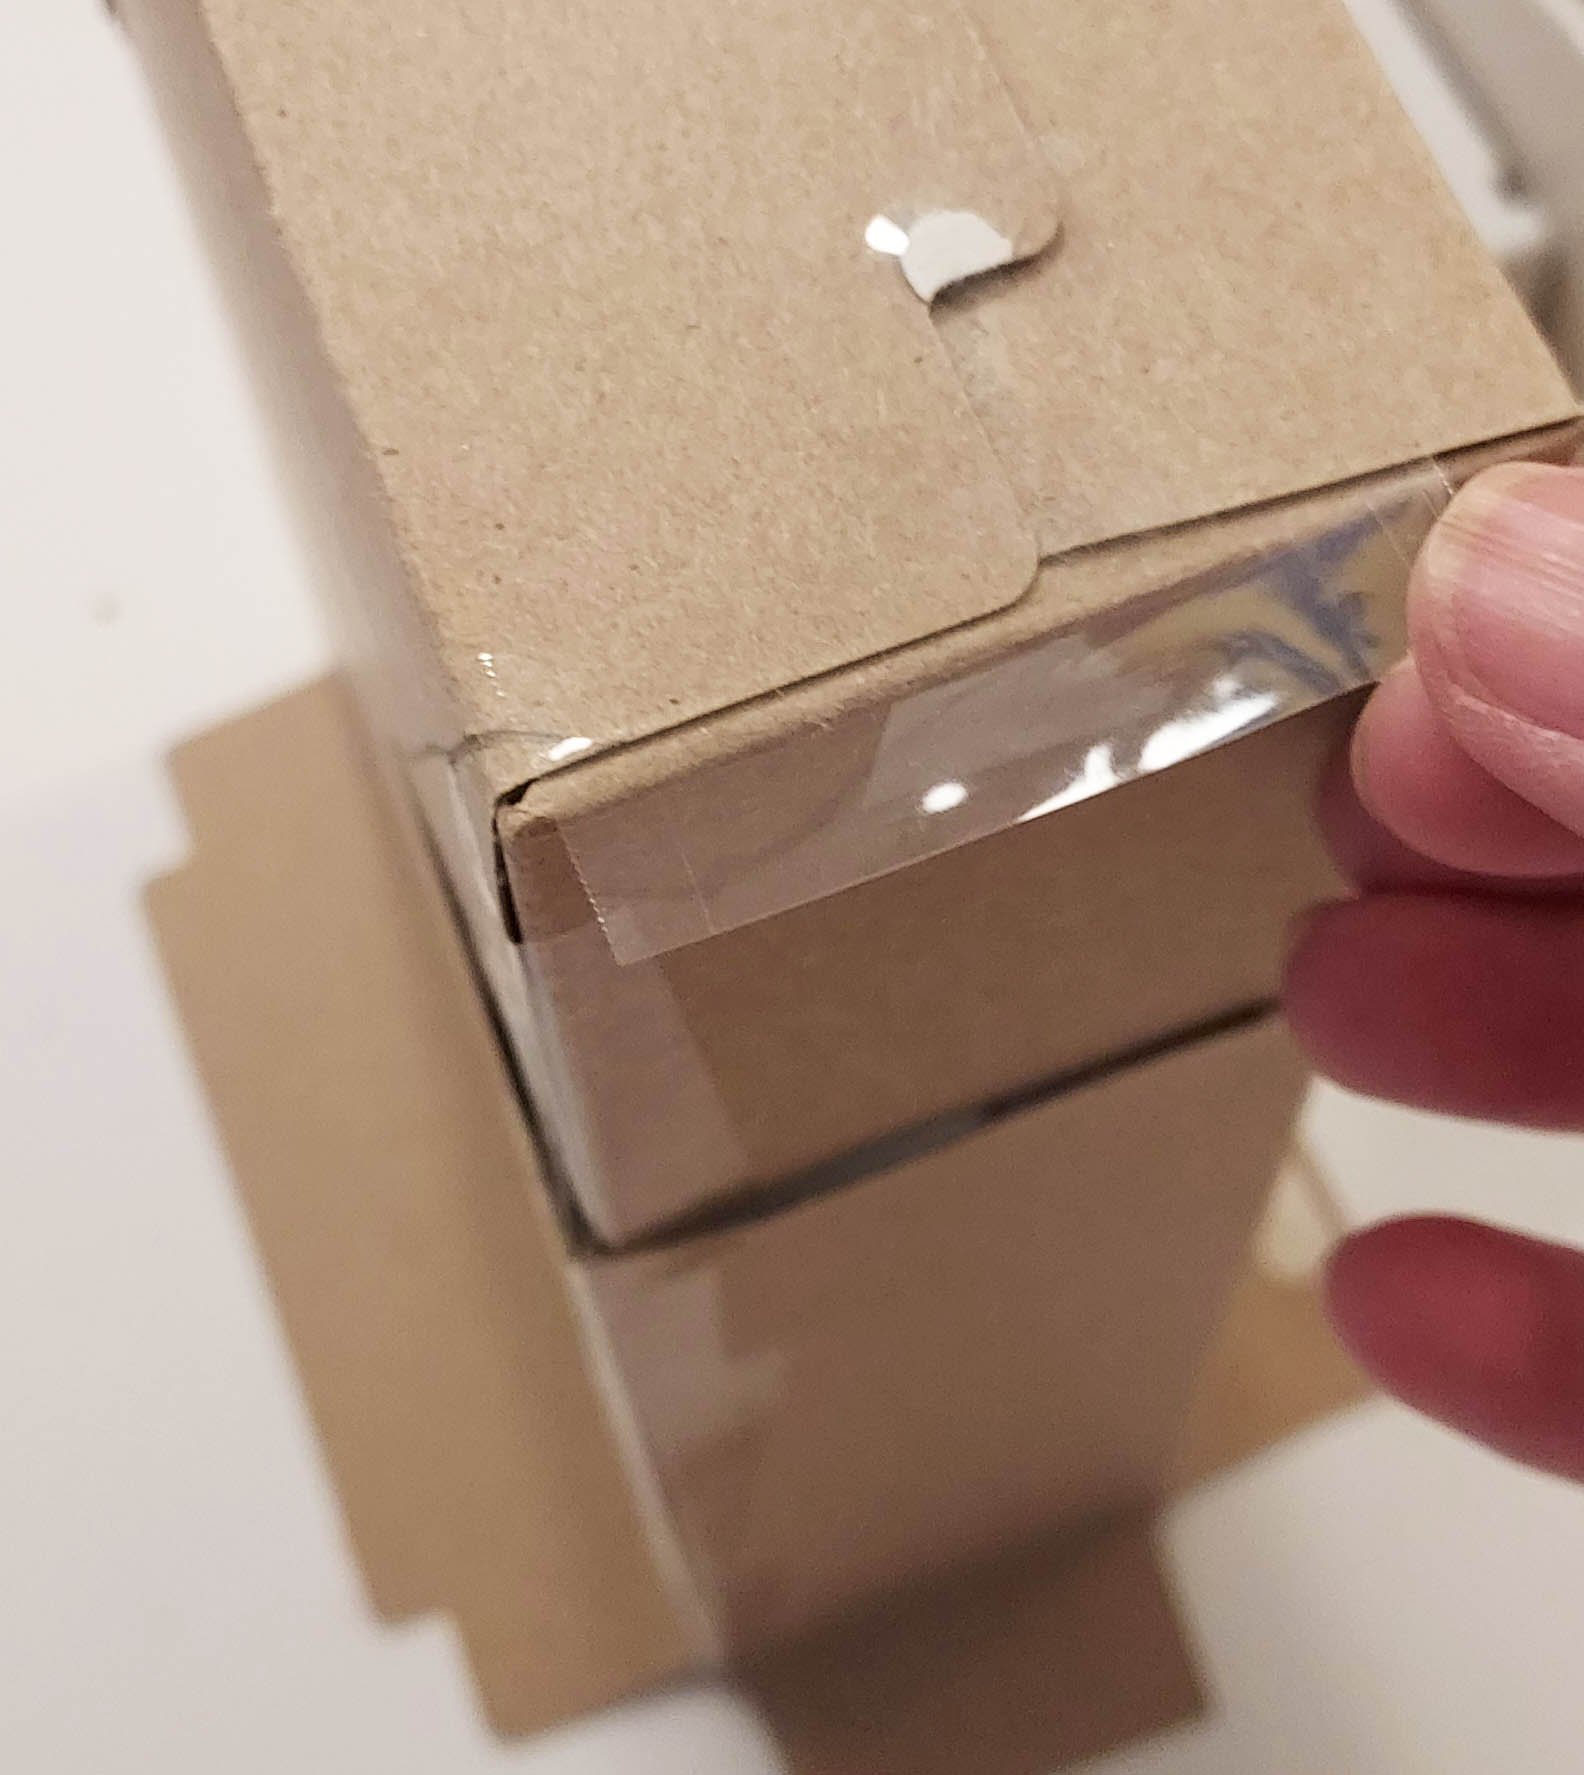
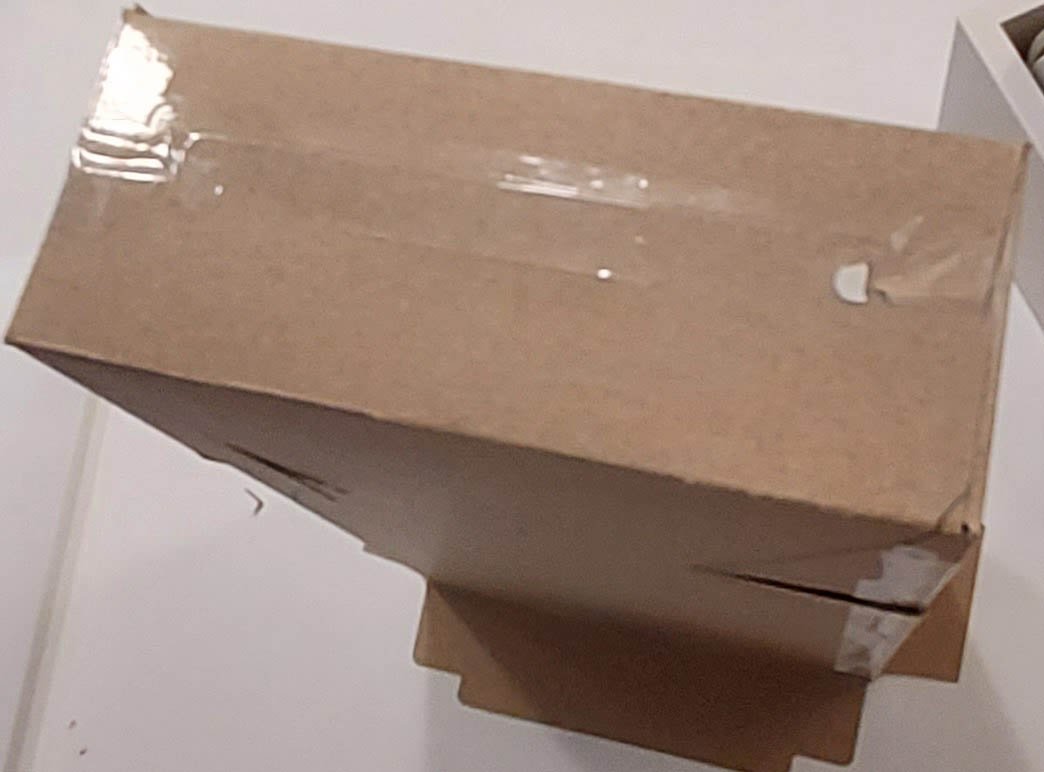
Close the bottom of the box and tape the ends along the edge of the box.
Tape along the bottom flap, wrapping the tape over the corners like you do for a box to be shipped.
6
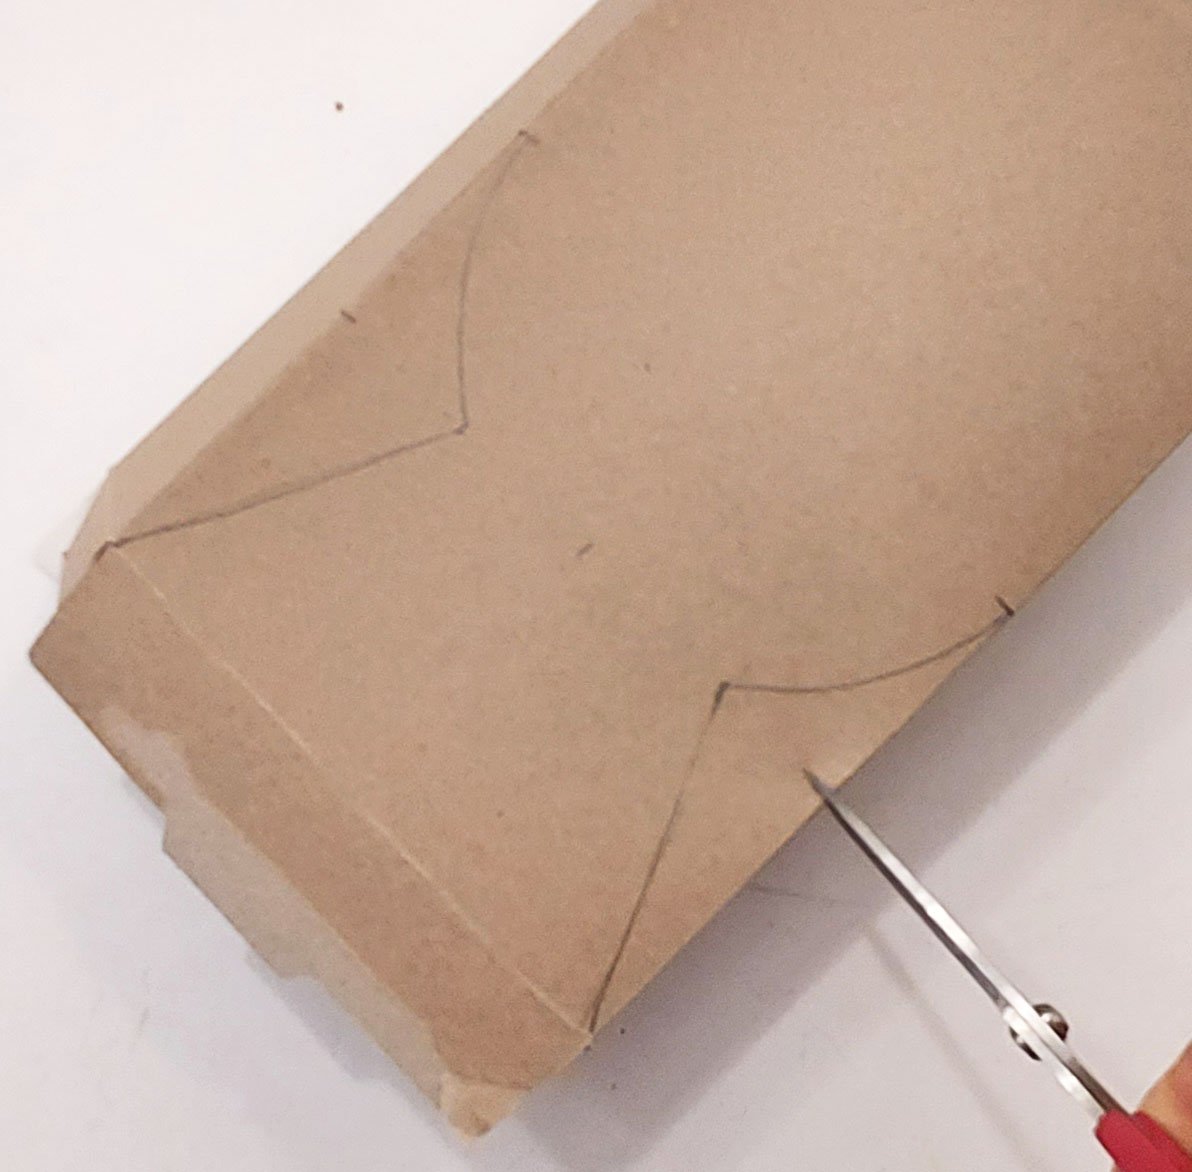
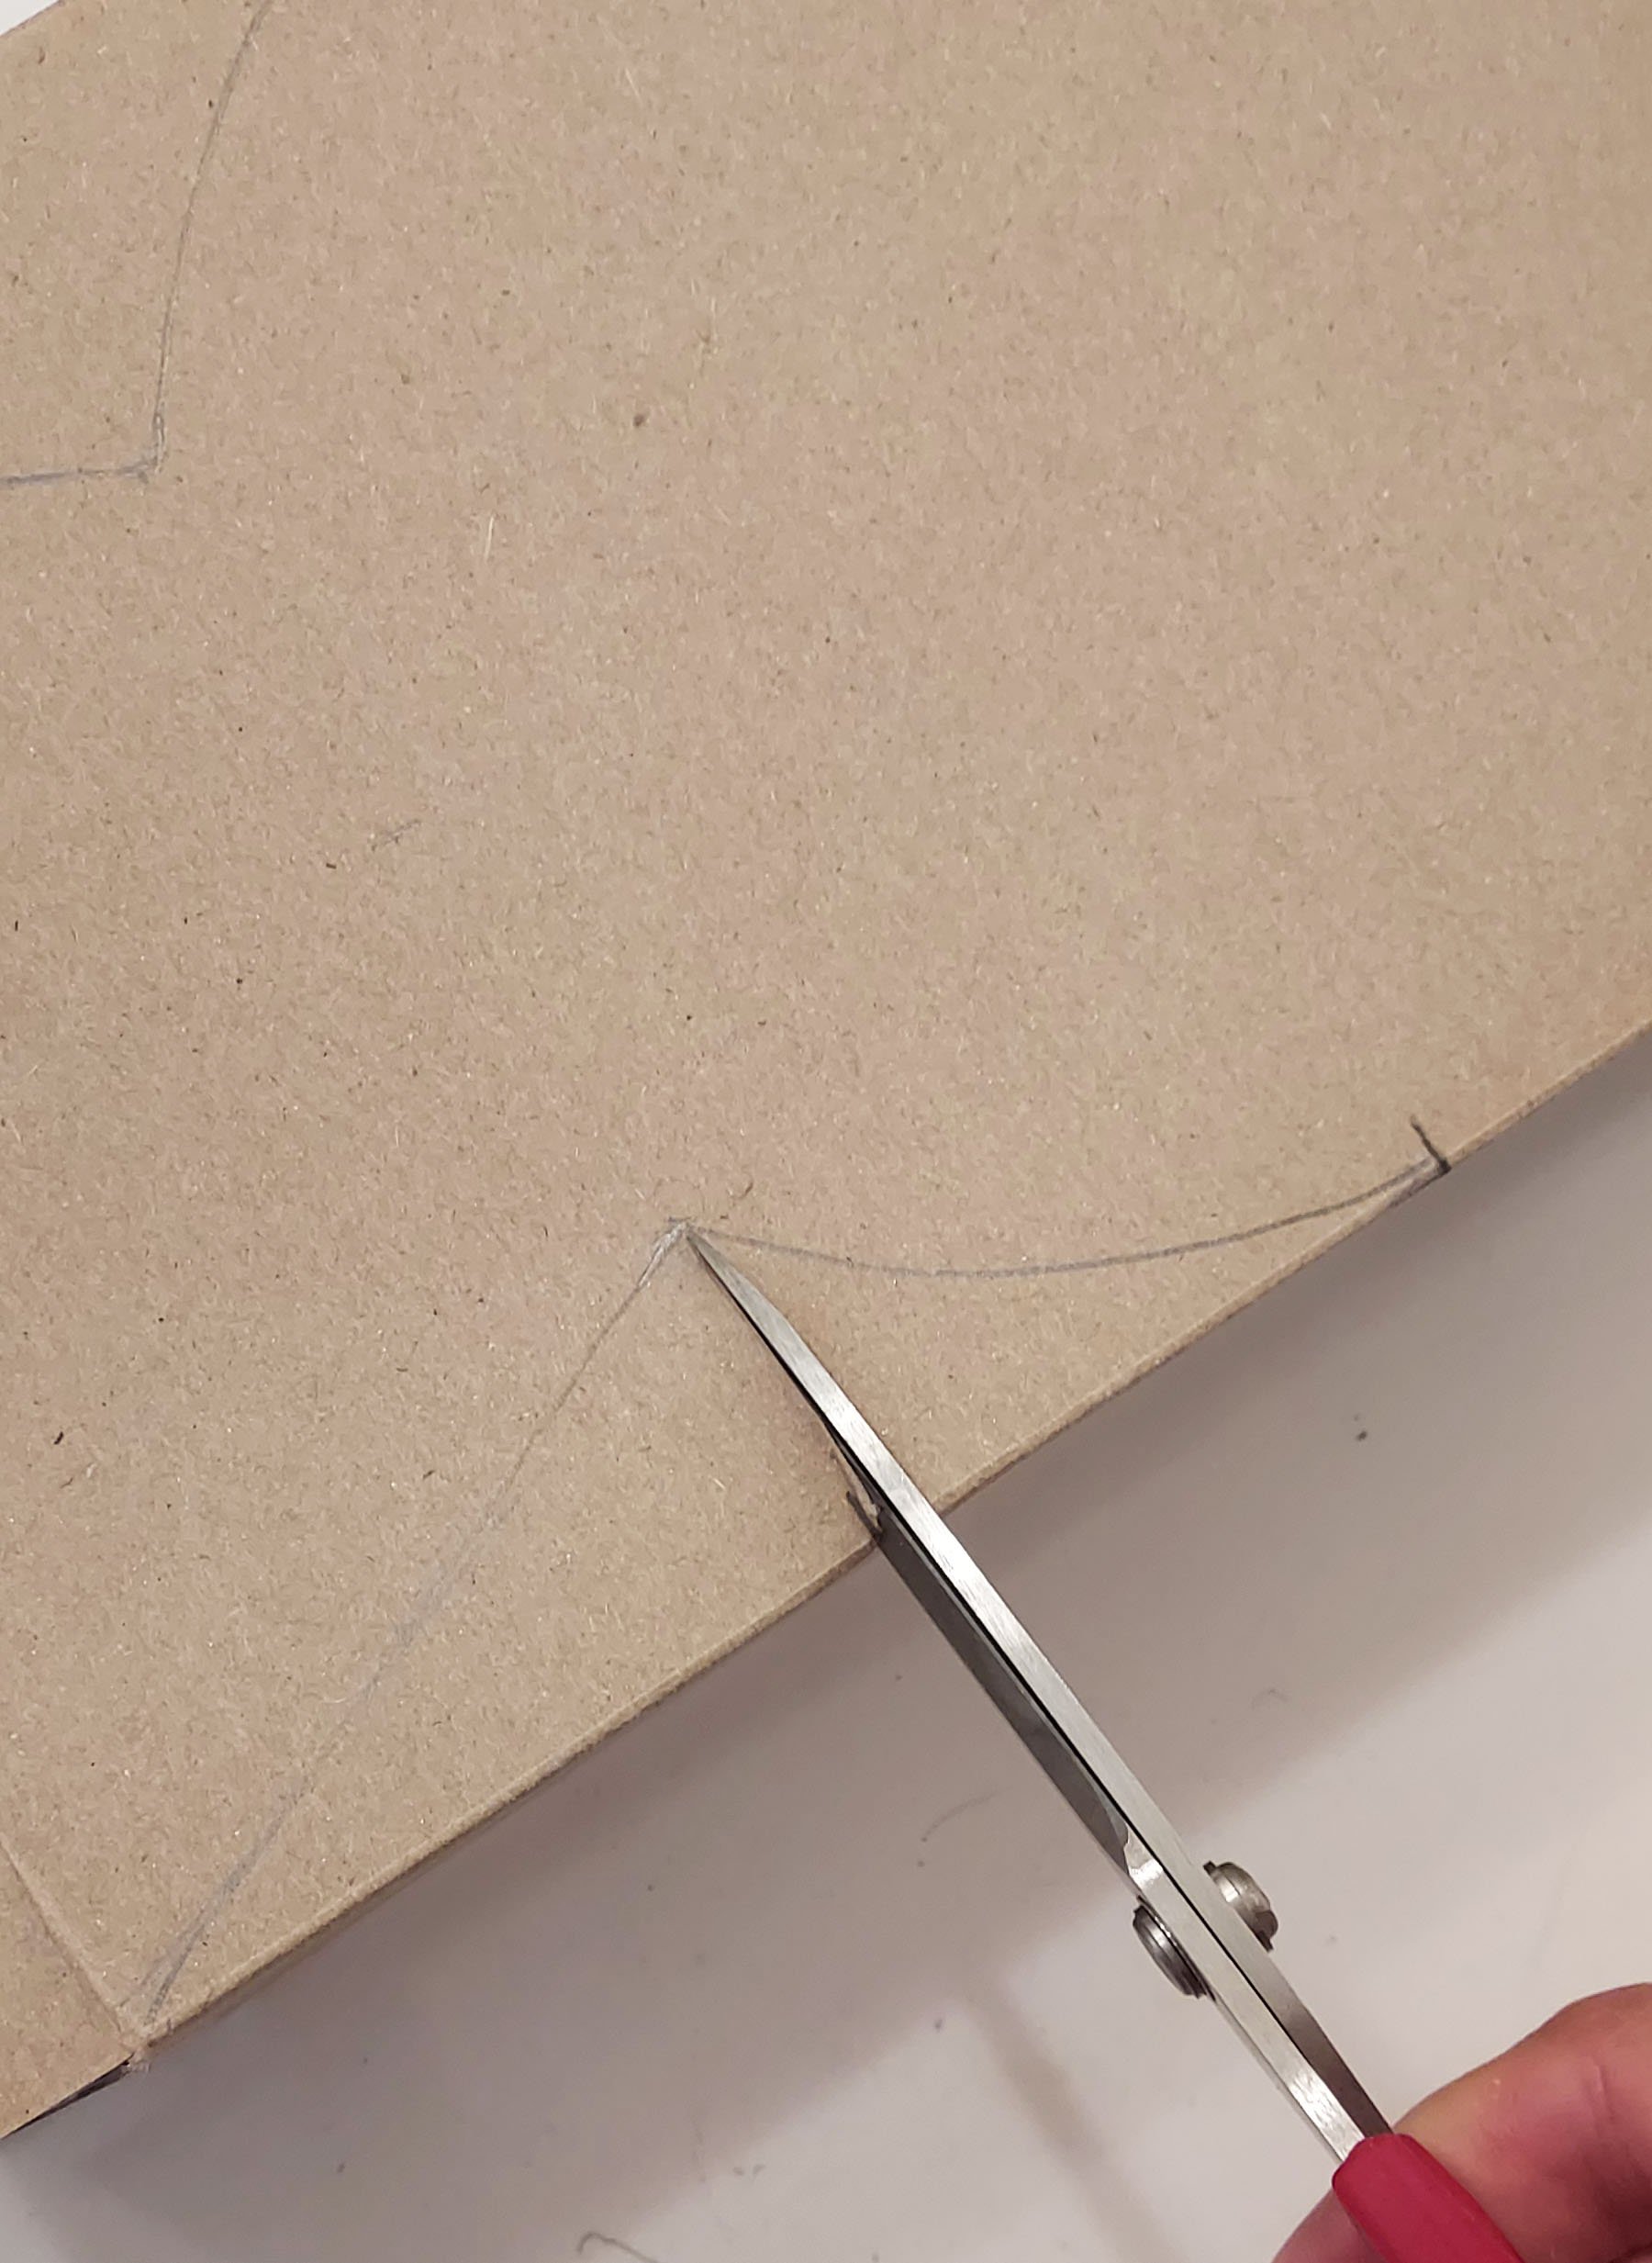
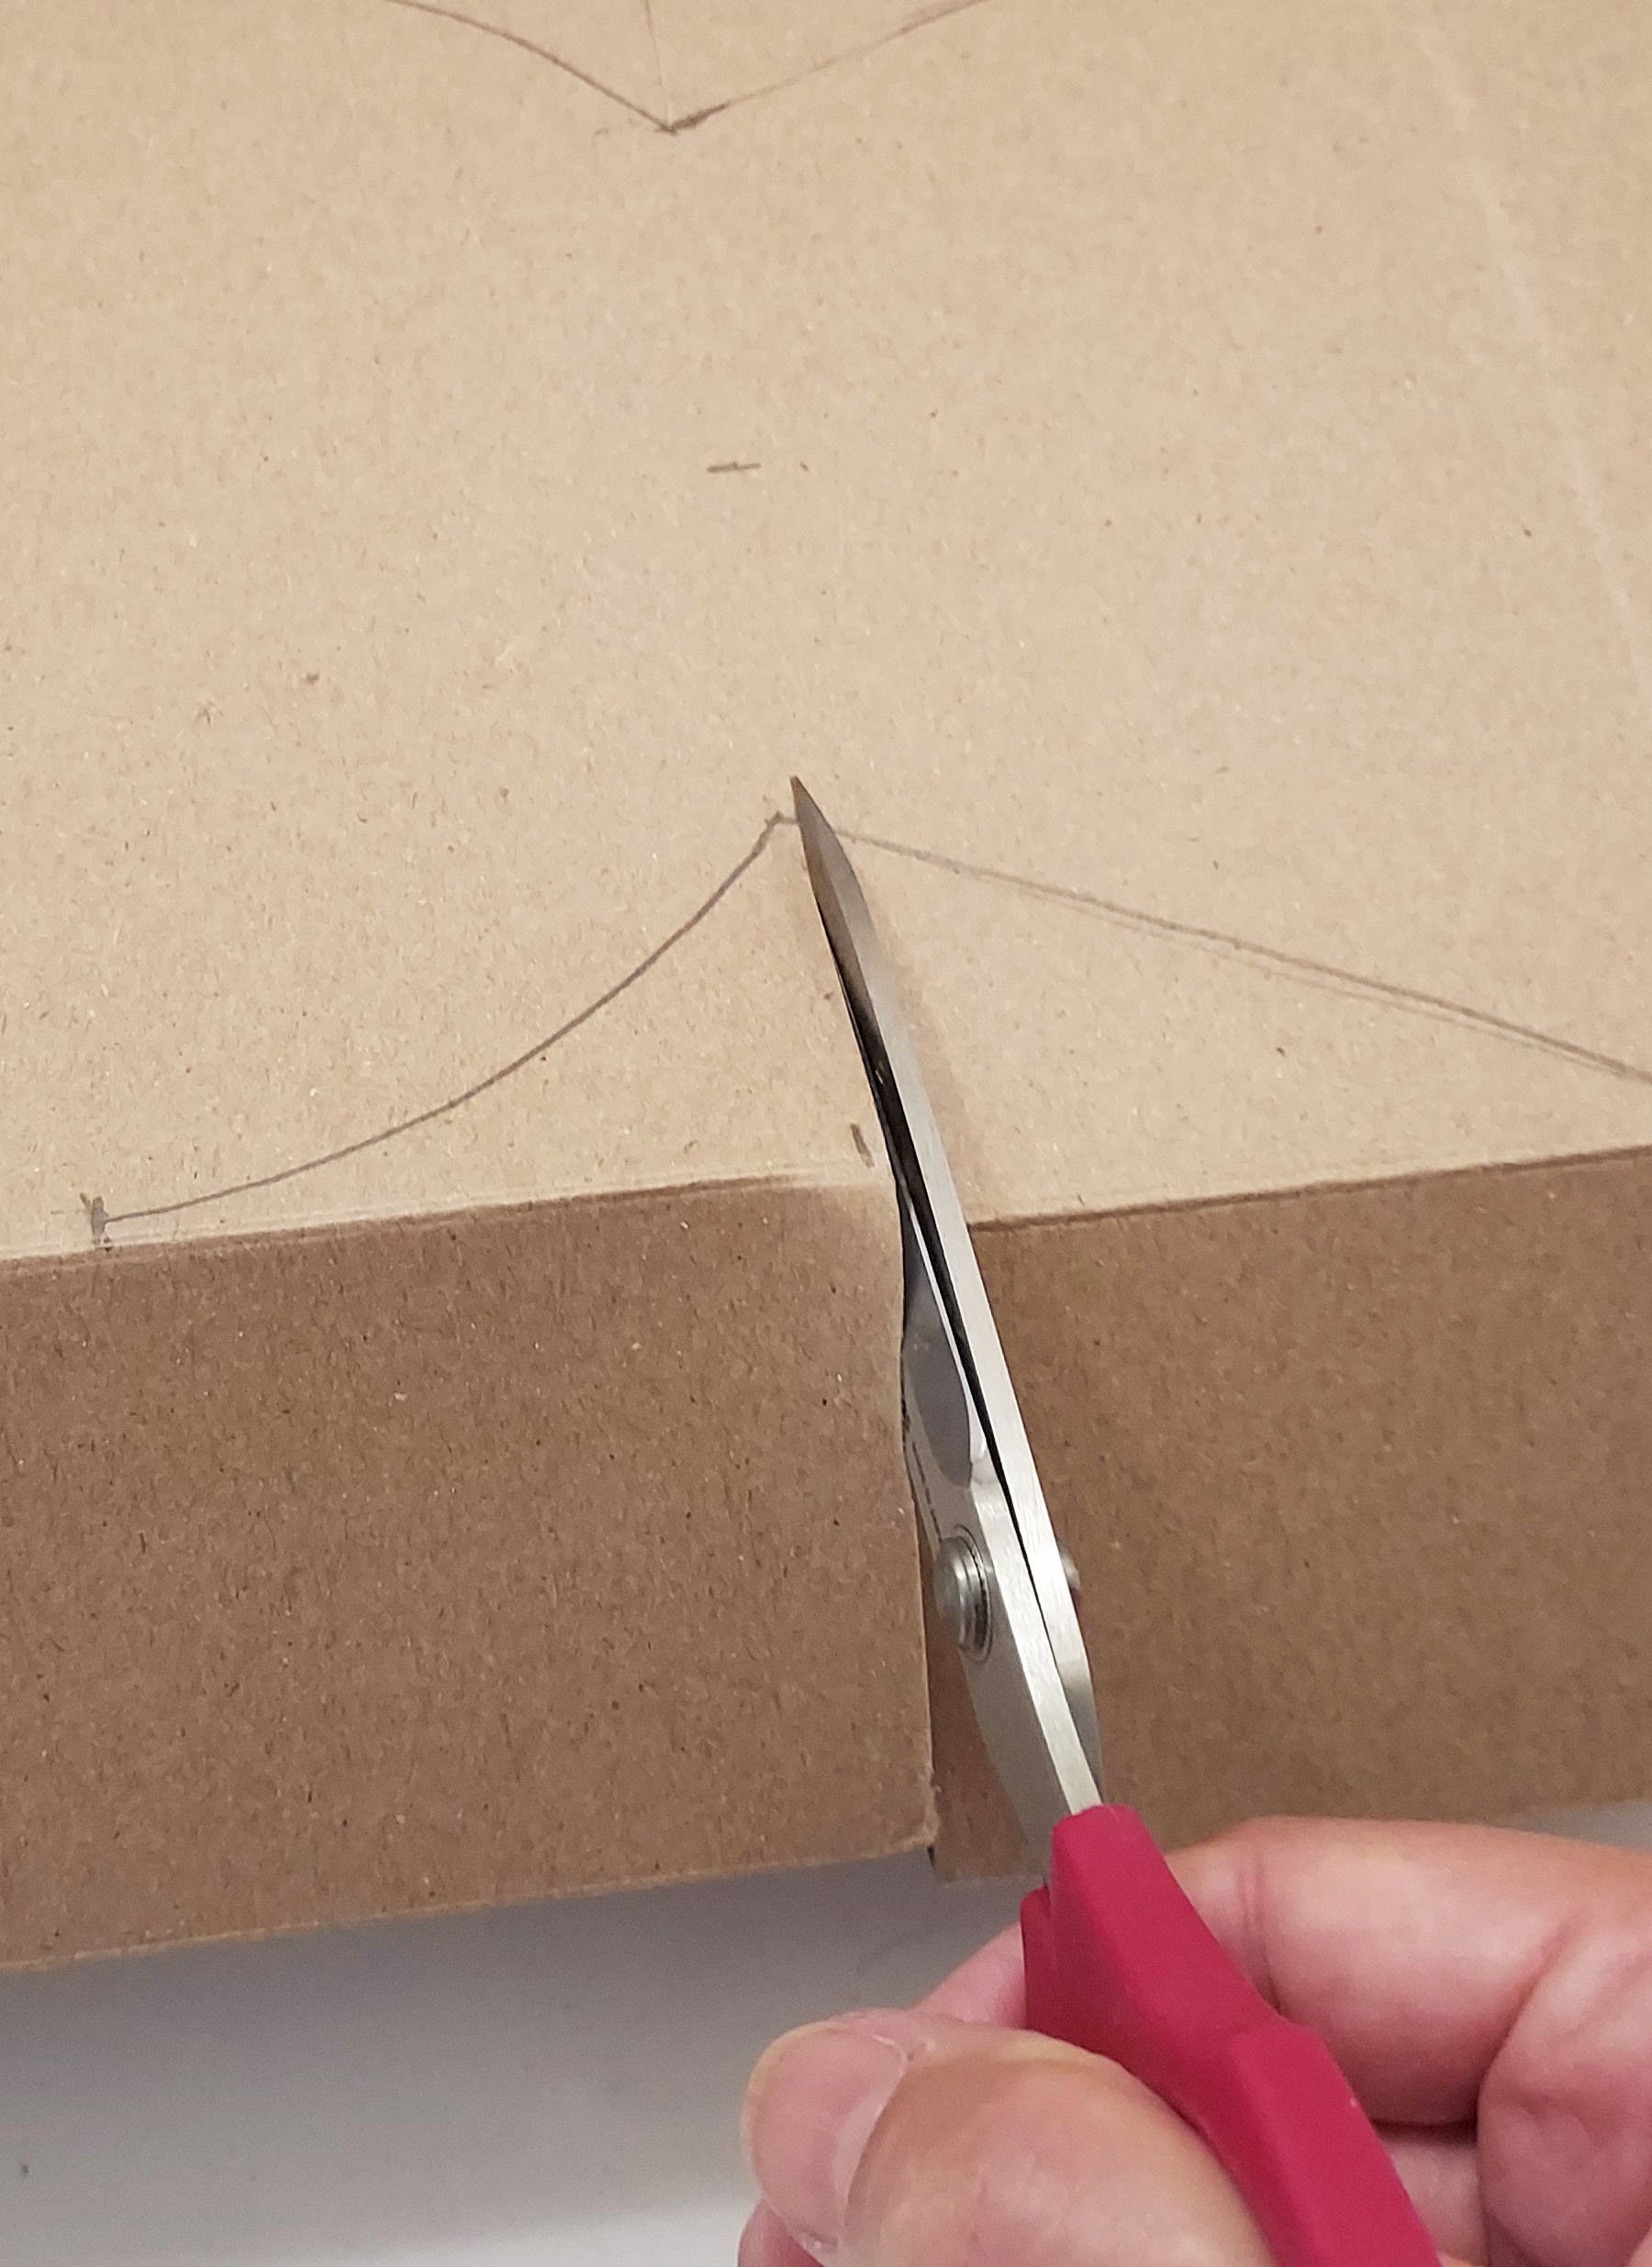
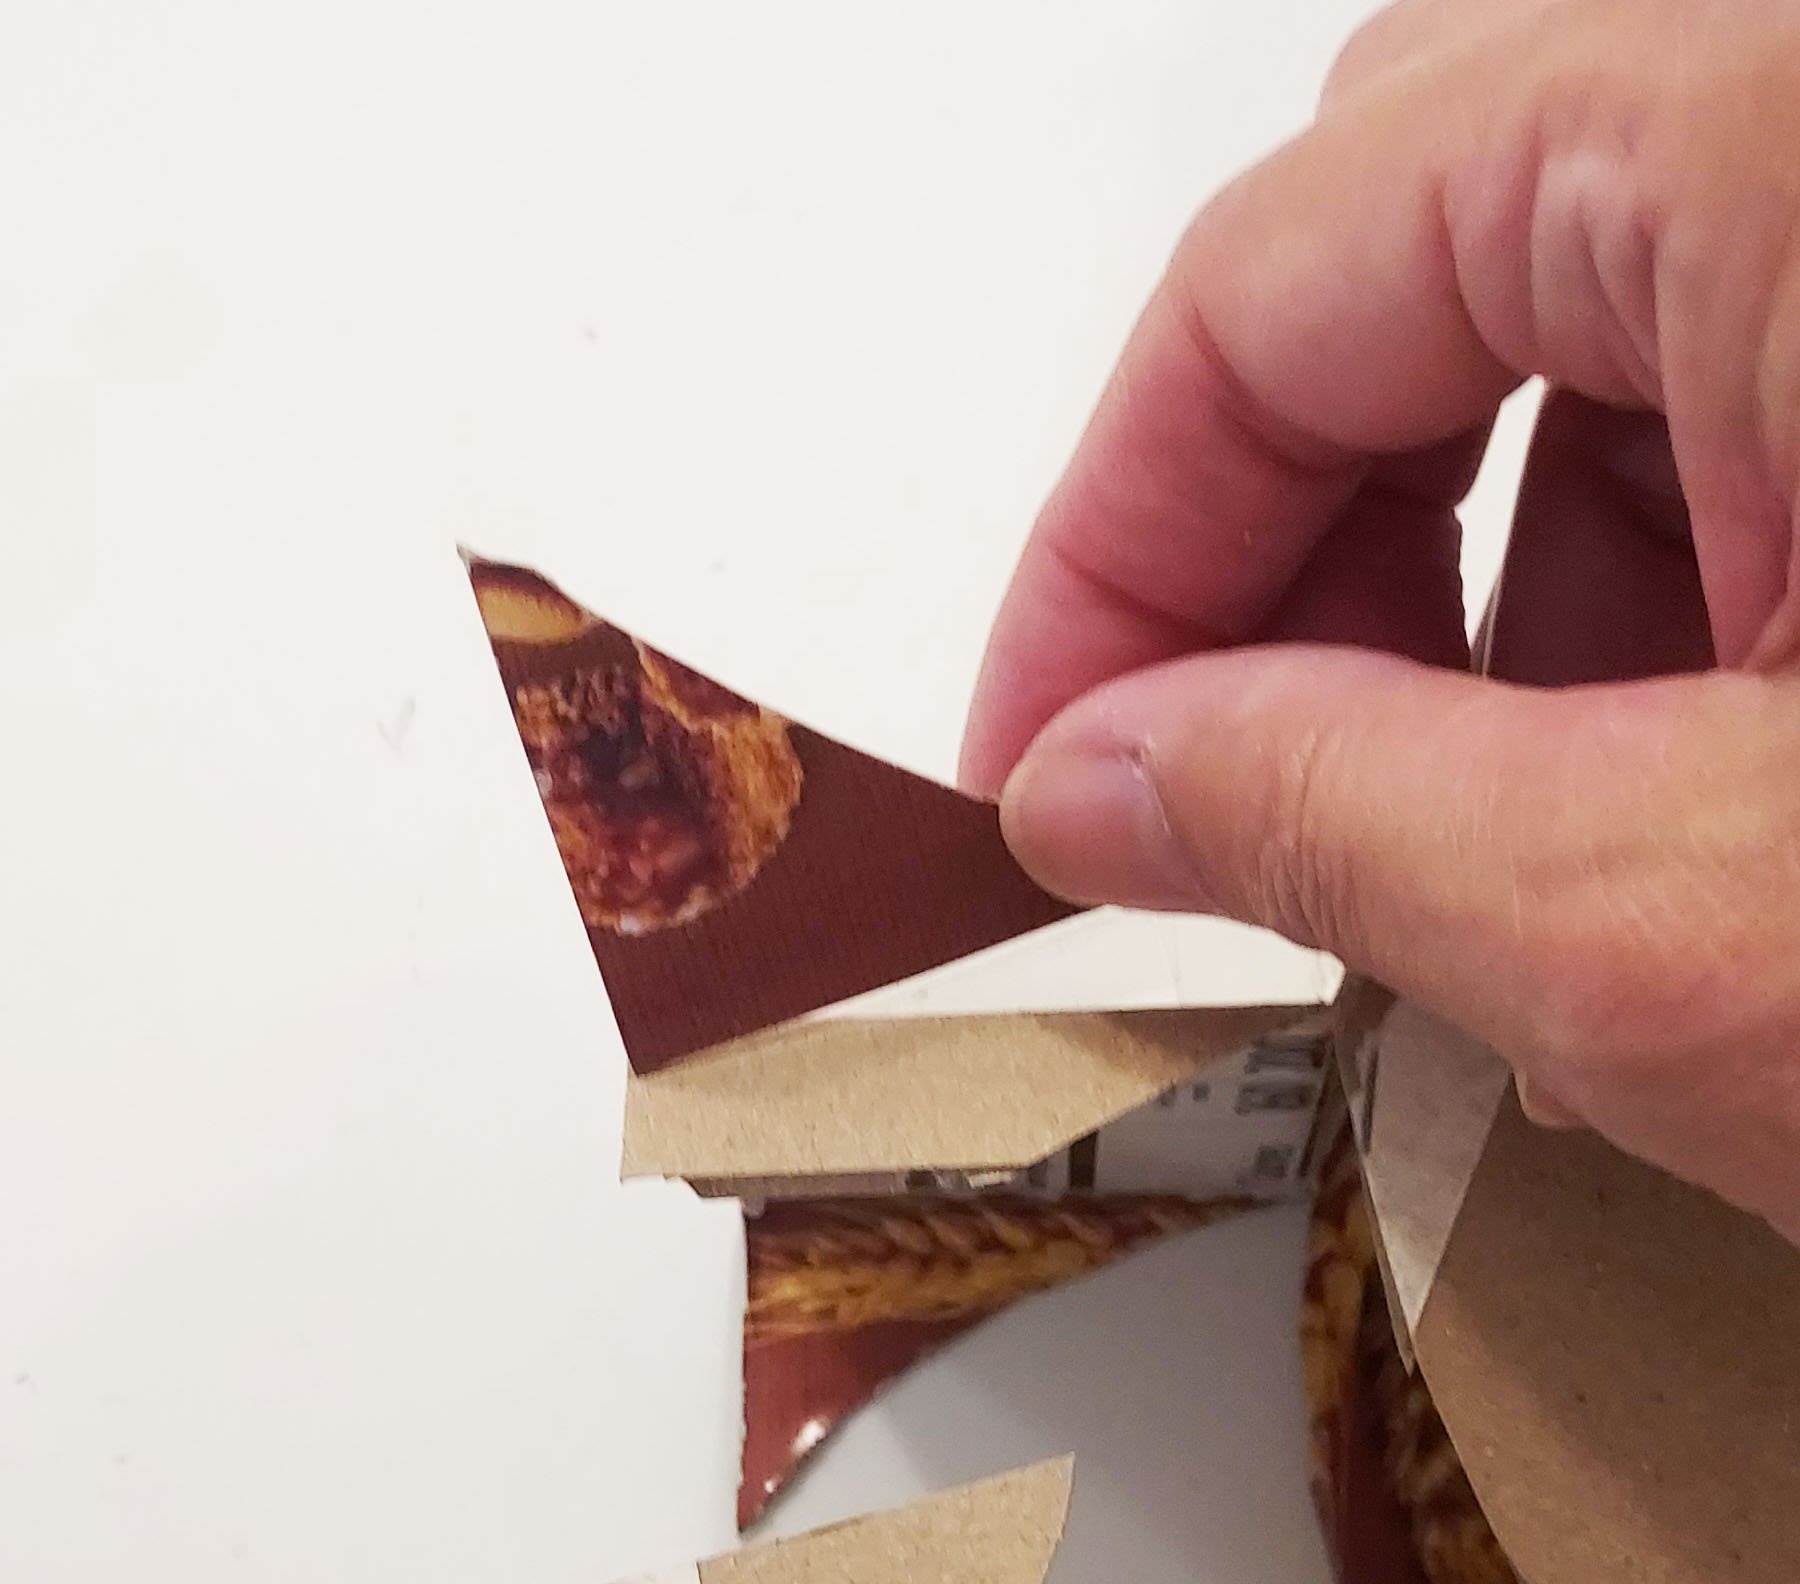
Snip into the box at a lower corner mark to make an opening for your scissors. Cut to the V where your two pencil lines meet. Then cut in the opposite direction across to the other side, stopping at the other V. Do the same on the other side of the box.
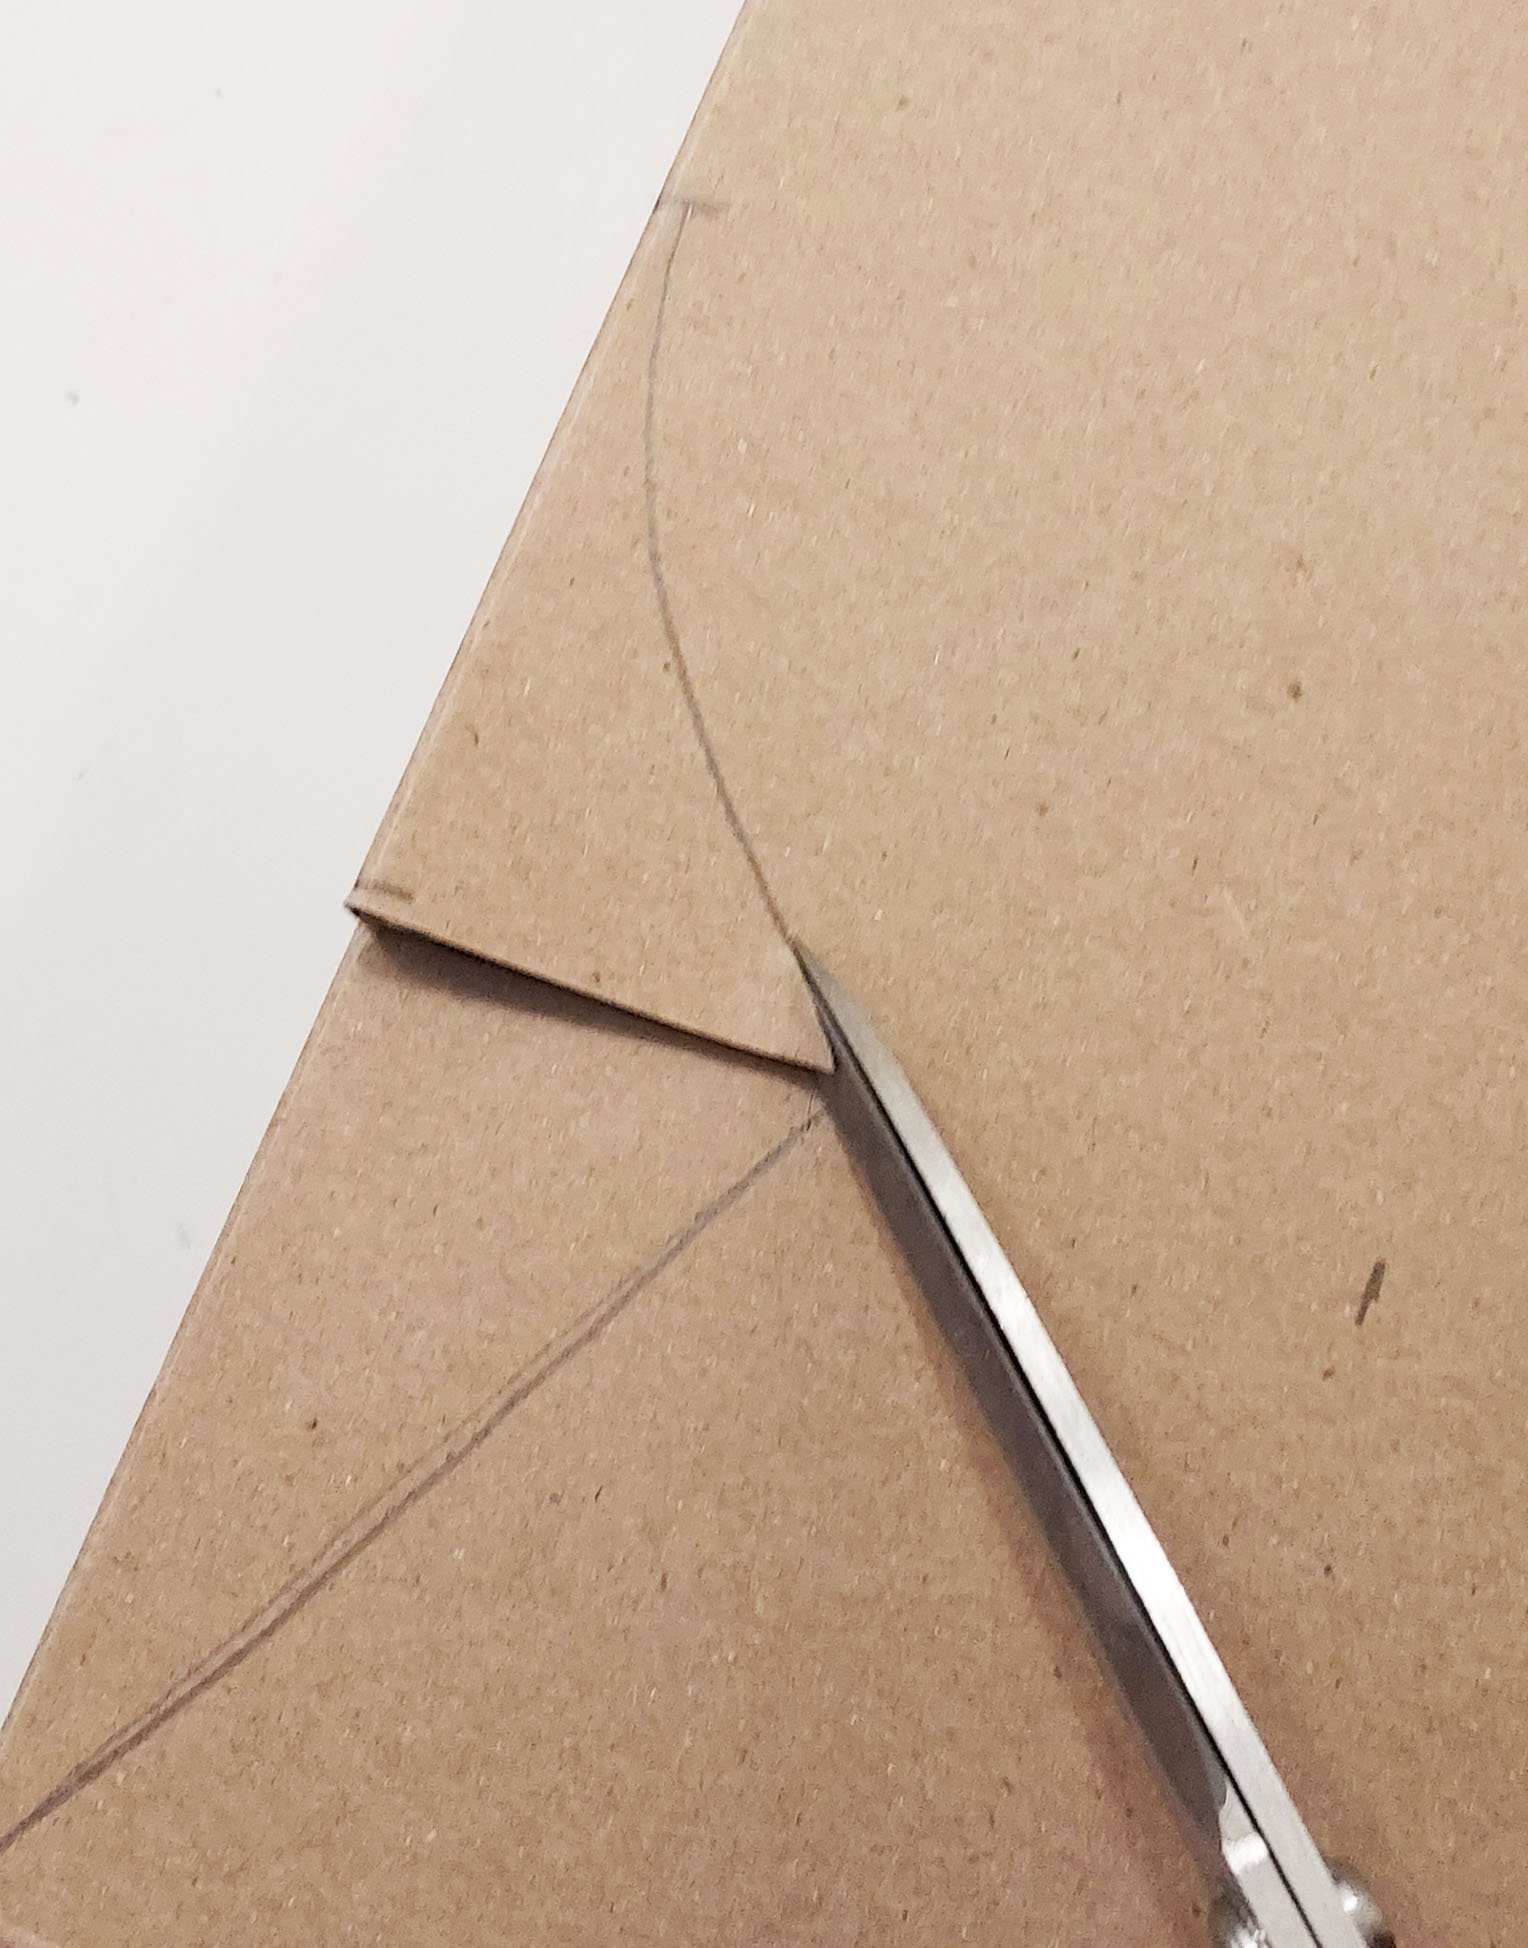
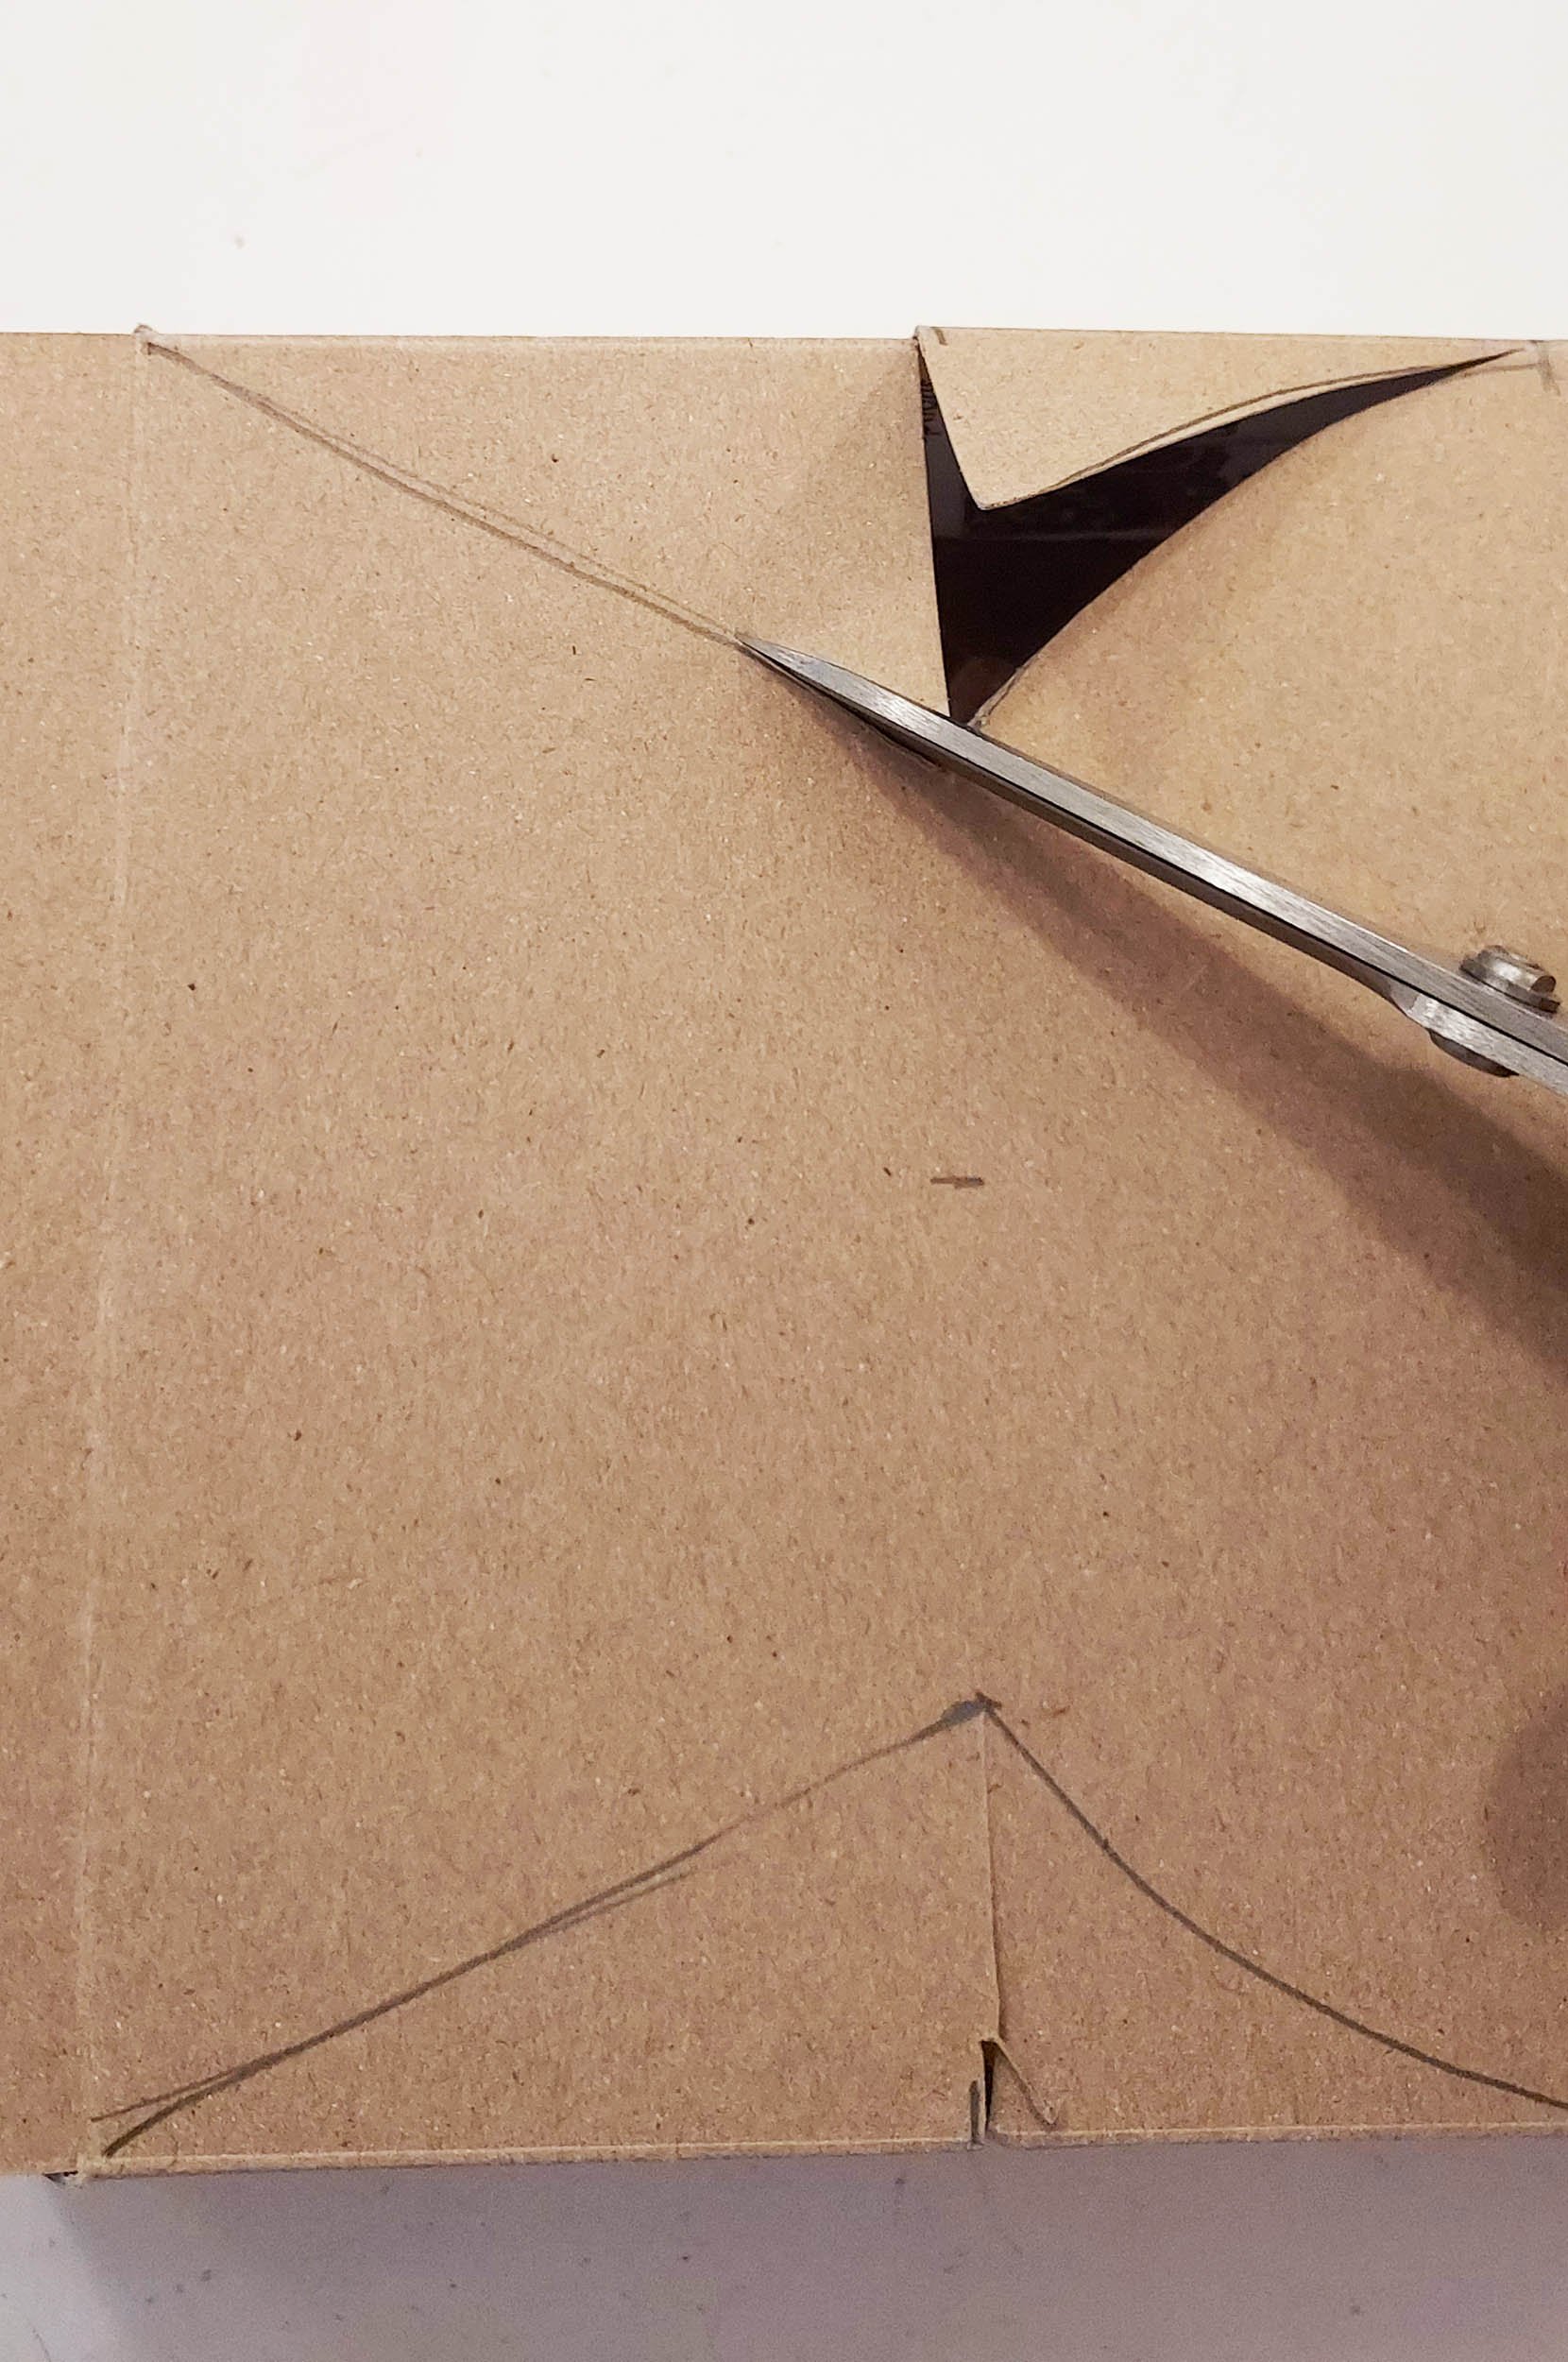
Starting from the V, cut along your pencil lines. Cut all four sets of pencil lines. Your cutting doesn’t have to be perfect! Tip: It’s easiest to start with very small snips.
This makes two pairs of side sections.
Leave the parts you cut around attached. They make handy flaps that will help you tape down the side sections in the next step, and make your Box Head stronger.
7
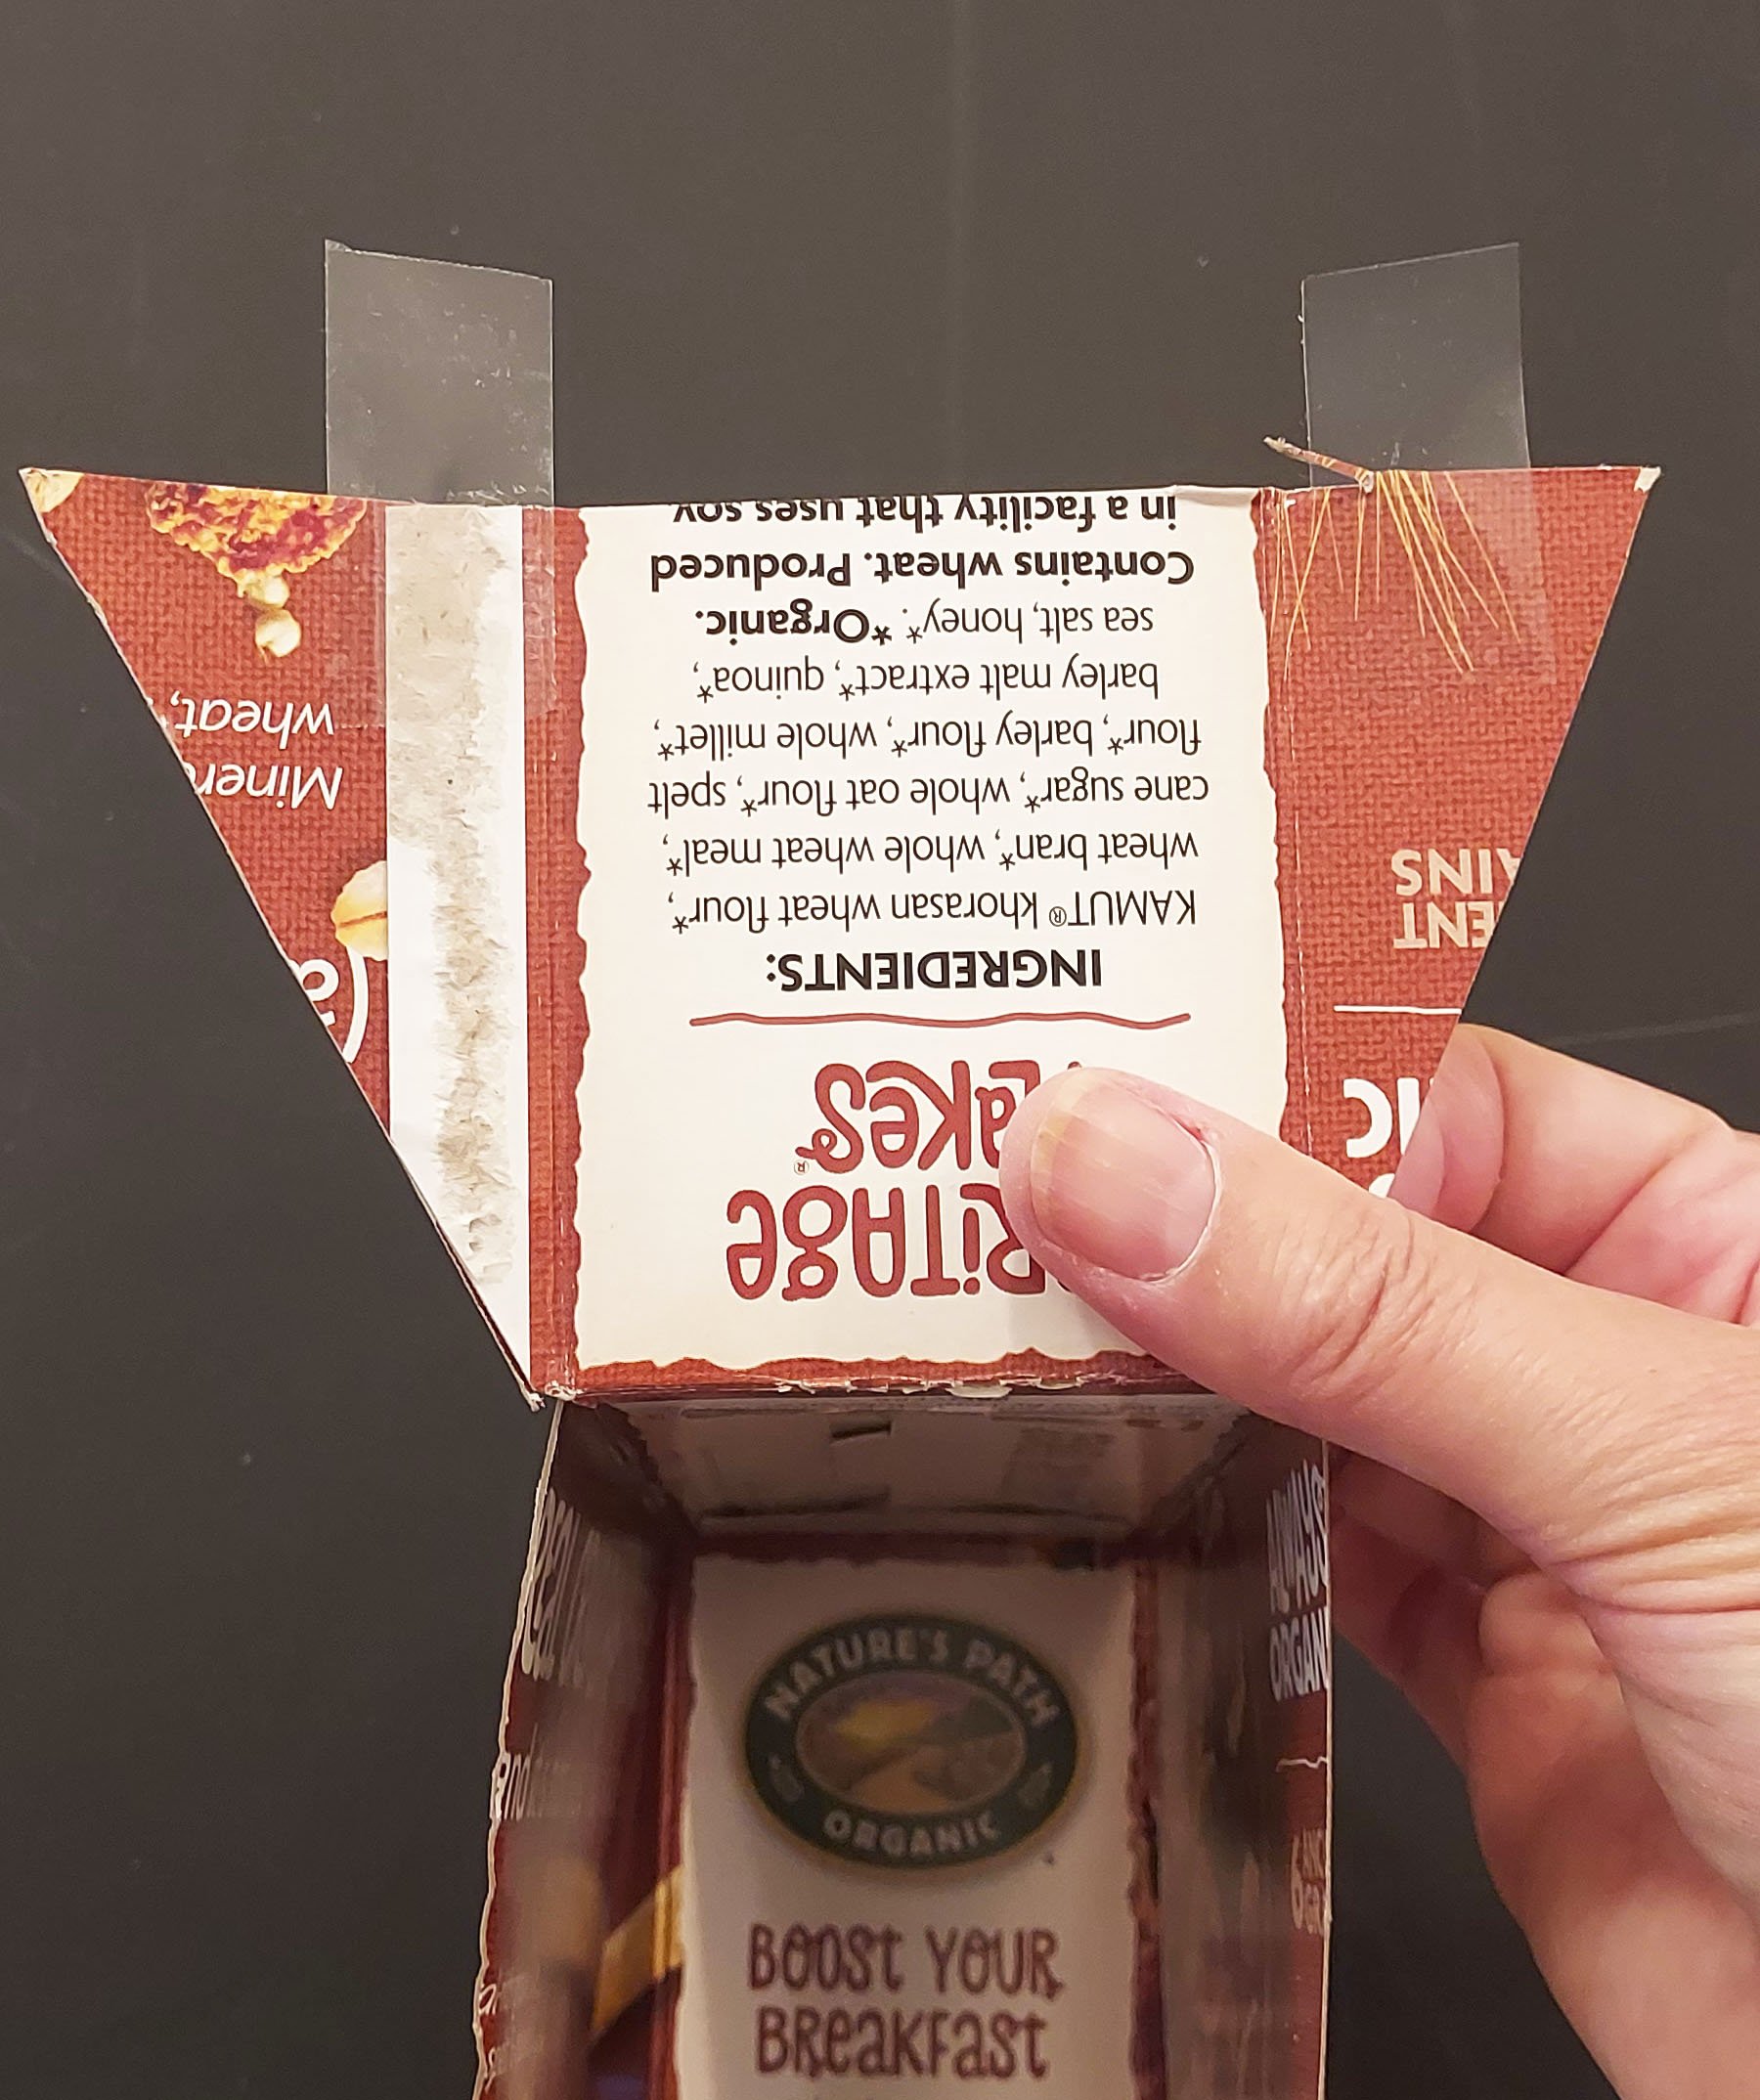
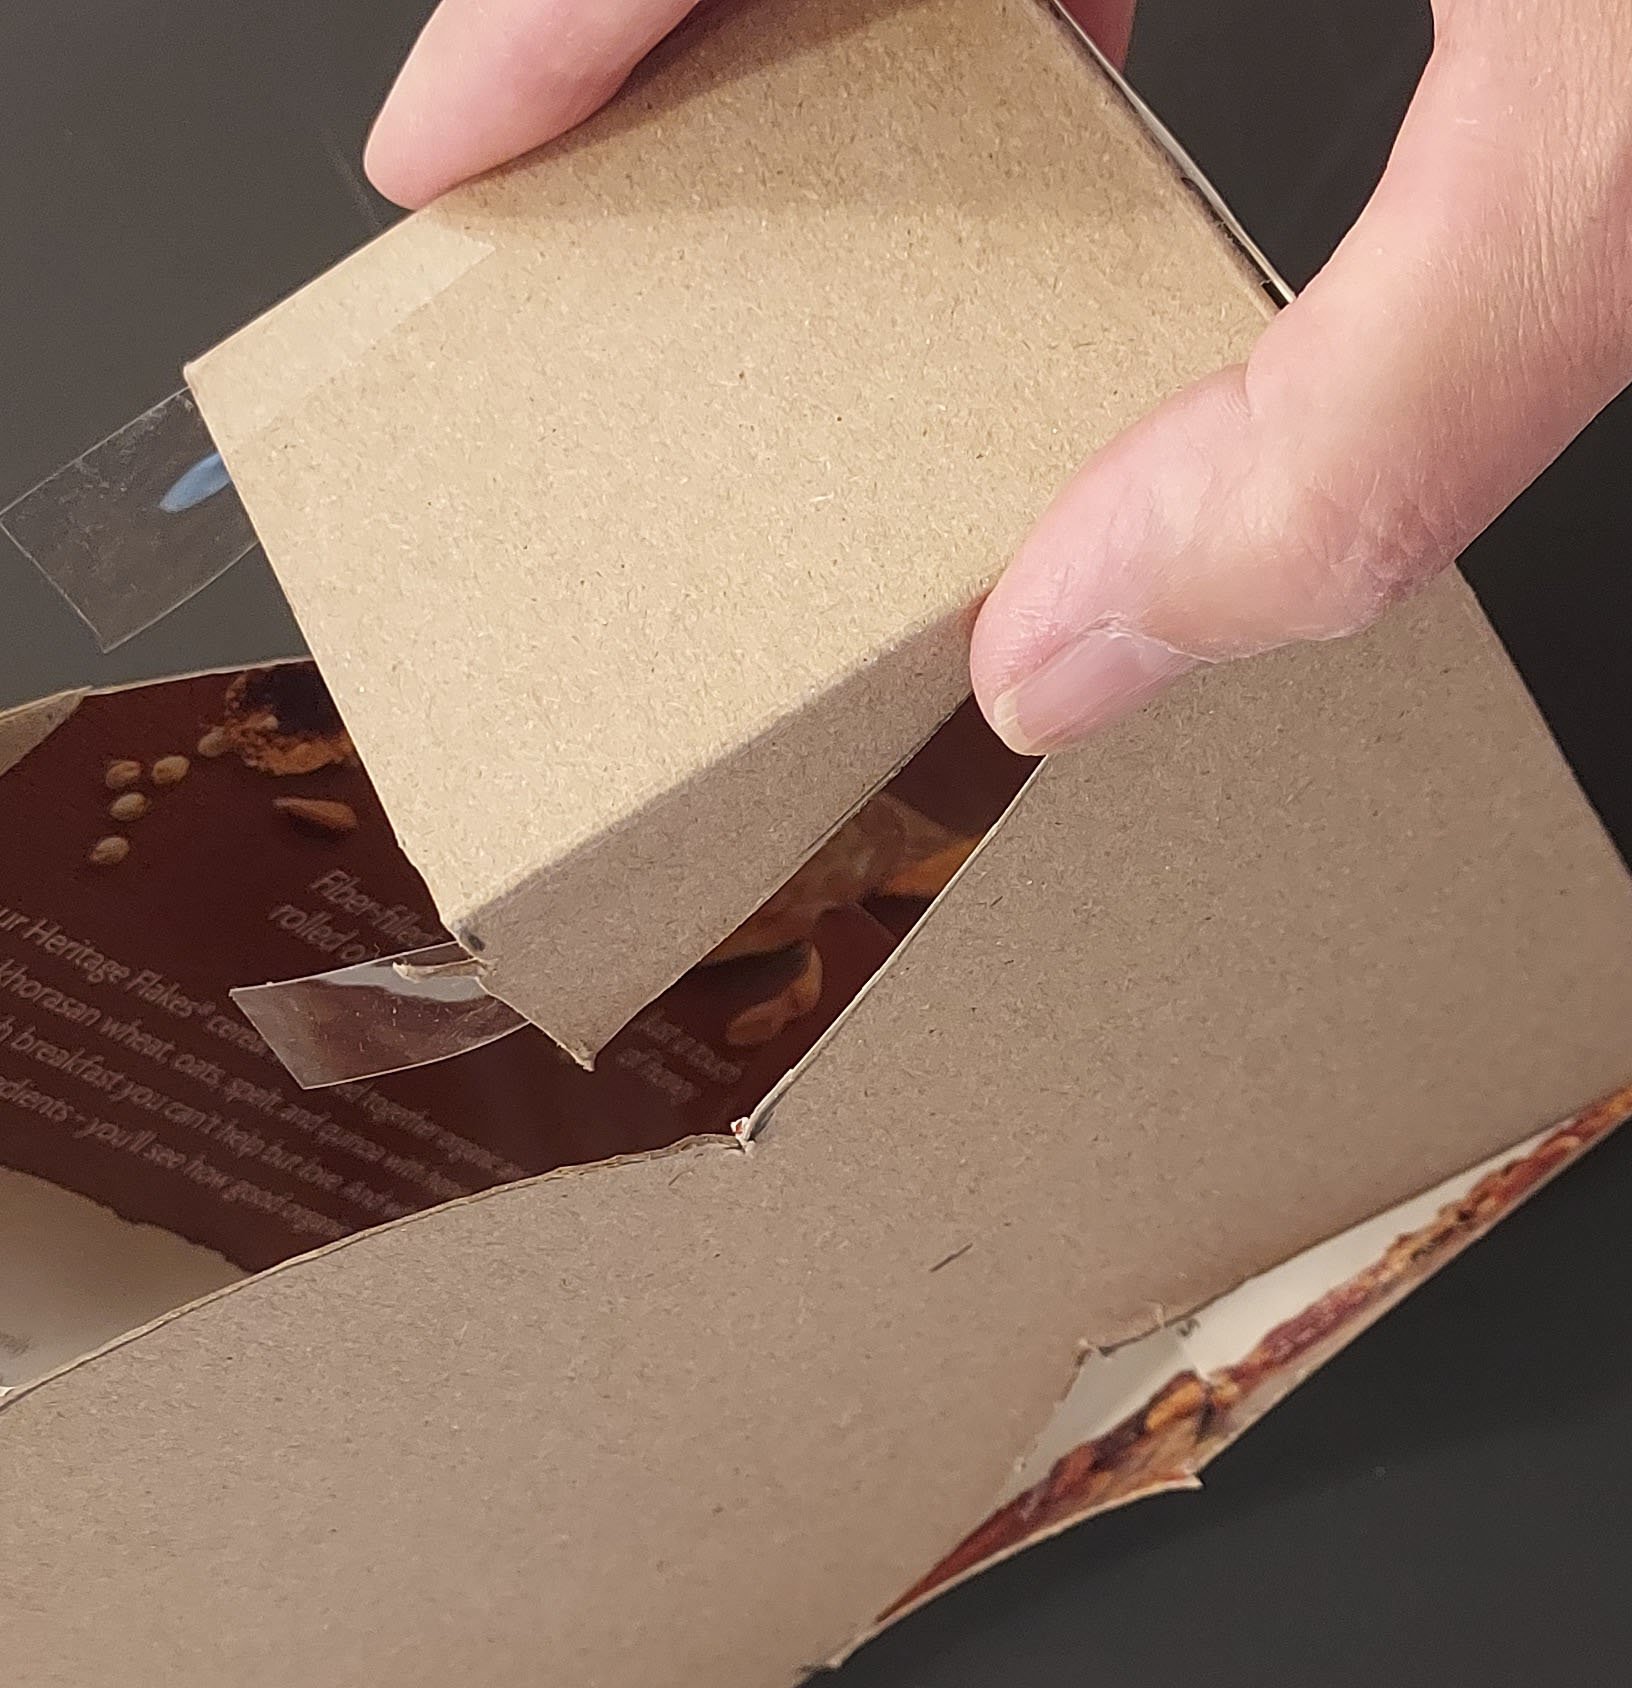
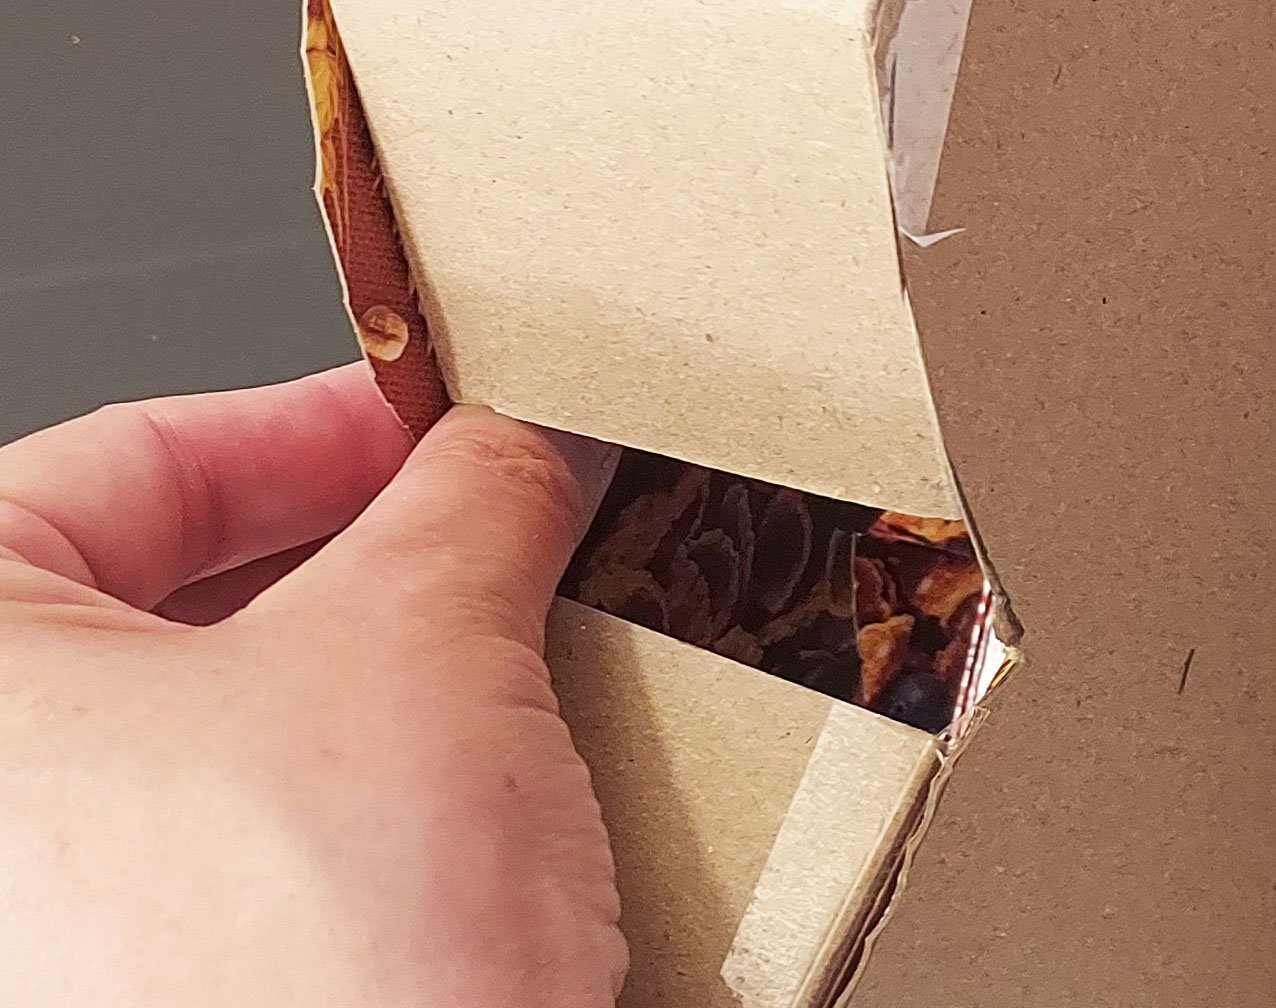
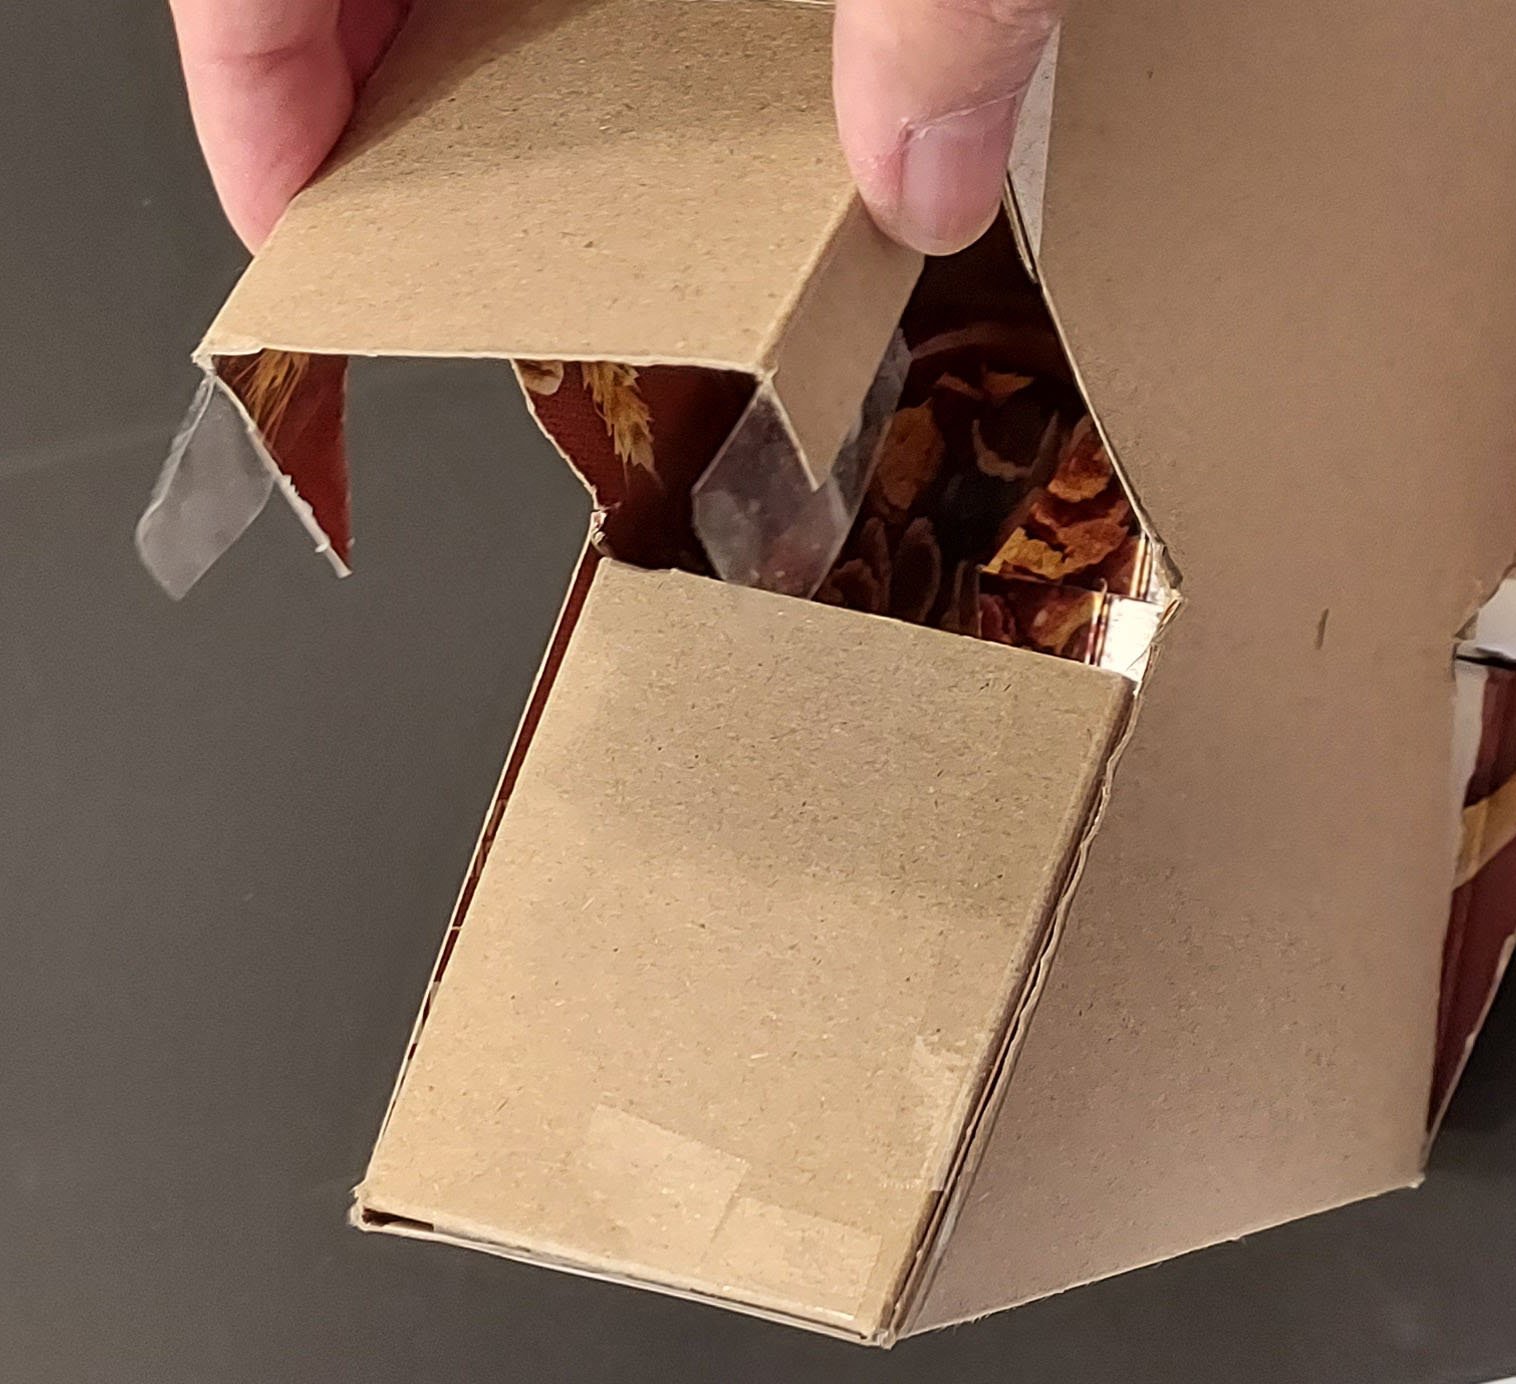
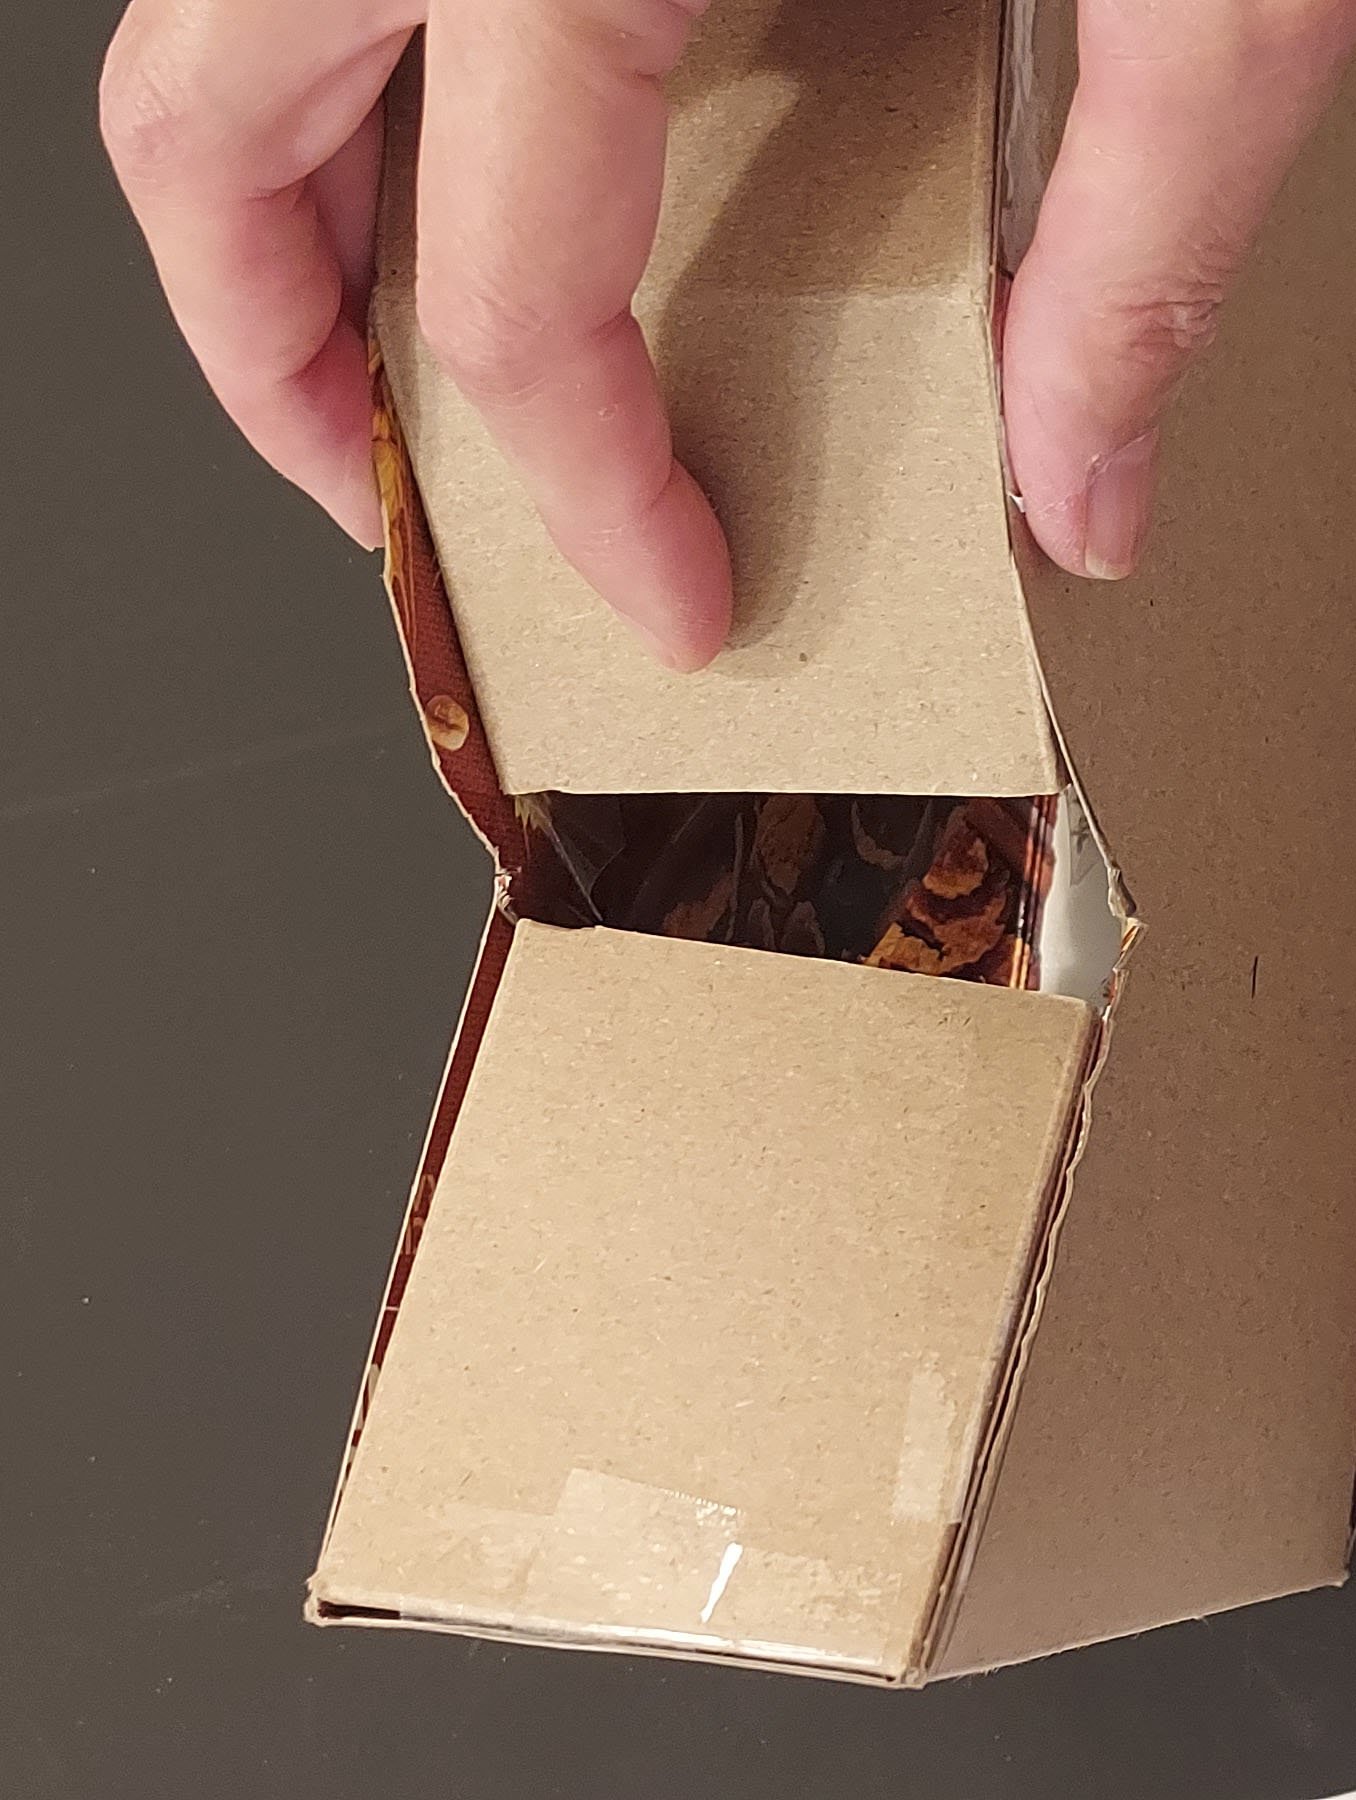
Each section has two handy flaps for easy taping (If you find a dangling piece of flap held on by tape you can remove it). Put tape on the printed side of each flap, right against the fold and sticking out about 1/2”.
Take a section, hold it so the flaps are pushed inward a little, and fit the section into the box. Pinch the tape to the box to seal.
Do the same for all four sections.
Close the flaps at the top of the box or tape them closed. Your Box Head is finished! Decorate or leave plain. Leave the top flaps up for extra decorating space!
See how to add a 3D nose below!
Questions
I want to put a face on my Box Head but I’m afraid it won’t look good. Help!
I have Face Phobia too! Here’s a surefire way to put a great face on your Head (this is how I did Frida’s face). Draw eyes and a mouth on the blank side of an empty box. Color them in, cut them out, and put double-sided tape on the backs (make your own by forming a ring of tape with the sticky side out). Now you can arrange and rearrange your face till it looks good to you. And remember your Head has a spare face for you on the other side. Two-faced friends can come in handy.
and try this:
Add A Nose
Draw a pencil line in the middle of the face area, about 1/4 to 1/3 as long as the height of the face. Make a hole with a pushpin at one end. Wiggle the very tip of the scissors into the hole, make a tiny snip, wiggle your scissors into that snip, snip again, and continue snipping to the end of your line. Tiny snips are the key.
Take a scrap of paperboard and either fold it in half with a good crease or use an existing factory fold. Cut an angled shape a little shorter than the nose slot. Slide in and adjust to make a nose shape you like. You can push part or all of the nose a little further in, or pull it out a bit to change the shape. Or try cutting out different shapes of nose for totally different personalities.
Try different proportions
It’s easy to change the proportions of the head and neck, and it lets you try out even more design options. Simply put the rubber band a little higher up on the box for the first set of marks, then choose your own midpoint for the second set of marks. Draw the connecting lines just as in the main directions.
Pro tip: Box Heads work with other tall boxes as well. Feel free to branch out from cereal boxes and try a similar shape of box that can stand up well on its own.
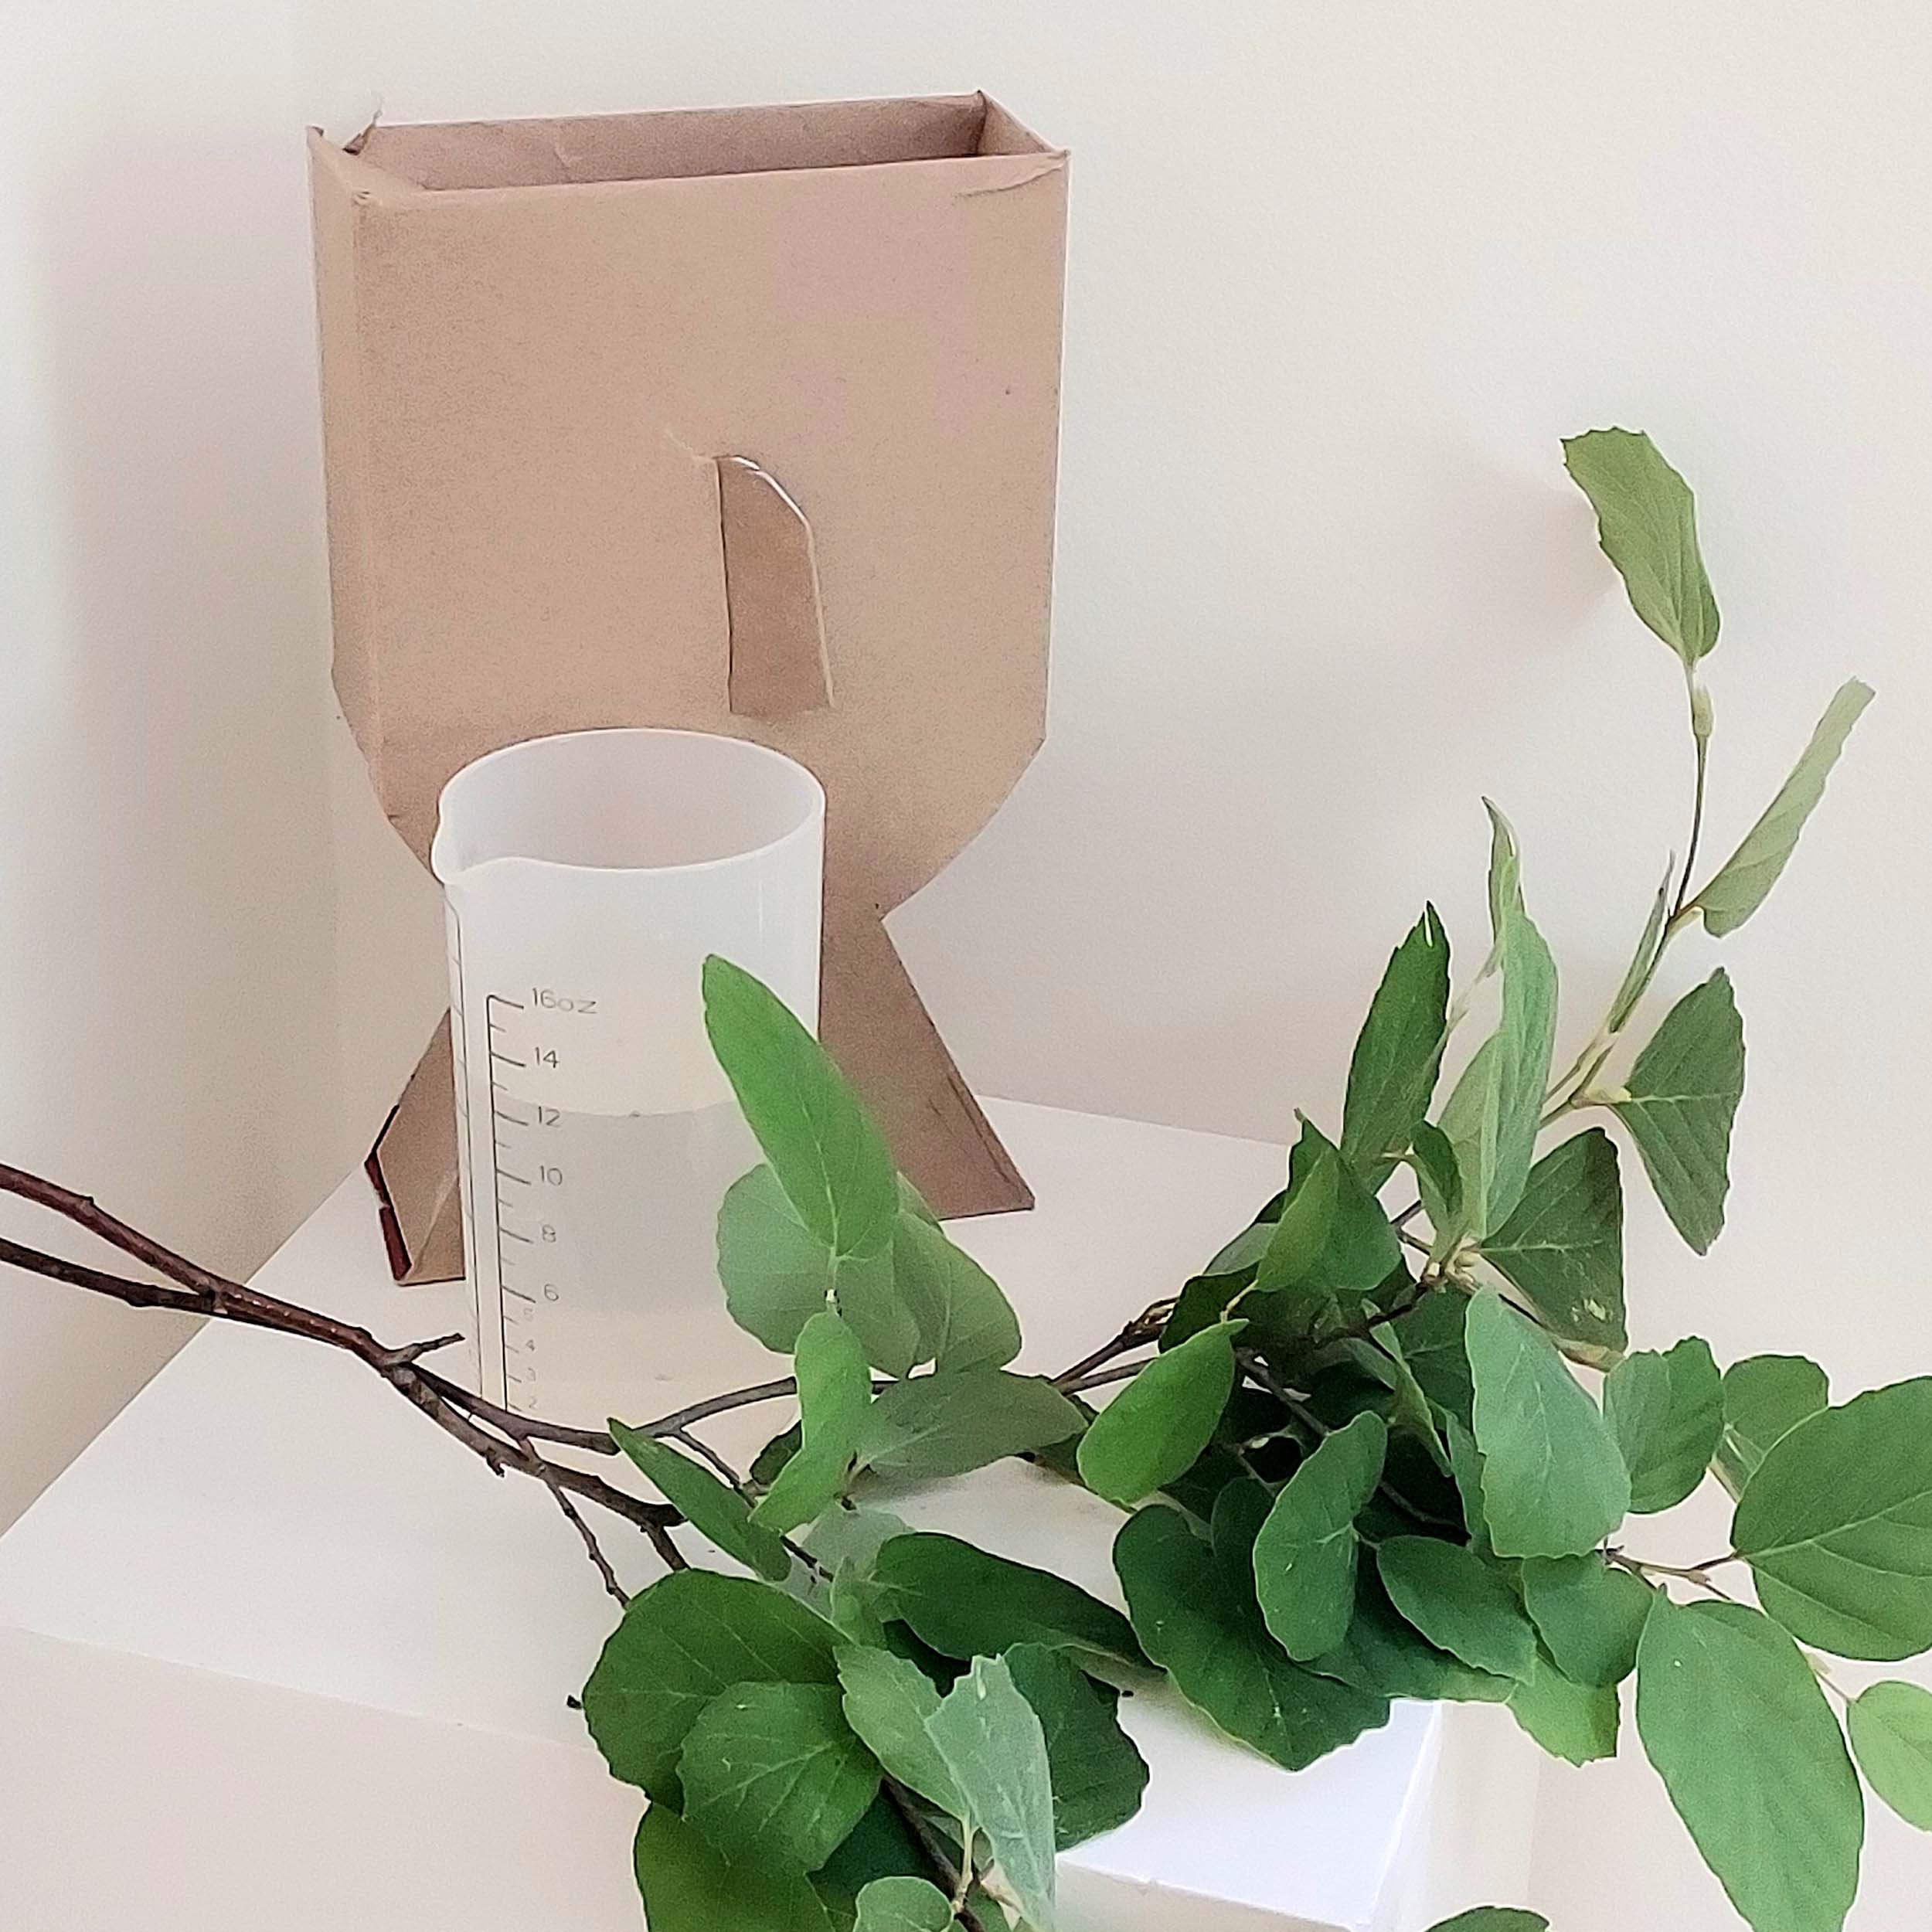
Head Vase
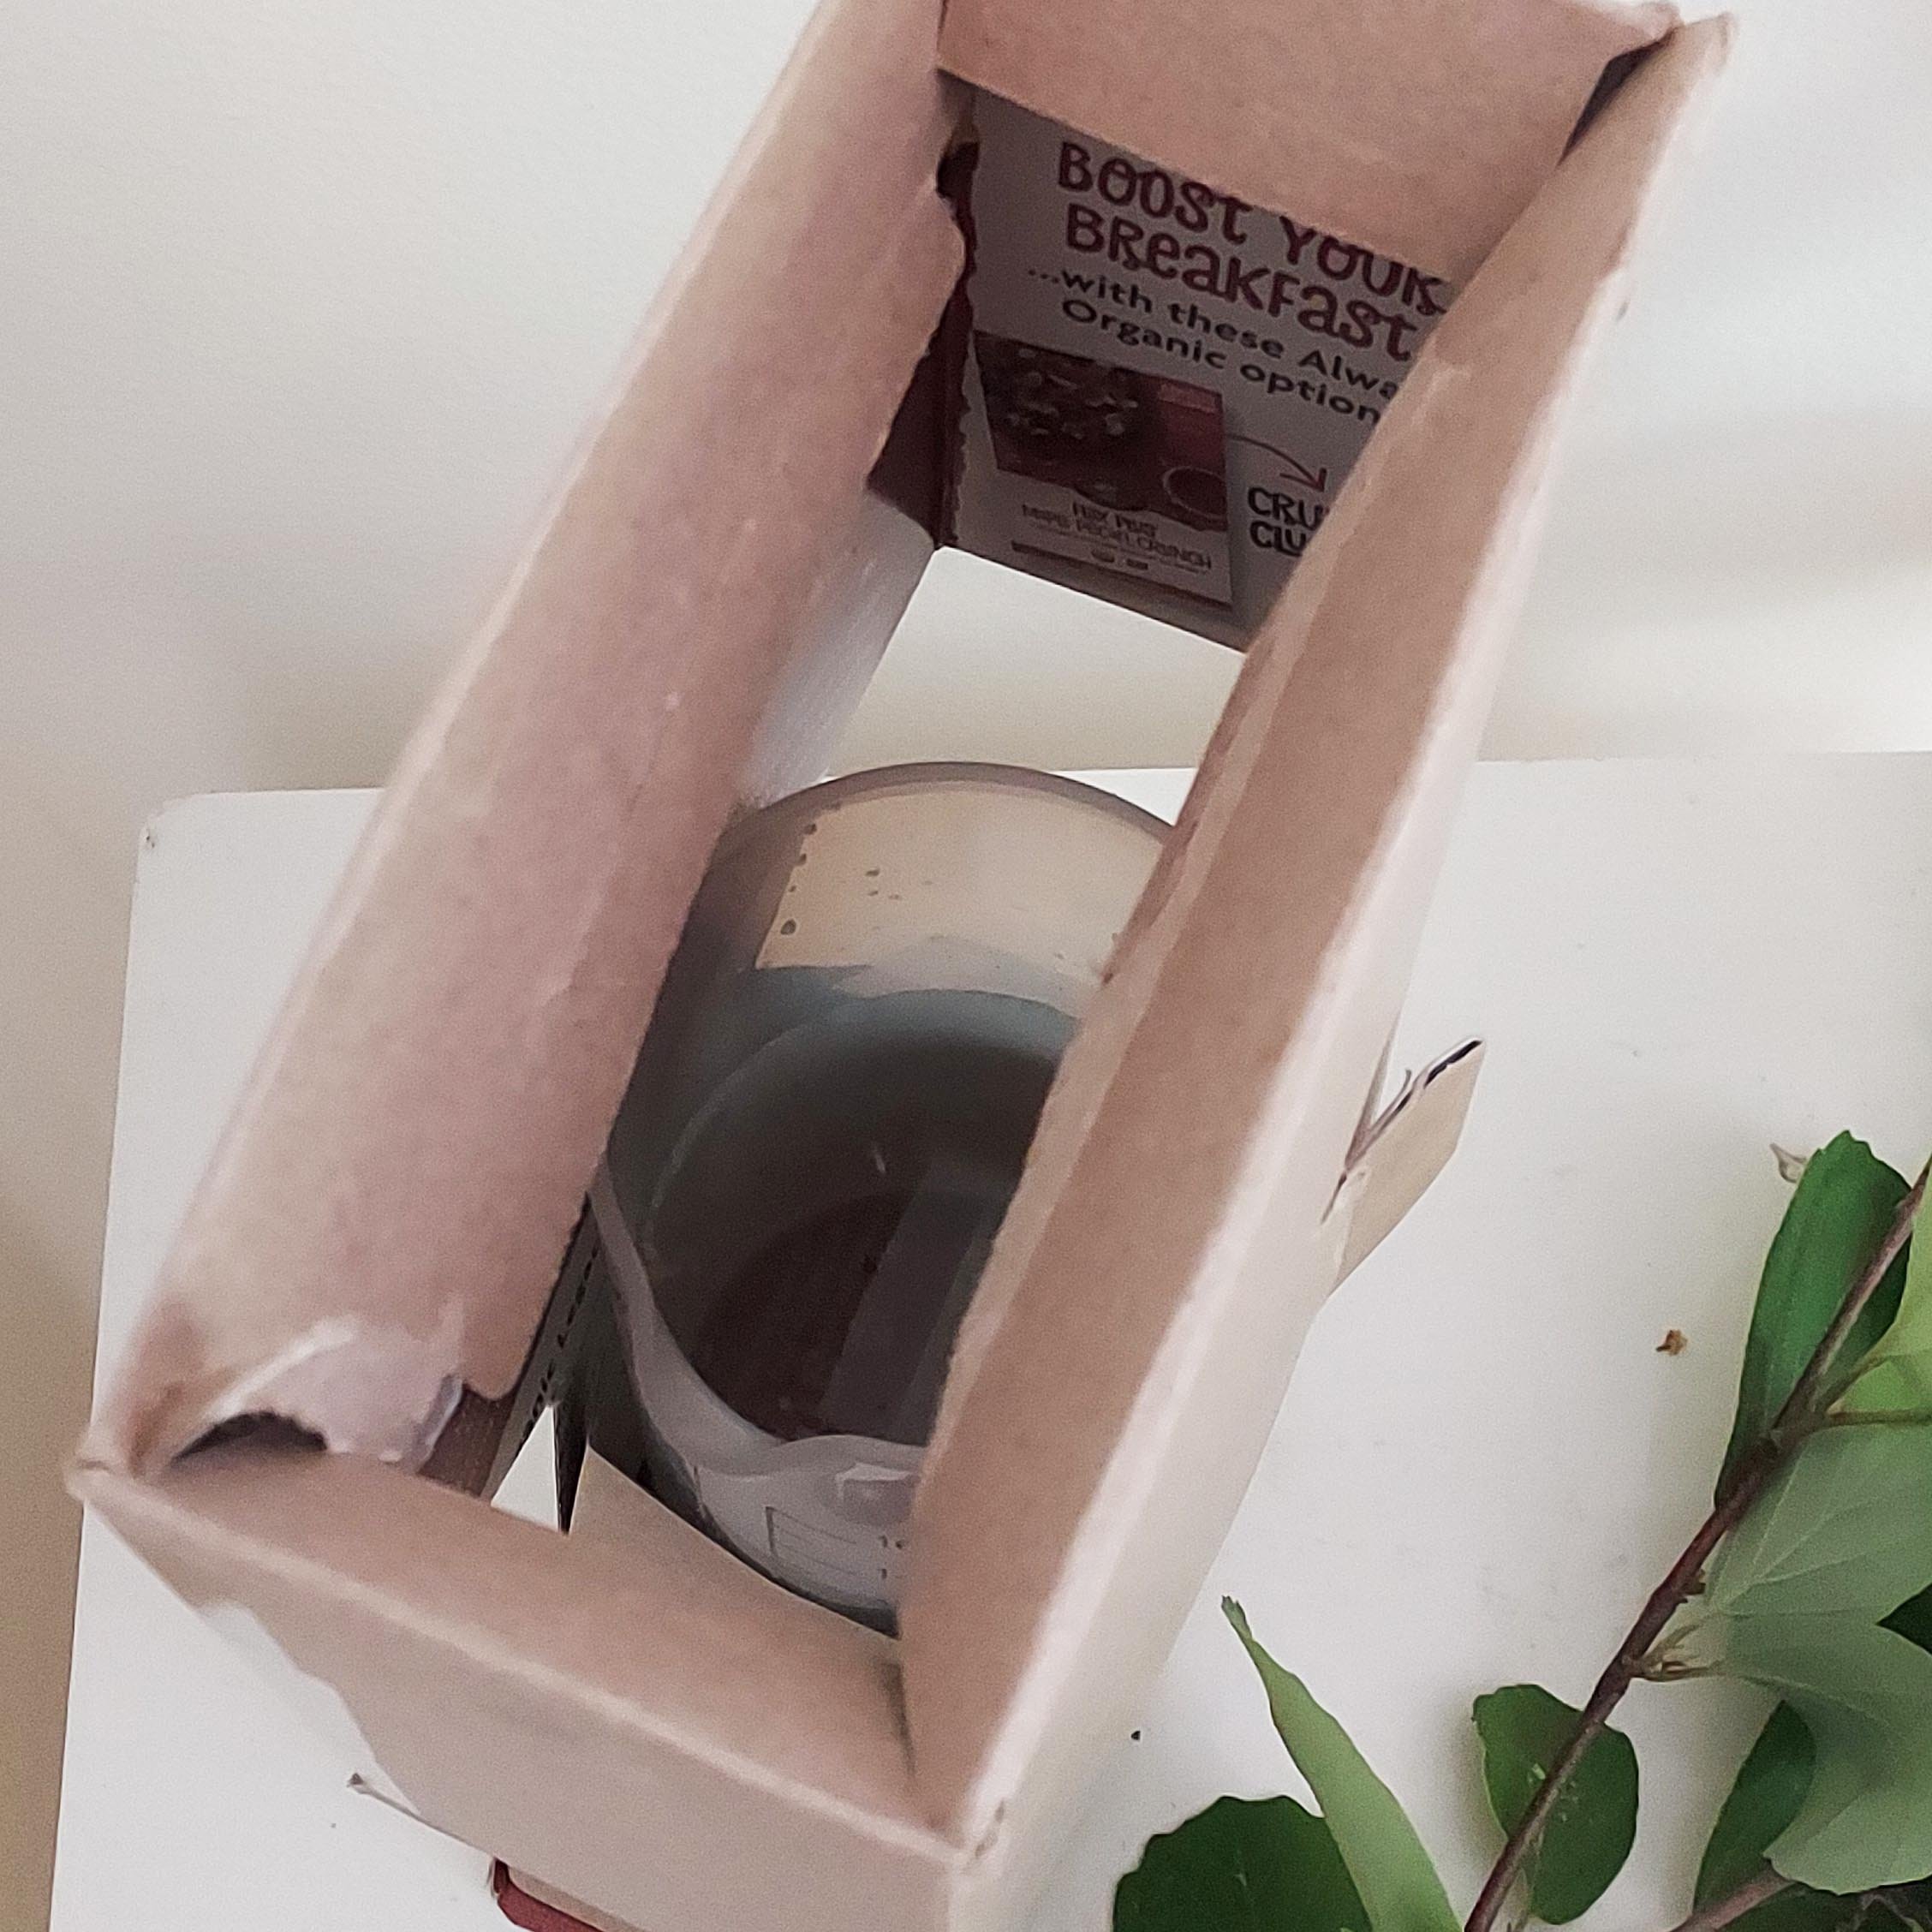
Find a jar or other narrow container that can fit inside the neck of your Box Head. Fill partway with water, open the top of your Head, and place the jar down inside the neck (for dry flowers or branches you won’t even need the water). Fold the top flaps down inside the box. Arrange your stems and admire.
Thank you for reading! If you have questions, please drop me a line.


