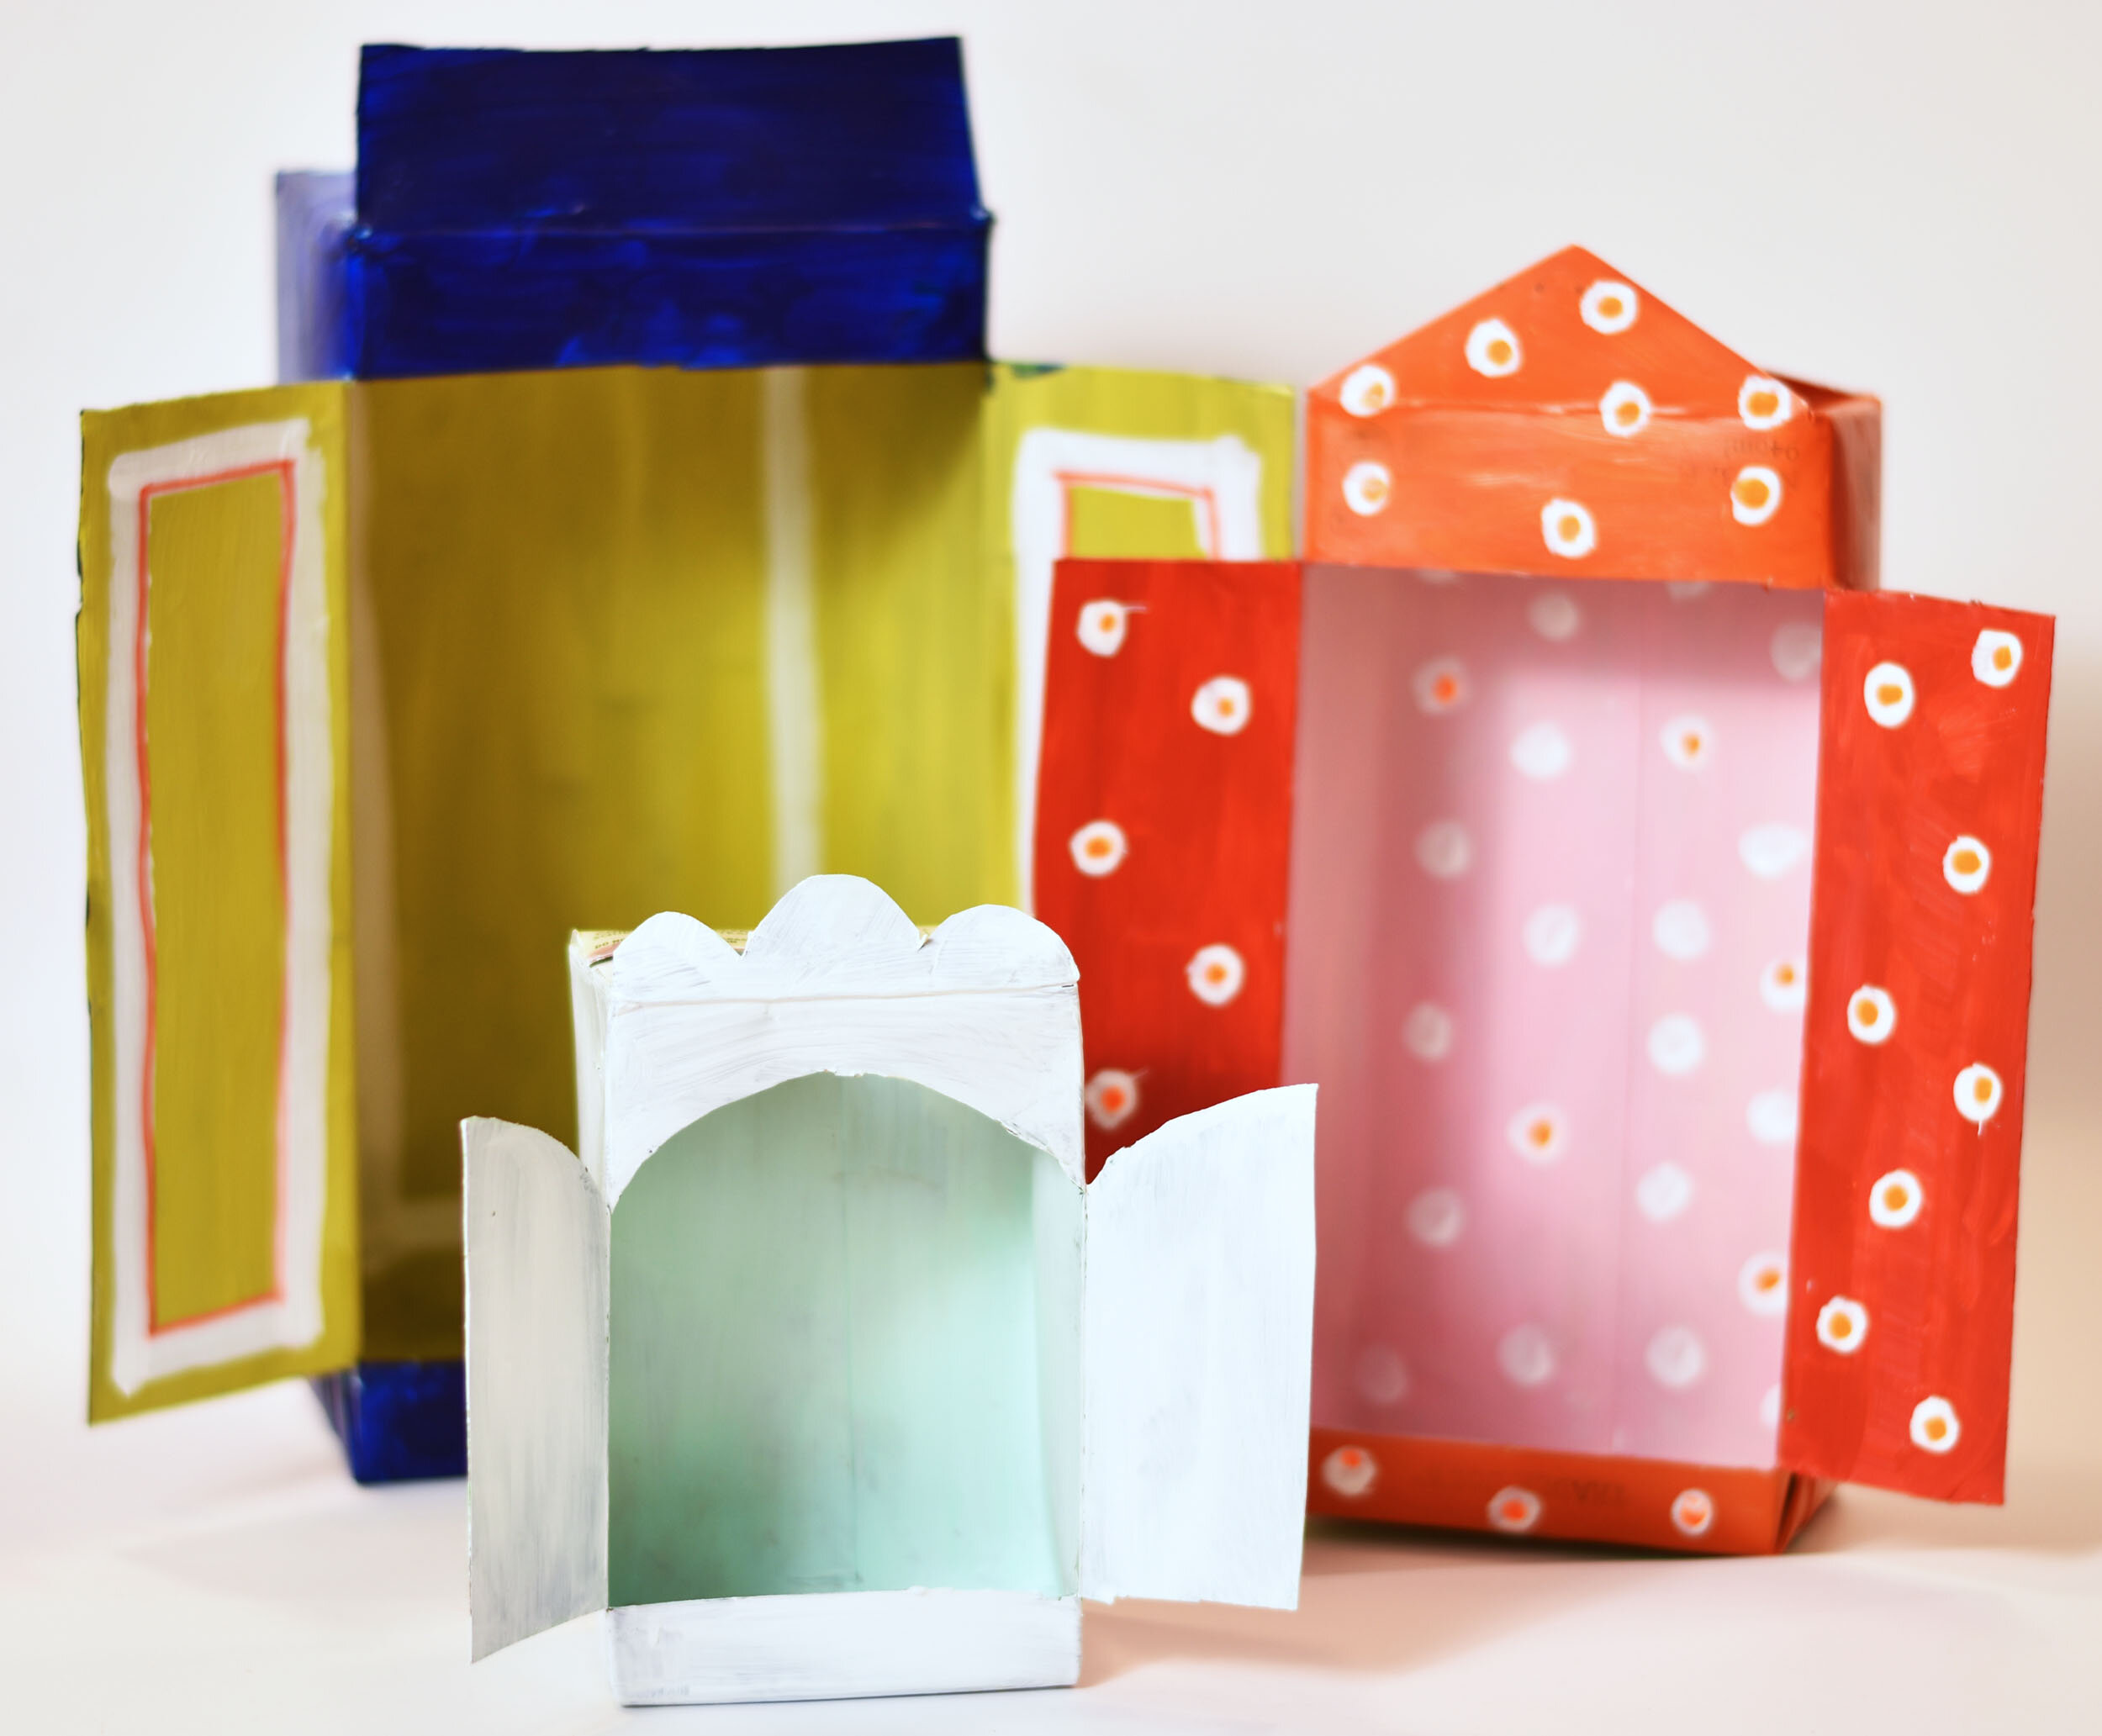

These tough water resistant Nichos will brighten up your garden, porch, or any sheltered outdoor space, and you can make one in under five minutes with just a pair of scissors. They’re beautiful empty or holding a weatherproof figurine for instant garden glamour.
Beautiful enough with their factory printed colors, they stand up to acrylic paints if you feel like adding more color. Hang them on a wall or tree, set on a table, with a pinecone or an LED candle inside…you’ll find lots of ways to love these awesome Outdoor Nichos.
Made in minutes out of empty Tetrapak boxes
Works with any size box, from the mega 2-liter down to little juice boxes.
Totally unique and super stylish.
Another way to use these Nichos: in the bathroom. Splashes and steam won’t hurt them. Hang from tile using suction cups, and they can be home to bath toys for kids or LED candles to create a grownup spa experience.

Steps At a Glance:

Ready? Here’s how:
1

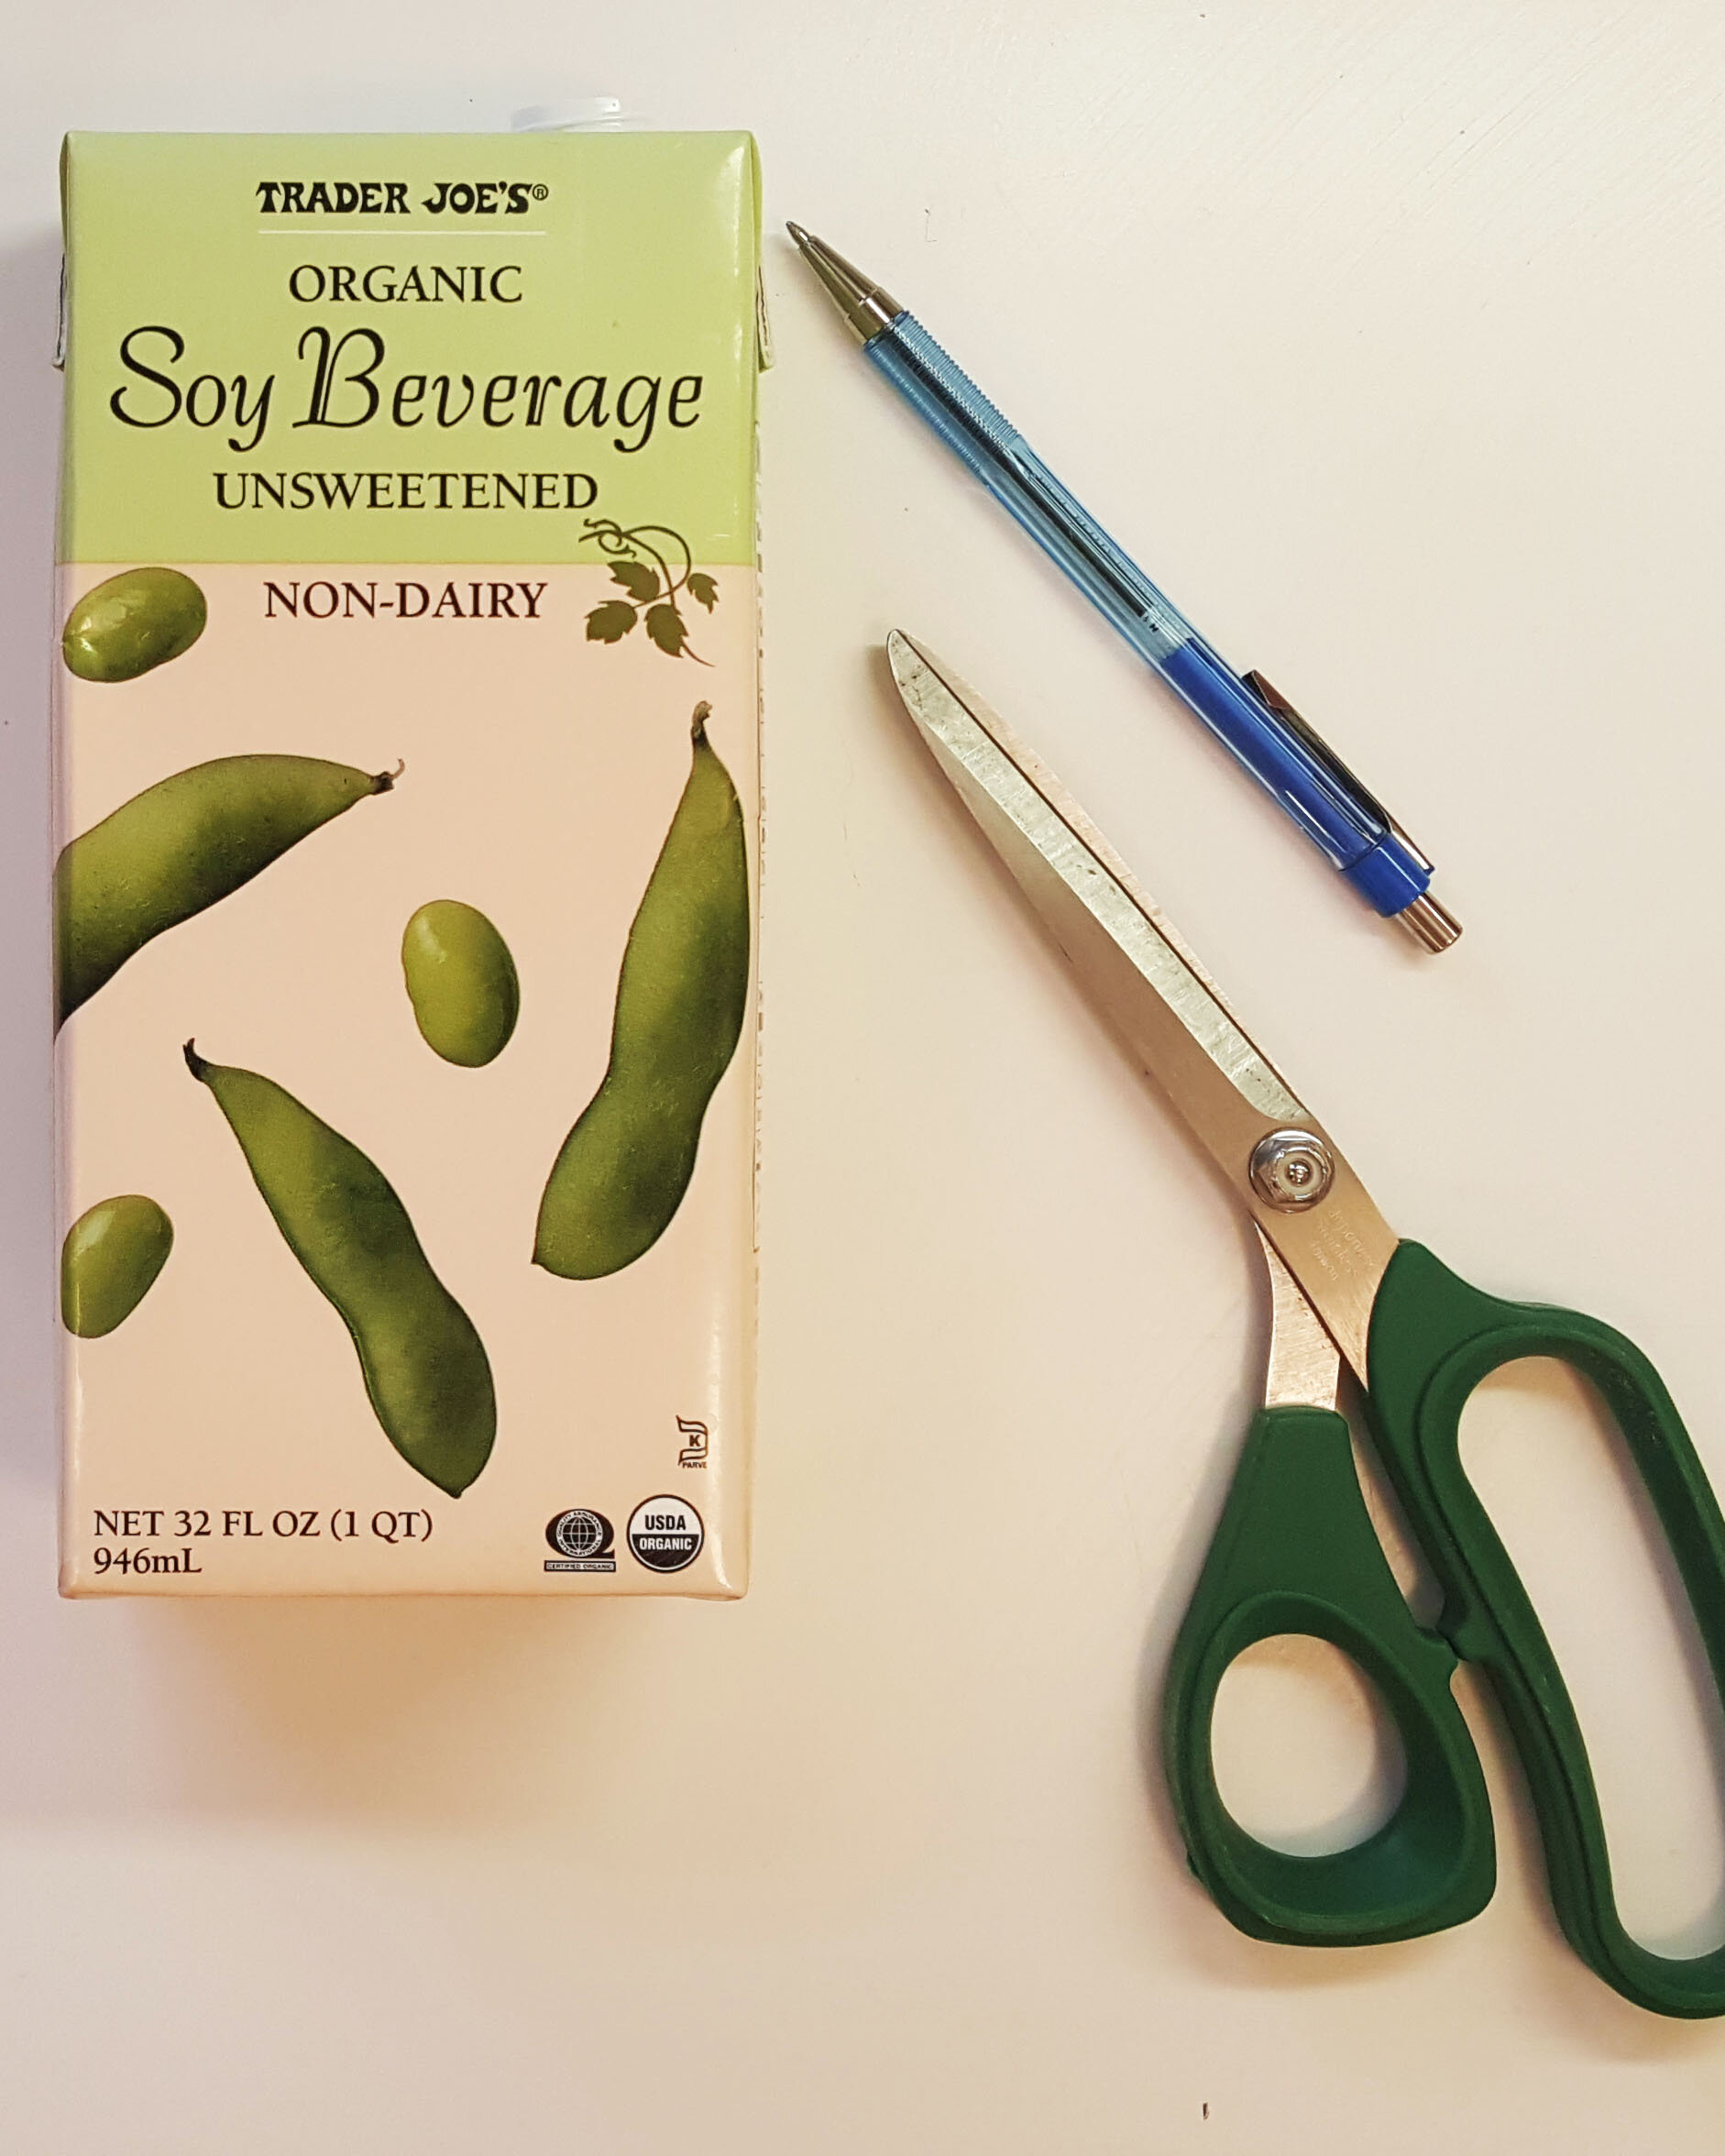
You’ll need:
an empty brick box
scissors
optional: ball point pen
optional: acrylic paints for decorating the nicho
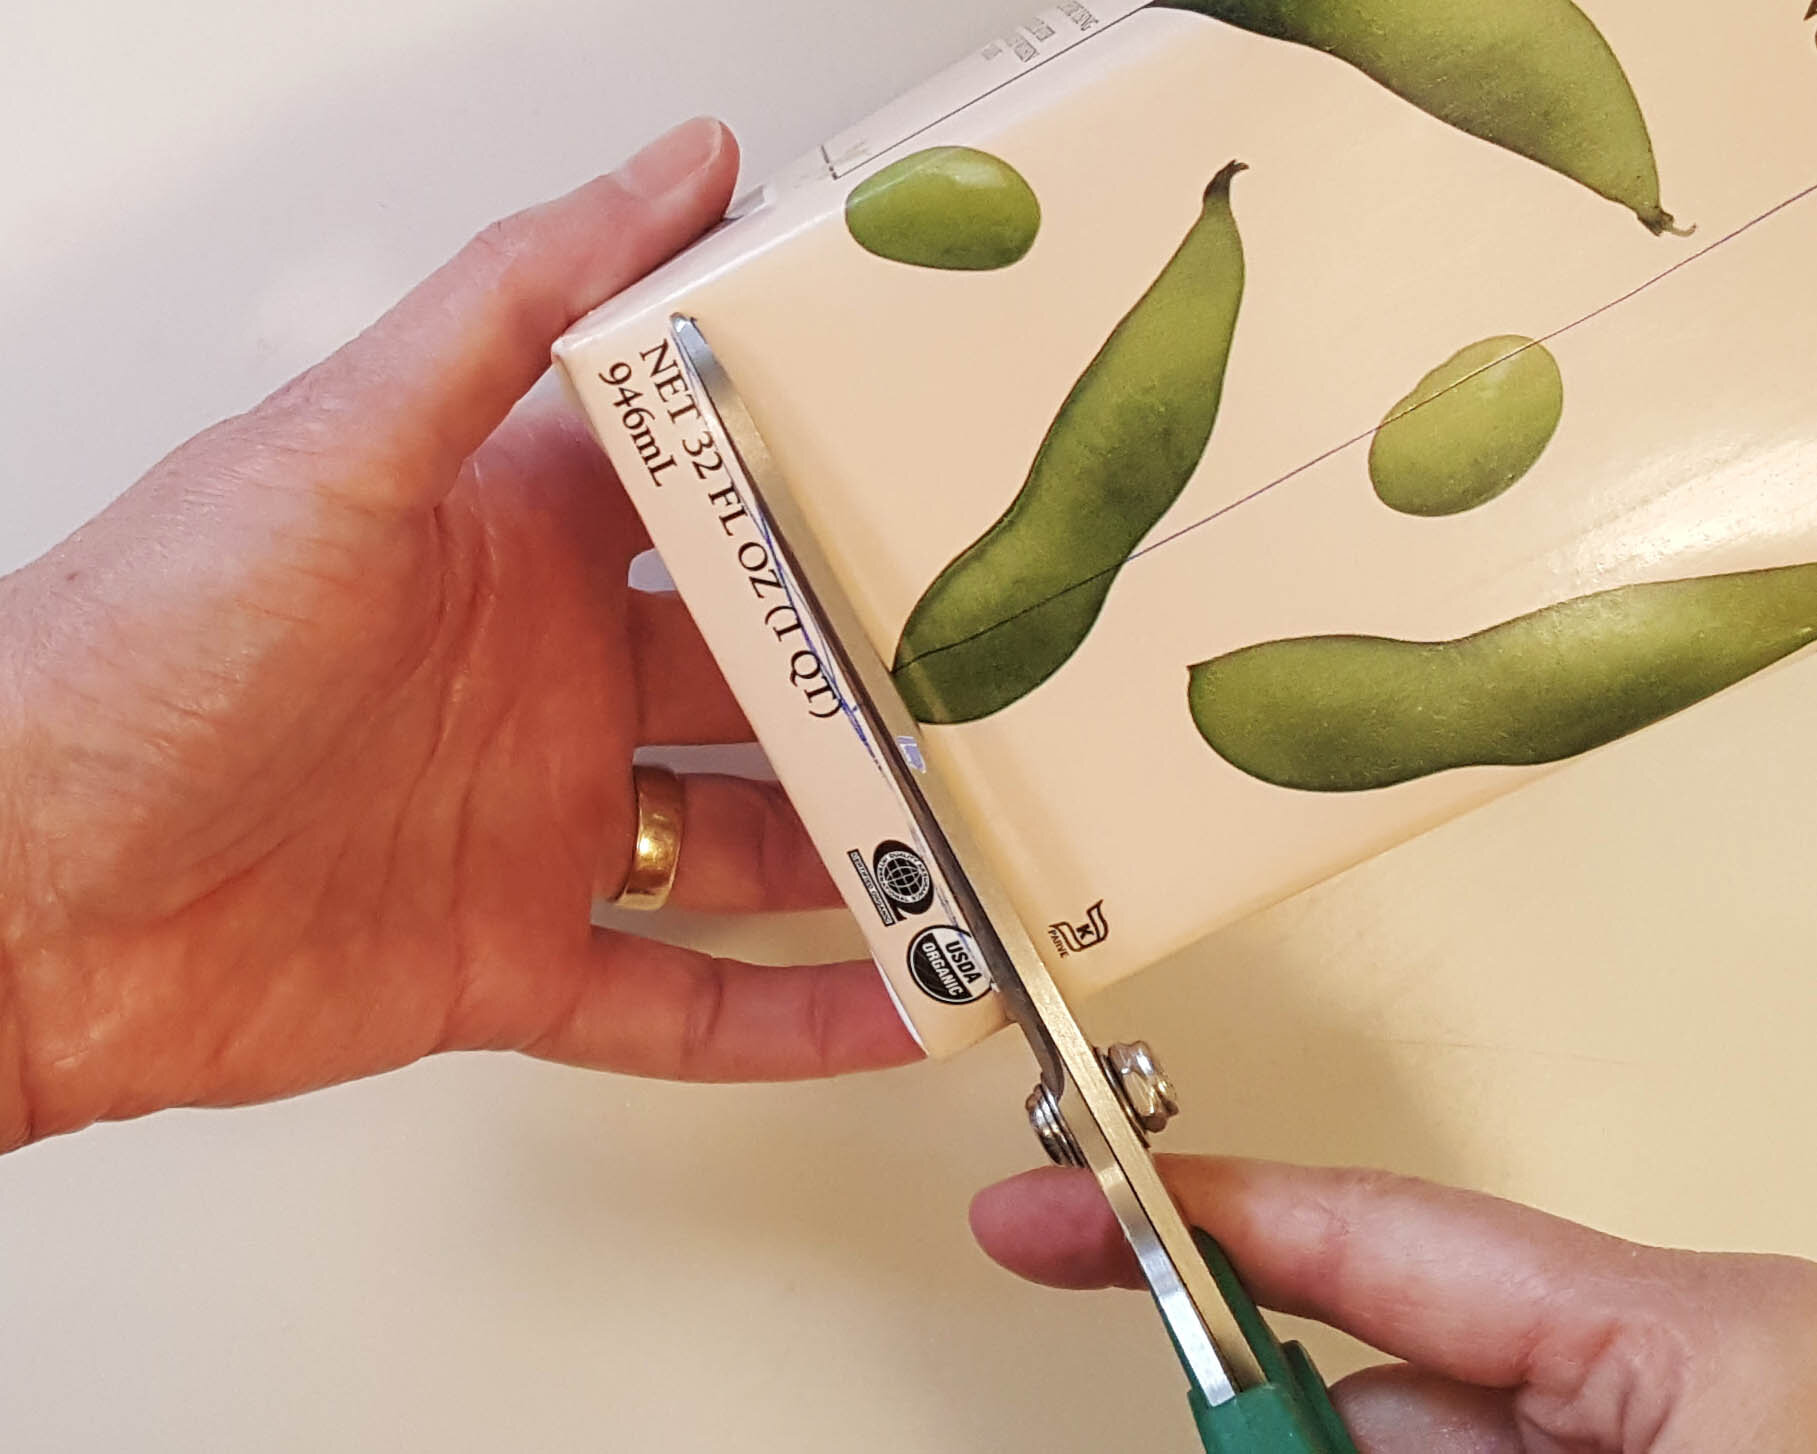
2
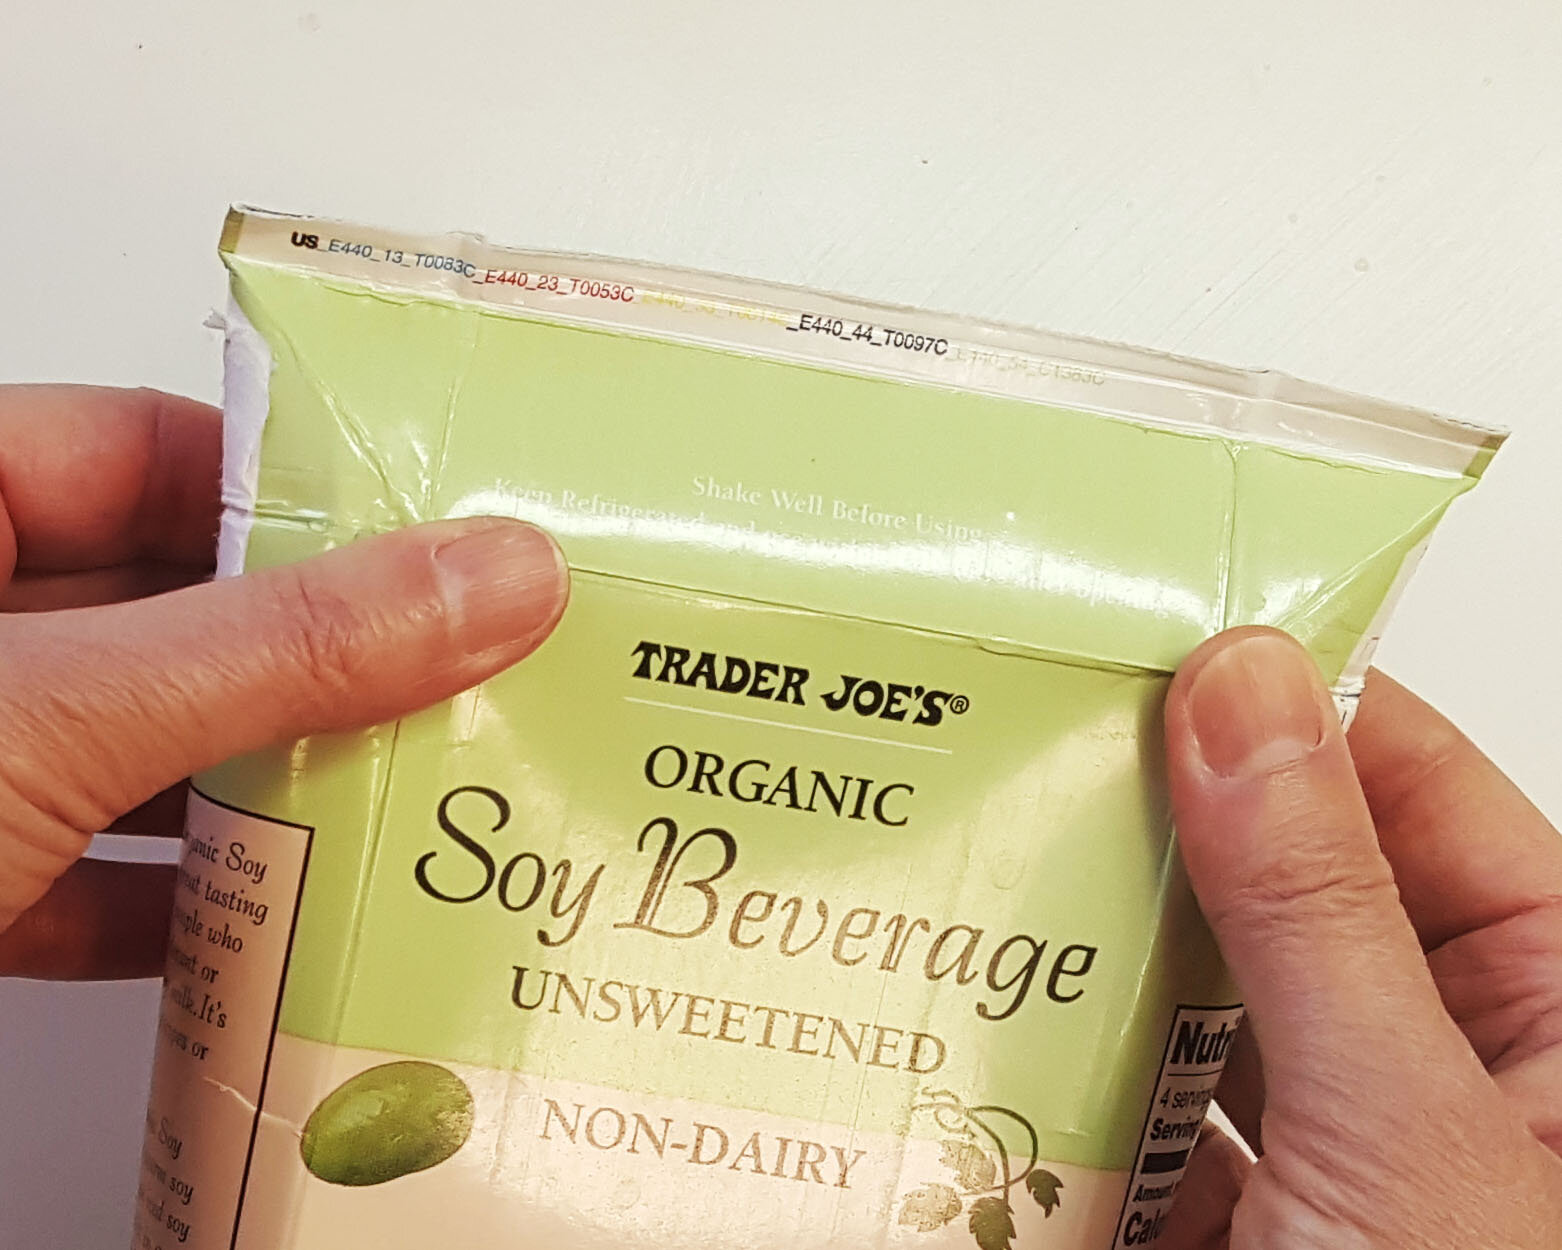
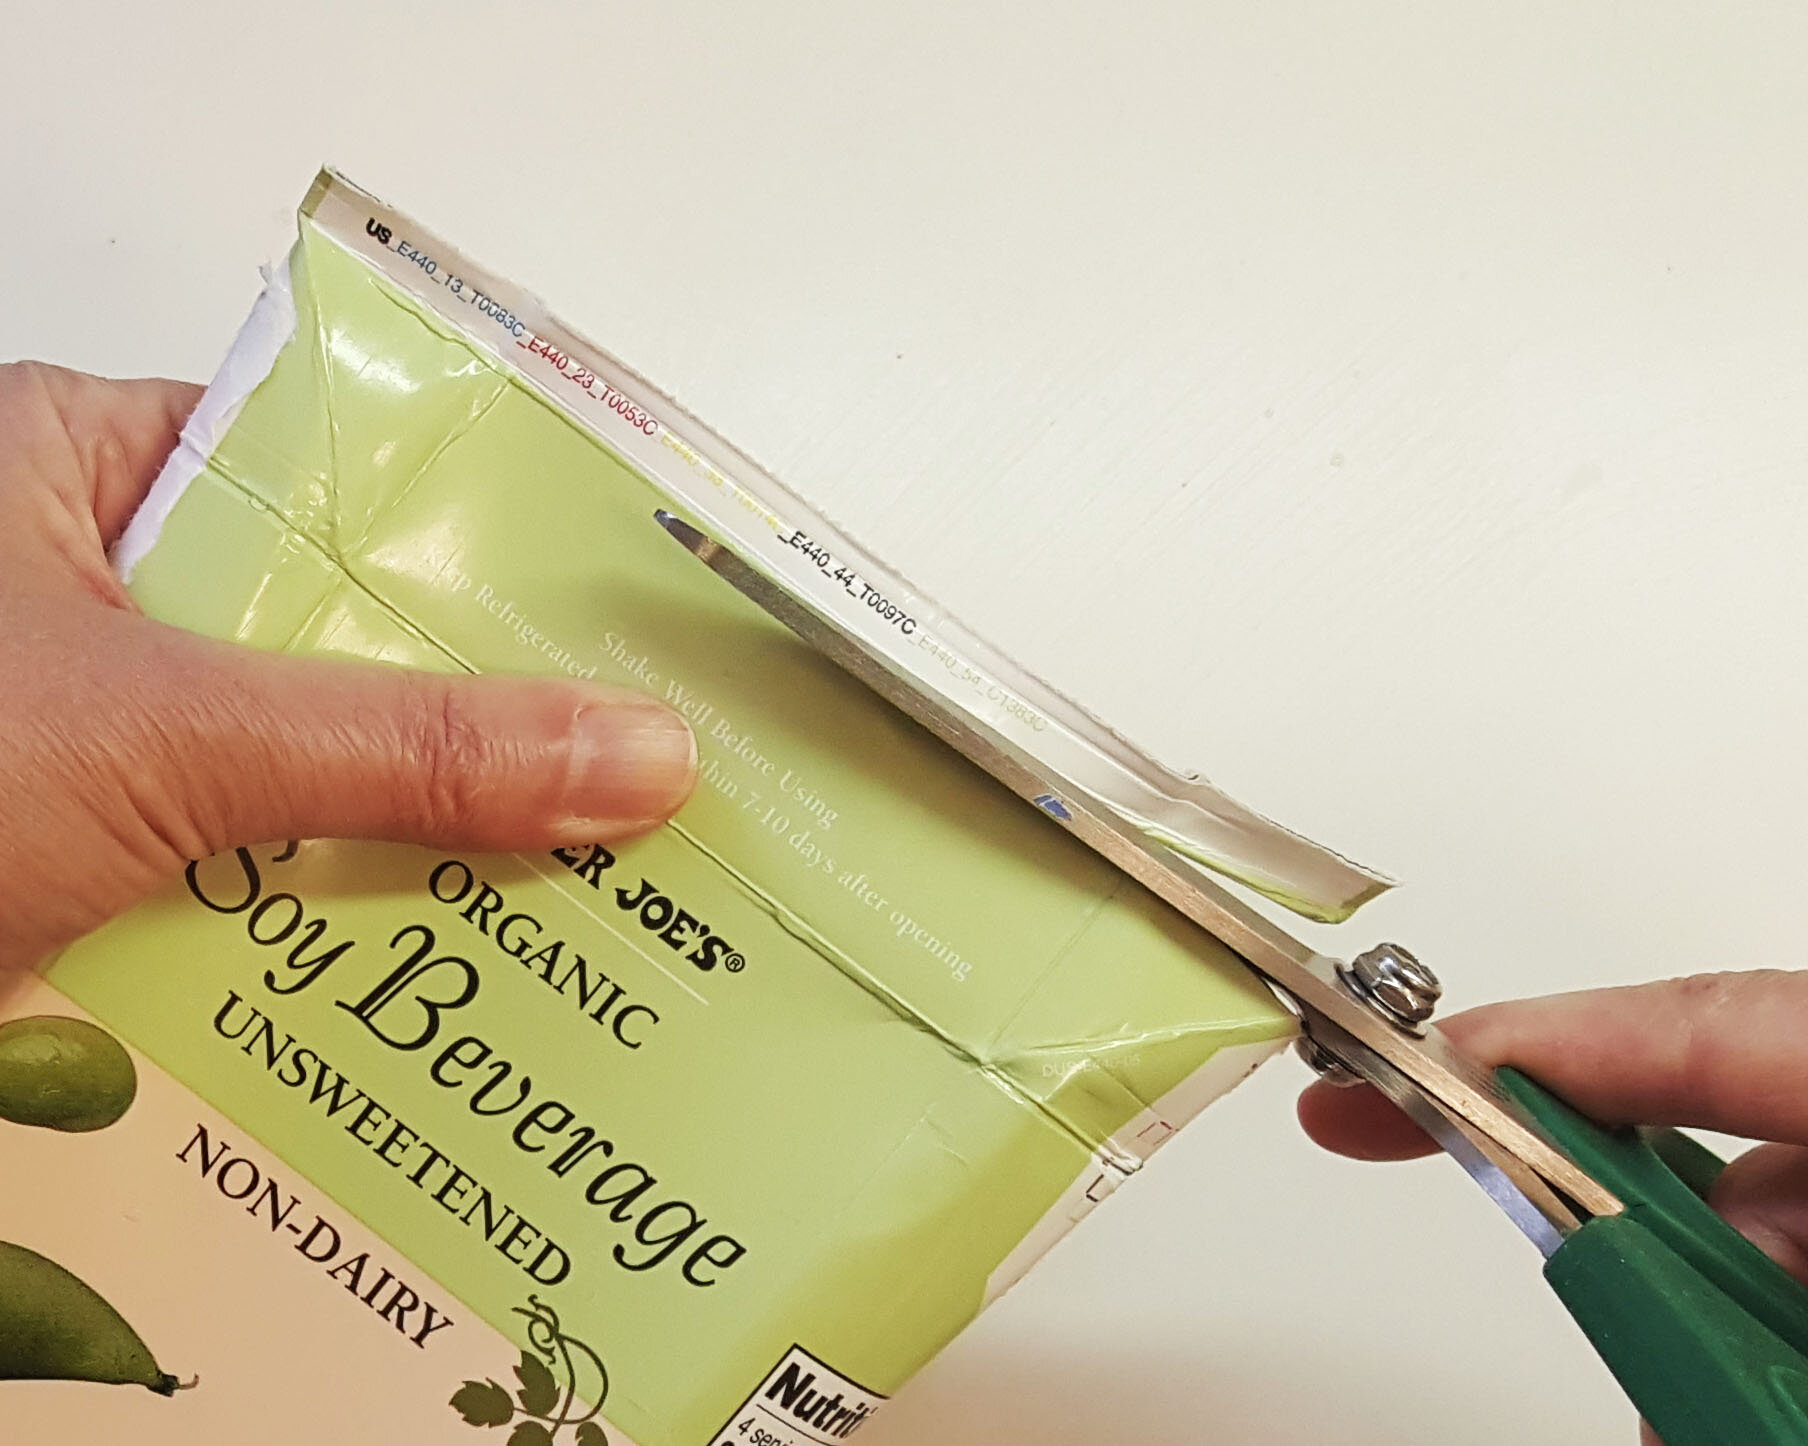
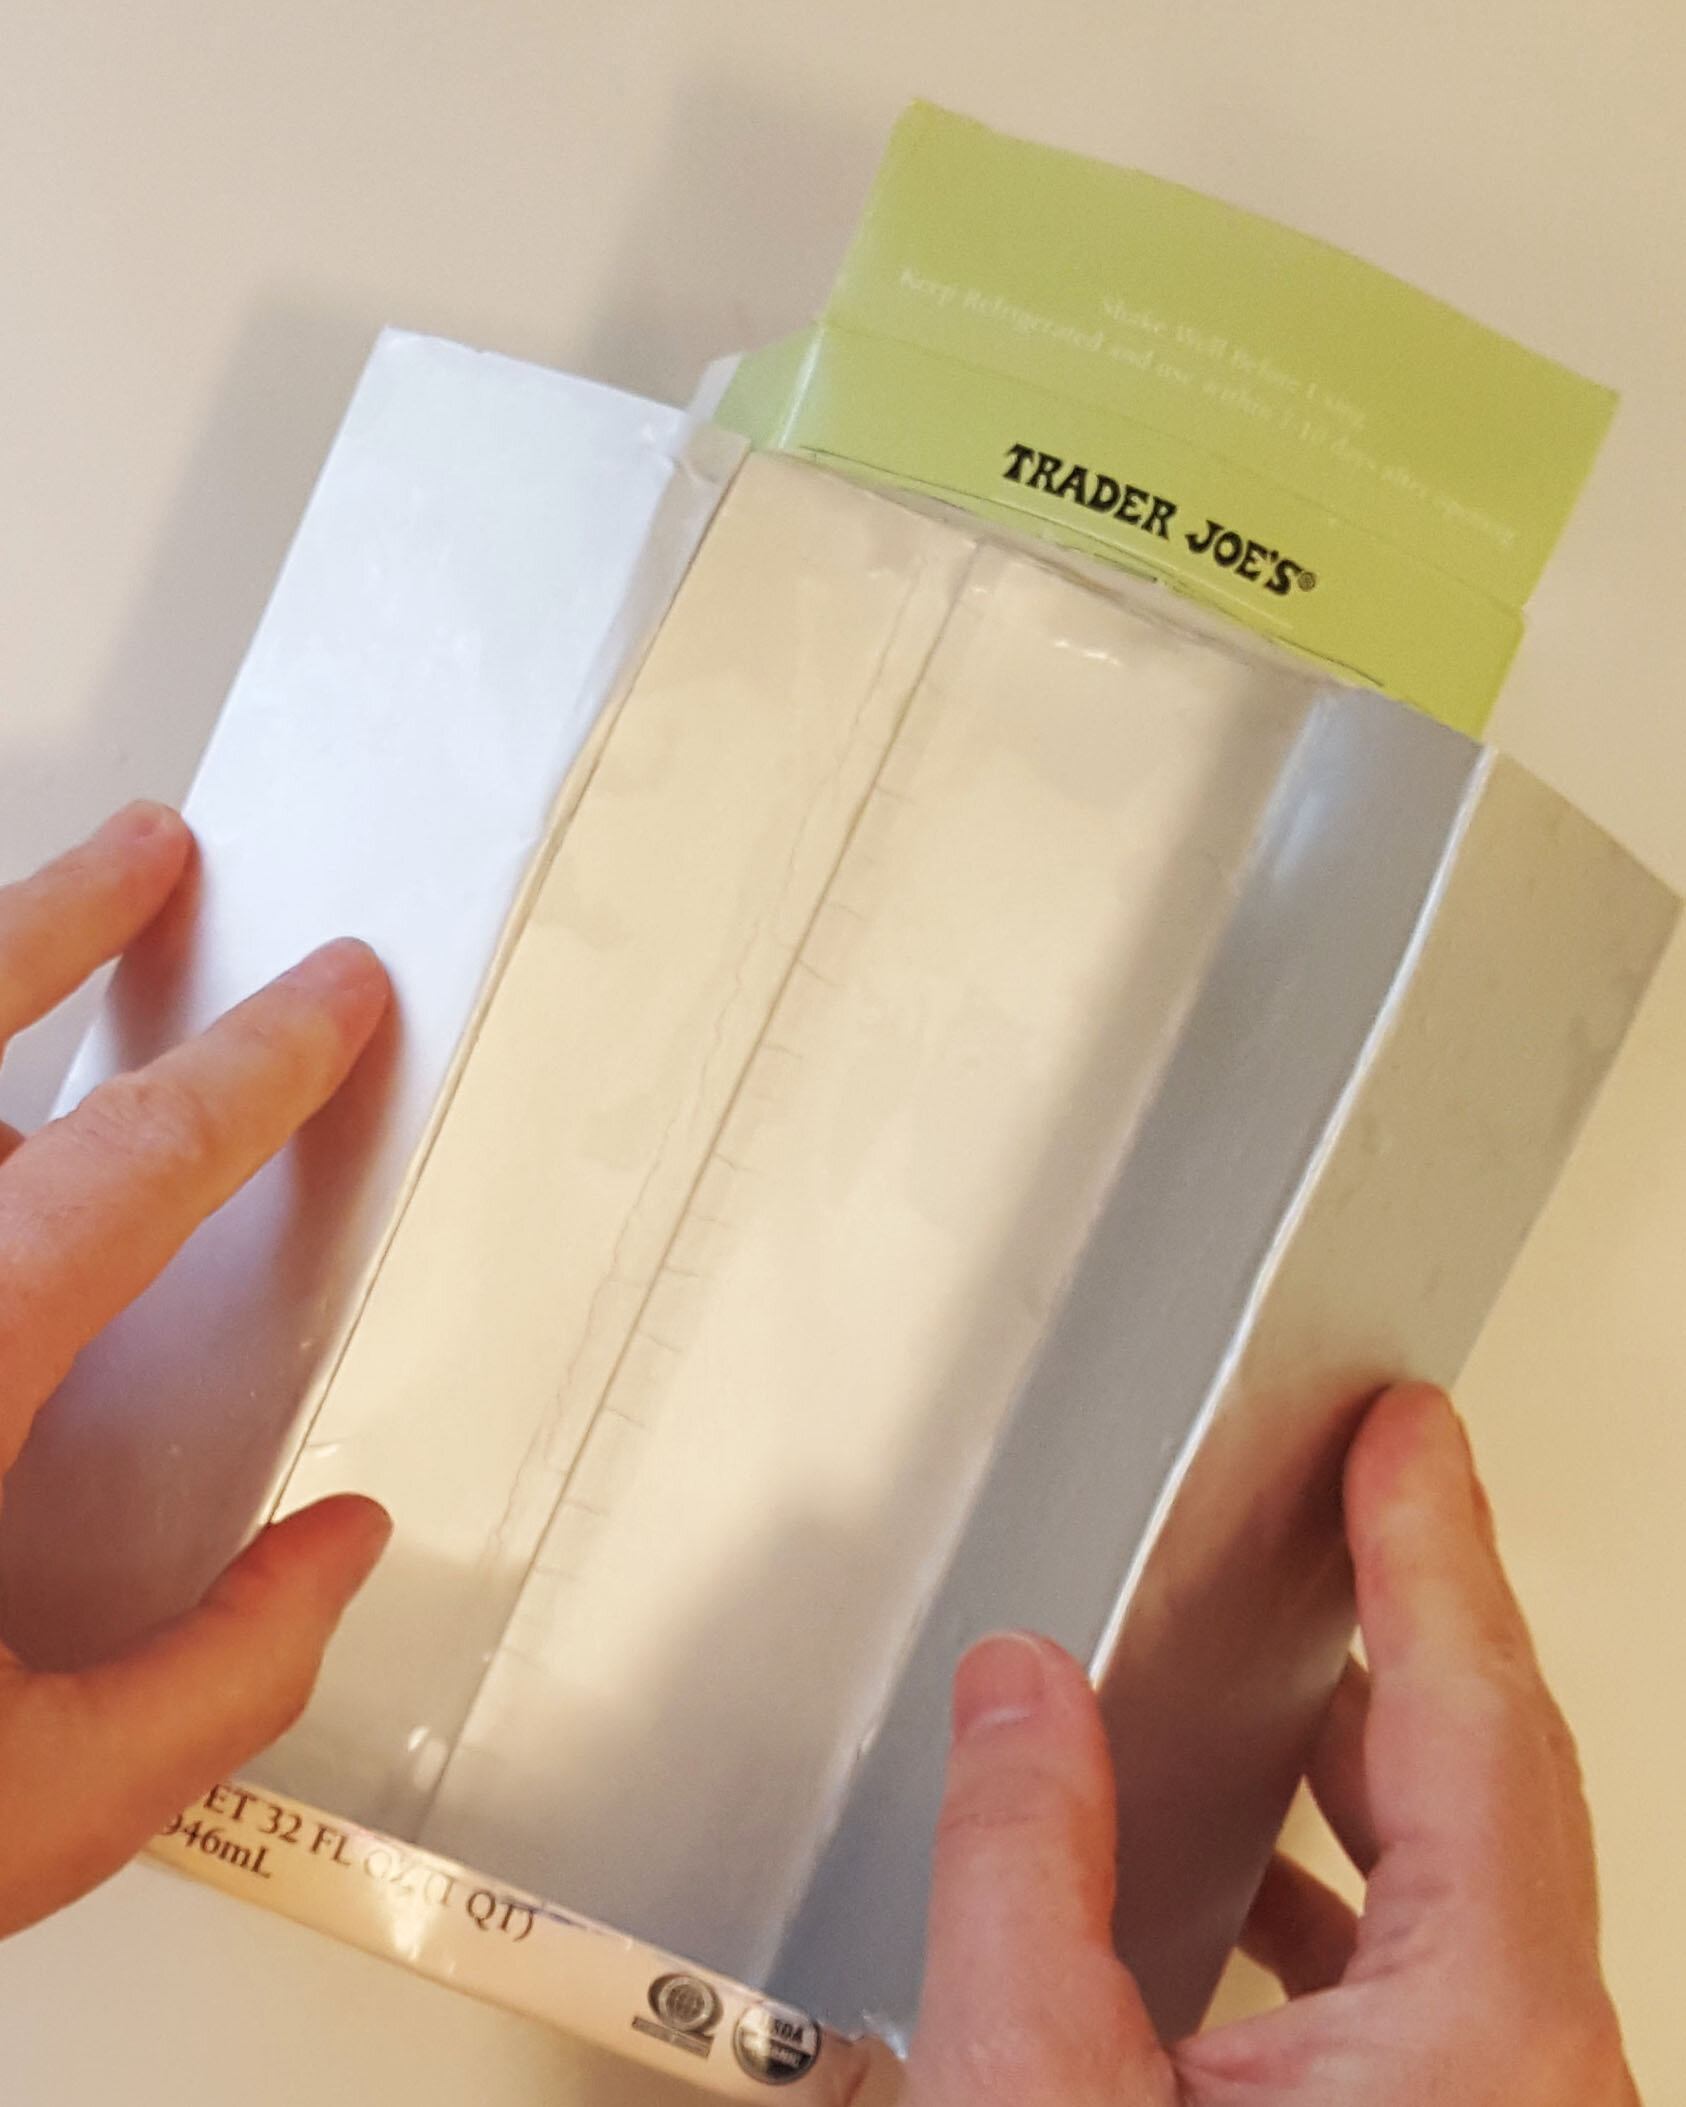
Pull up the top corner flaps of the box and squeeze the corners to flatten the top seam.
Cut off the top seam with scissors.
Give the inside of the box a good rinse.
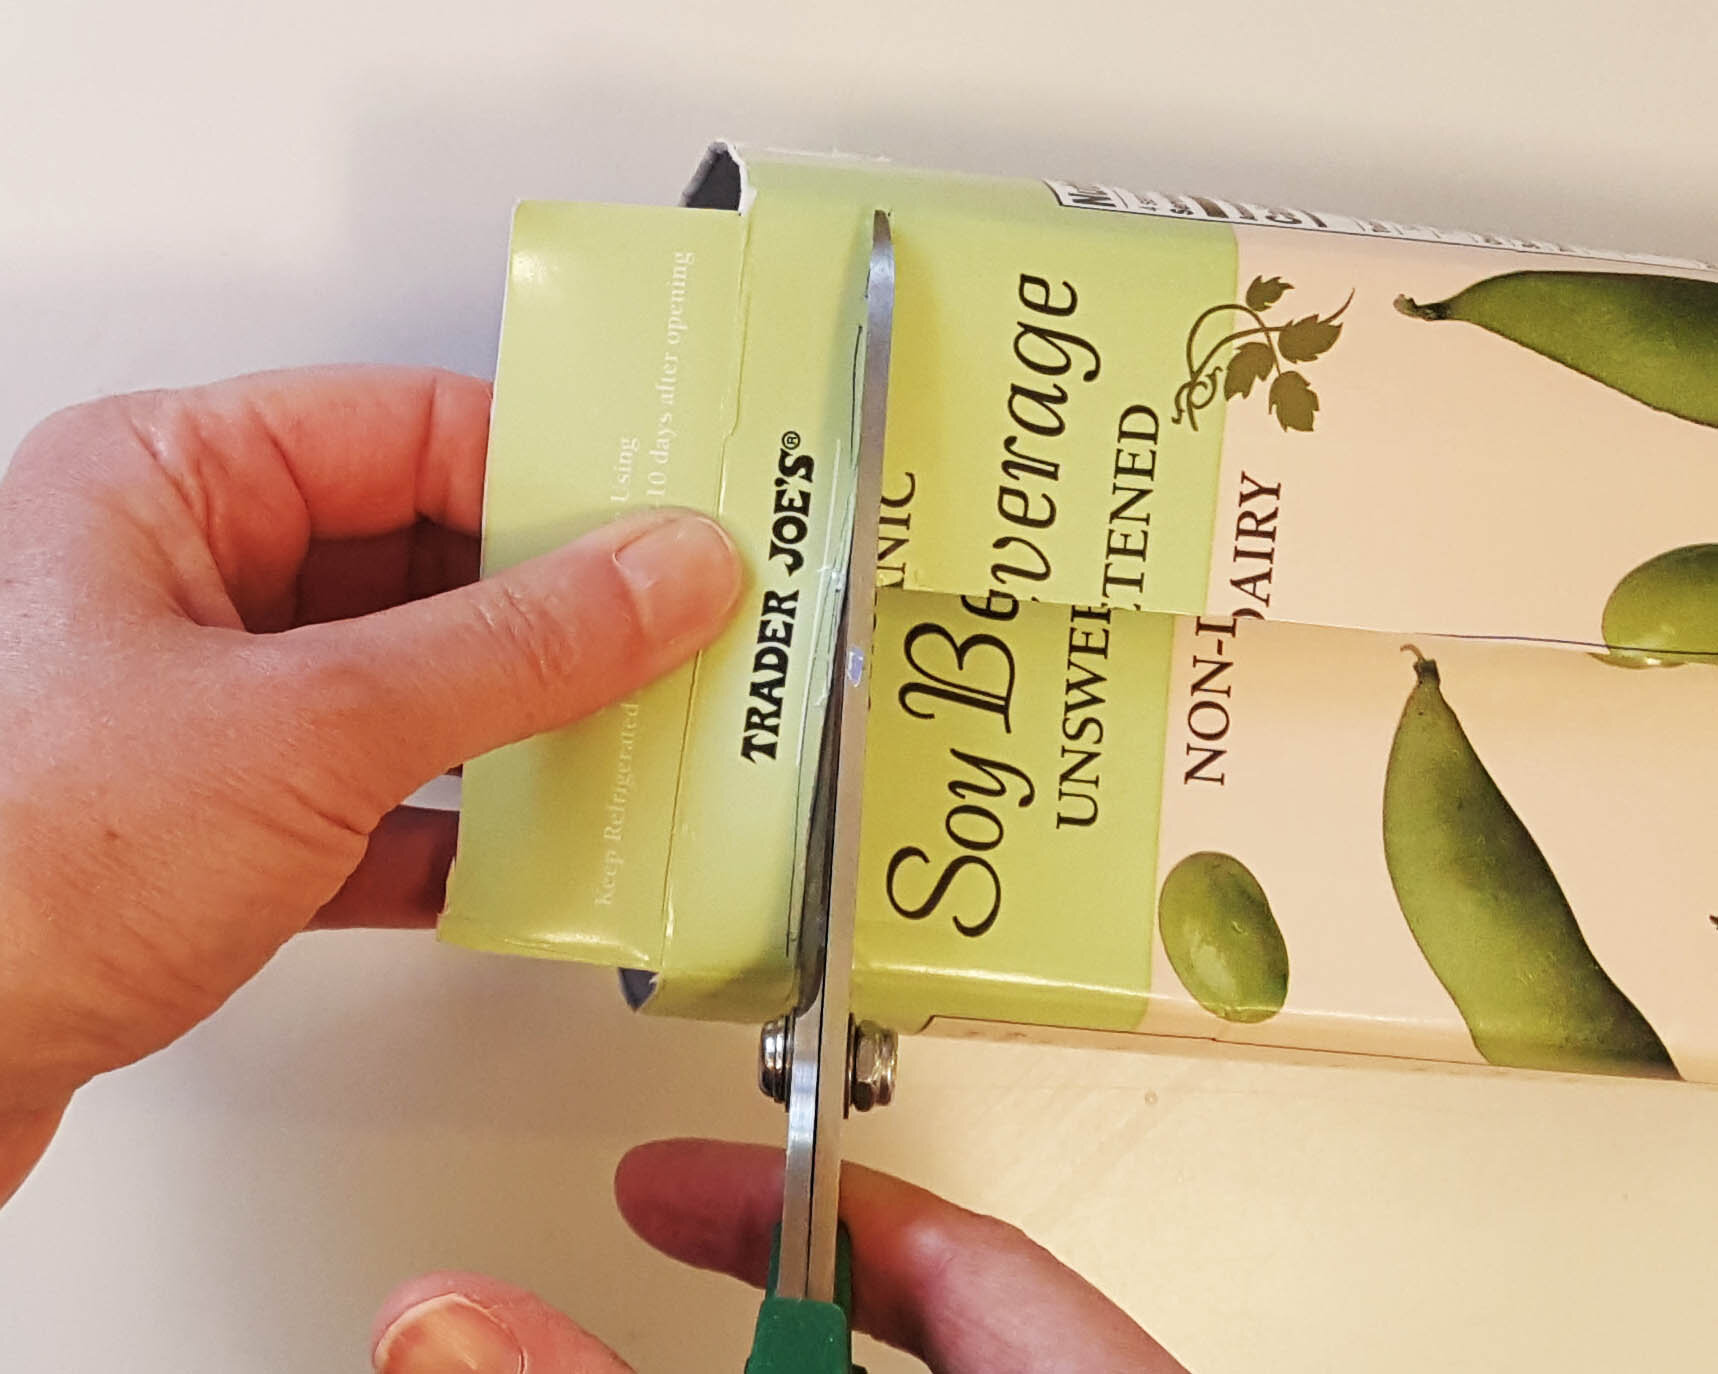
3
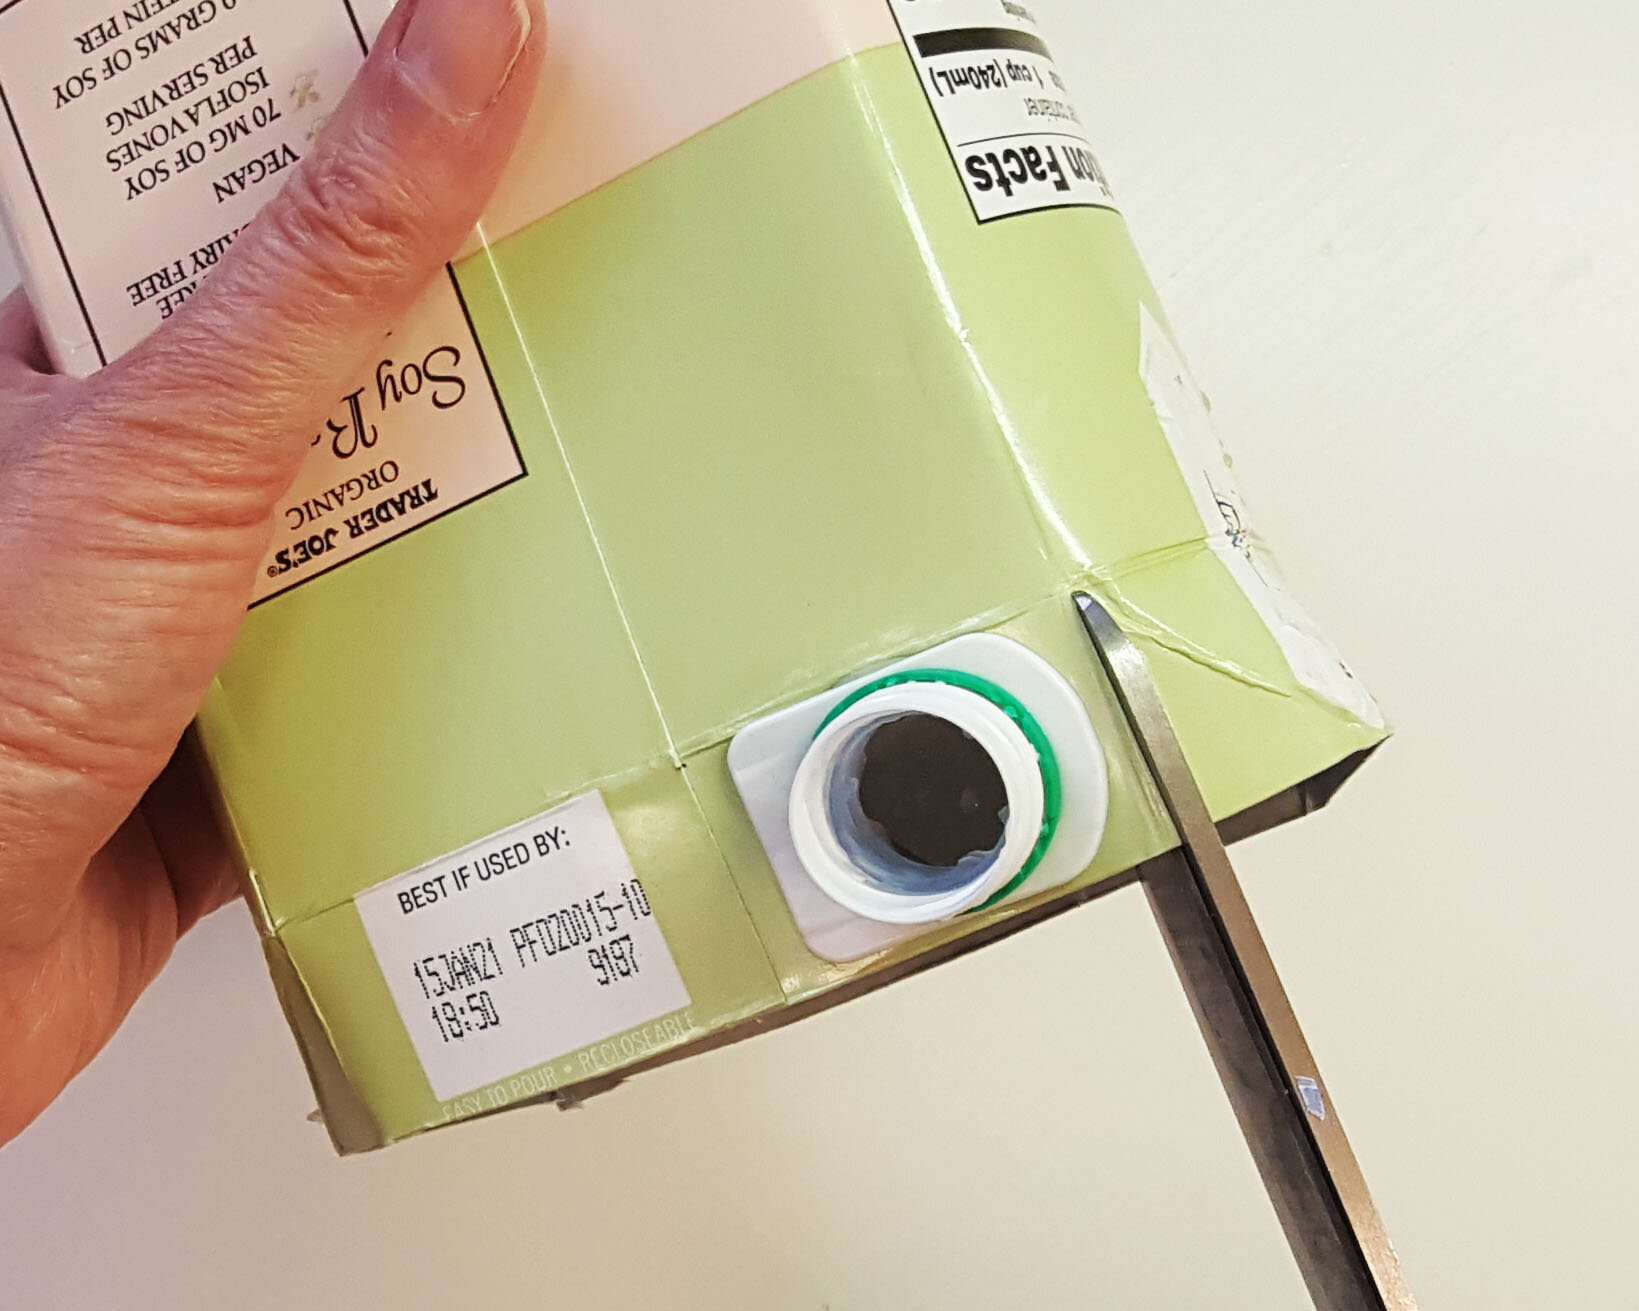
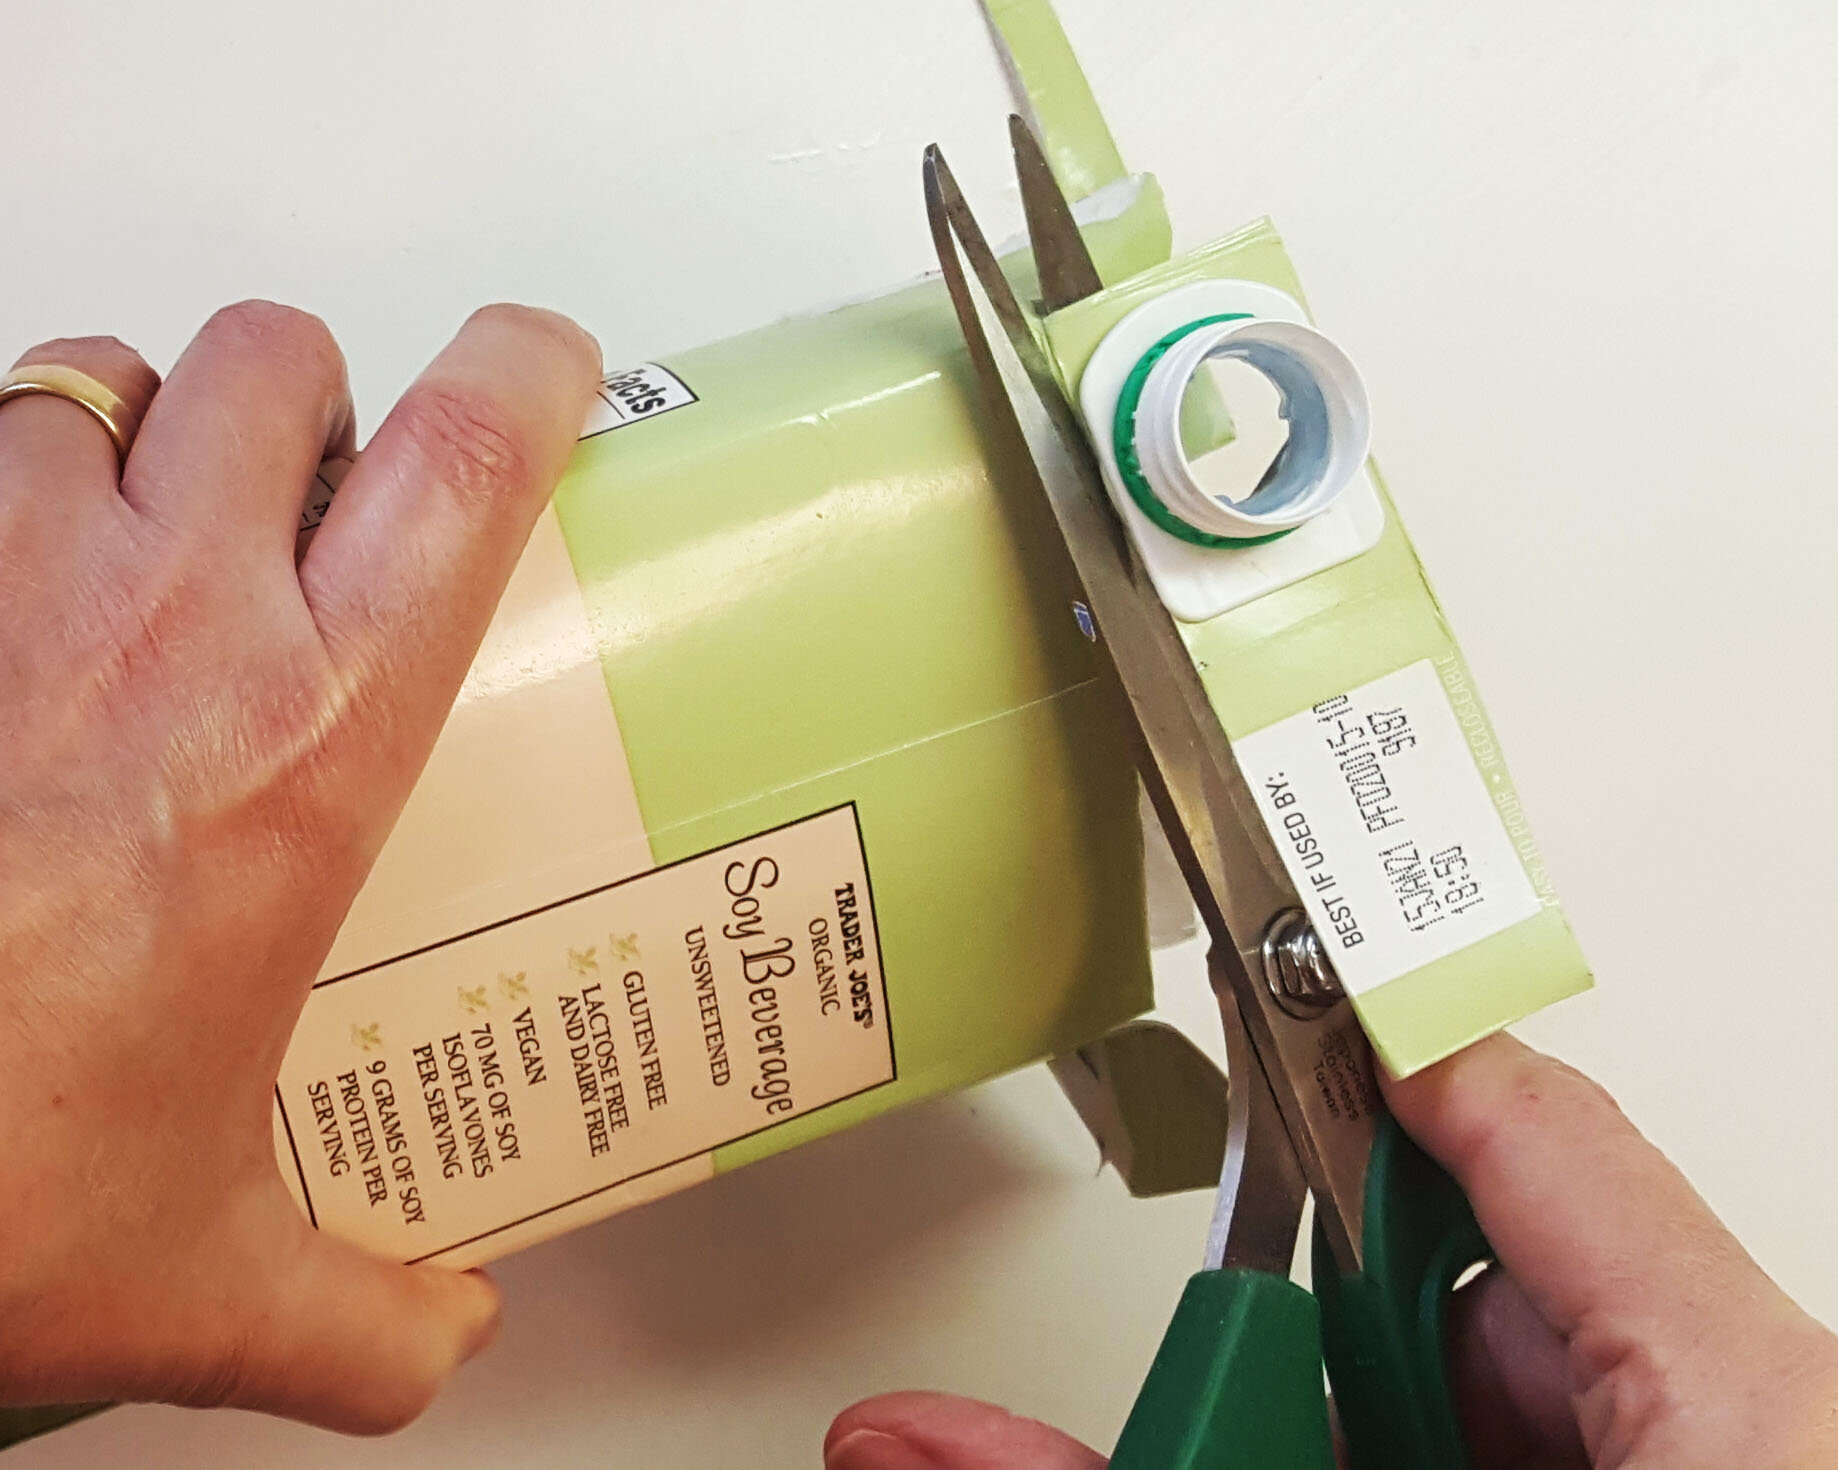
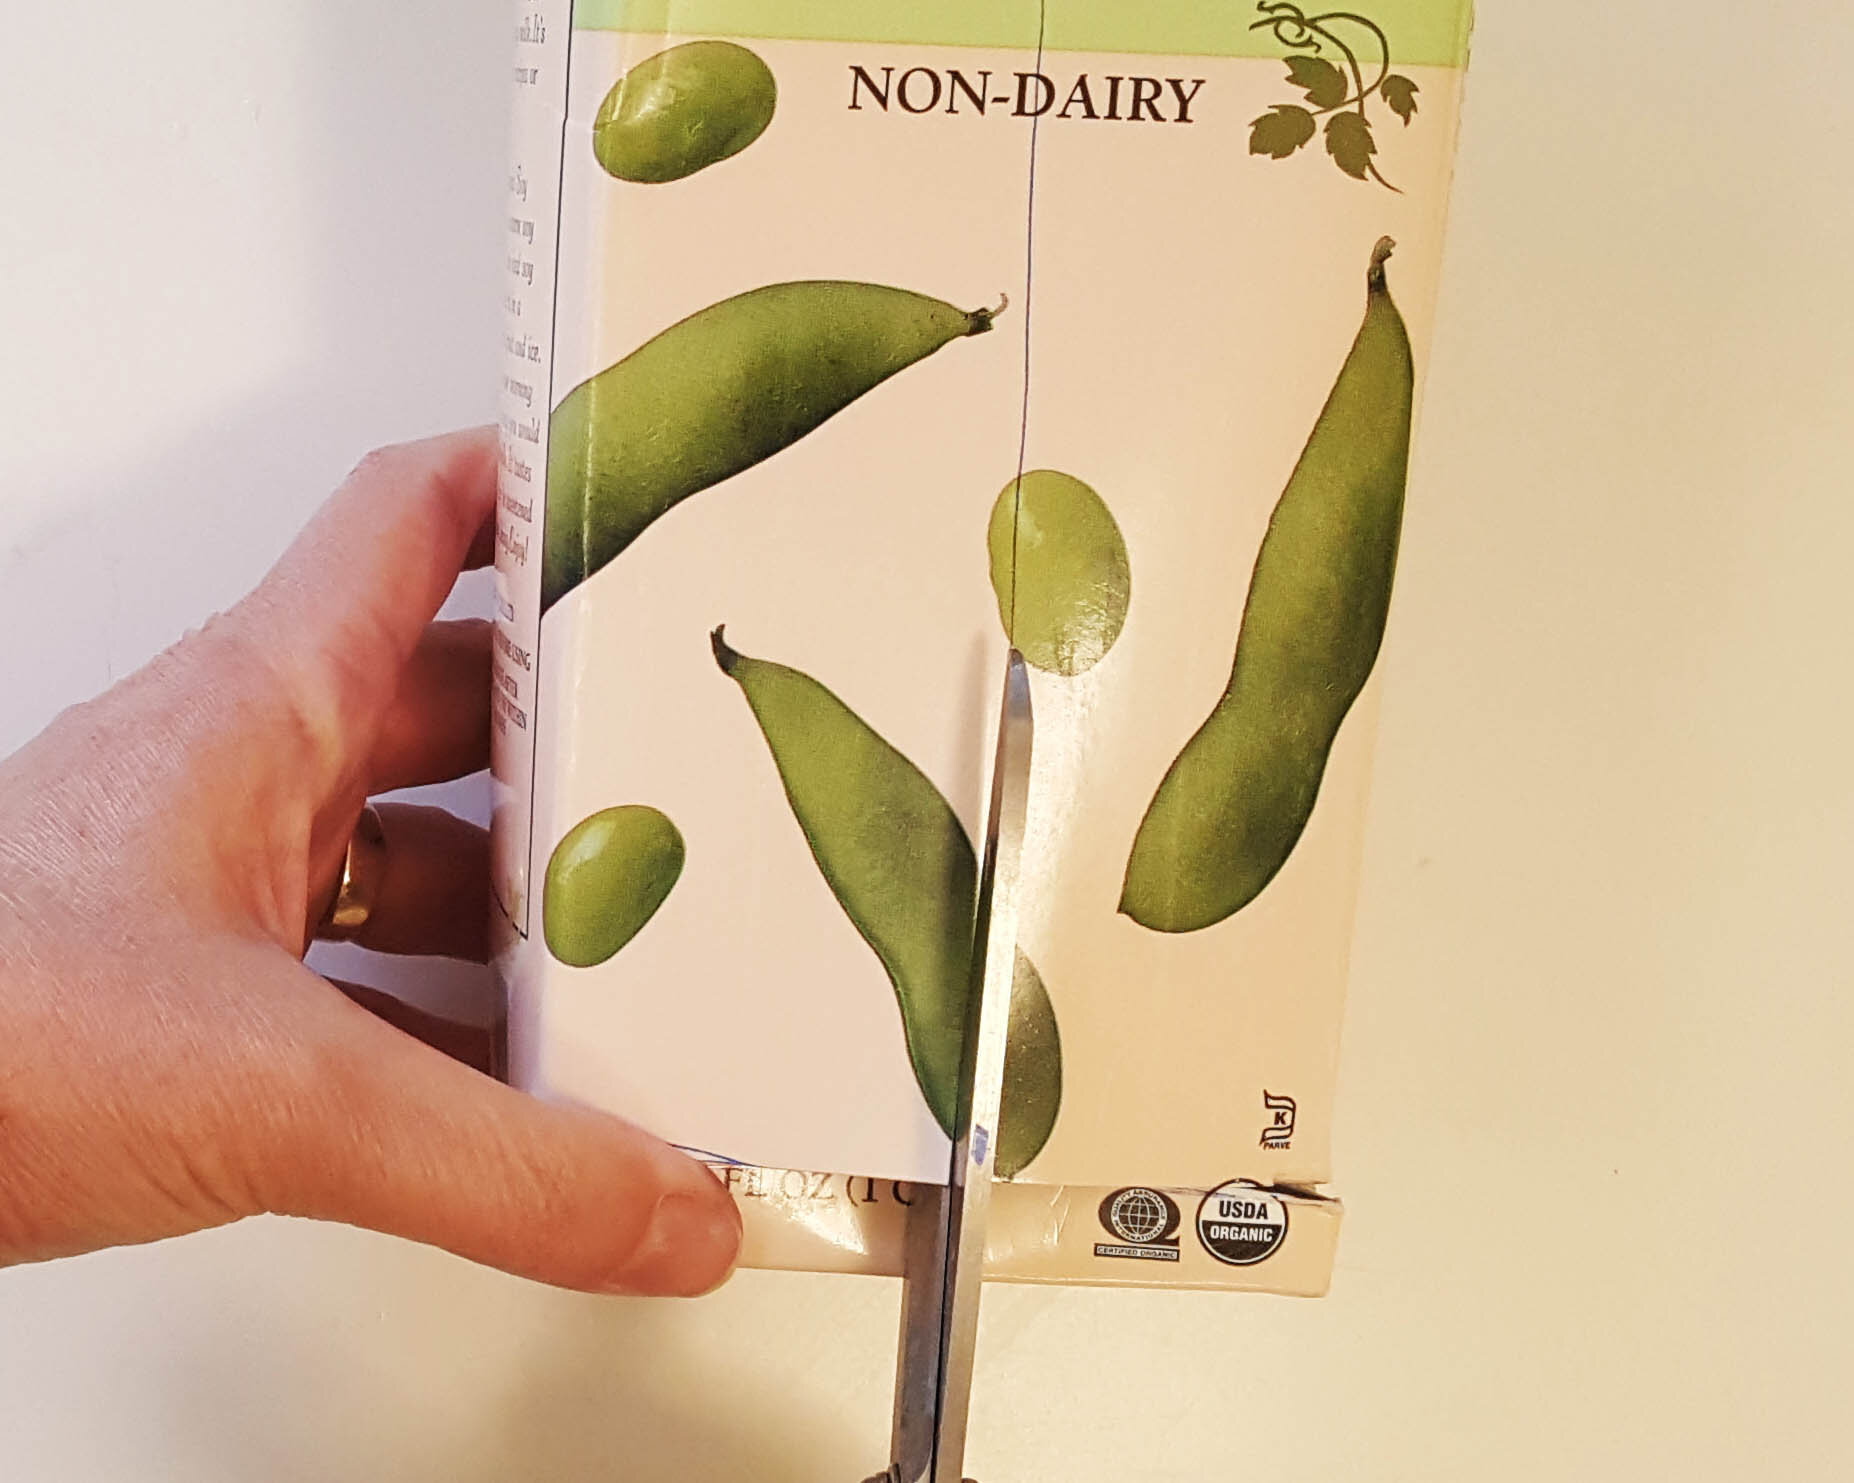
Cut the top corner edges just down to the box corners.
Cut off the flap with the spout in it (if present) and the two side flaps, leaving the other big top flap attached.
4
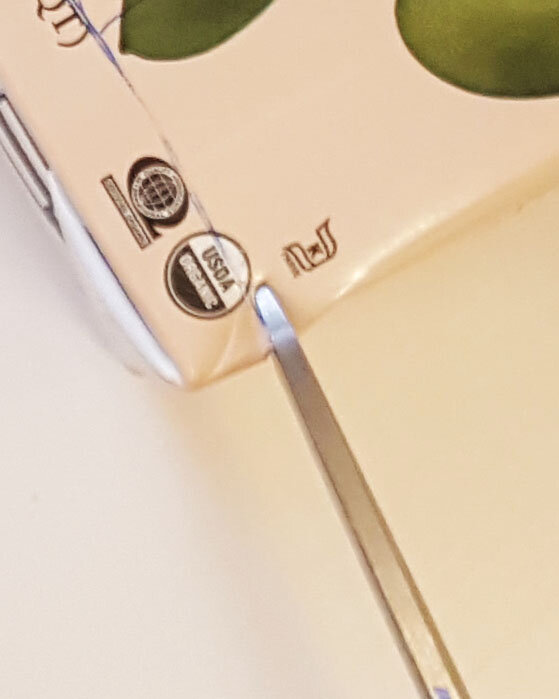

With the box front facing you, snip into the lower corner edge about 1/2” from the bottom. This will make a slit that you can get the tips of your scissors into.
Continue cutting across to the opposite edge.
Cut up the center of the box, stopping about 1/2” from the fold where the top flap starts.
Cut out to each side edge from this point.
You can do this by eye, or draw cutting lines first with a ball point pen. Crooked lines or cutting won’t matter at all in your finished Nicho.
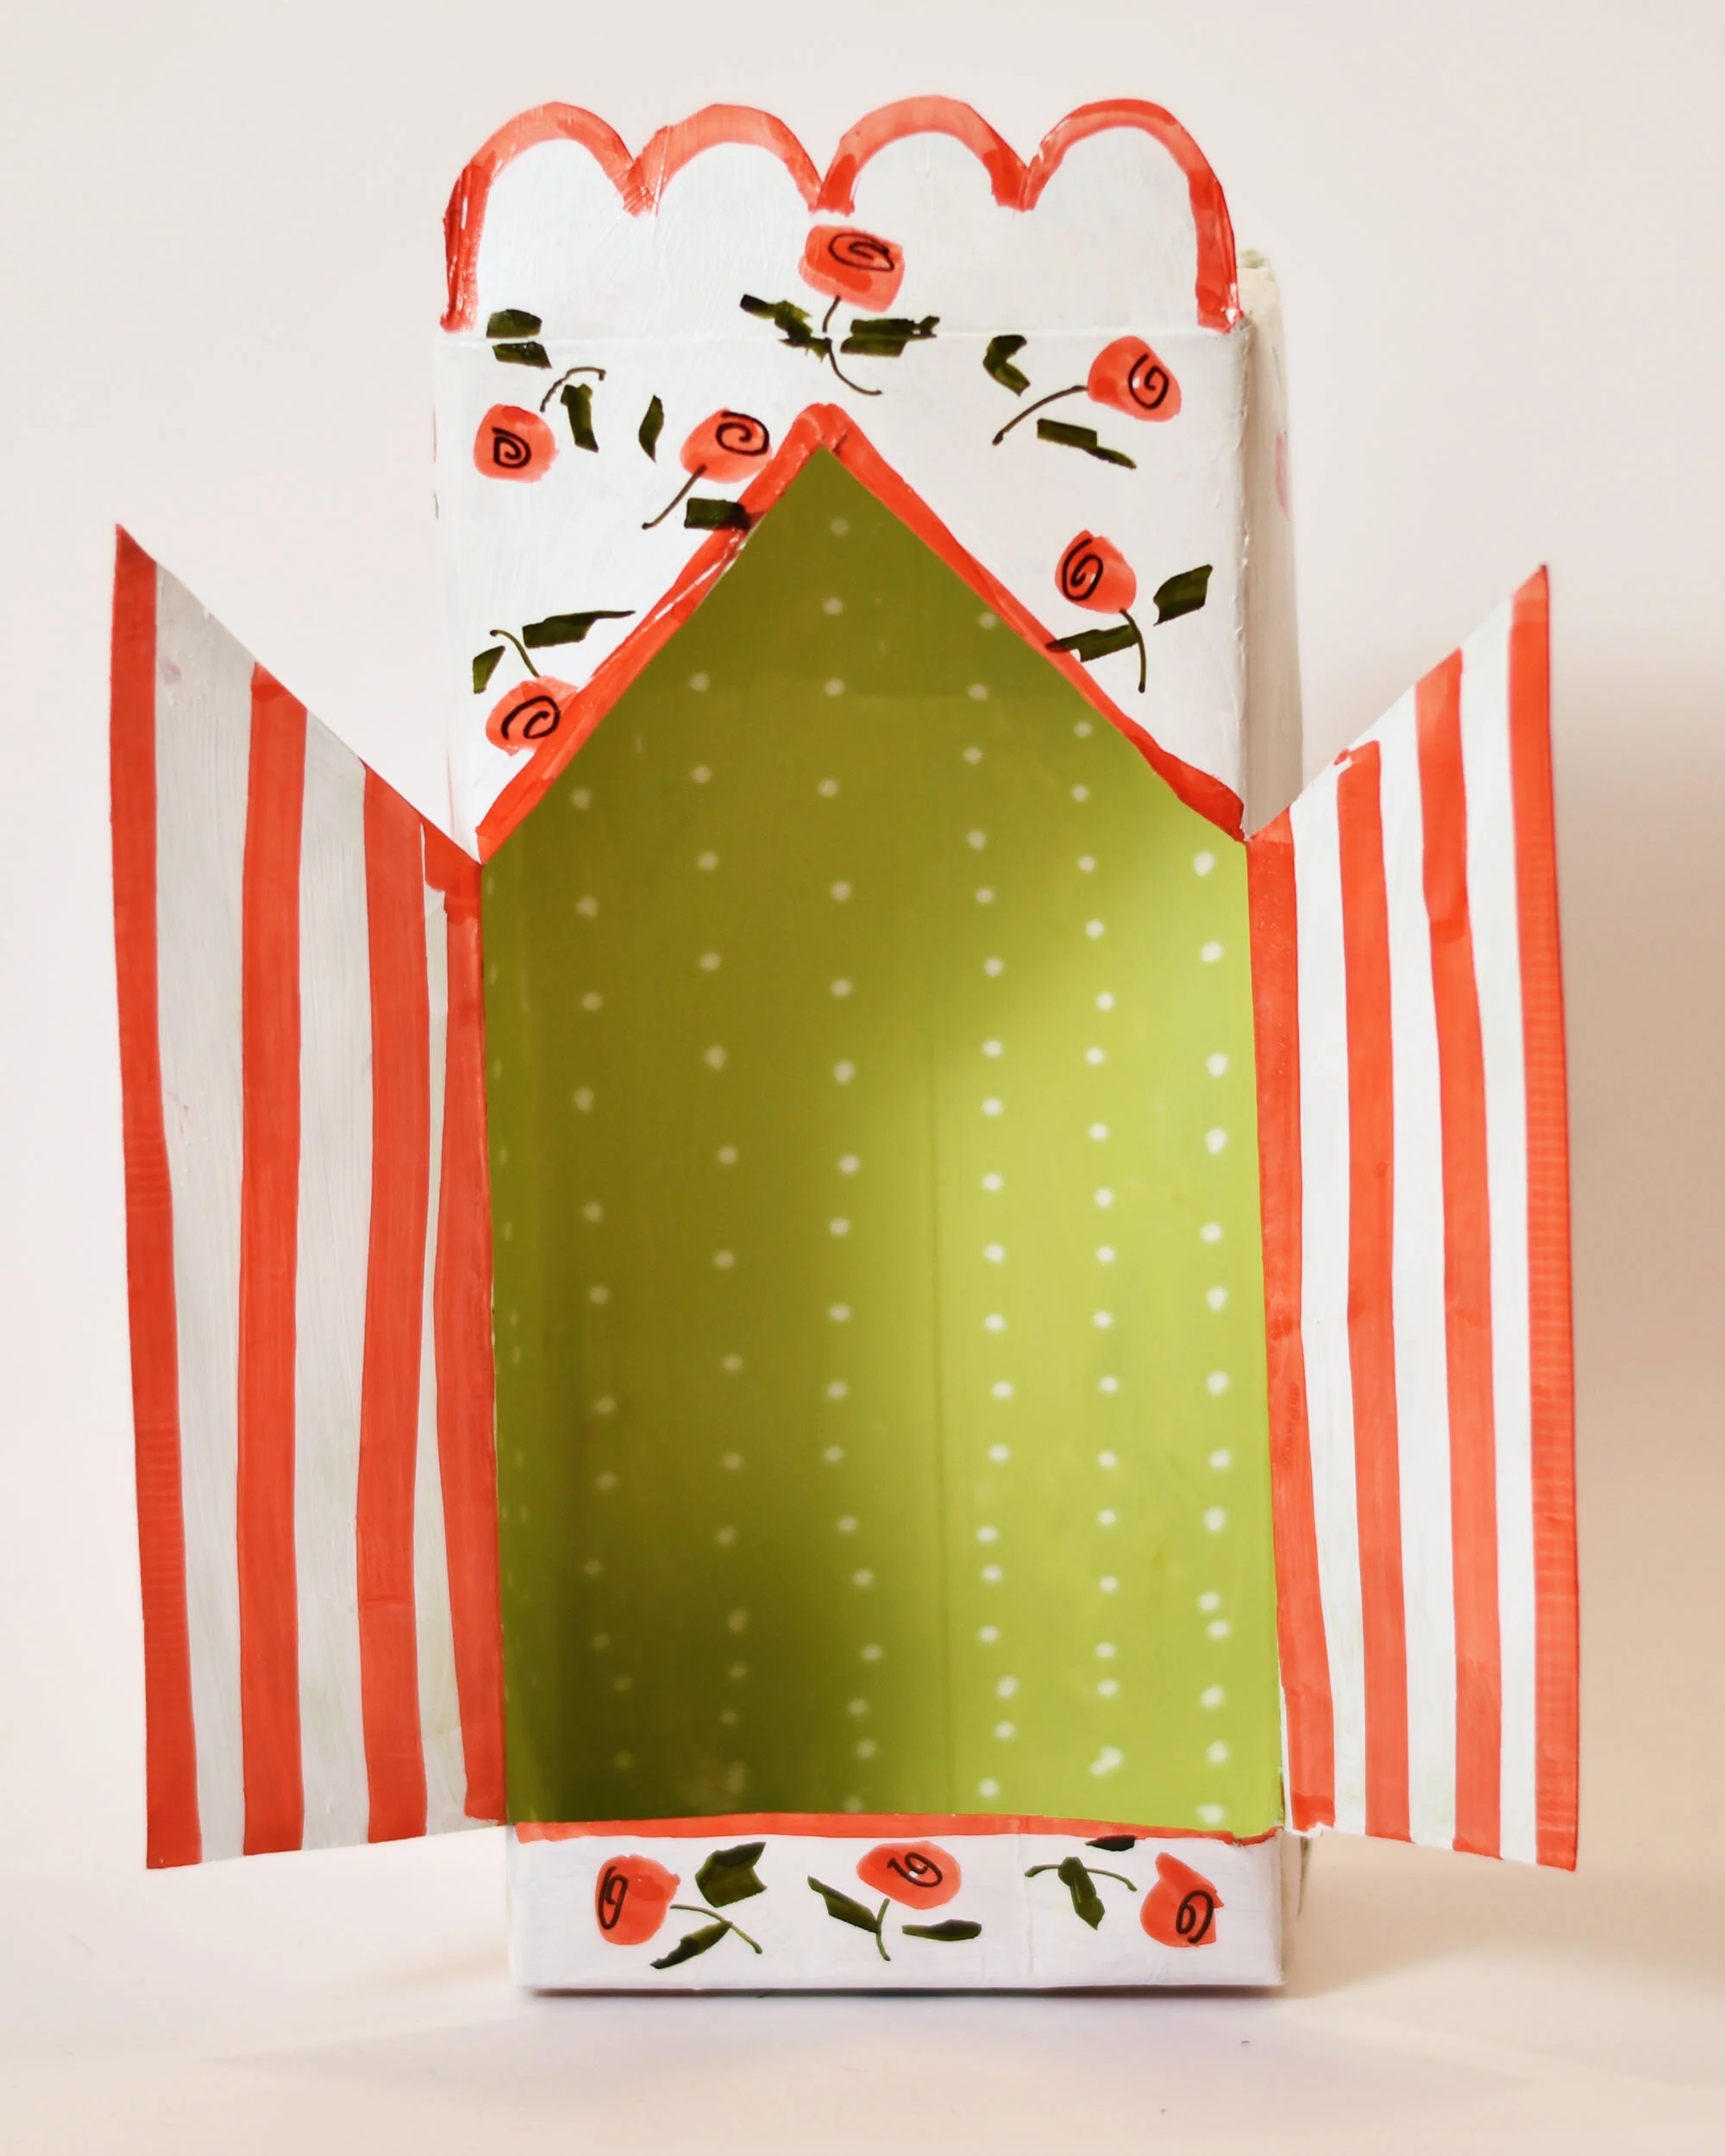
5

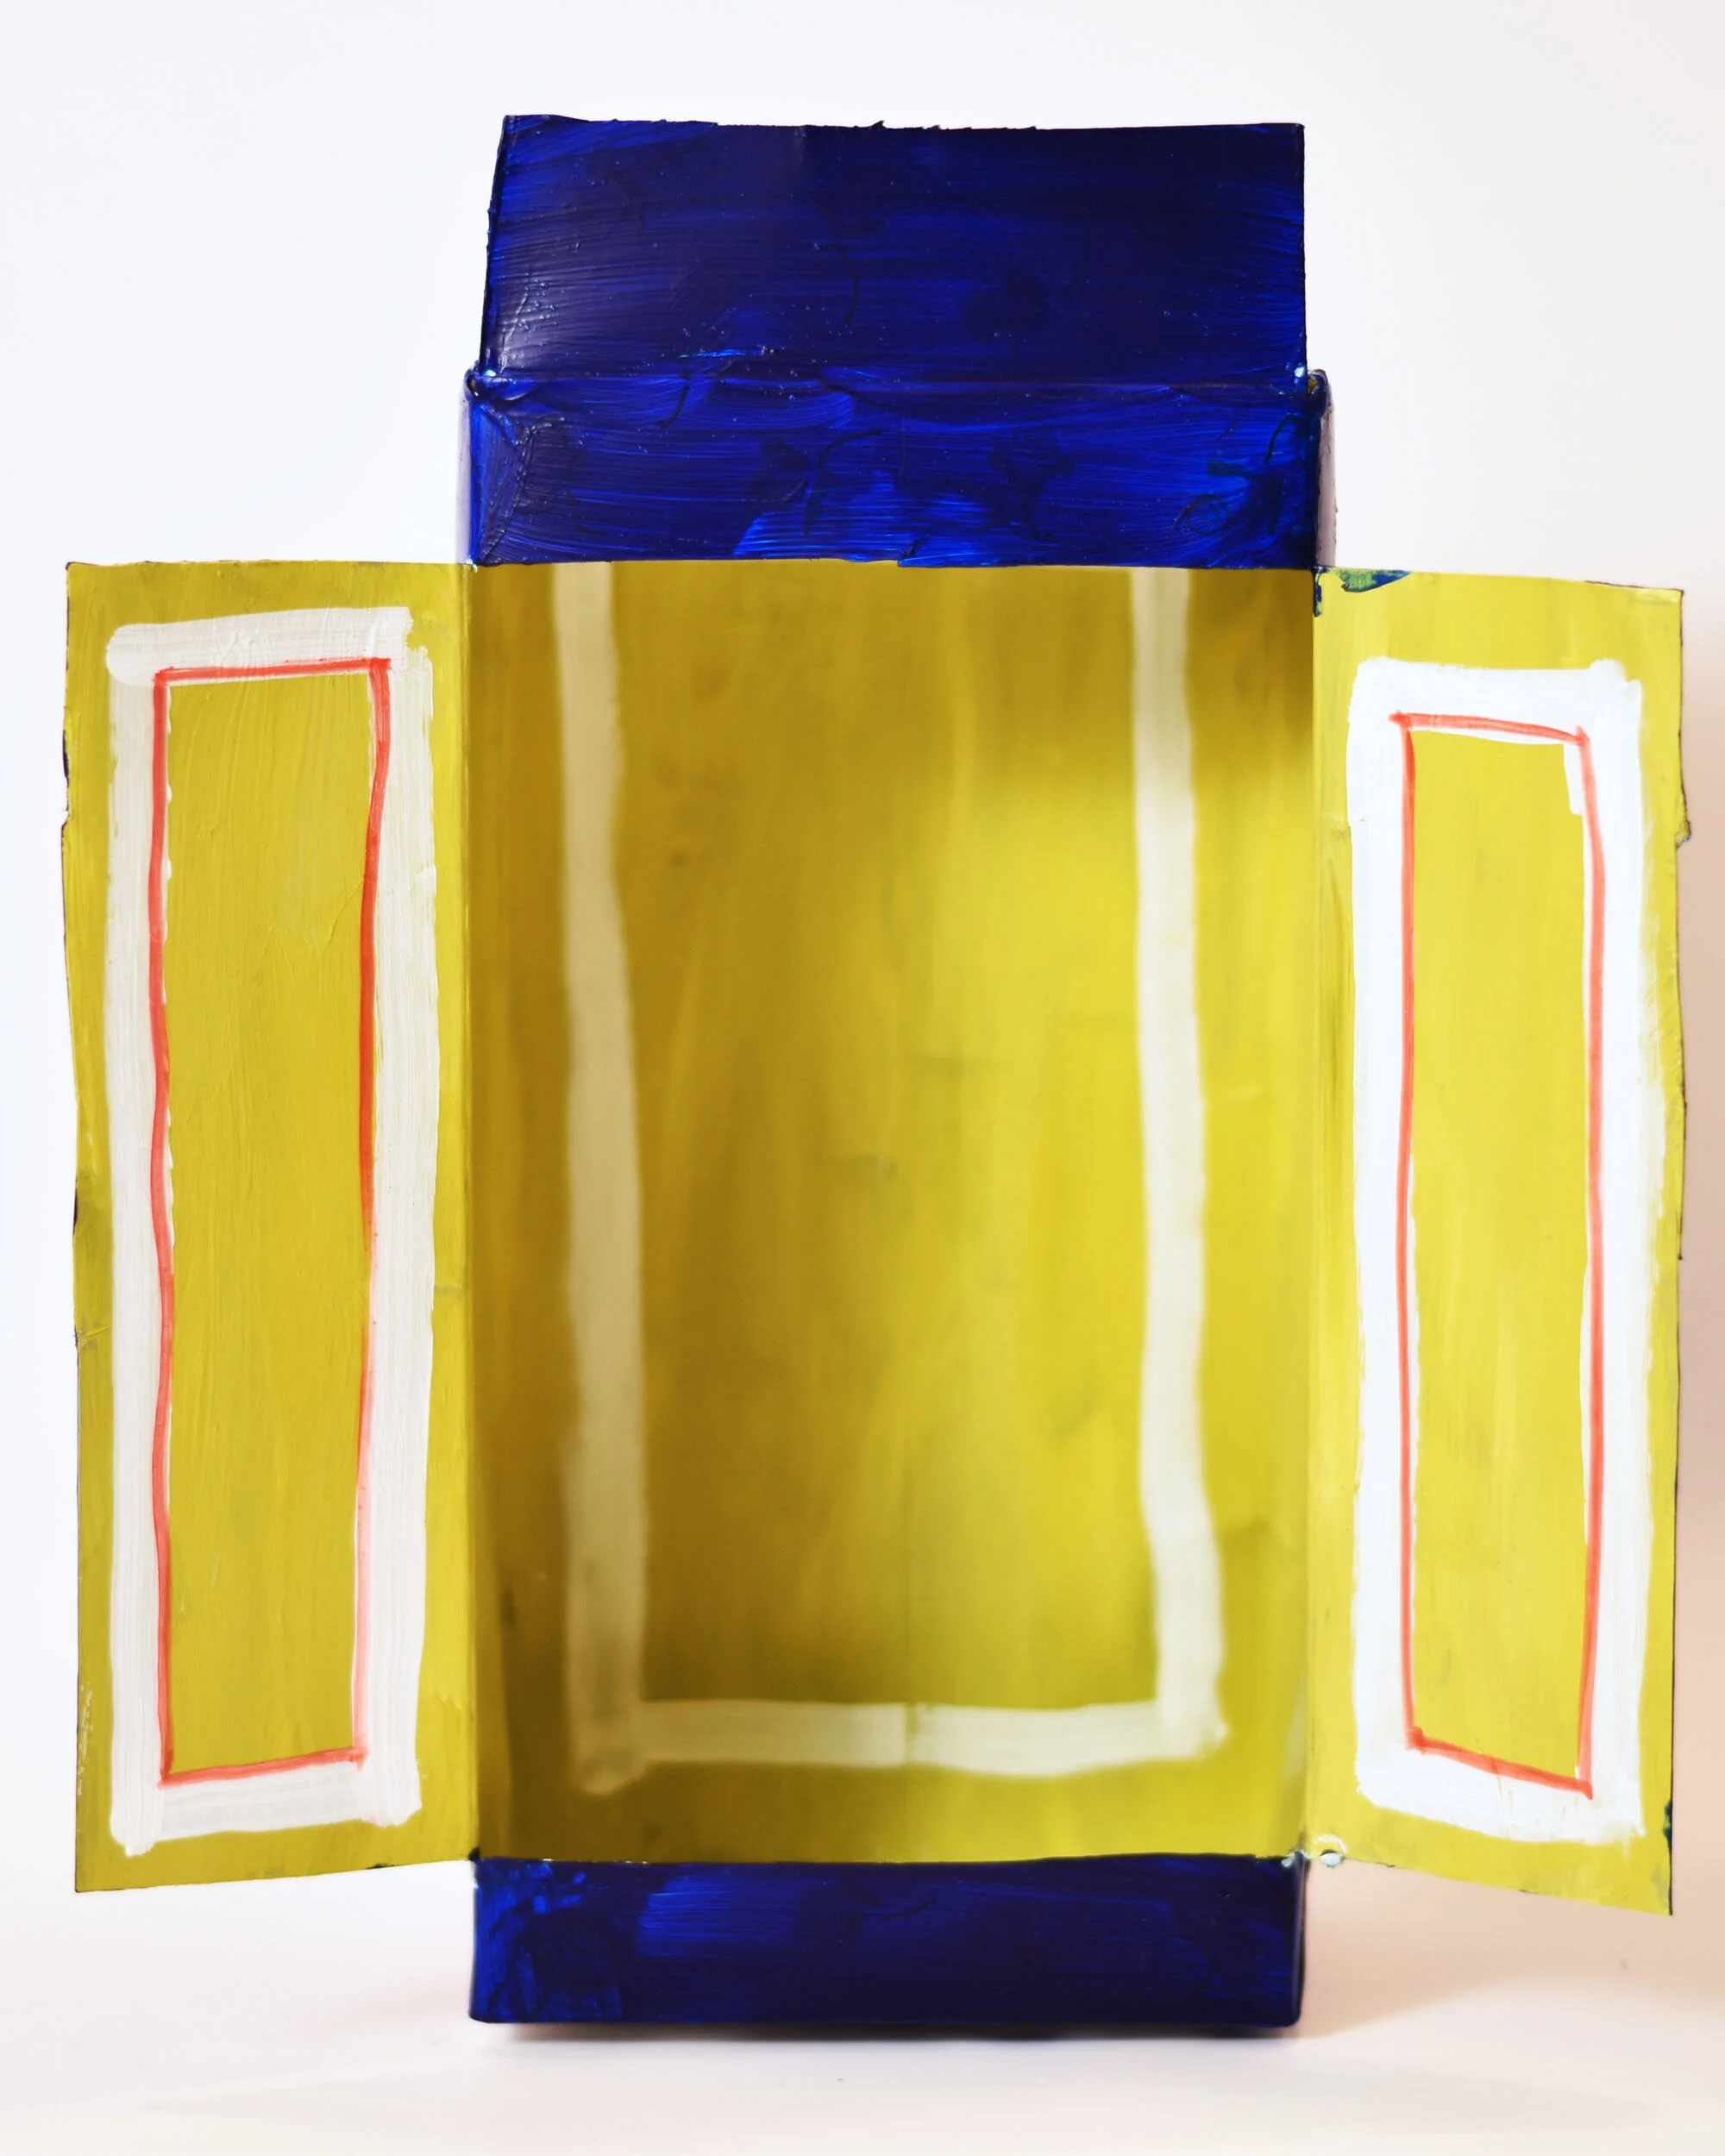
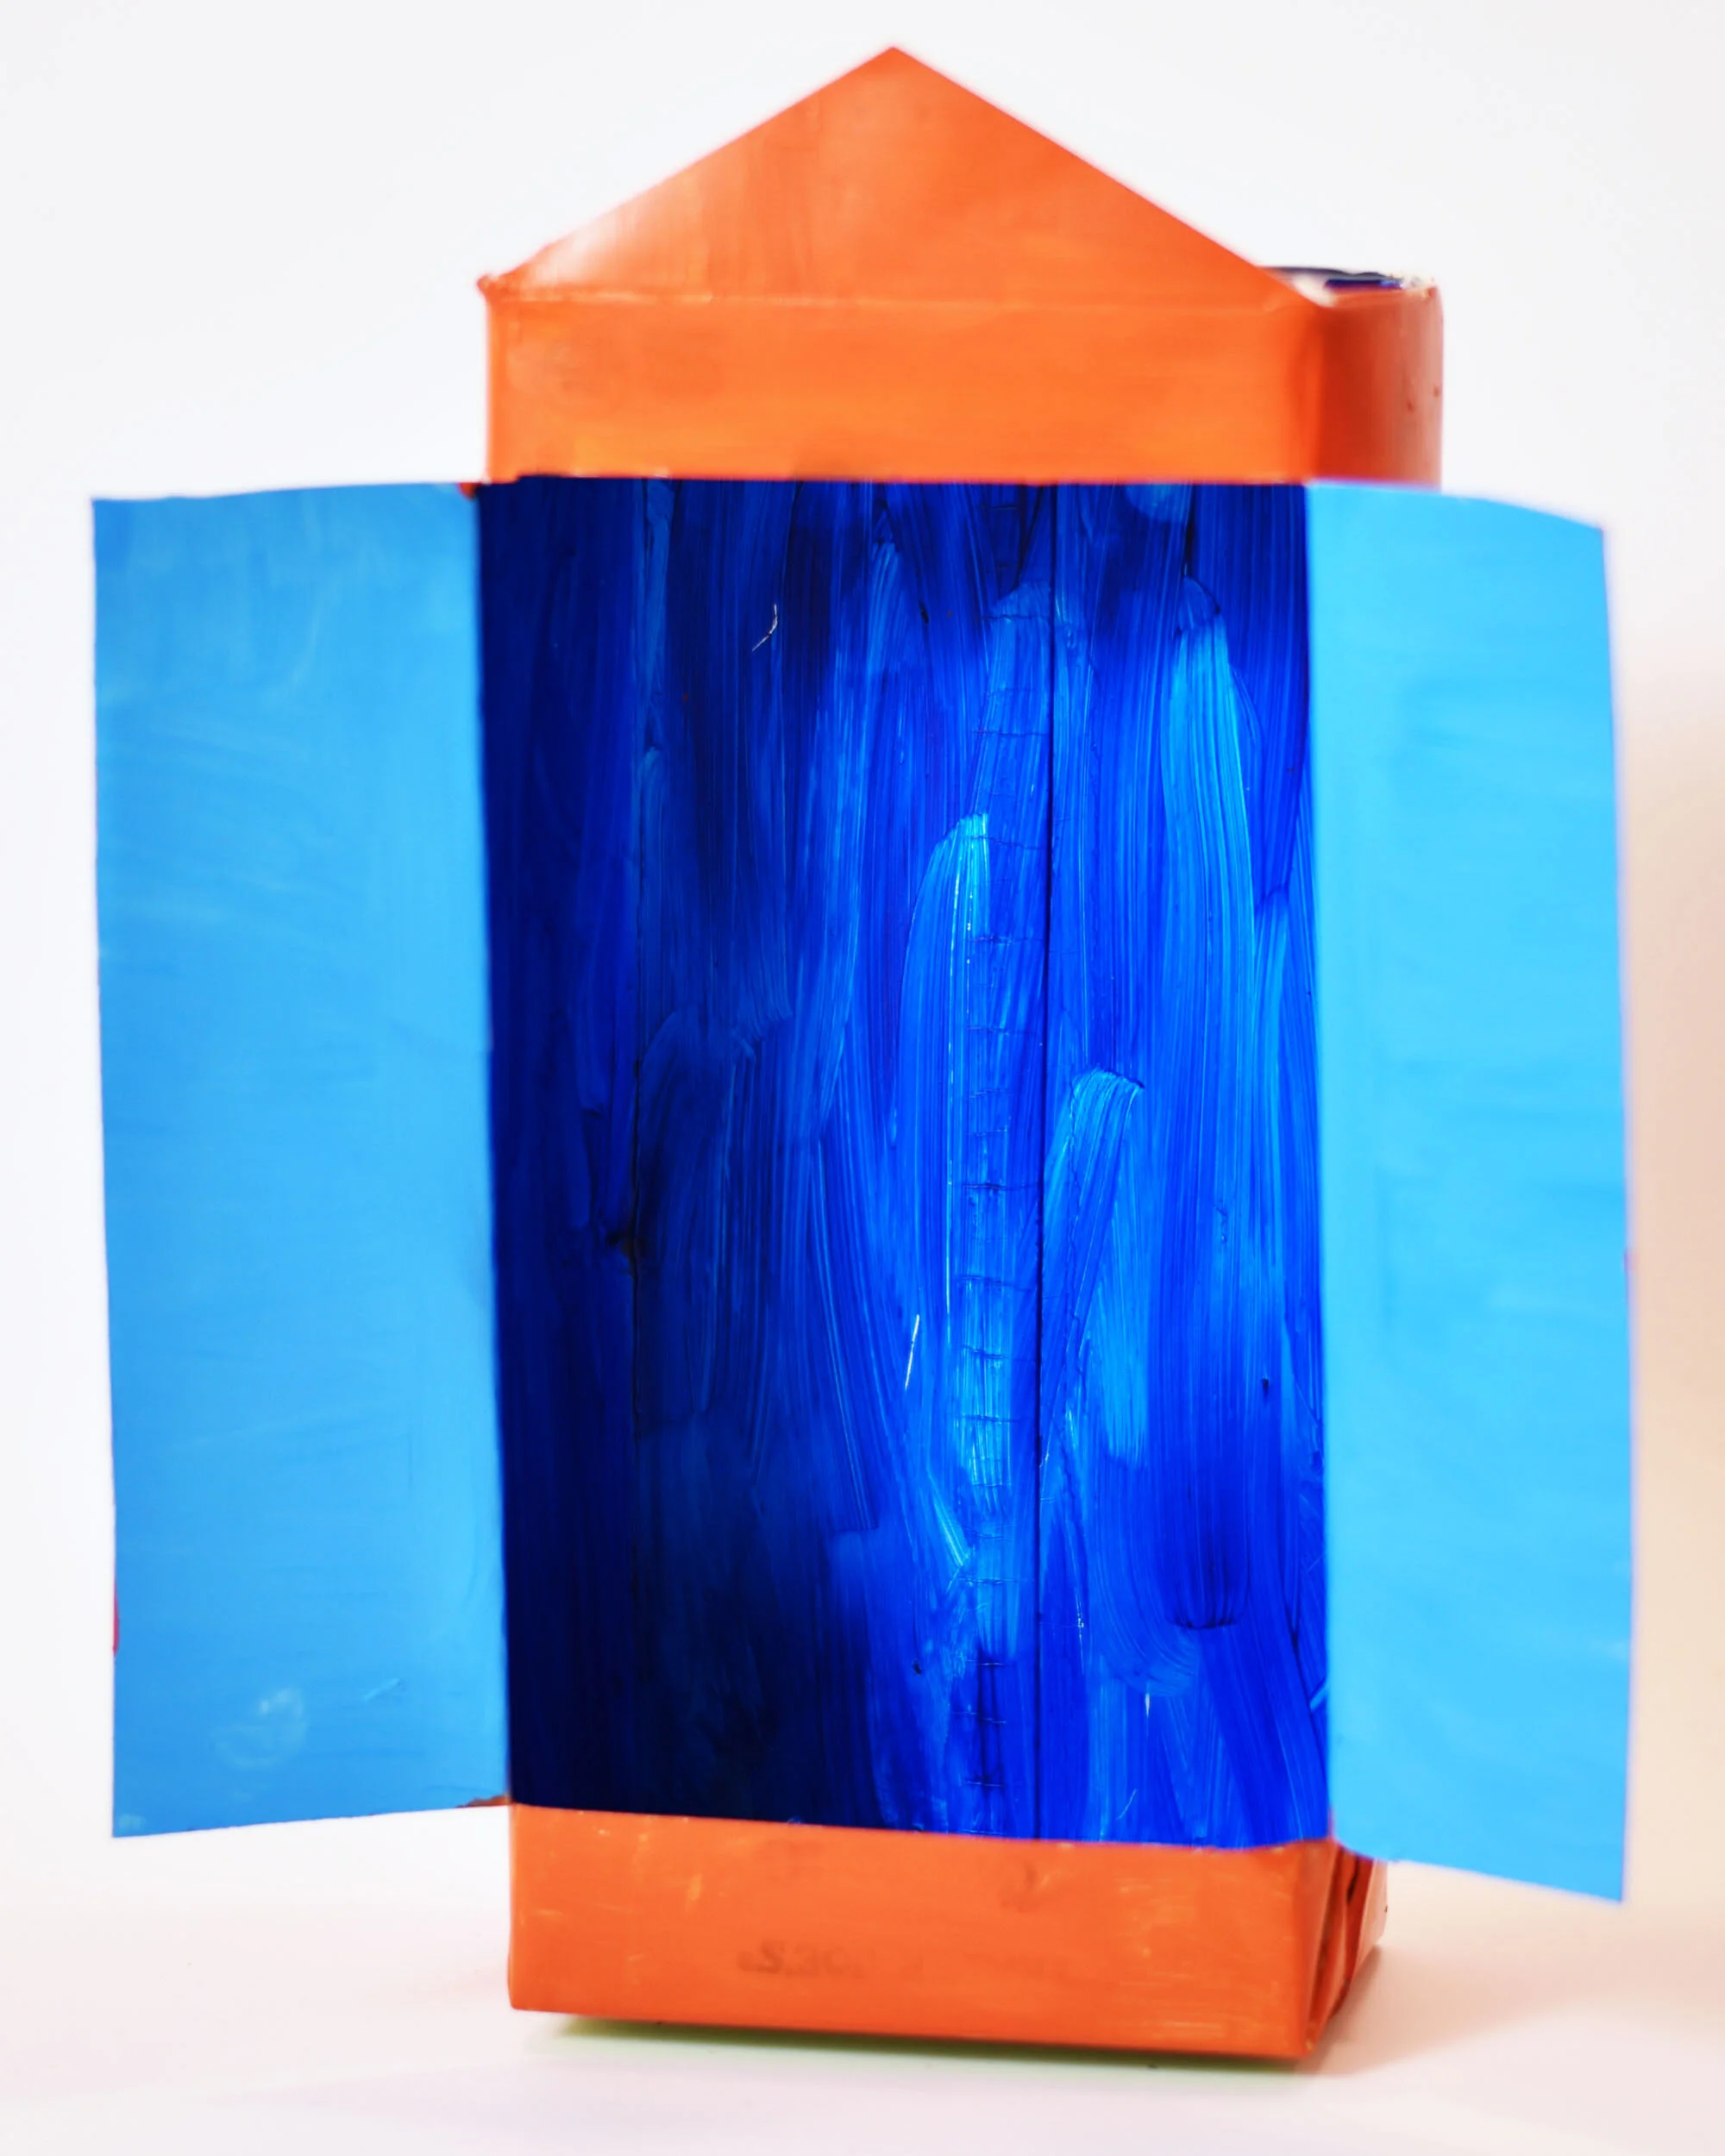
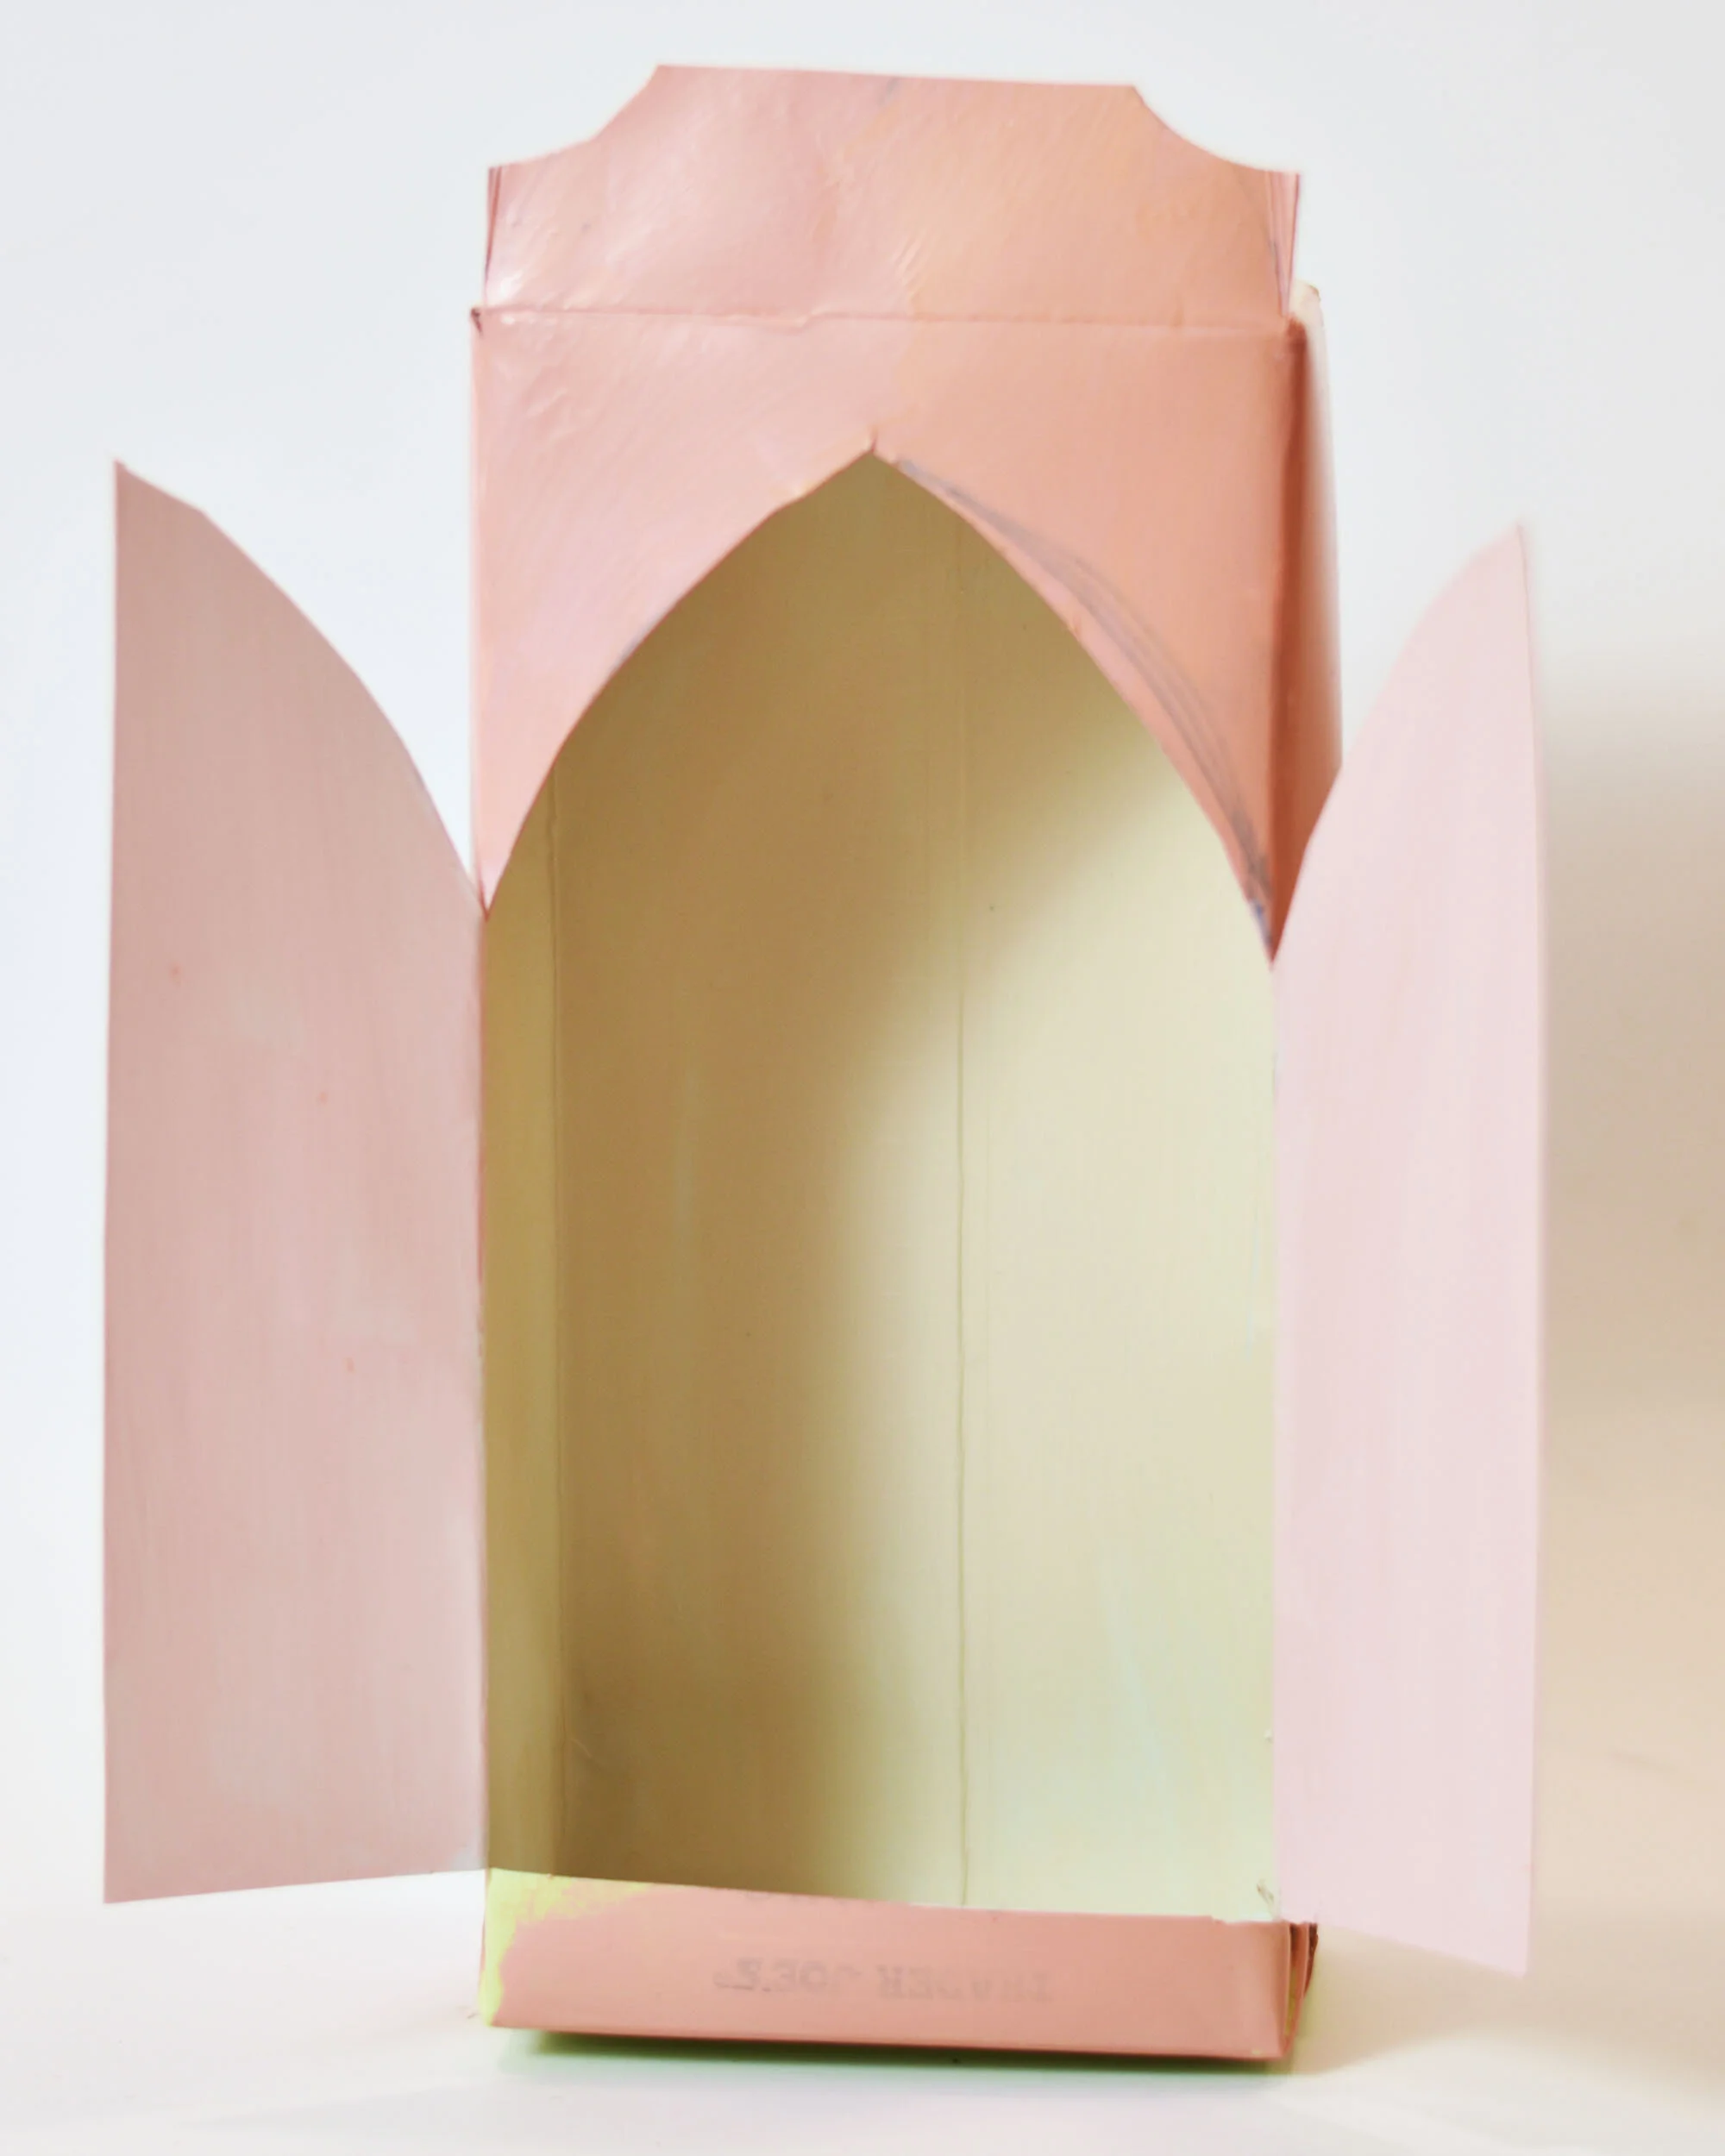
Open the doors of your nicho.
Leave the front top flap standing up. Push the other three down into the box.
Your Outdoor Nicho is done!
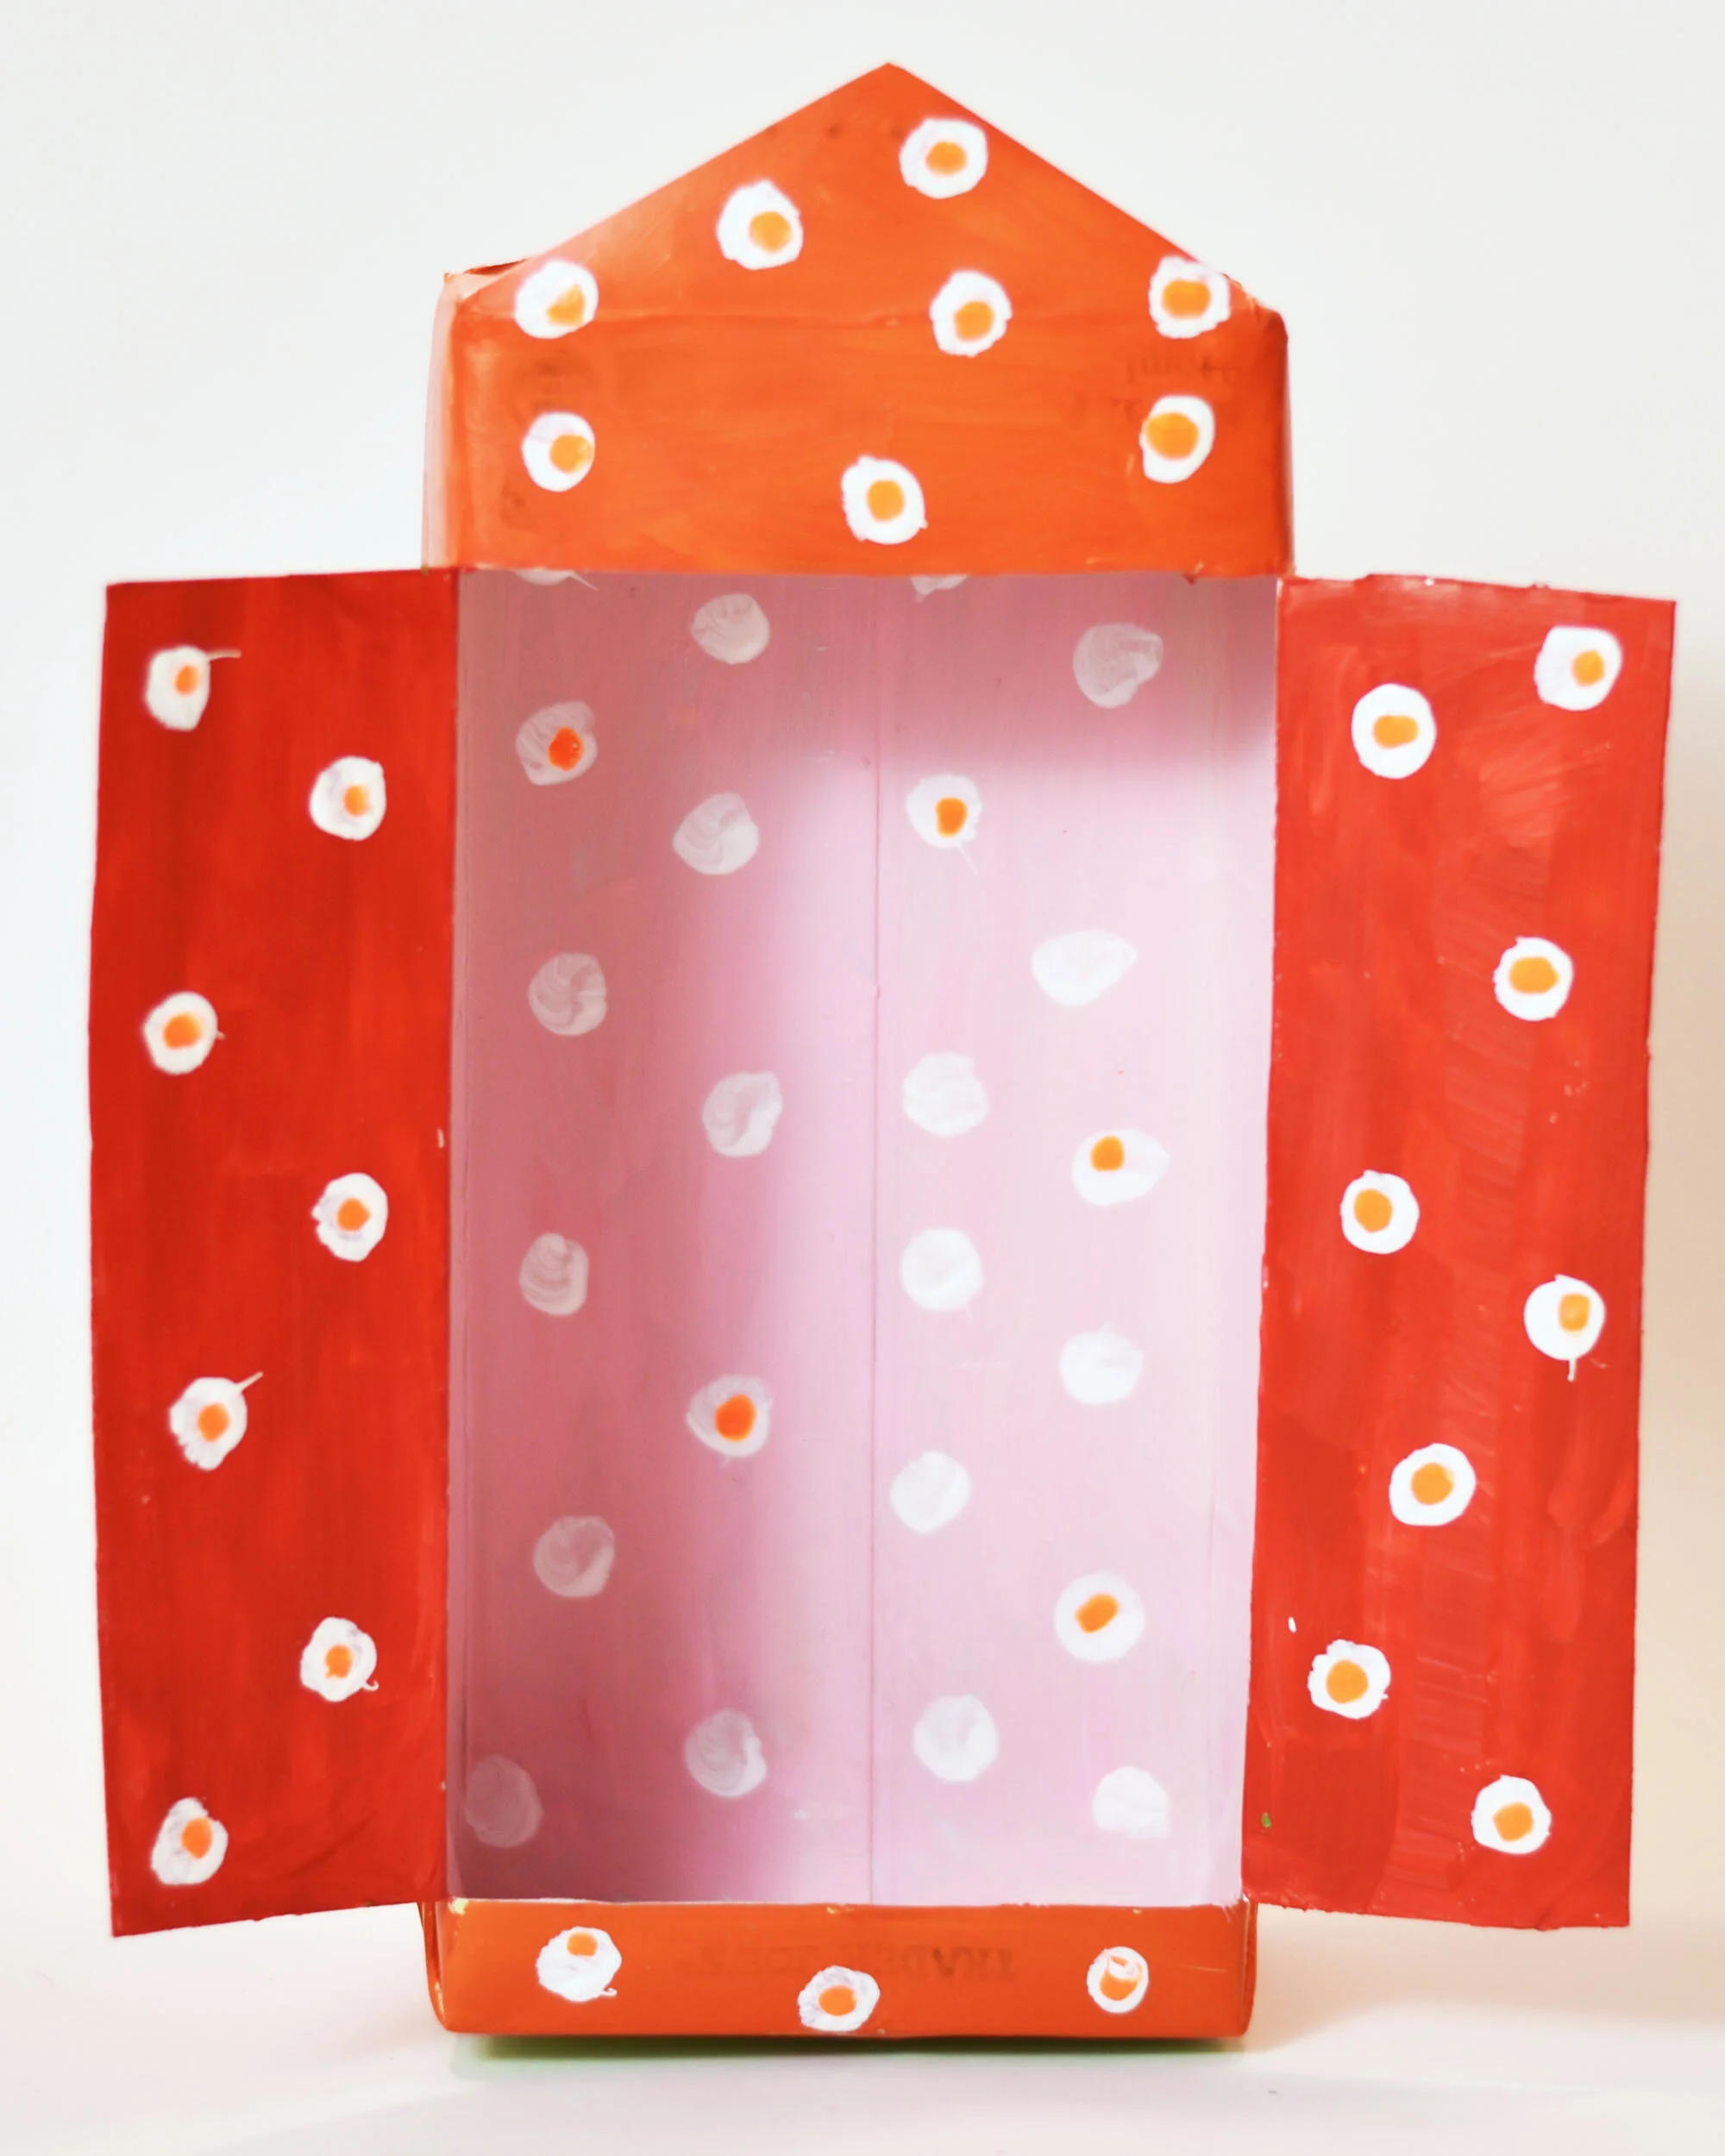
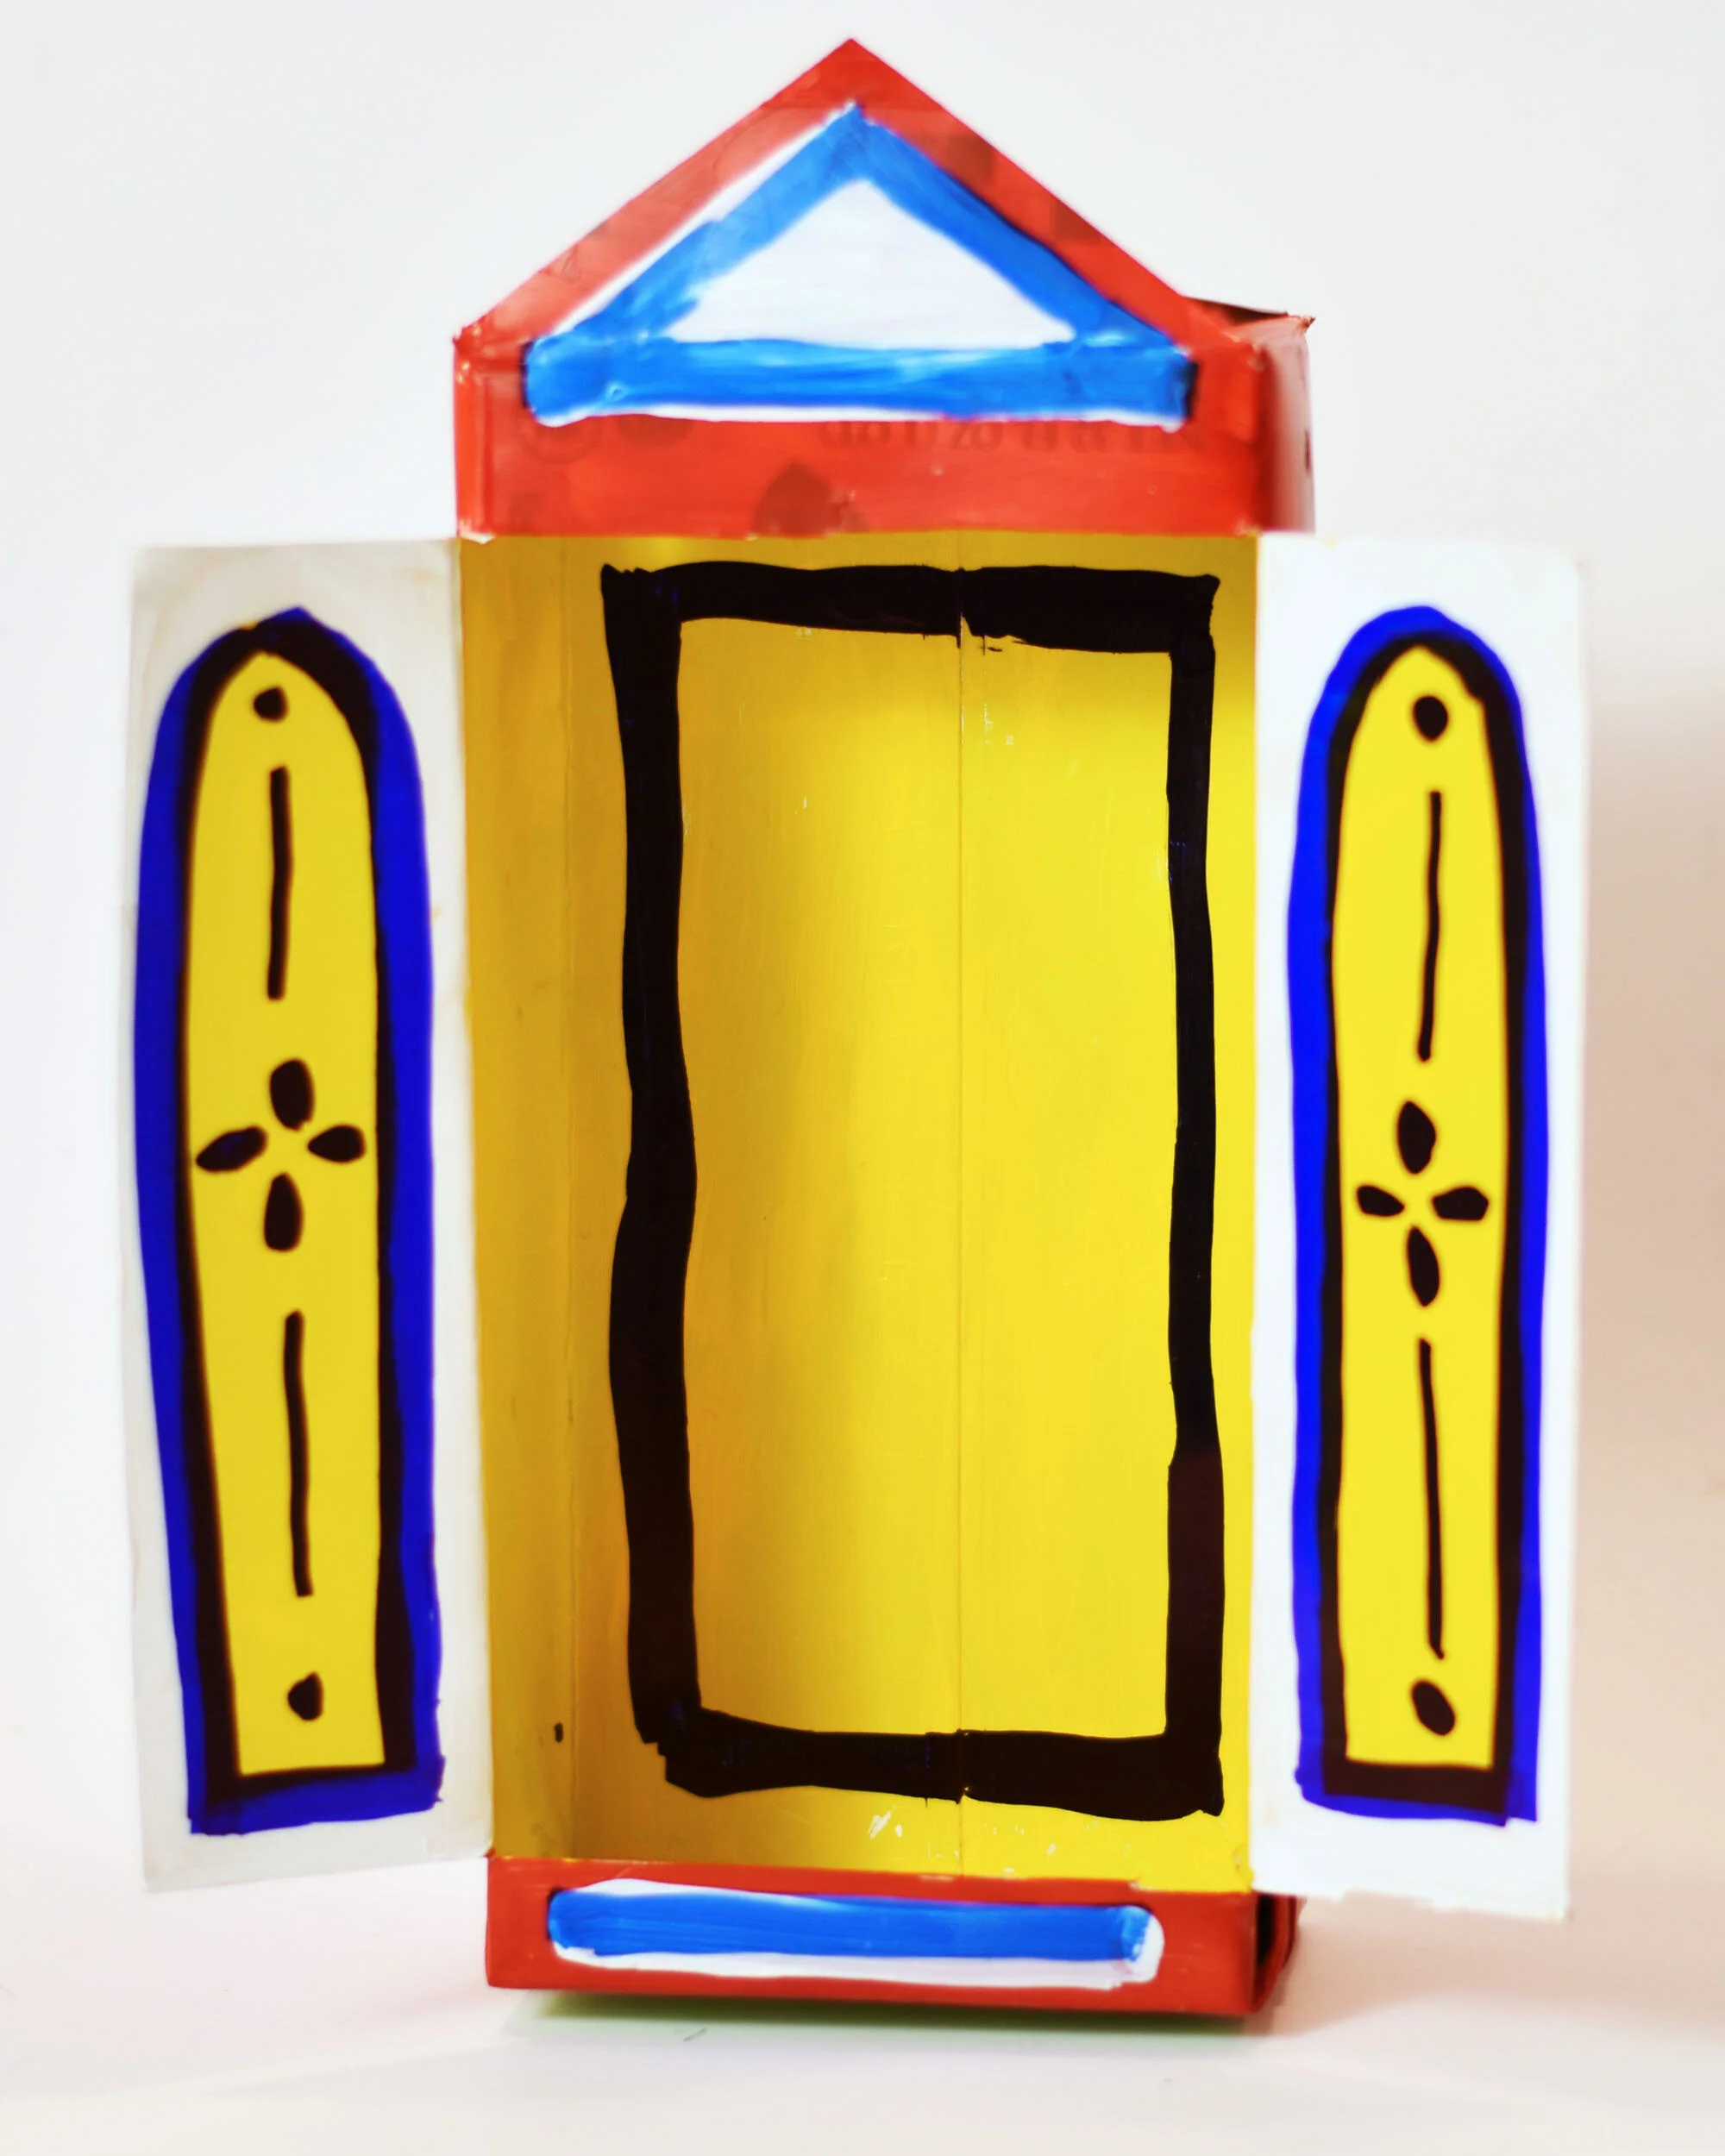
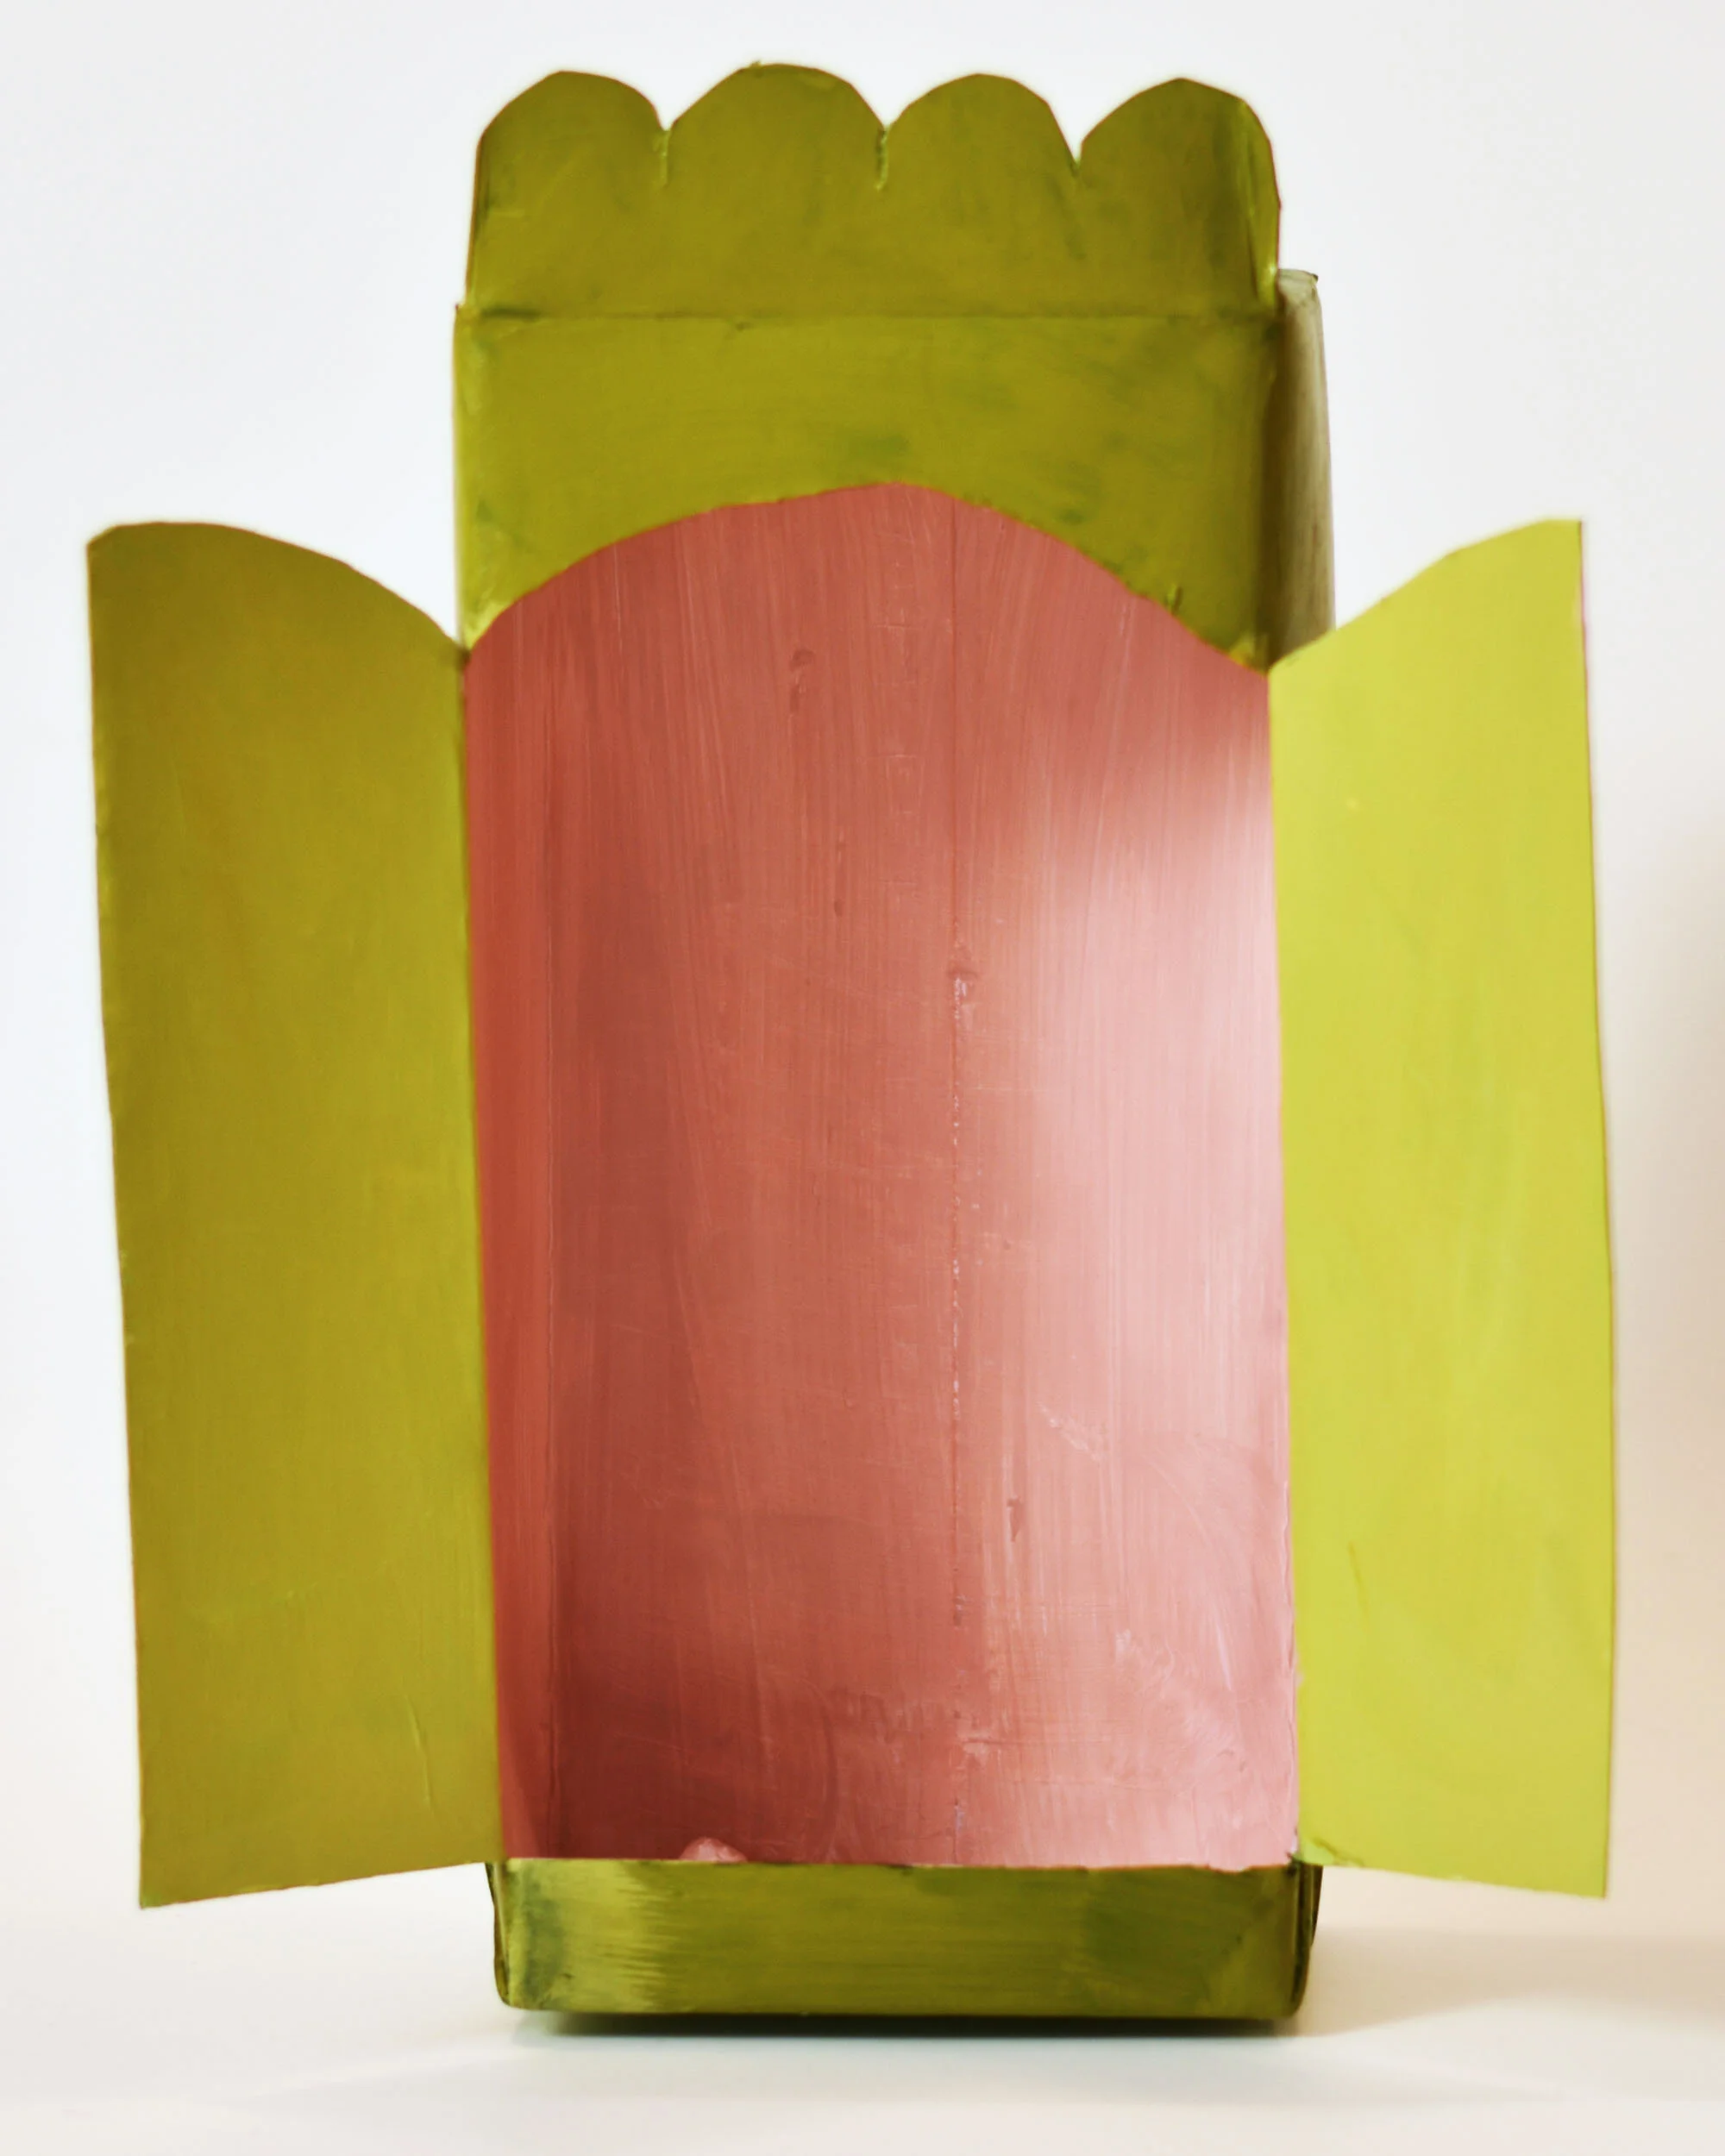
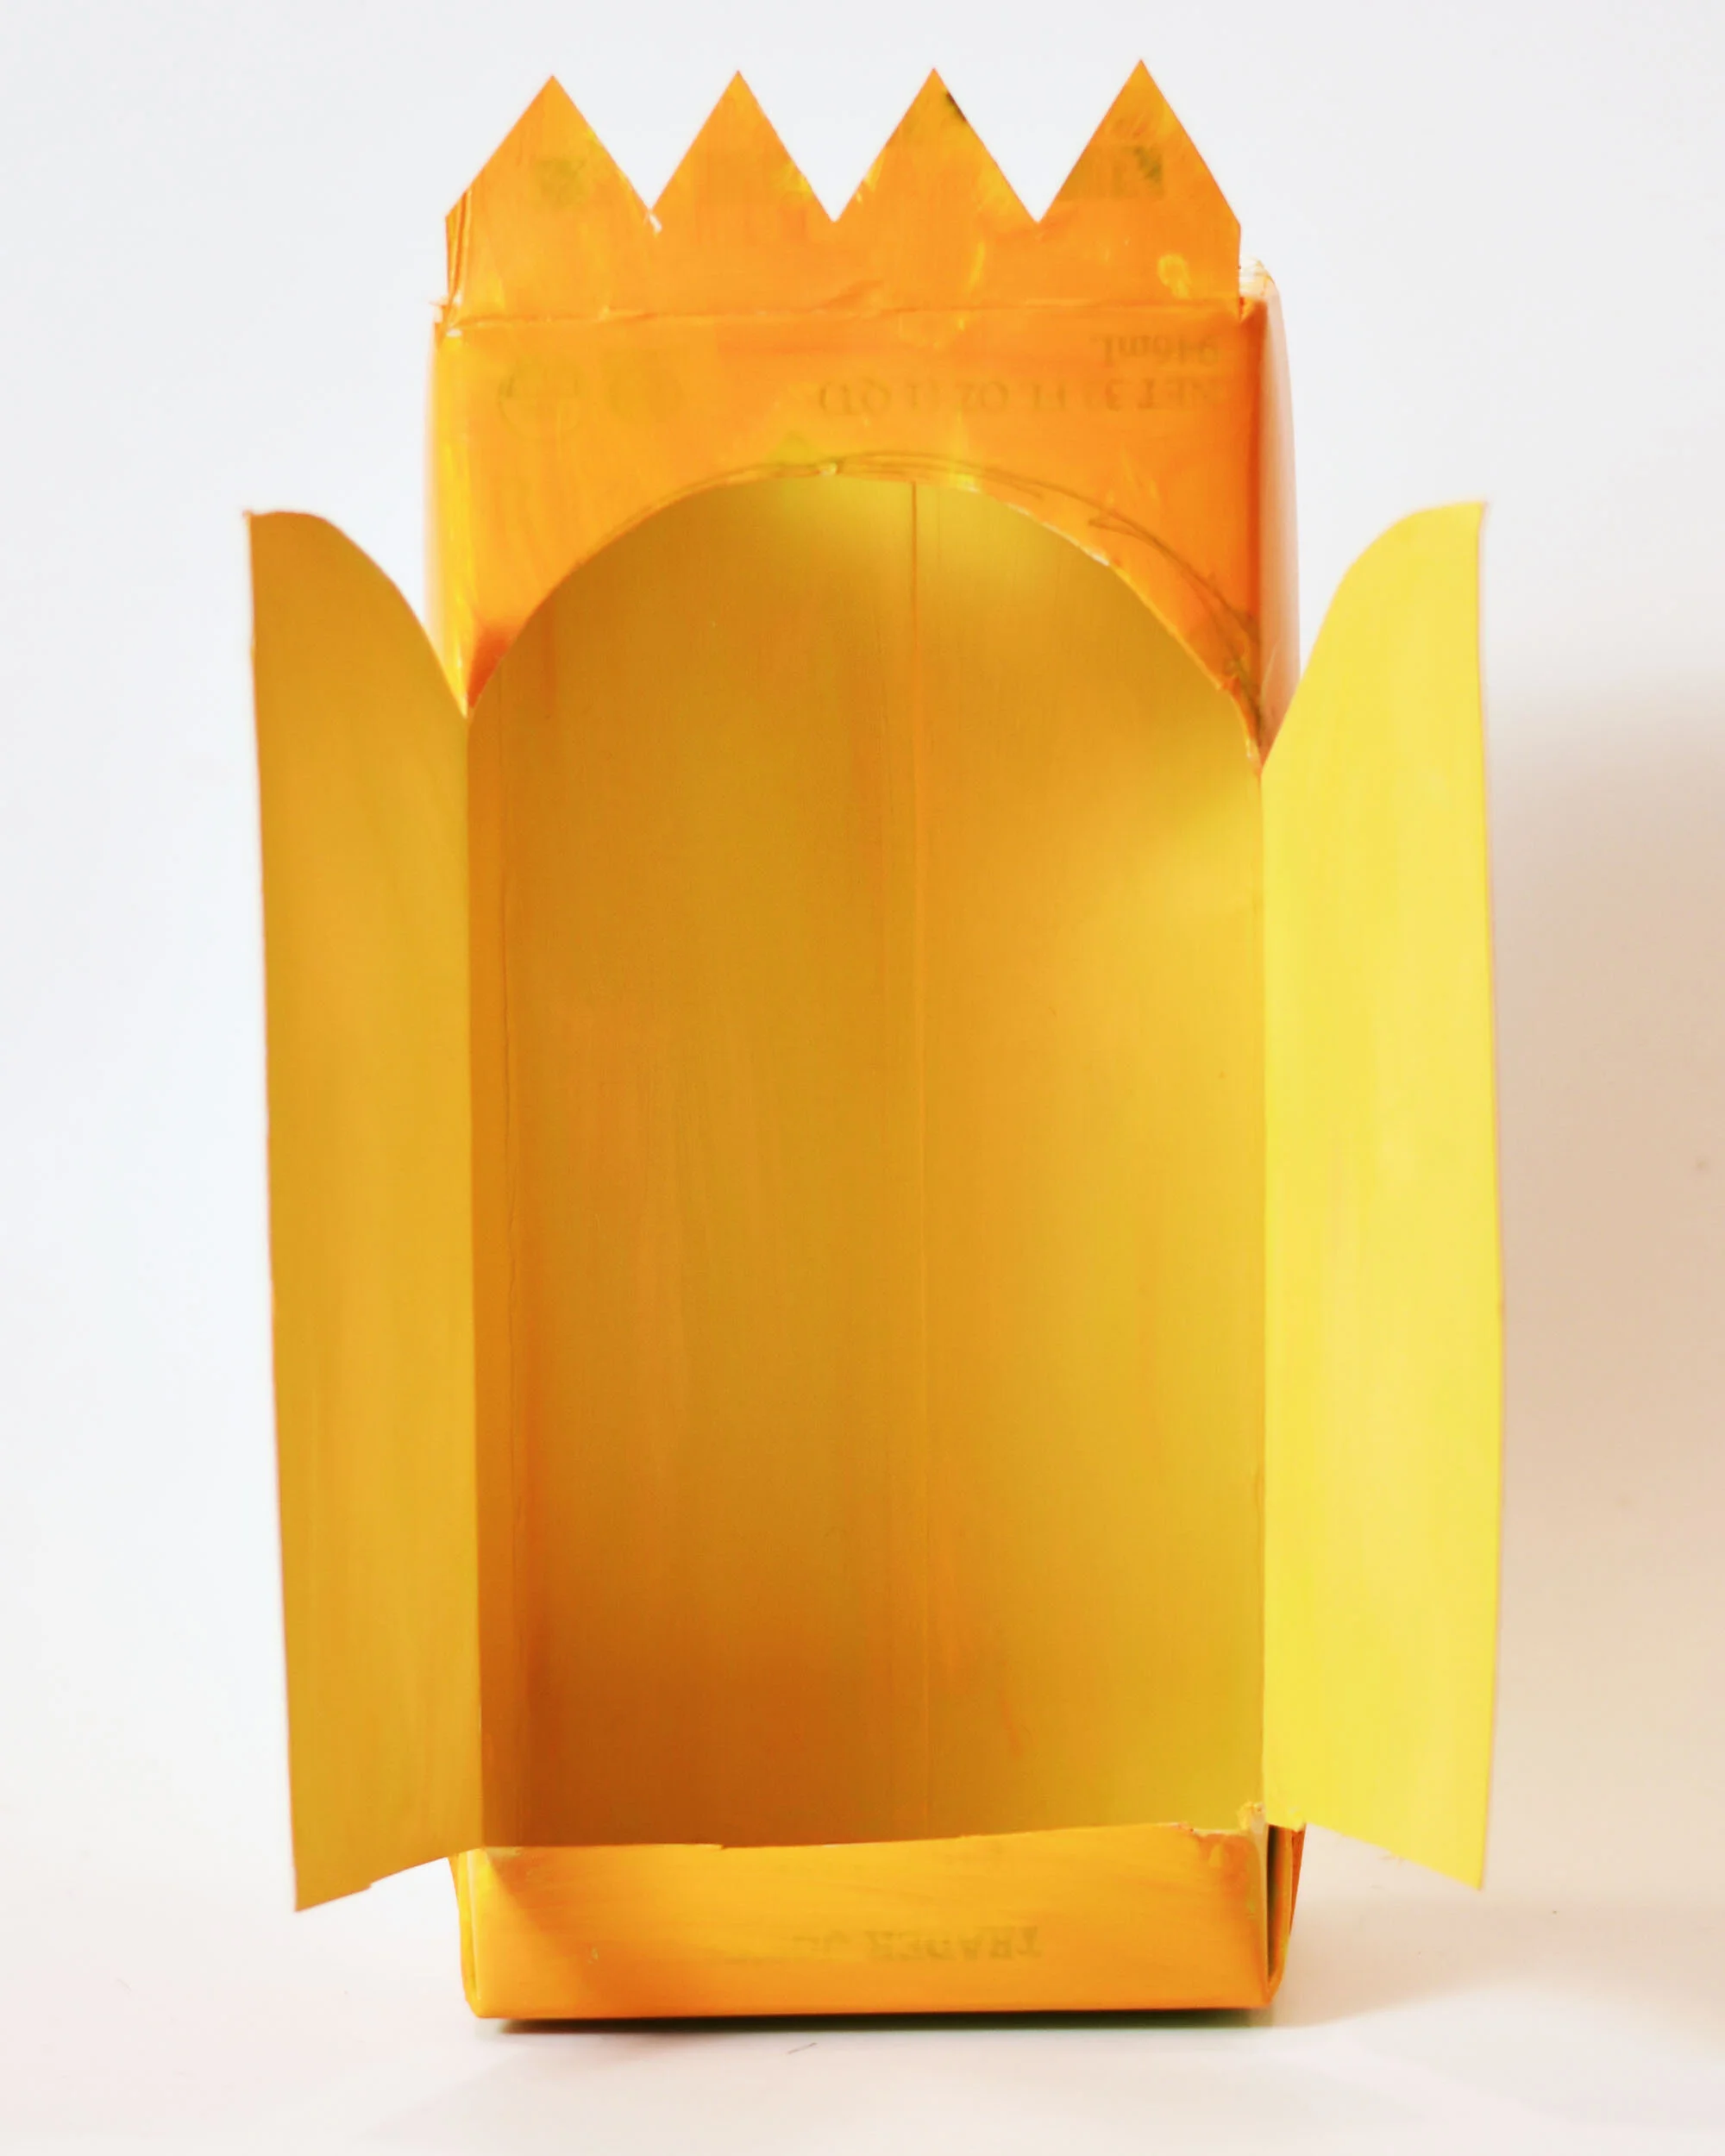
If you want you can cut the top flap into a point, scallops, zig-zags or other simple shape. See top of post for ideas.
and try this:
Different Shapes for Doors
See some ideas at the top of the post.
Mix and match door shapes and top flap shapes to see what you like best!

Marker Decoration
Once your nicho is painted and dry, you can add more decoration with markers. This one has roses added with colored markers, and white dots added with chalk marker.
Marker decoration is not weatherproof so keep marker-decorated nichos in a covered area away from water.
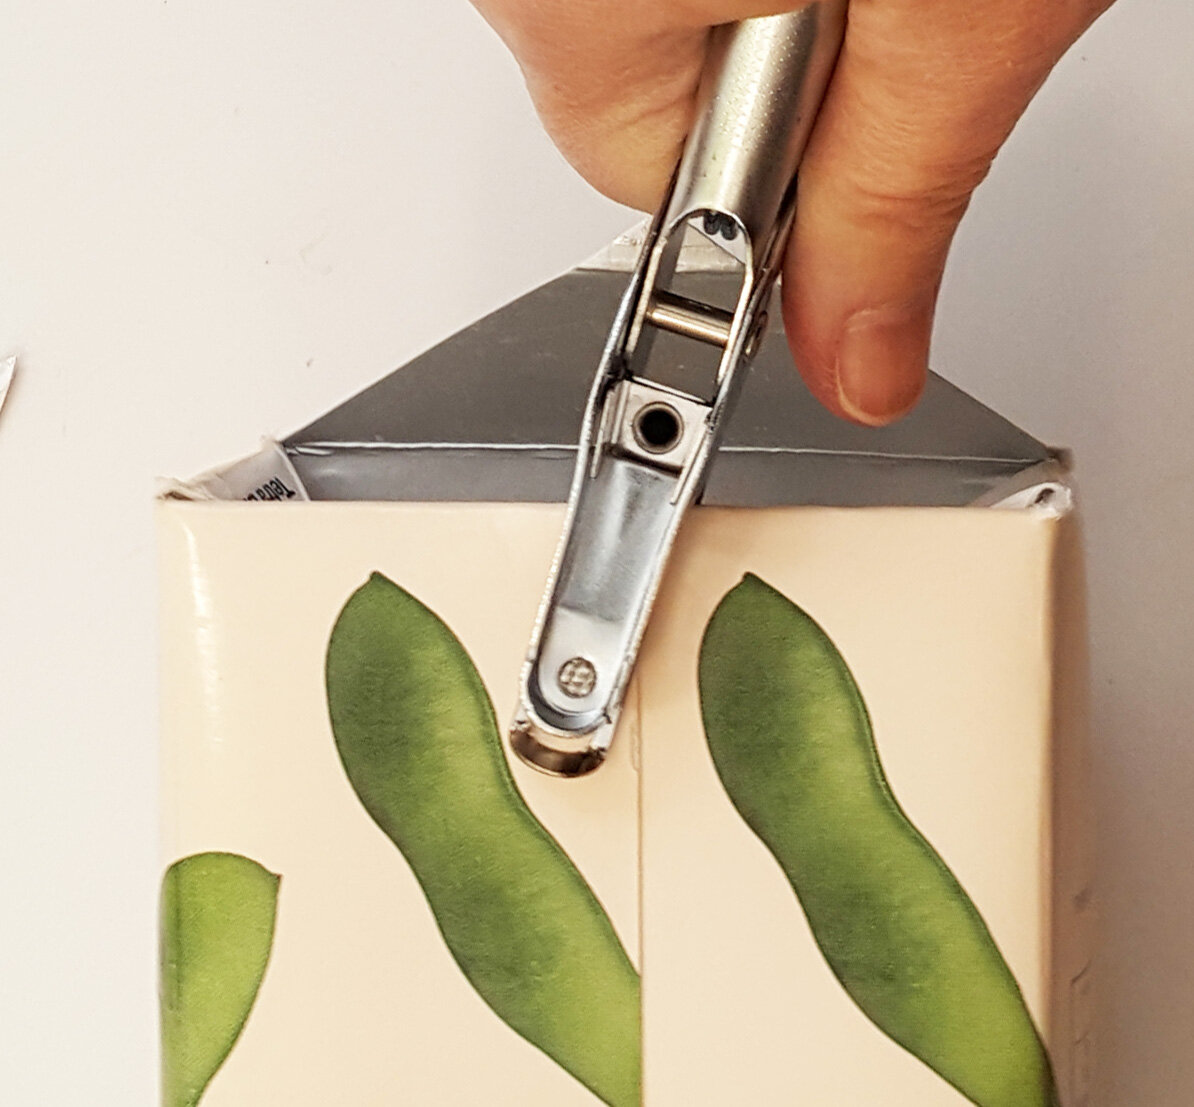
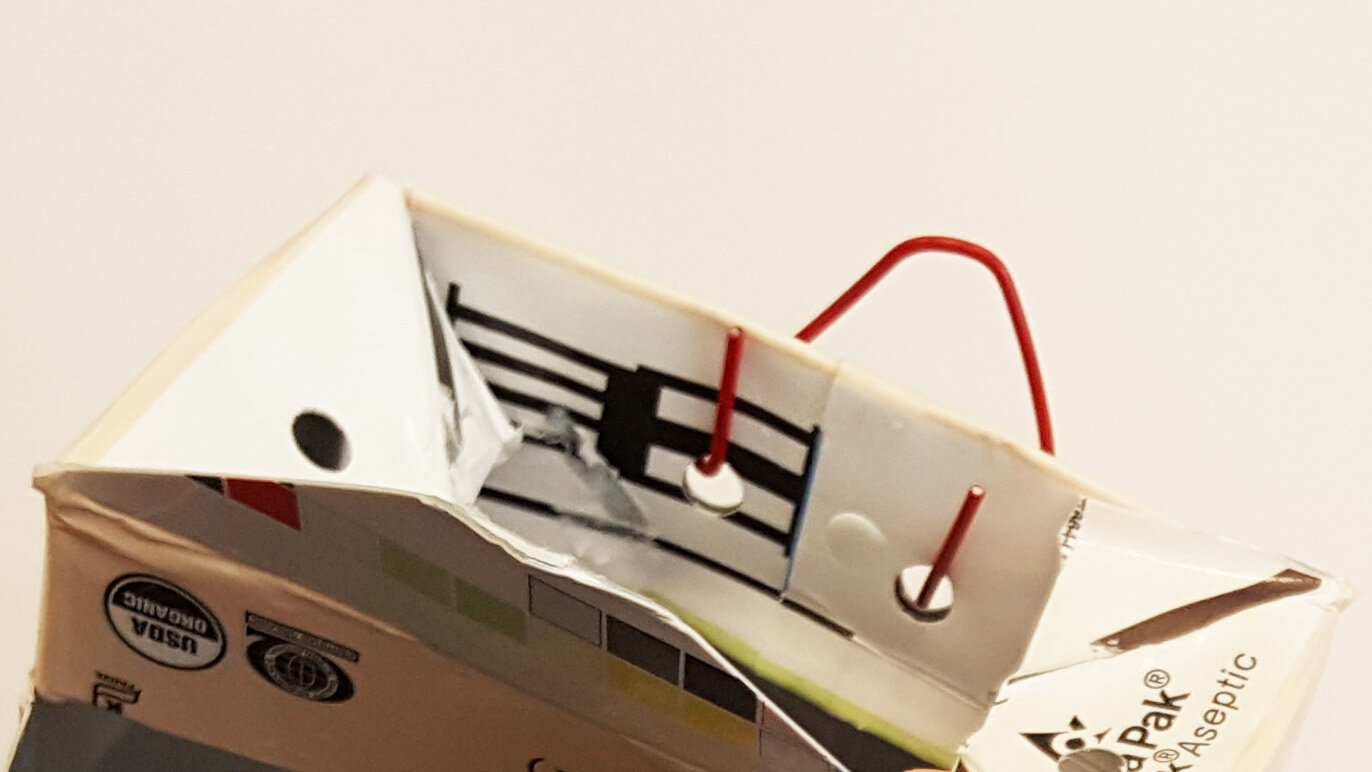
Hanging Loop
To install a hanging hook, punch two holes near the top edge in the back through both the box and folded-down back flap.
Open the paperclip and form into a hook as shown. Stick the ends into the two holes and squeeze to hold in place.
Thank you for reading! If you have questions, please drop me a line.